
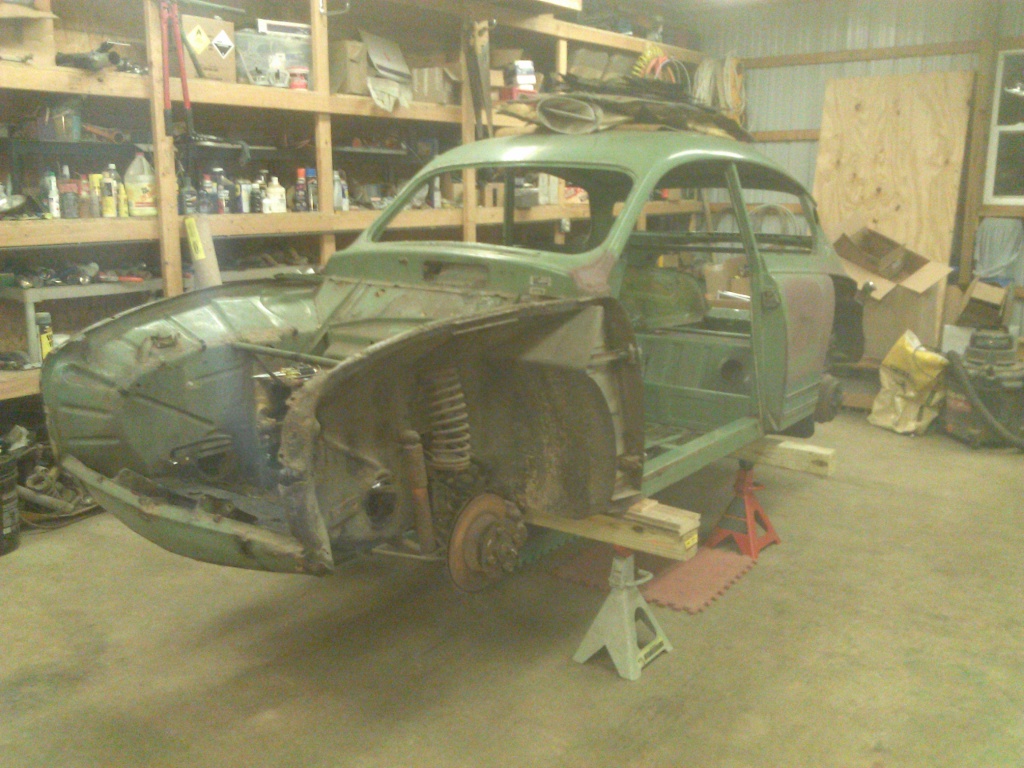
MC850 on Stands
For additional pictures showing problem areas, and a few pictures showing the stands in more detail, please follow the link to continue reading…
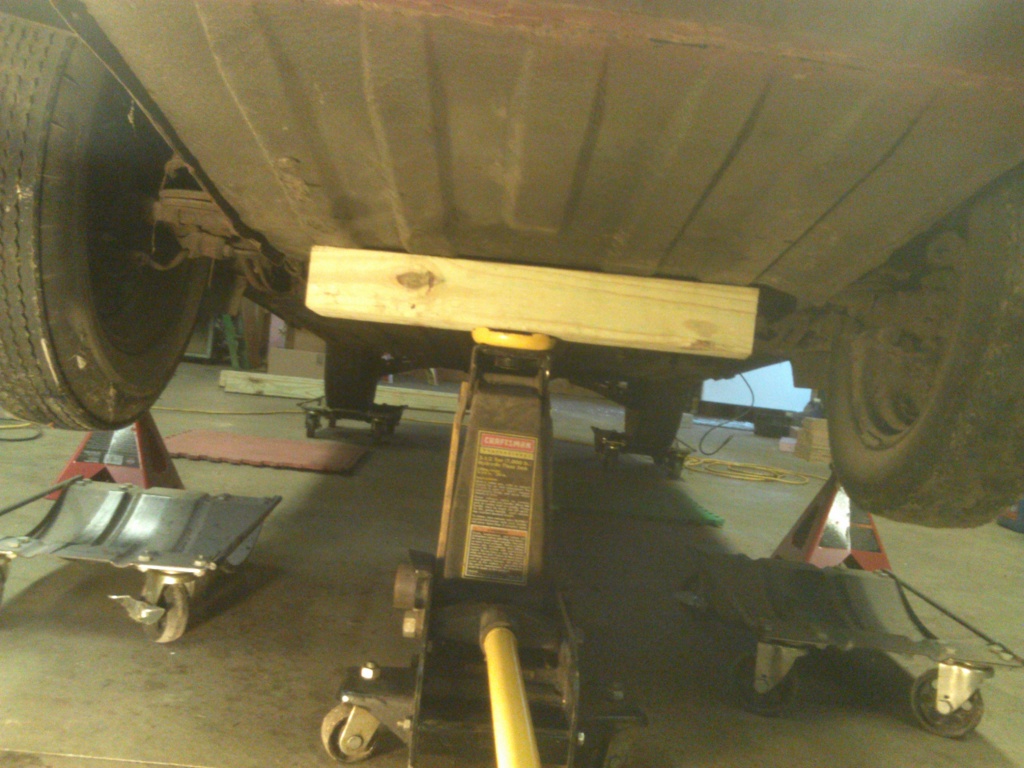
Jacking the Rear End
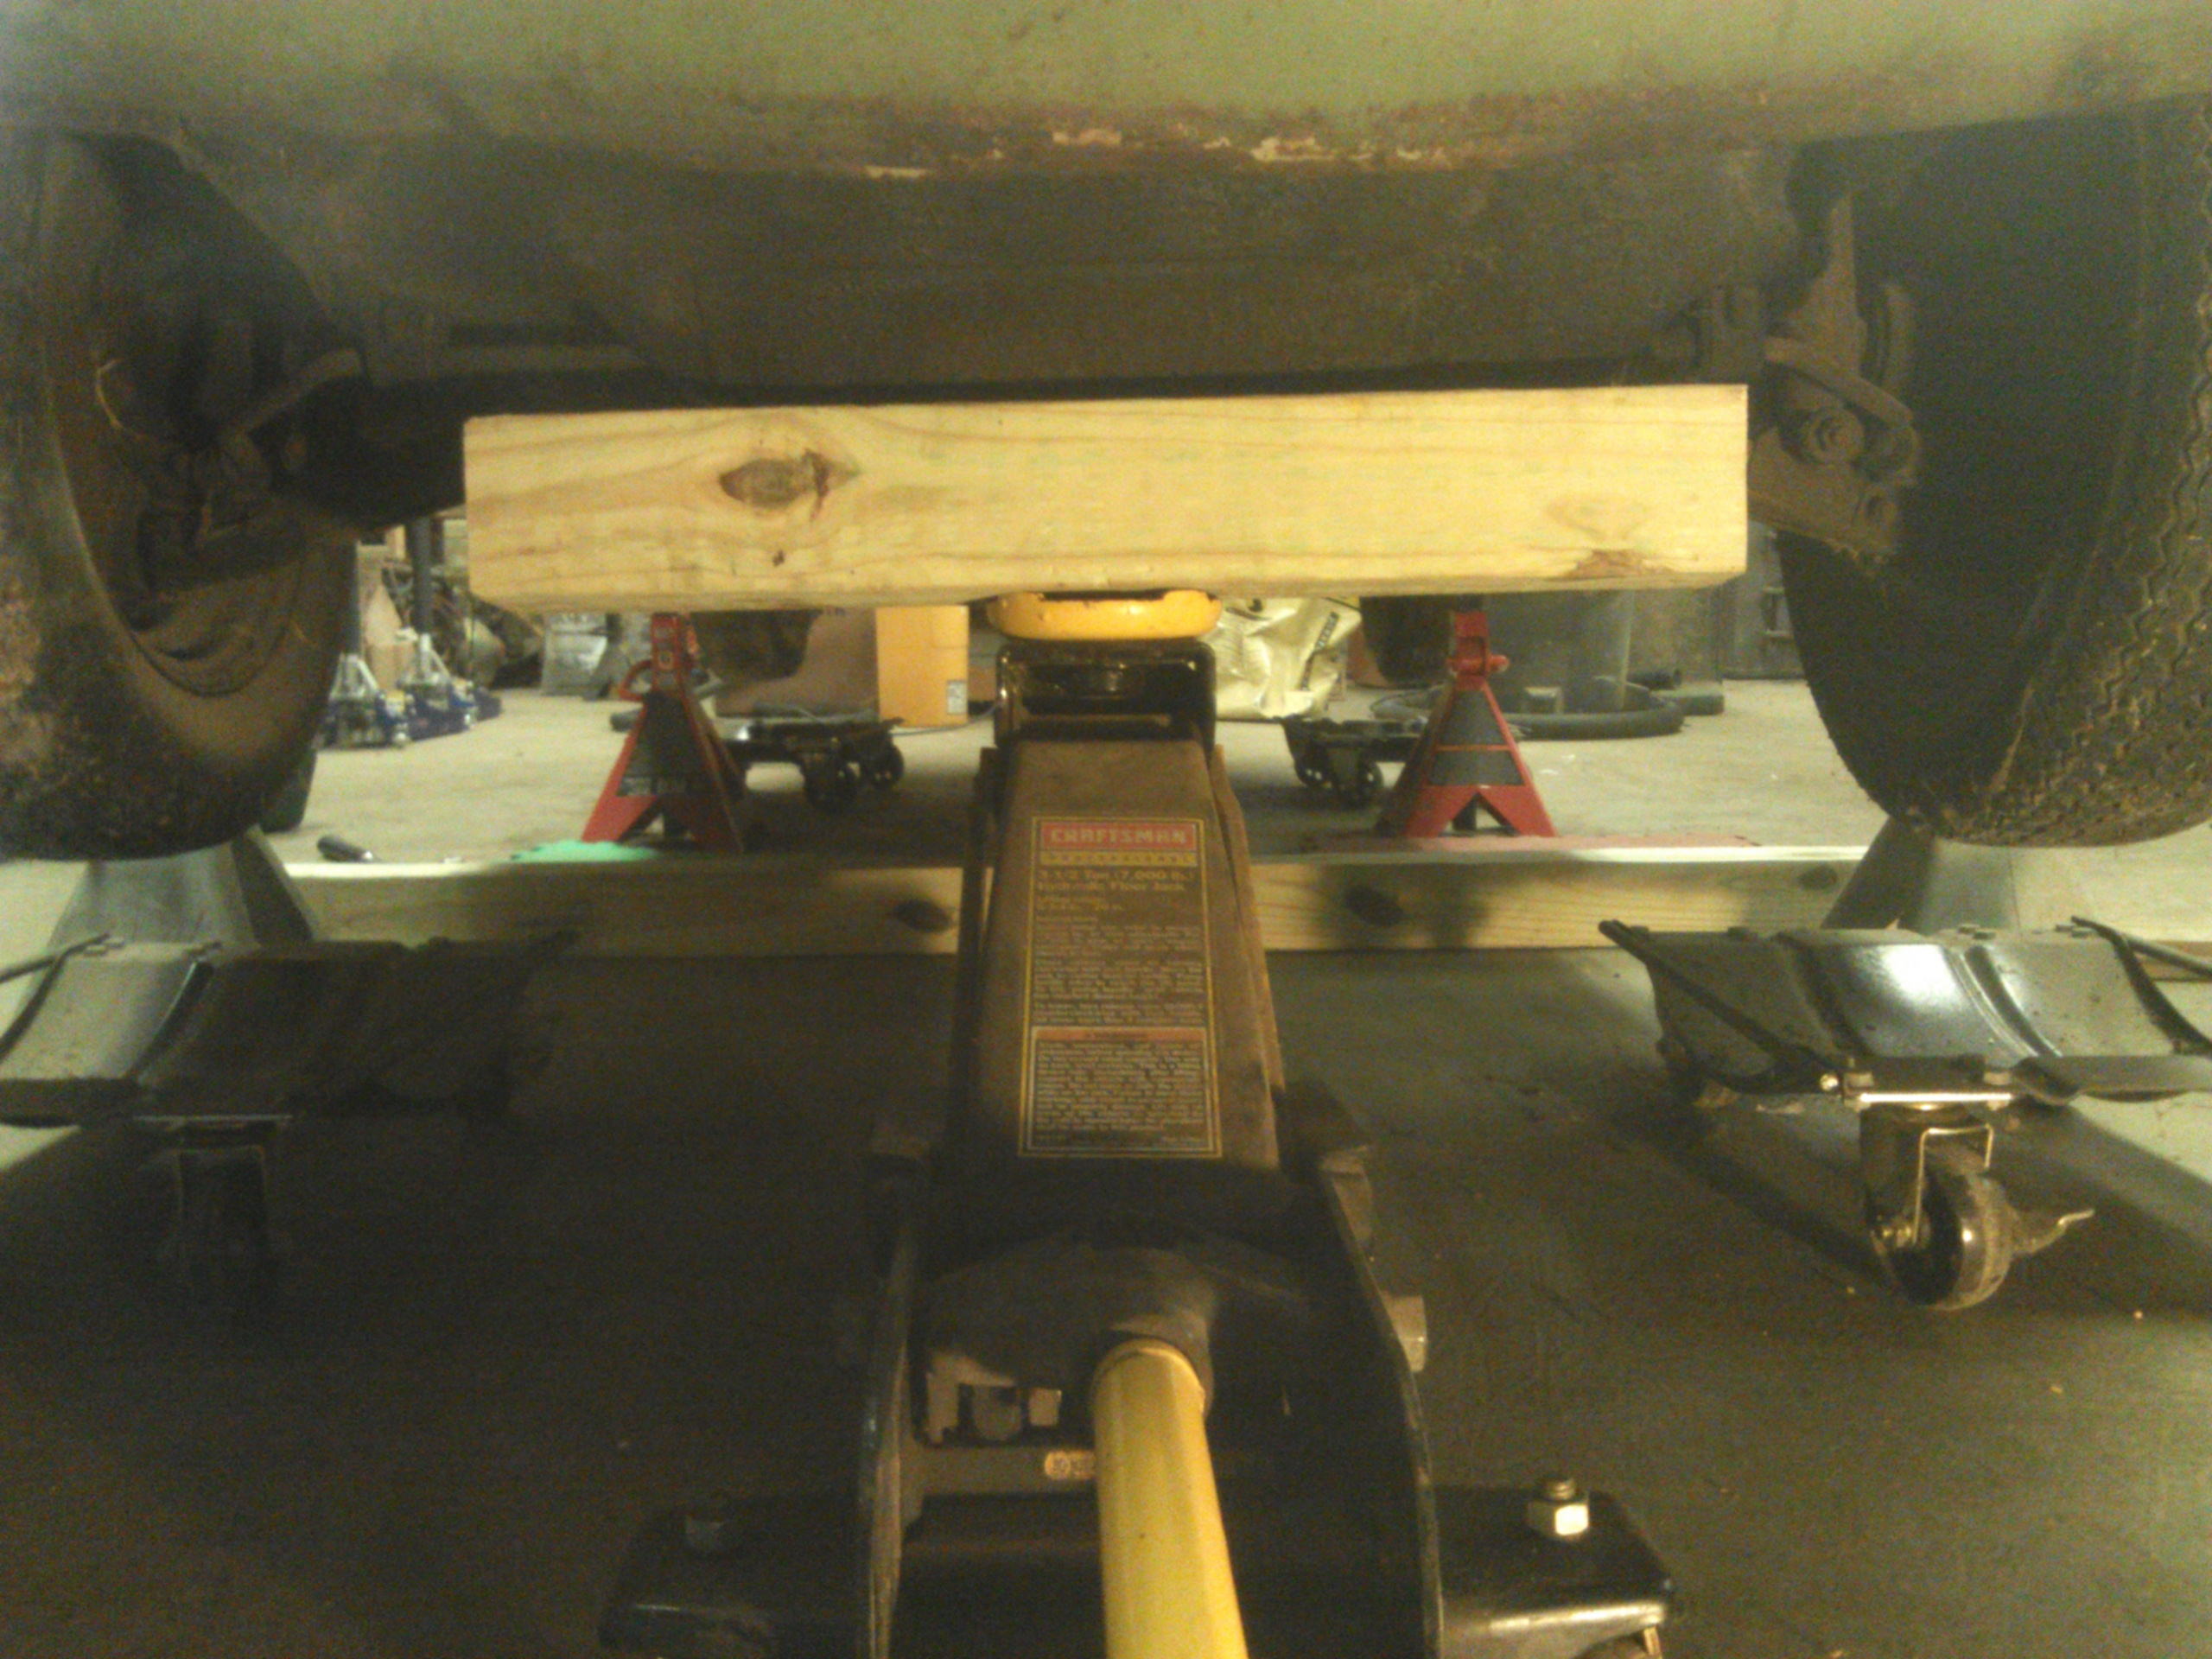
Jacking the Front End
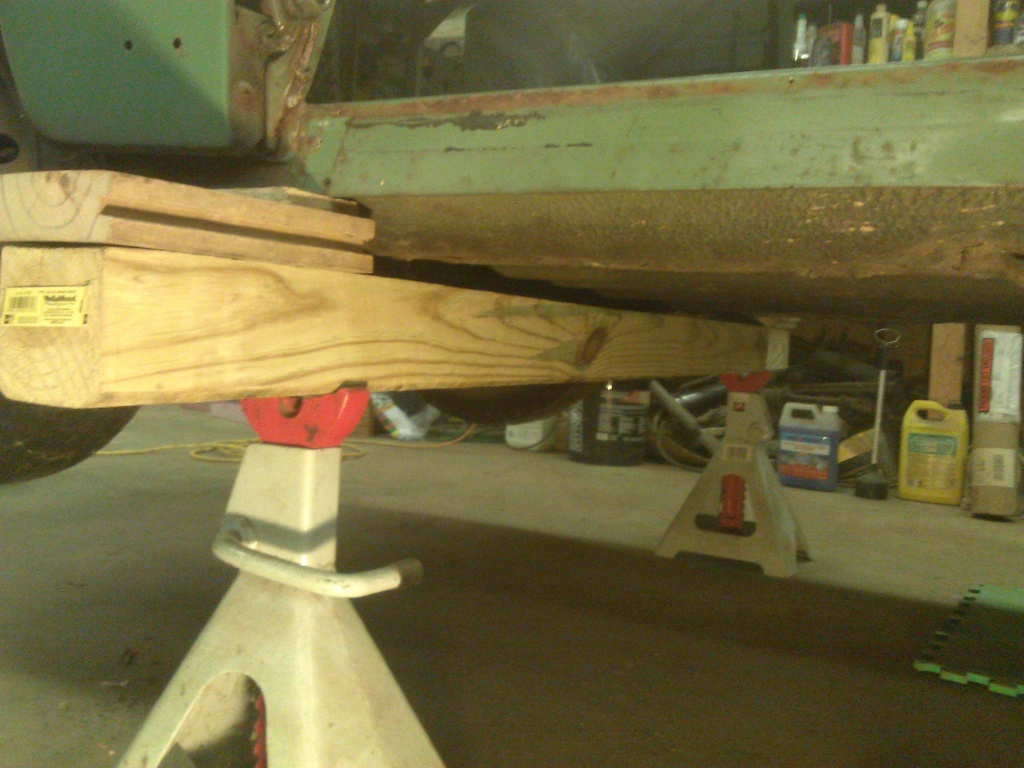
Before removing the fenders, I put the car on stands so I could remove the wheels and have sufficient underbody clearance for removing the suspension. The four photos to the right show, respectively, the rear being jacked, the front being jacked, the rear support points, and the front support points.
I found that a 6 foot 4×4 placed on the jack stands gave me a convenient place to place small blocs of wood to support the body at appropriate points. A few pieces of half-inch OSB were placed at the rear, directly in-line with the inner side of the sill member (or rocker panel, or scuff-plate as Saab called it). This is forward of the trailing arm mounting, and near the B-pillar. At the front, some 1-1/2 inch lumber under the outer edge of the sill, directly under the door pillar, looked like a strong point.
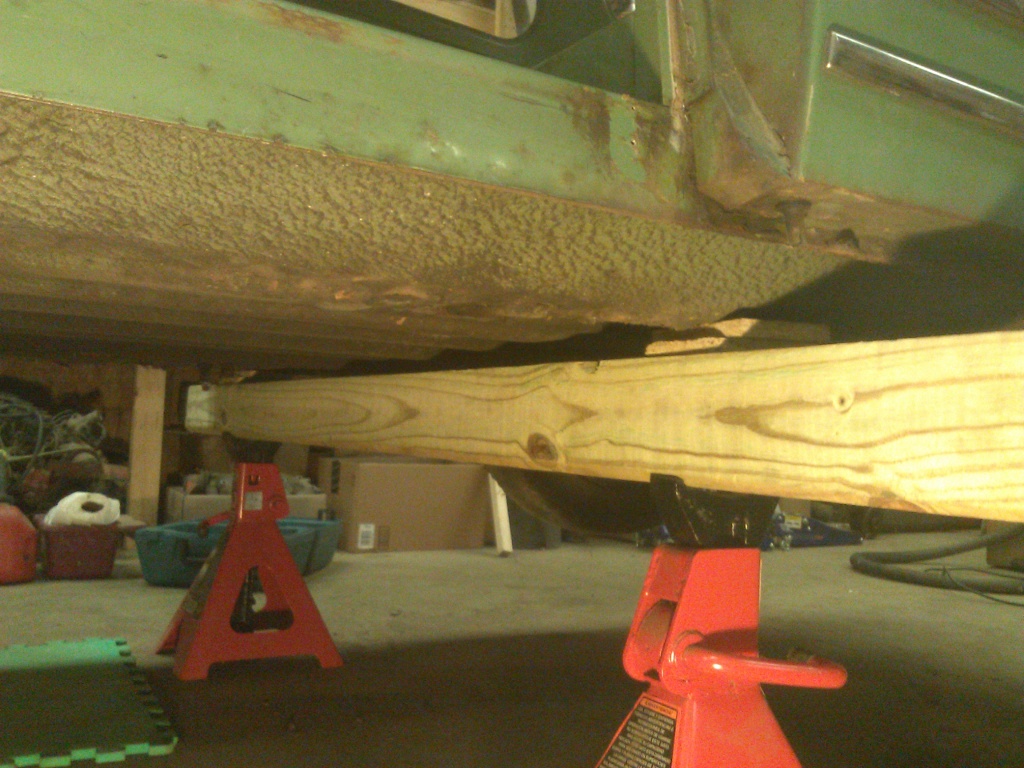
Jack Stands at Rear
Jack Stands at Front
Rust and Collision Problem Areas
The seven pictures below show problem areas that have to be dealt with. The biggest issue is the crumpled left-front wheel housing. Then, there is rust damage on the trunk floor and back latch panel. These two areas involve replacement with donor car sections. I will deal with the other rust areas after the body is on the rotisserie.
My next post will cover suspension removal. Till then…
Rust at Left, Front Floor and Wheel Housing
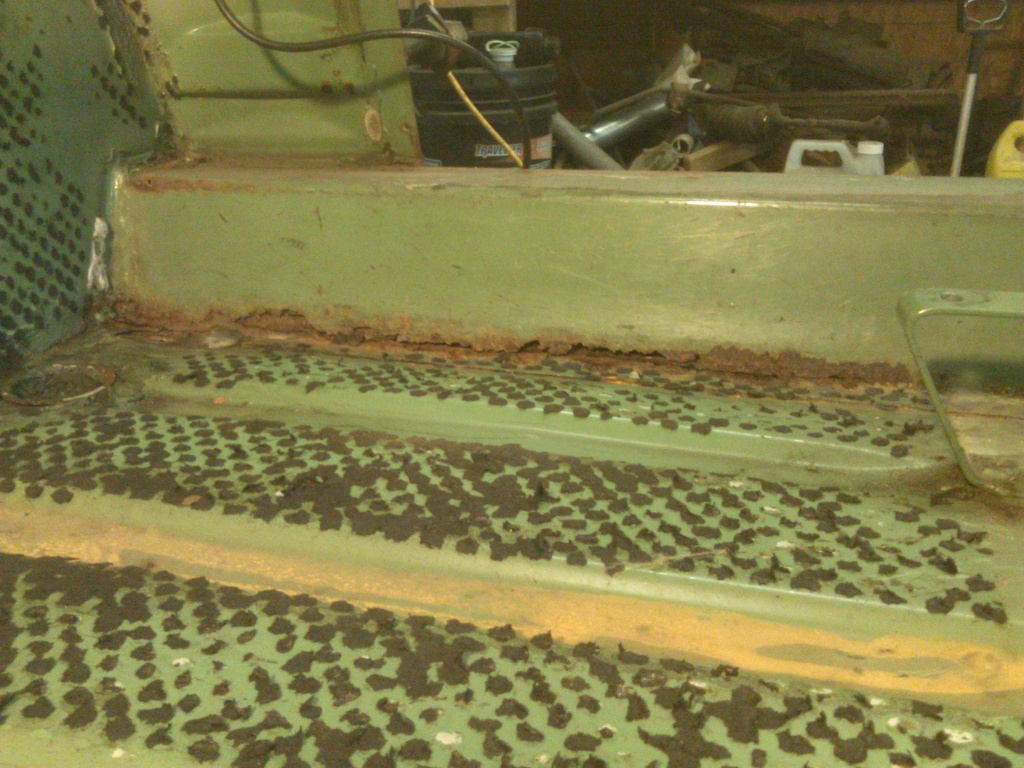
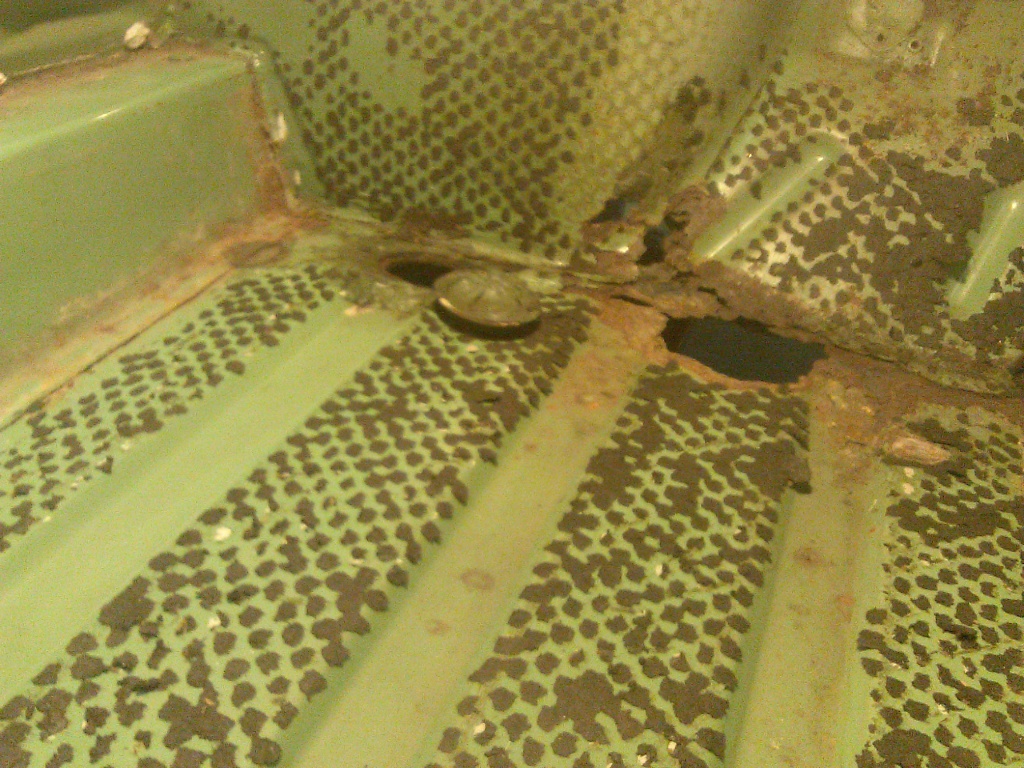
Right Side Floor and Rocker/Sill Rust

Left, Front Floor Rust at Rocker/Sill
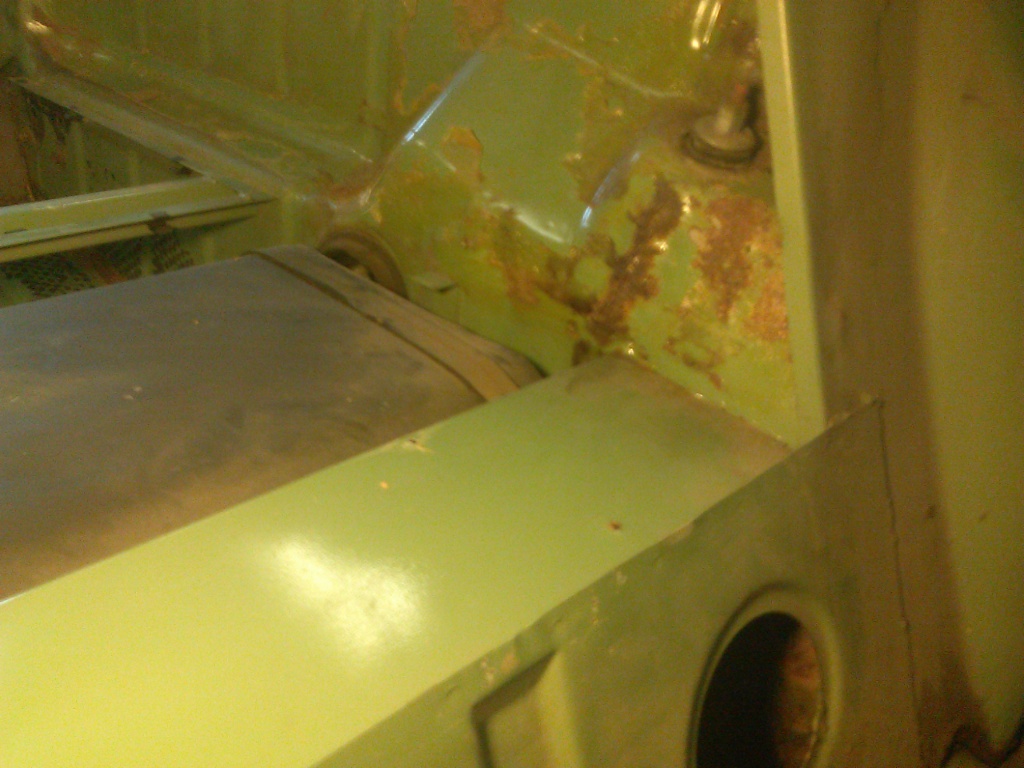
Left, Rear Shock Tower Rust
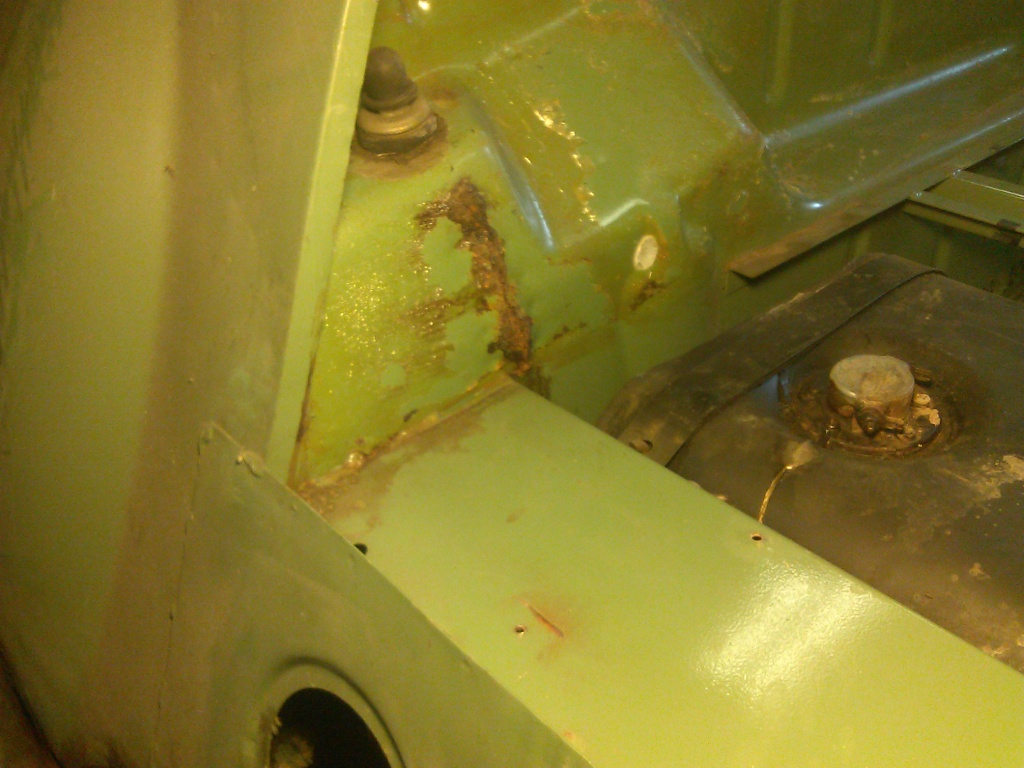
Right, Rear Shock Tower Rust
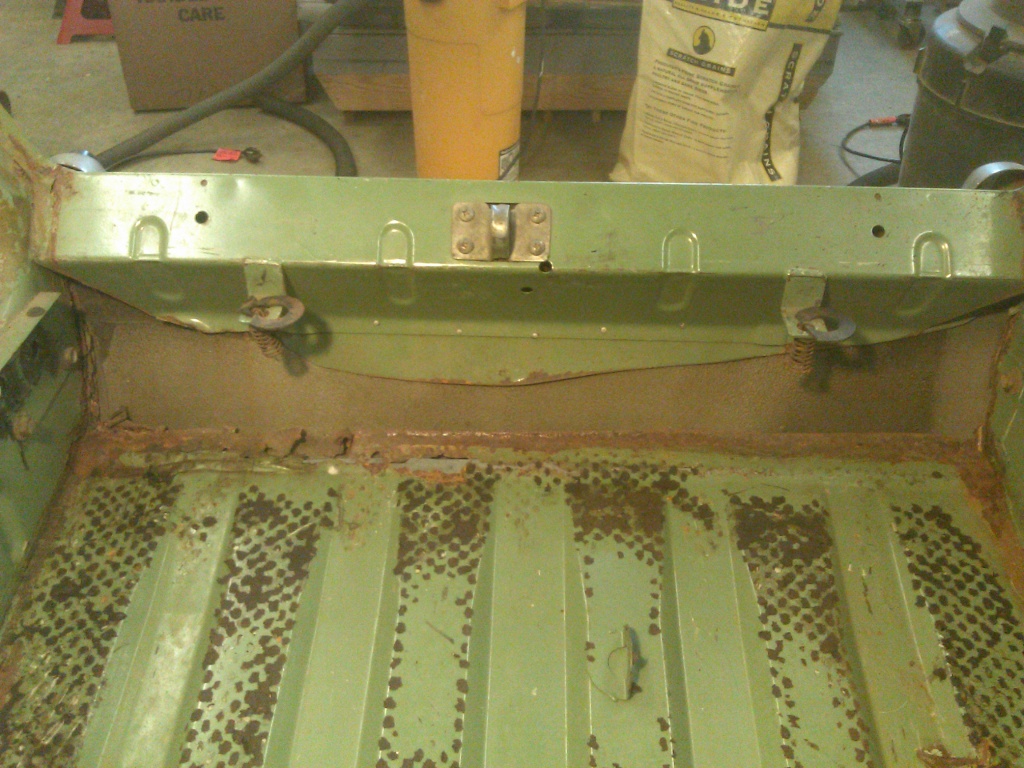
Old Rust Cover-up at Trunk
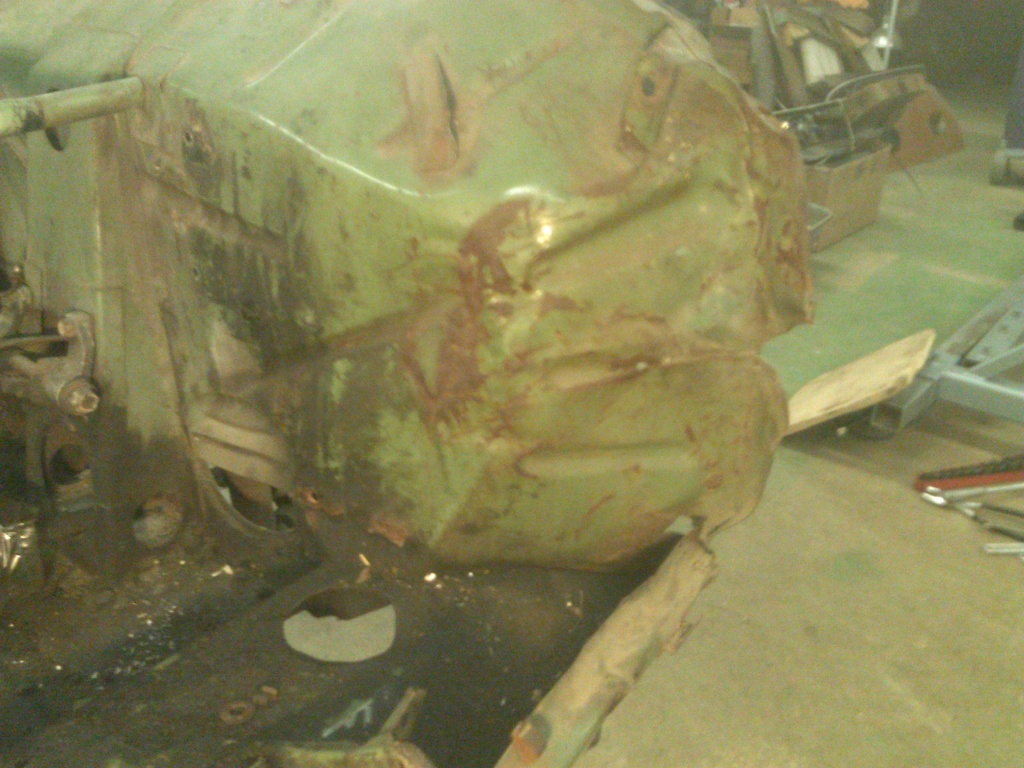
Crumpled Driver Side (Left) Front Wheel Housing
Hello Ted,
Congrats on a great blog – great pictures and the commentary is “just right”…..good luck on the restoration – looking forward to the finished product.
Carl