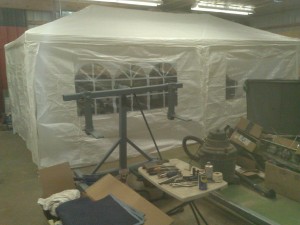
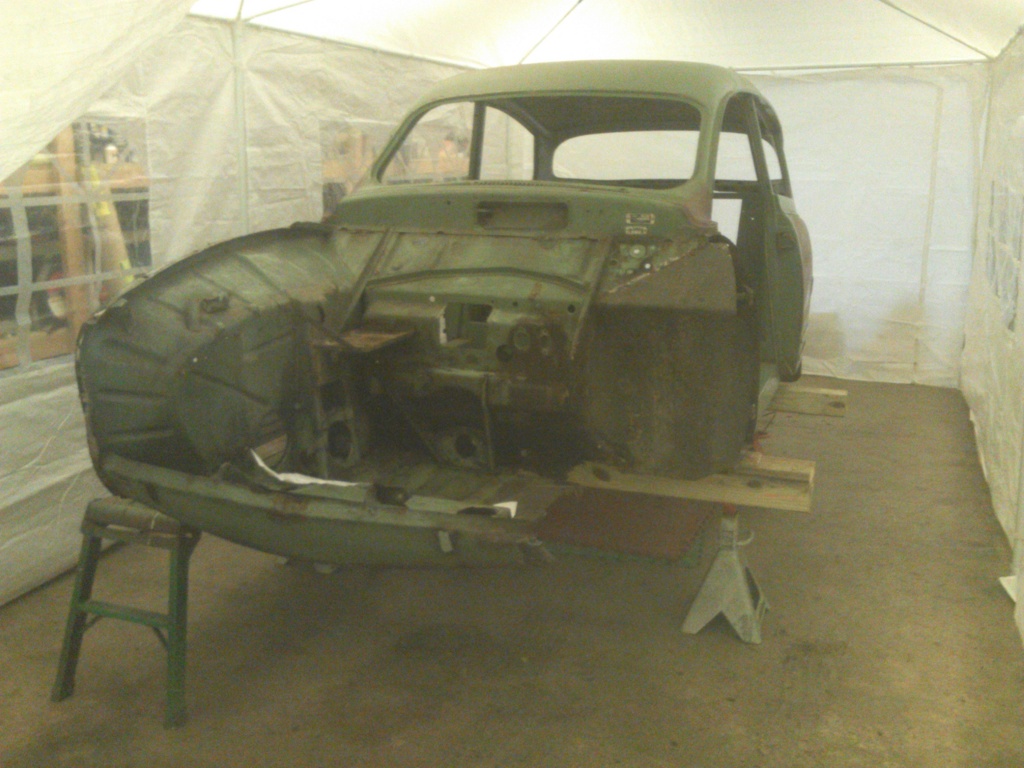
Party Tent in Barn
Looking at the photo, you might think I’m getting ready to party in the barn. Nope. The party tent is my maybe not-so-bright idea for contain blasting media. We’ll see if it works. For a more detailed story, please continue reading.
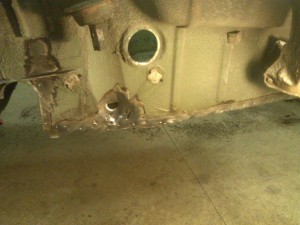
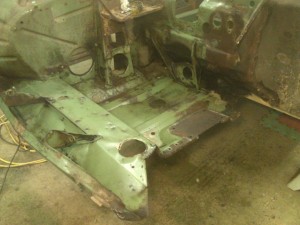
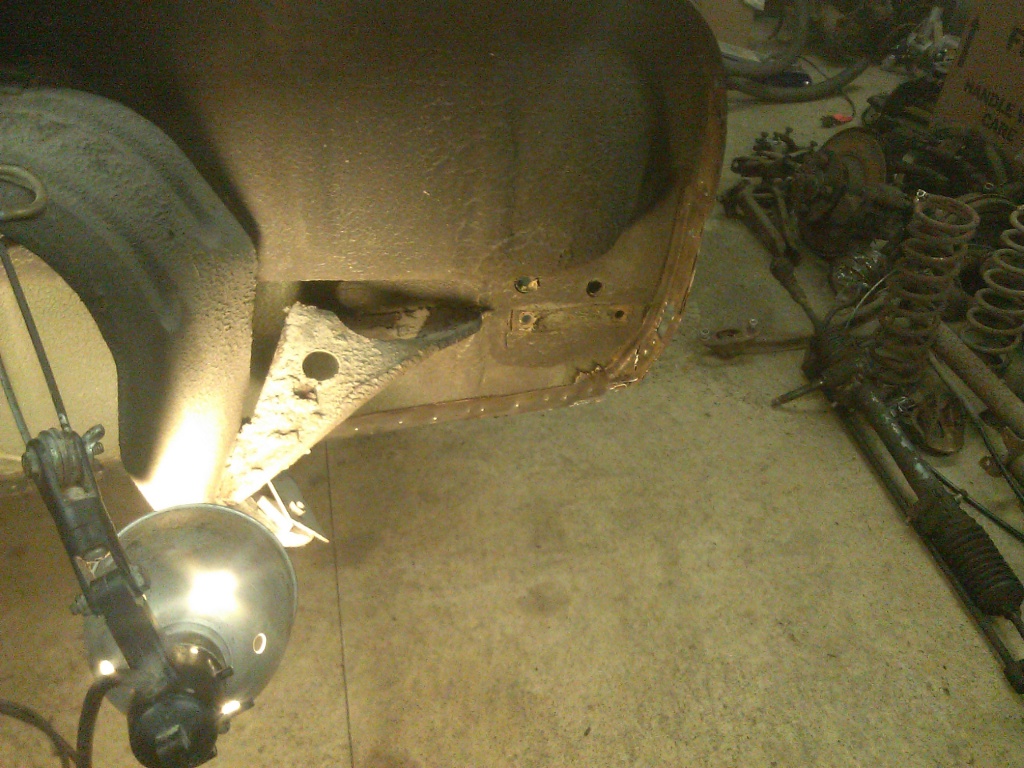
Cleaning Weld Areas for Drilling/Grinding
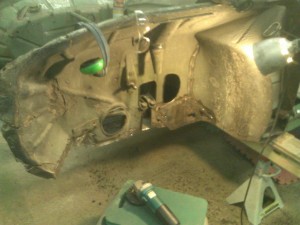
Cleaned Weld Areas, Left Front Wheel Housing
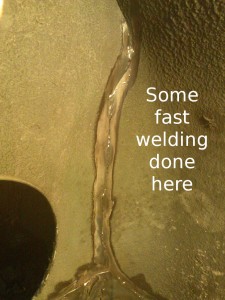
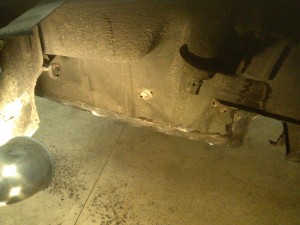
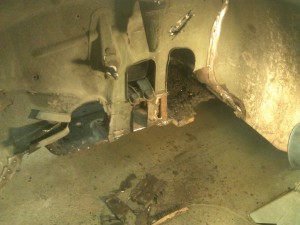
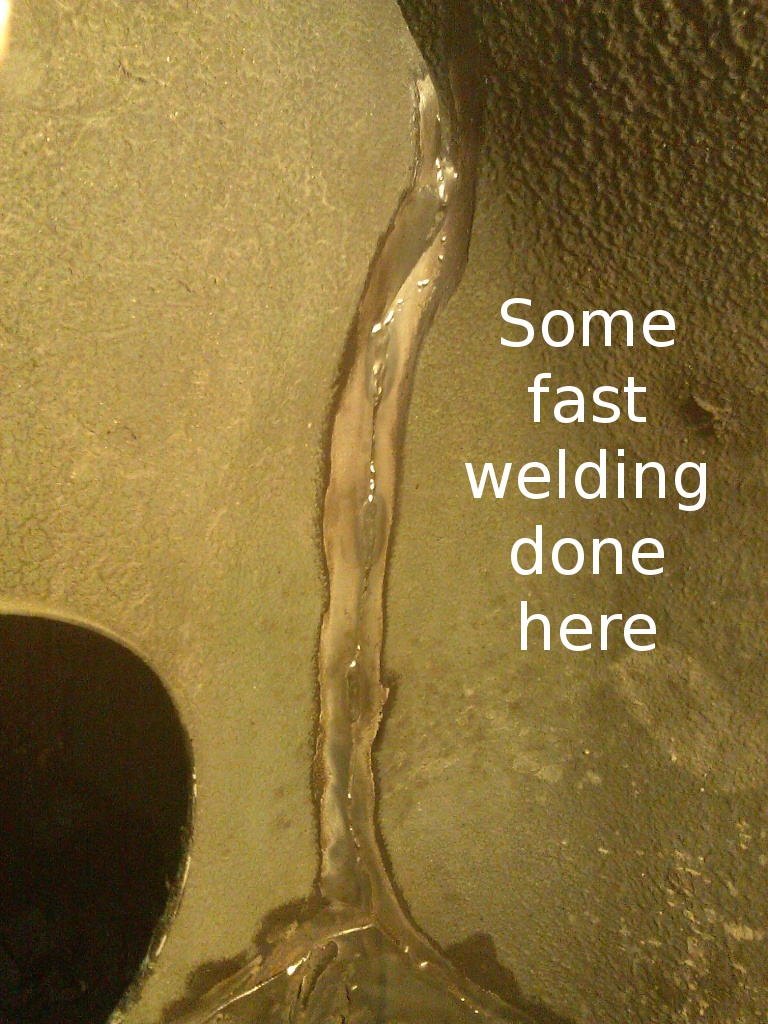
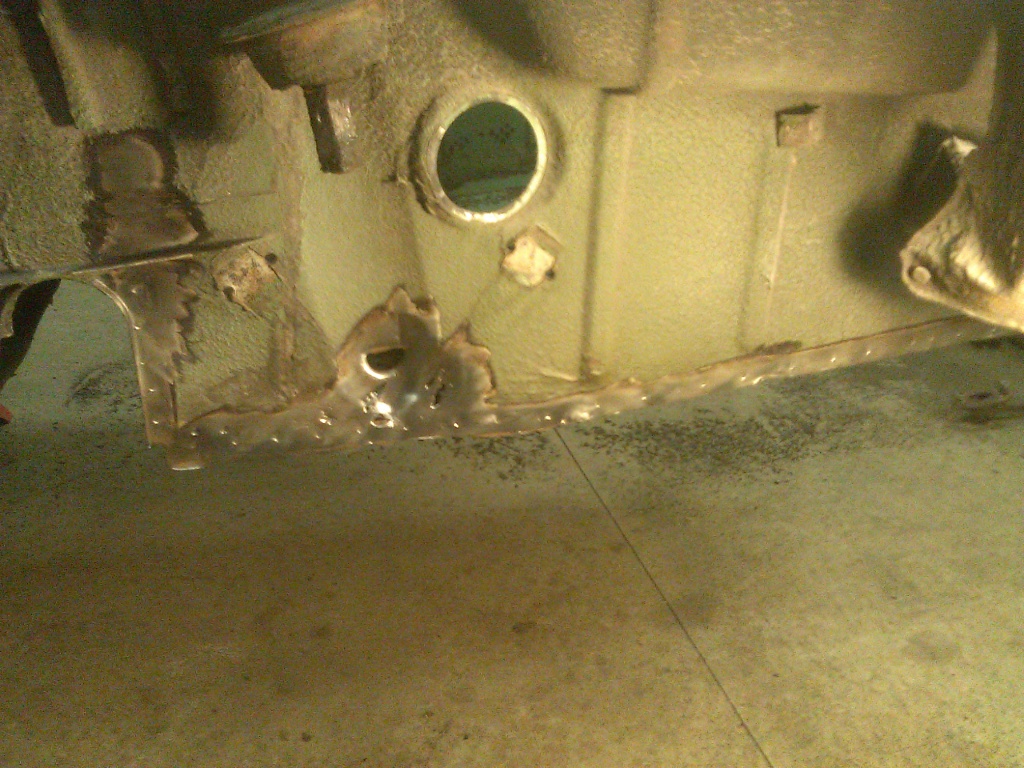
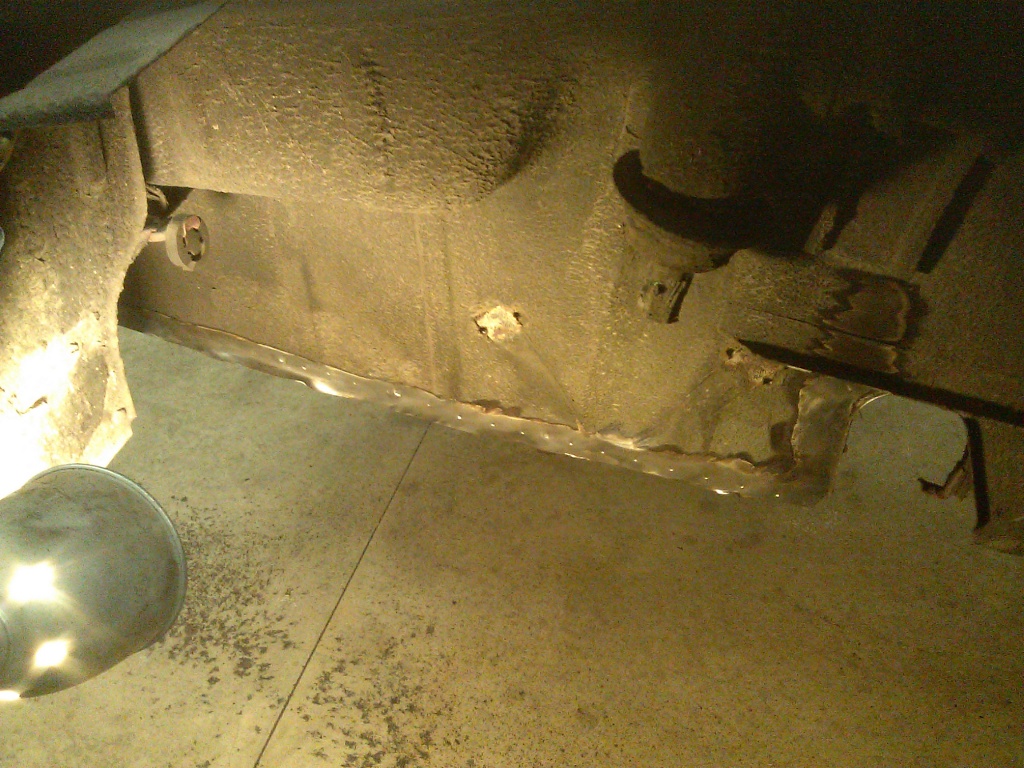
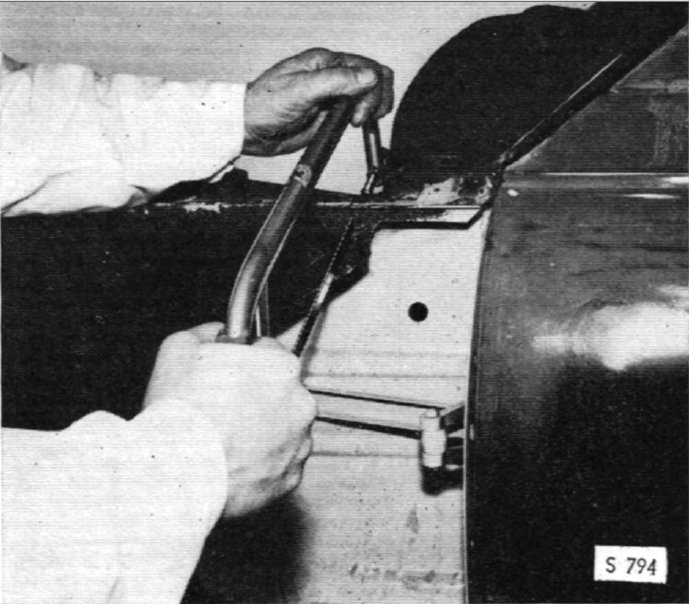
I was intrigued by the welds at the rear-most edge of the front wheel housings. If you look at the photos, it looks like the welder started at the top, pulled the trigger and held it while sweeping downward, pausing where welding was desired, and leaving spatter trail in between. Welding in the donor car was similar. And, you will always find one tack weld hiding inside, where the front wheel housing meets the highest point of the cross member. There are more photos than necessary, but I put them all here just for complete documentation. Scroll down for the drilling/grinding discussion…
Tack Welds at Rear of Wheel Housing
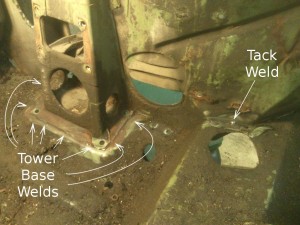
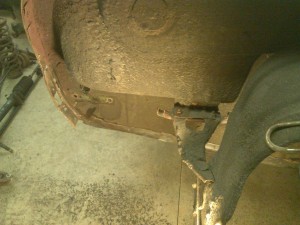
Wishbone Tower Base Welds

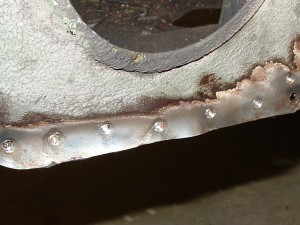
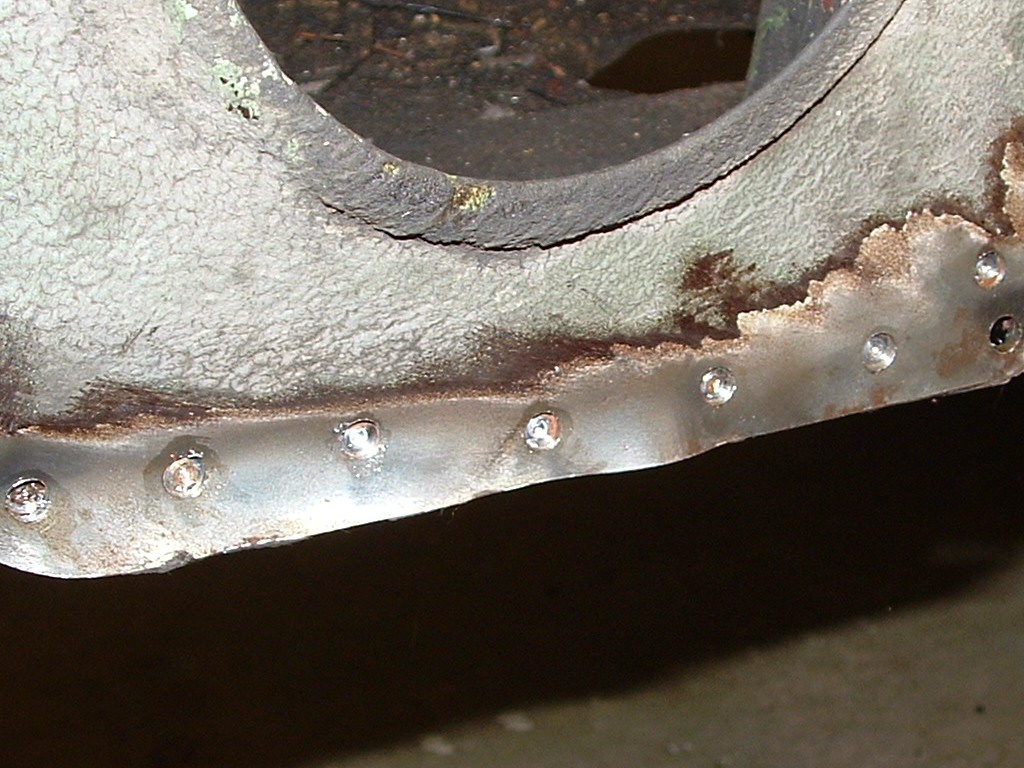
Left Rear Trunk Floor Spot Welds
Left Rear Trunk Floor Spot Welds
Right Rear Trunk Floor Spot Welds
Right Rear Trunk Floor Spot Welds
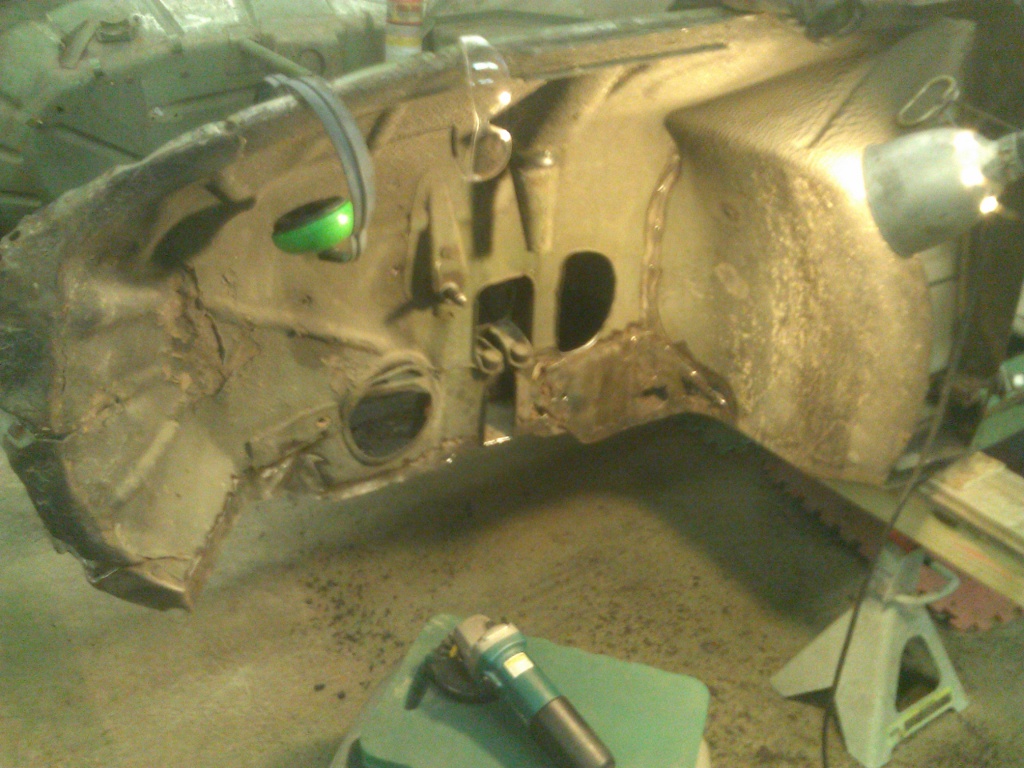
Removing Right Front Wheel Housing
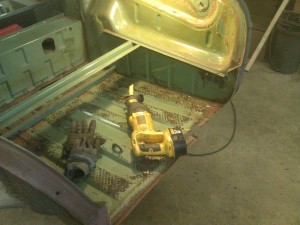
Drilling Spot Welds

Cutting Wheel-House Flange at Dash Panel
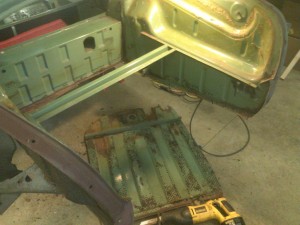
Cutting Wheel Housing to Gain Access

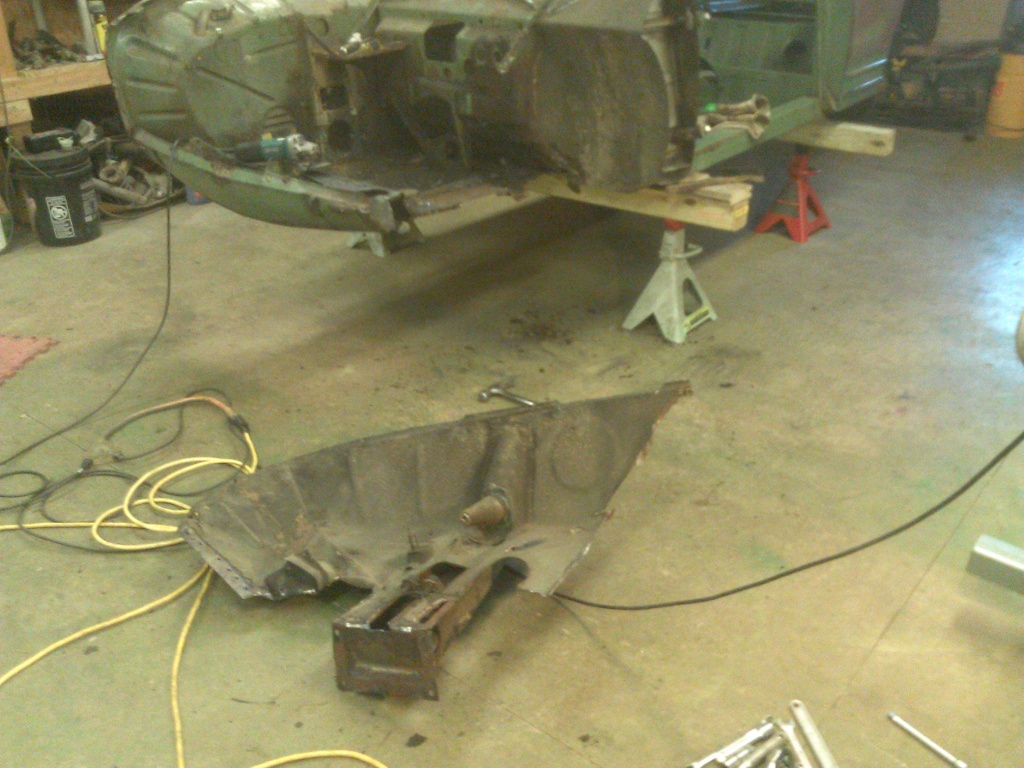
Wheel Housing on Floor
Many of the spot welds were still clinging a little so I used a hammer and chisel to separate the wheel housing from the floor at those spots. And finally, the wheel housing fell to the floor, after bouncing off my knee while I was chiseling the last stubborn spot weld.
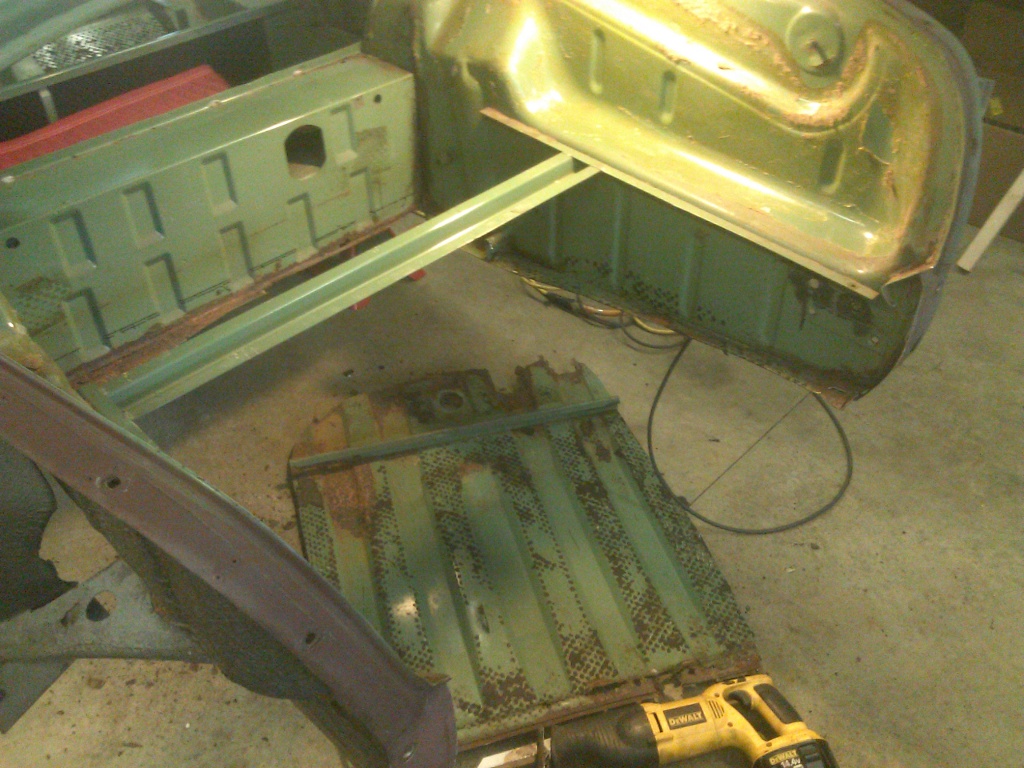
Removing the Trunk Floor and Rear Cross Panel
Trunk Rear Crossmeber Removed
Portion of Trunk Floor Cut Away
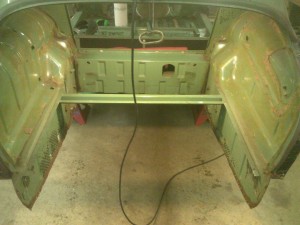
Trunk Floor Completely Removed
Getting Ready to do Some Blasting
Engine Bay Floor Cleaned of Grease
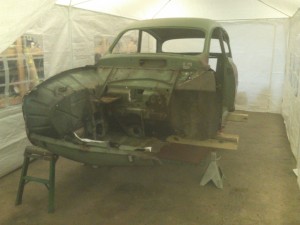
MC850 Inside Party Tent
It will be rather time consuming making repairs and installing replacement panels but I will document it all in my next post. However, that may take awhile.


Nicely done. Can’t wait for the next installment. I must say that it looks like aLOT of work. Well done so far.