A Couple of Comments
First, I want to thank those who have taken the time to comment, and those who have subscribed. Although small in number, as I expected, it’s definitely motivating to know that others are watching.
Second, I hope nobody is having trouble leaving comments or subscribing. In the beginning, I could manually moderate comments because spammers were few. But, even as esoteric as this blog is, the hated spammers have still found it, and I was forced to automate spam blocking. I am using Akismet, and it seems to be working well. If anyone has issues, please let me know through the contact form.
Installing Donor Axle Tunnel Backside

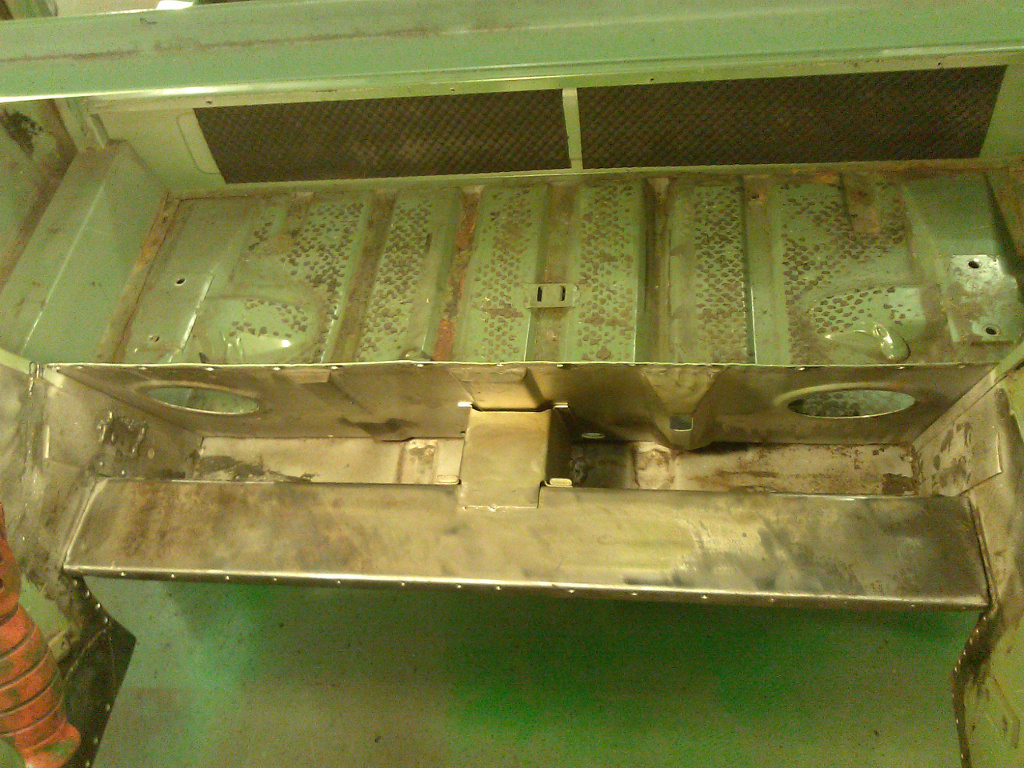
Cleaned Axle Tunnel Interior
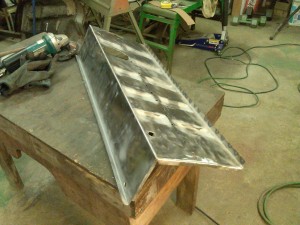
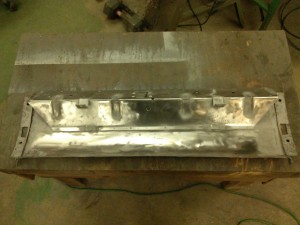
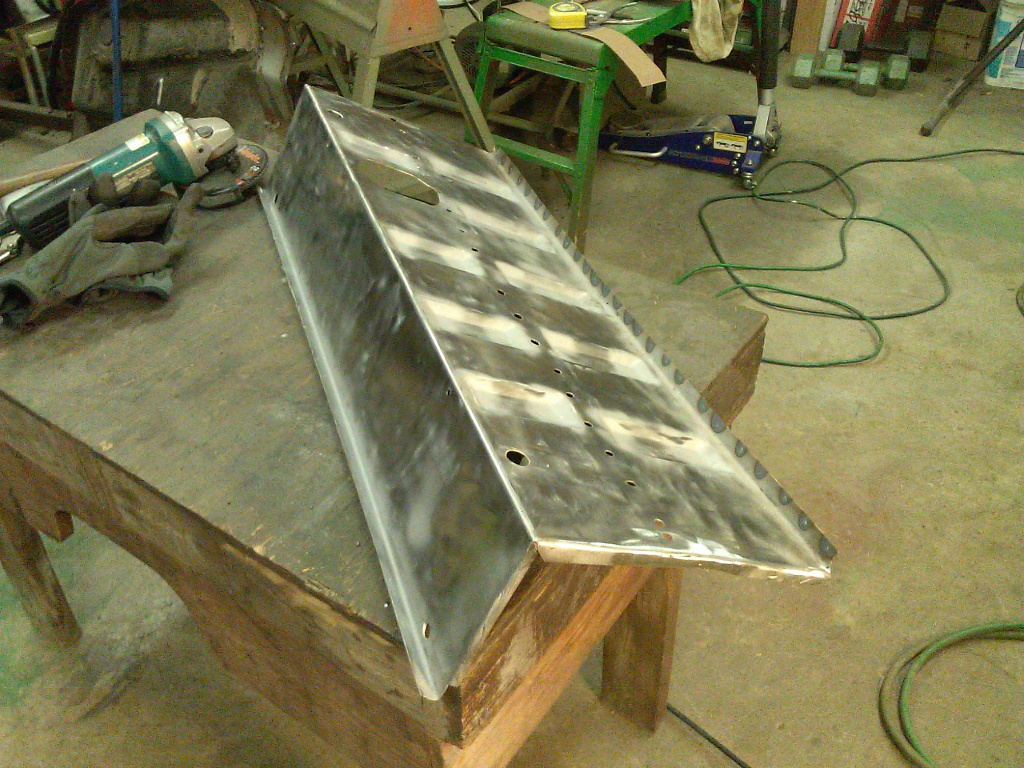
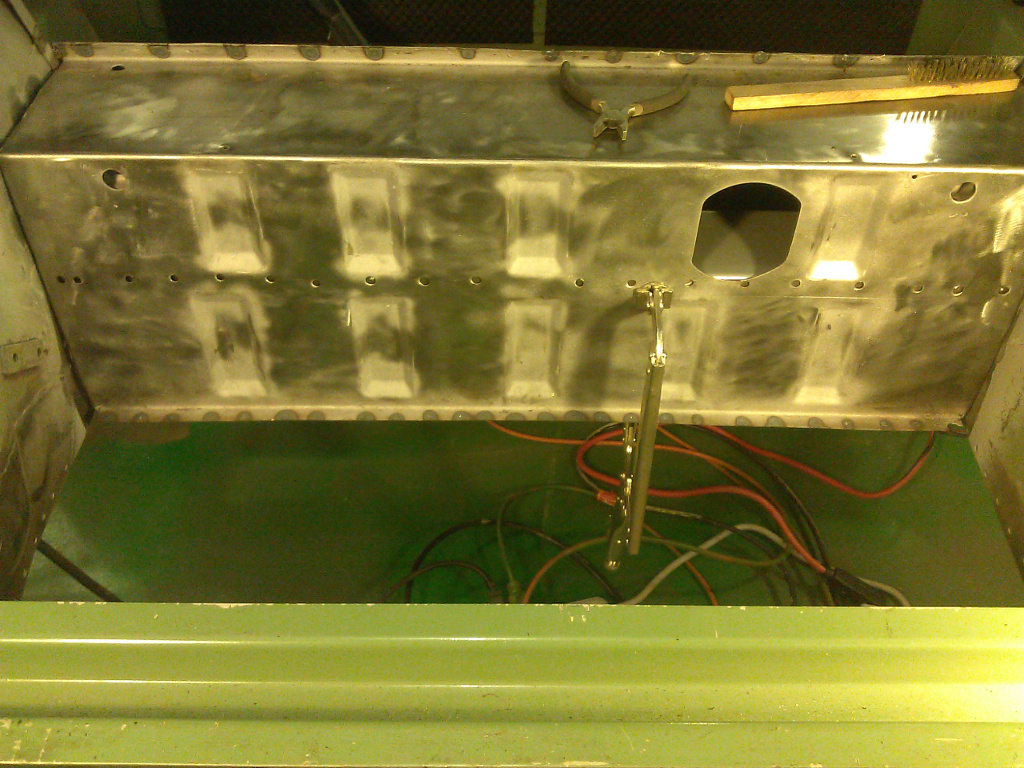
Donor Axle Tunnel Backside Cleaned
Axle Tunnel Interior Painted
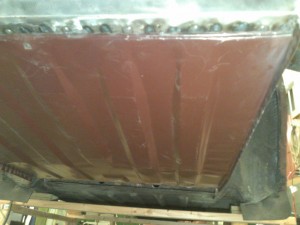
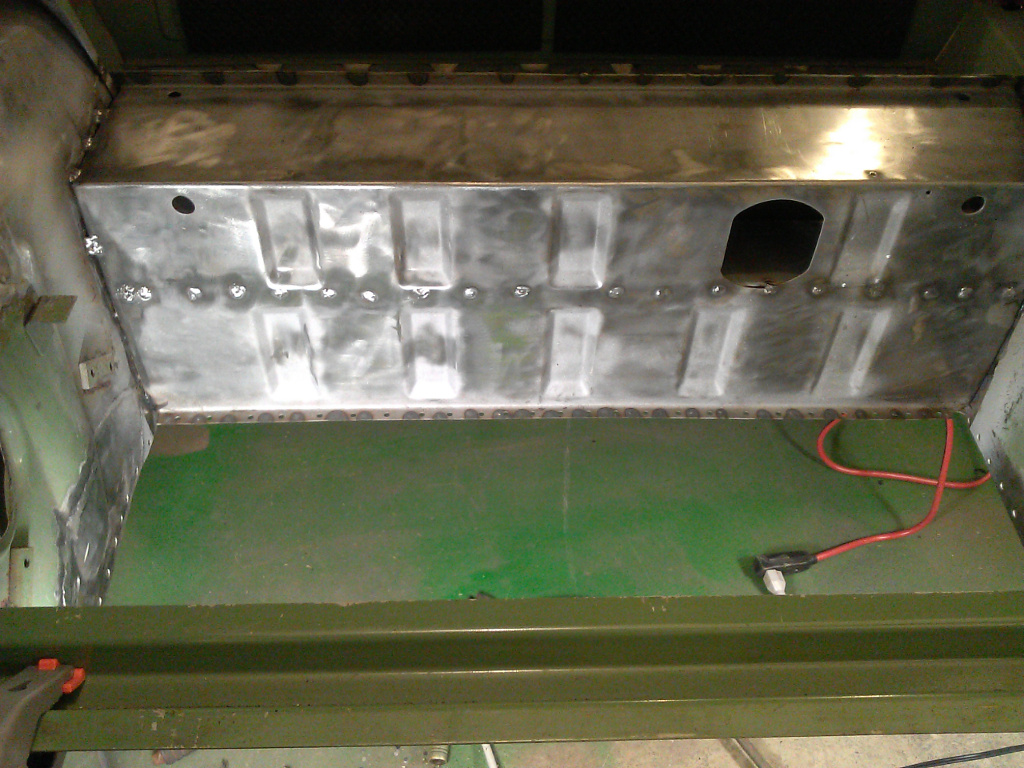
Donor Axle Tunnel Backside Painted
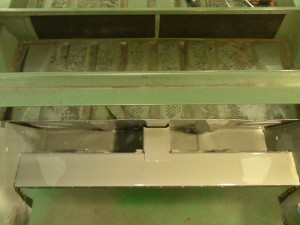
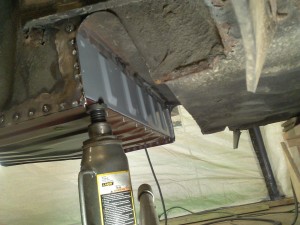
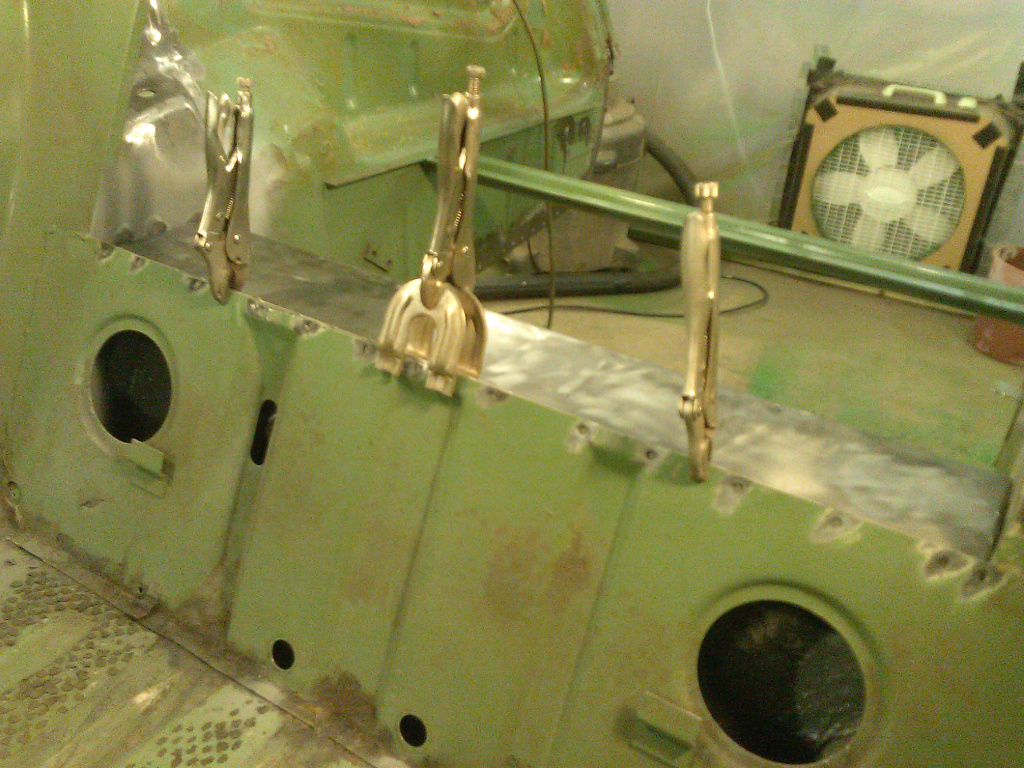
Axle Tunnel Backside Being Plug Welded at Top

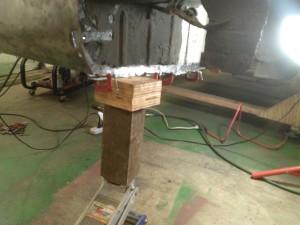
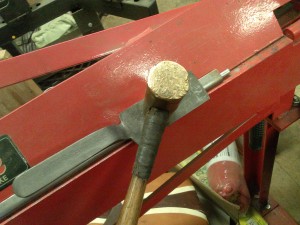
Welding Backside of Axle Tunnel Using Very Long Vise-grip Style Clamp.
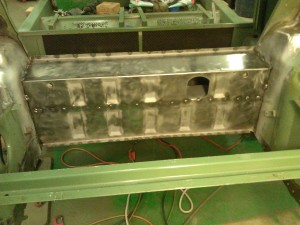
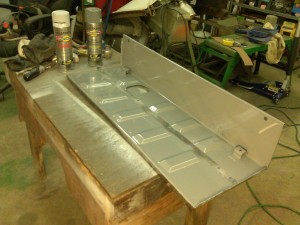
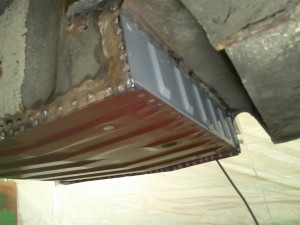
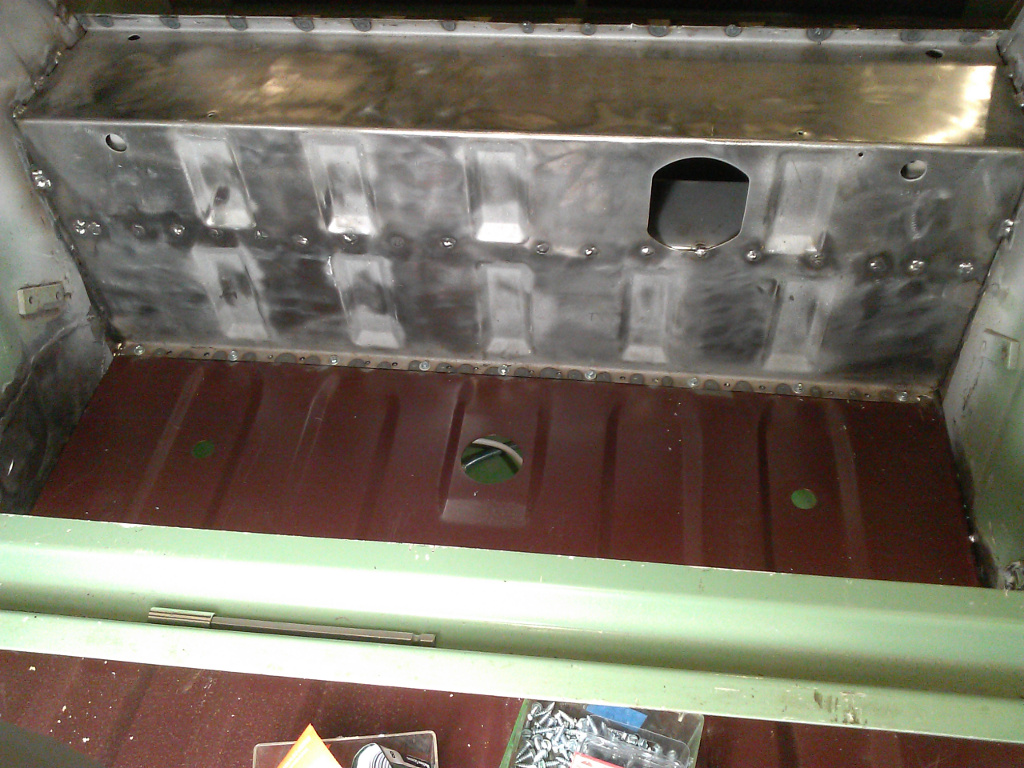
Donor Axle Tunnel Backside Installed
Installing the Donor Back Panel
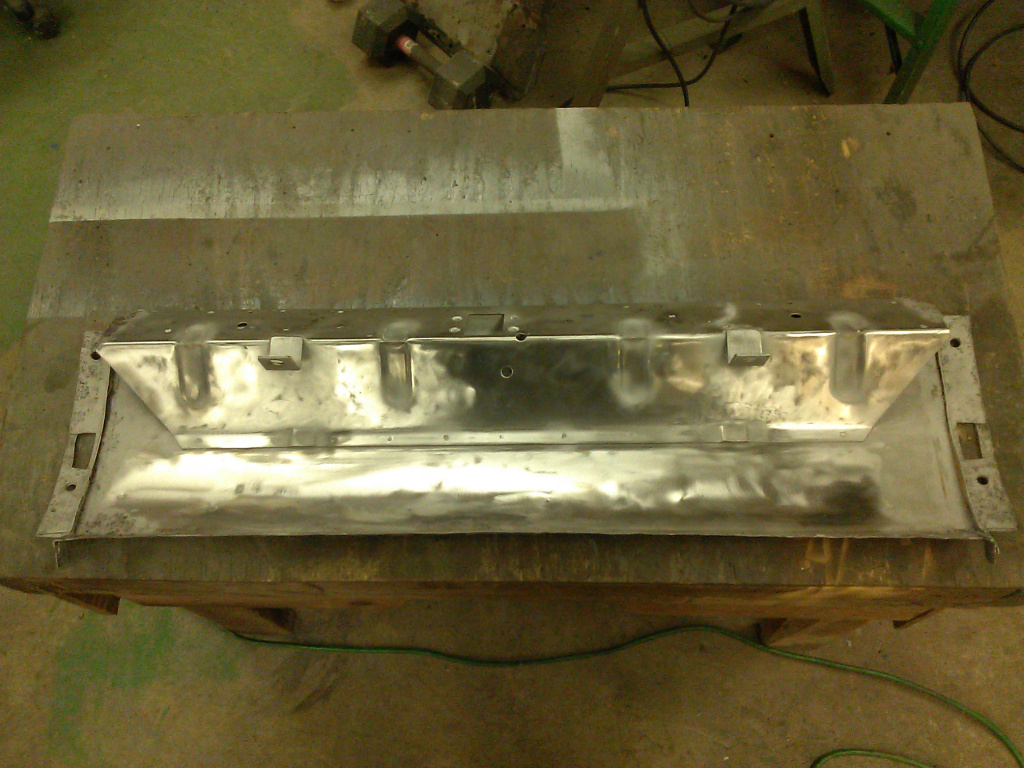
Cleaned Donor Back Panel

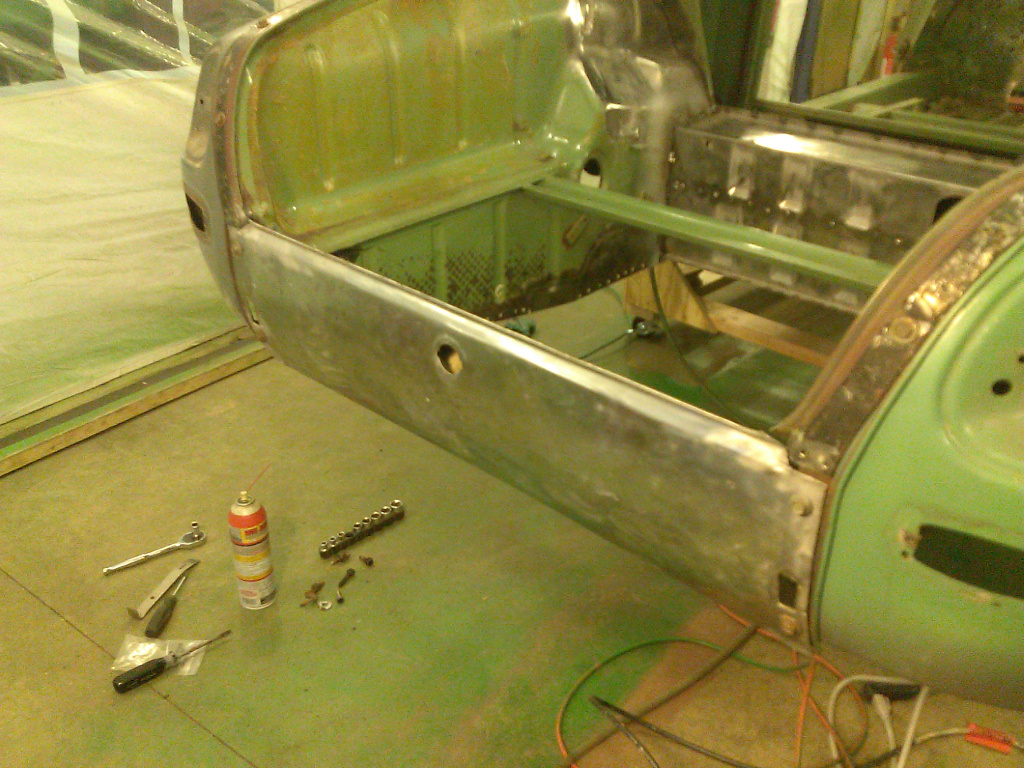
Using Re-mounted Fenders as Jig for Back Panel Mounting

Checking Fit and Squareness with Trunk Lid
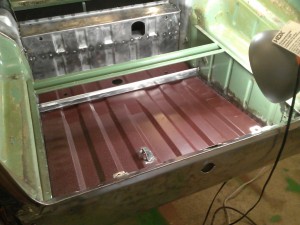
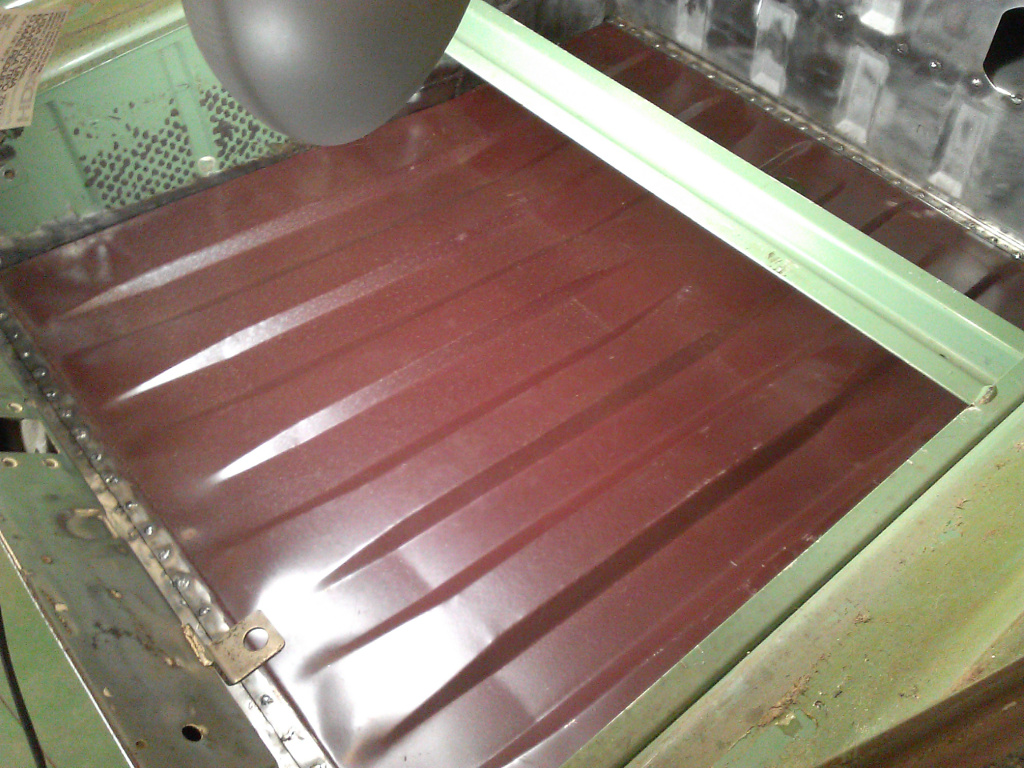
Installing the New Floor
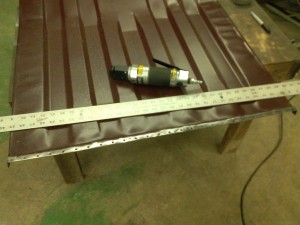
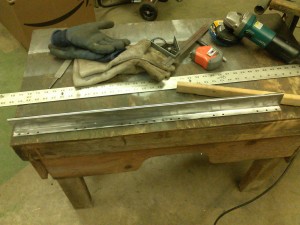
Prepping New Floor Pan

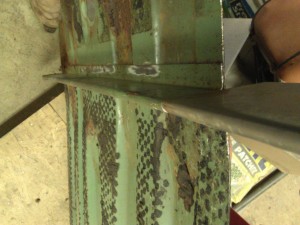
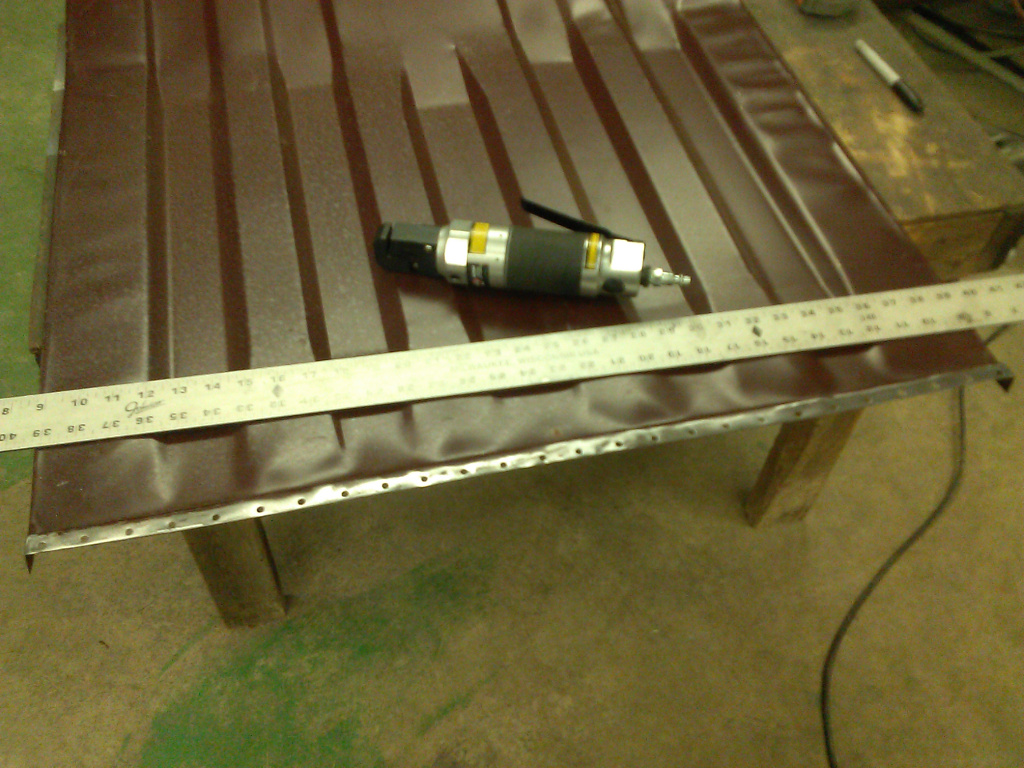
Axle Tunnel Backside Punched for Welding
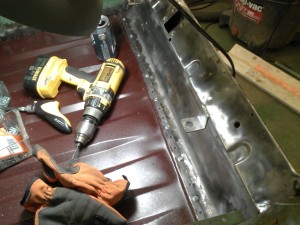
New Floor Pan Screwed to Back Panel

Front of Floor Pan Screwed to Axle Tunnel Lip
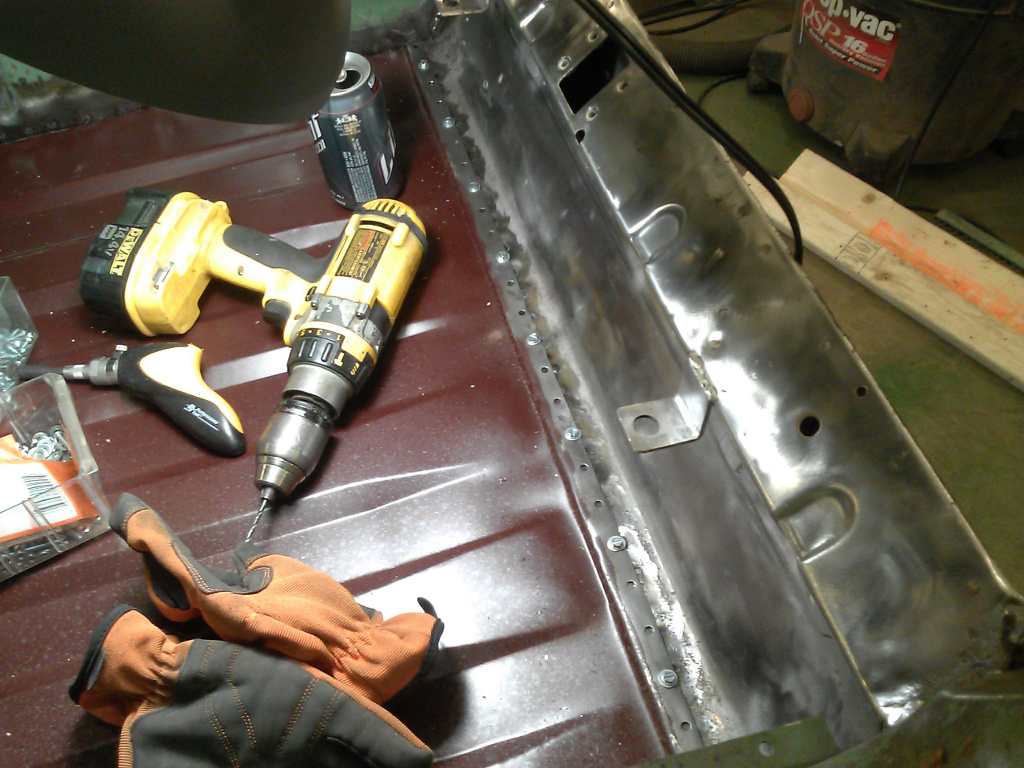
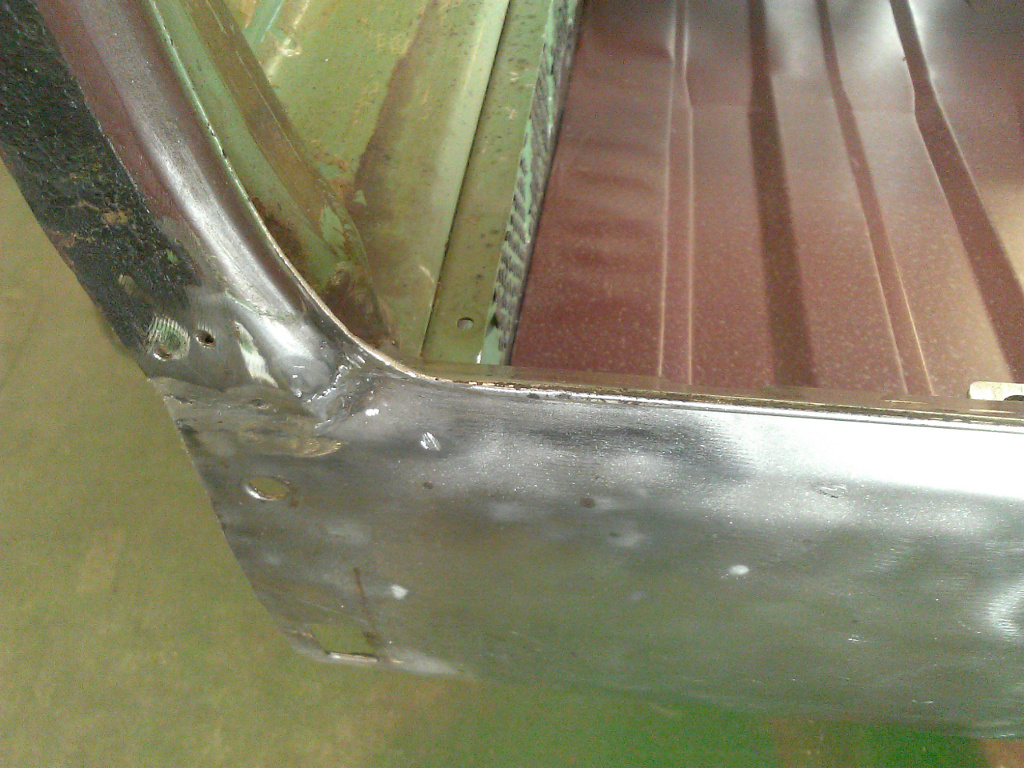
Positioning and Welding the Floor Pan to the Wheel Wells
Supporting the Floor Pan for Welding

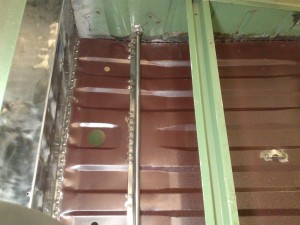
Floor Welded, Inside View
Floor Welded, Back Underside View
Floor Welded, Front Underside View

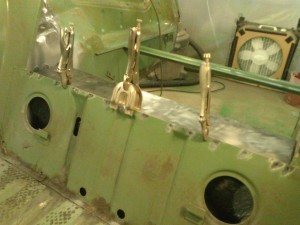
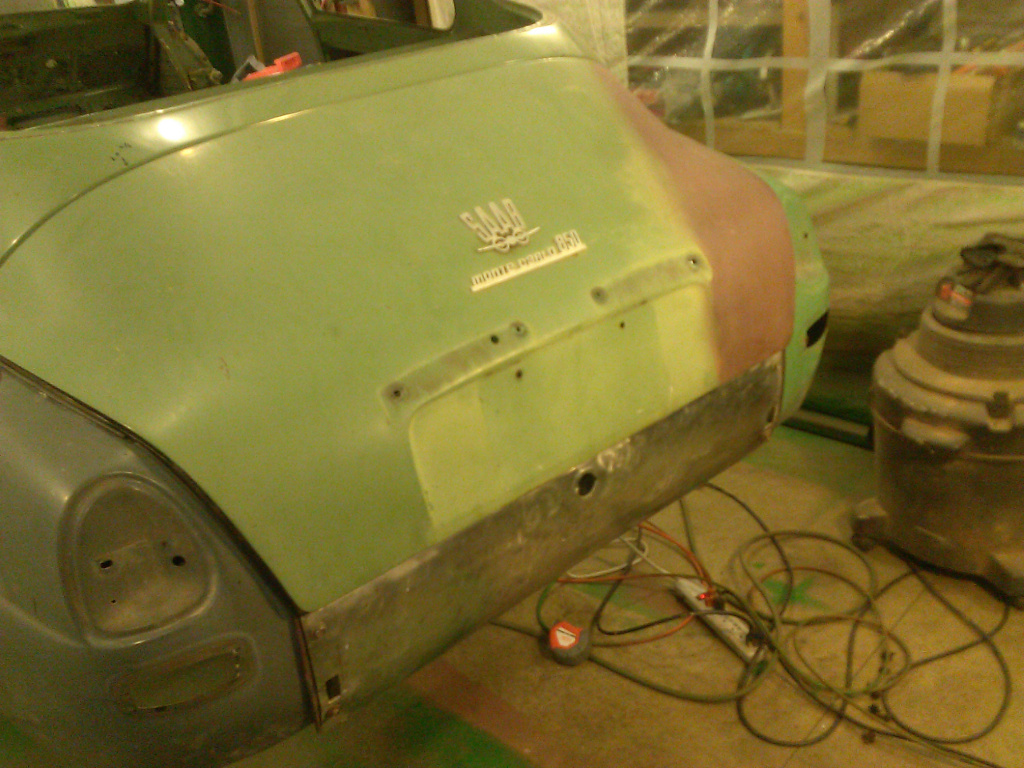
Welded Back Panel Alignment
Finishing Up
Forming the Gas Tank Bracket
New Gas Tank Bracket Contour
Finished Gas Tank Bracket
Gas Tank Bracket Welded in Place
The Finished Rear End of the Car


nice to see things are moving along — slowly — but moving — i does my heart good to see the old girl getting re-built — edgar
Hi Edgar, I’m glad you’re watching. With 21 alpacas, 20 or so chickens, and a 160+ year old farm house, retired life is a lot harder than I expected. I’m going to put extra effort into the MC850 this summer, I hope.
Thank you for continuing to post your progress! It is so nice to see what can be done using planning and skill, I am always impressed.
Bruce (Rocky Mountain Saab Club)
Thanks!