After finishing the back end of the body, except for some cosmetic work, it was time to turn my attention to replacing the left front wheel housing. However, a good bit of prep work is necessary before I can consider mounting the donor. The left-rear of the engine compartment floor and adjacent areas of the firewall and passenger compartment floor need rebuilding; the portion of floor under the left-side suspension tower needs replaced; and the front cross-member assembly needs straightening and patching. In this post, I cover repair of the engine compartment floor and adjacent areas of the firewall and passenger compartment floor.
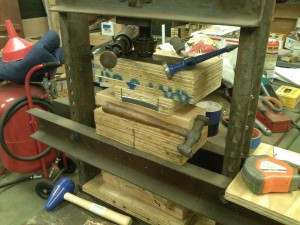
An Old $25 Dake Screw Press to the Rescue
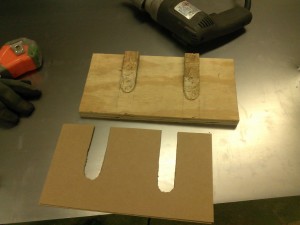
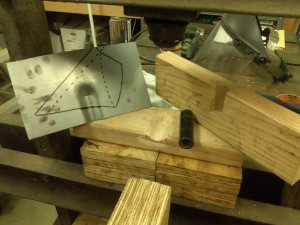
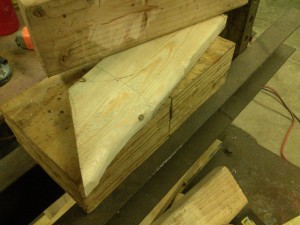
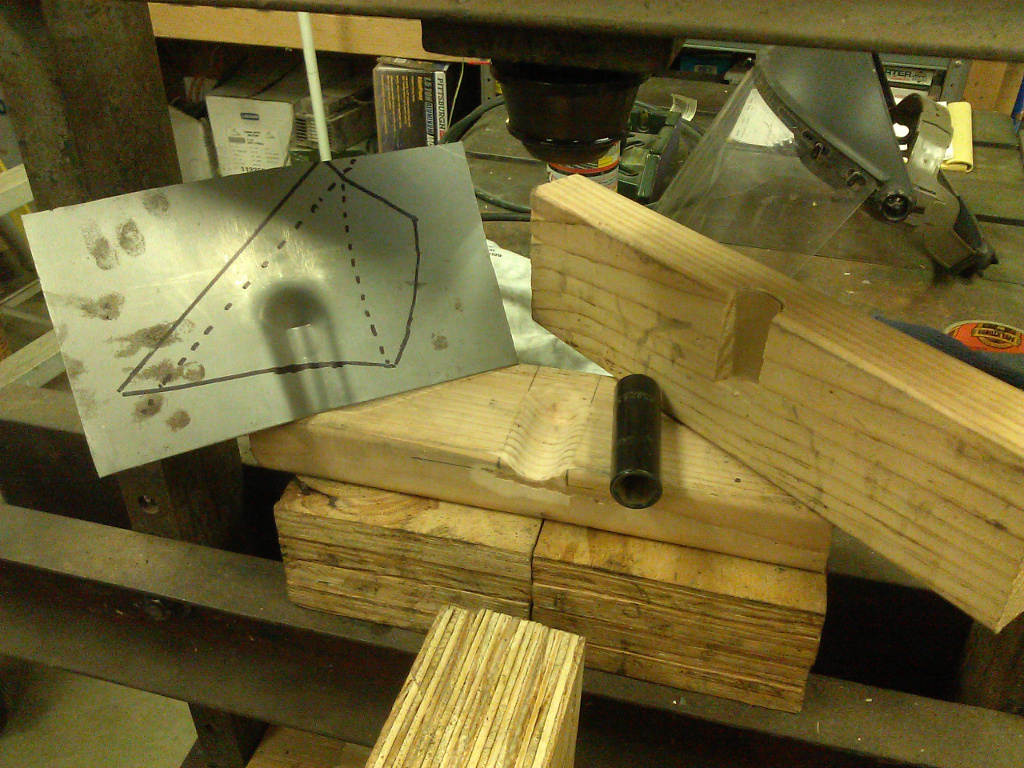
Plywood Die for Passenger Floor Patch
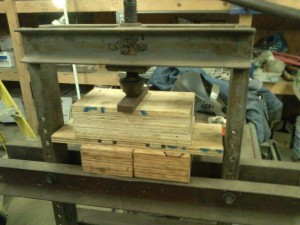
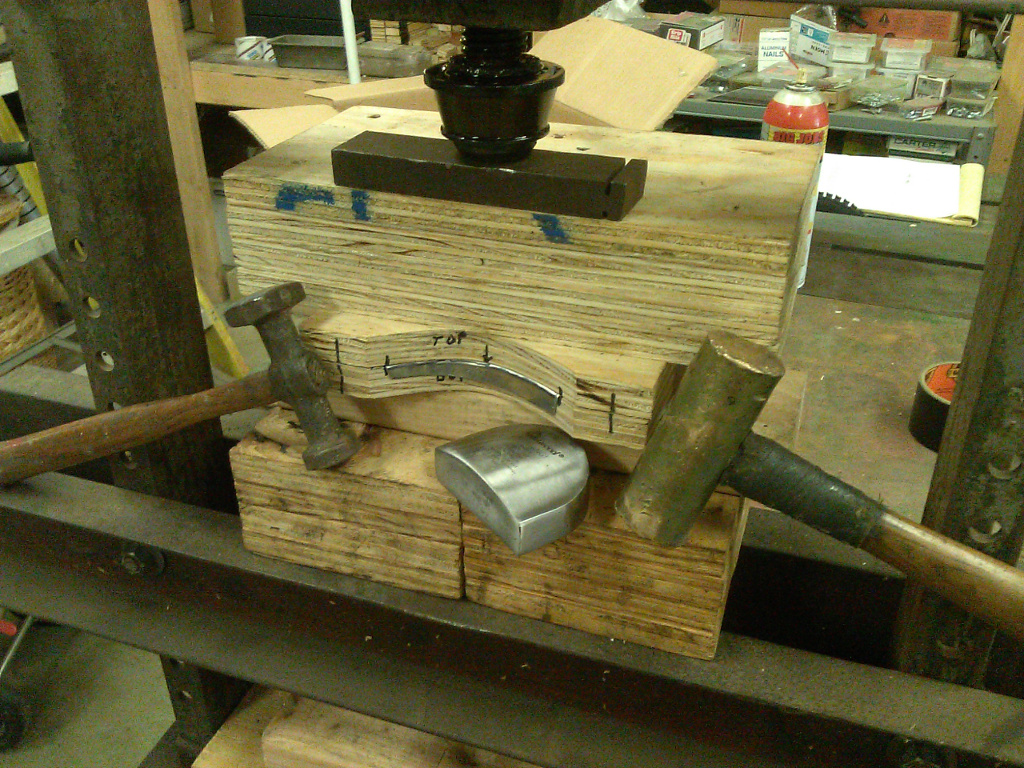
Floor Pan Patch Being Pressed
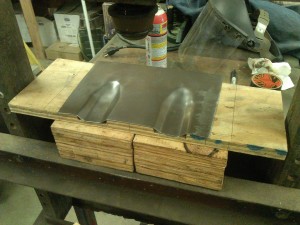
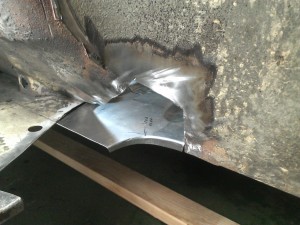
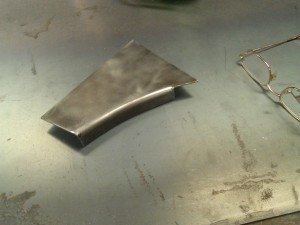
Pressed Floor Pan Patch
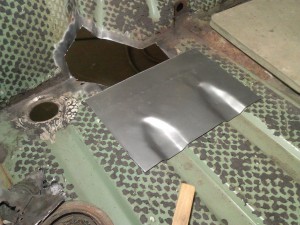
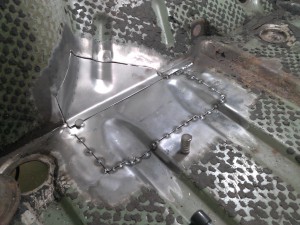
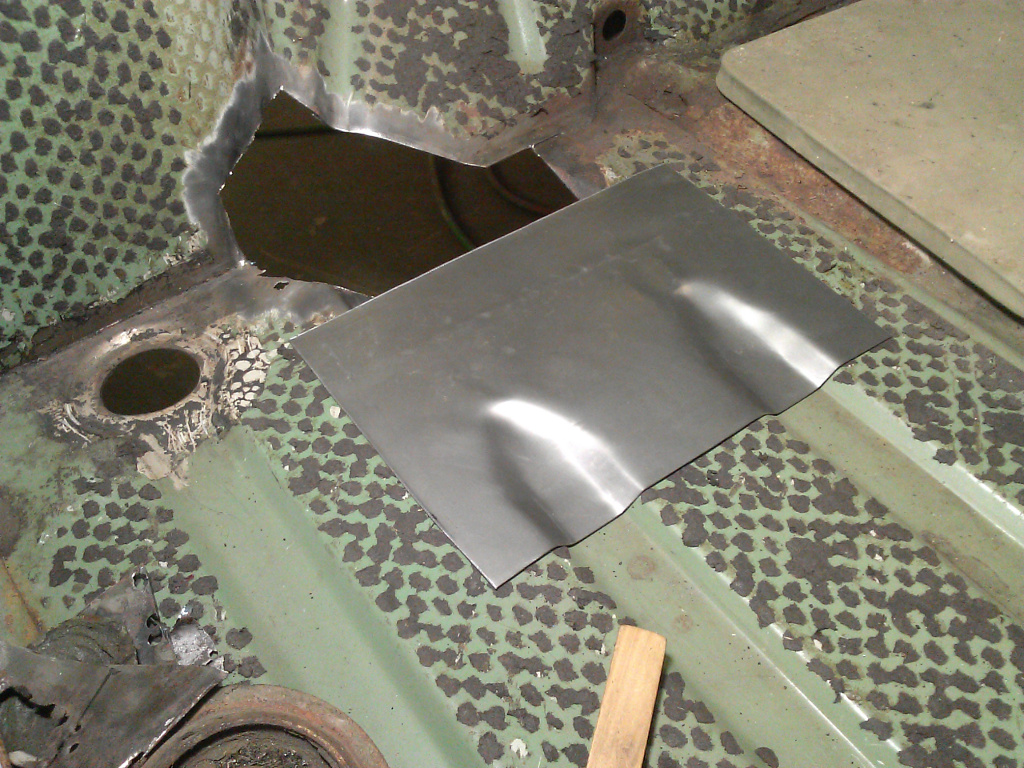
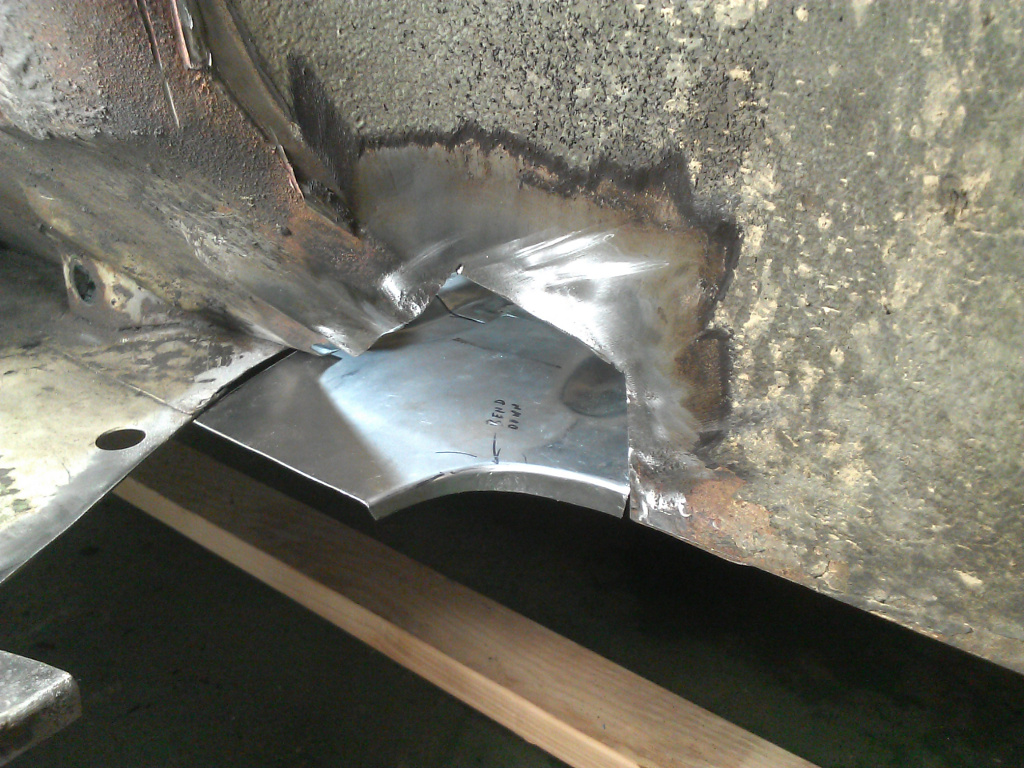
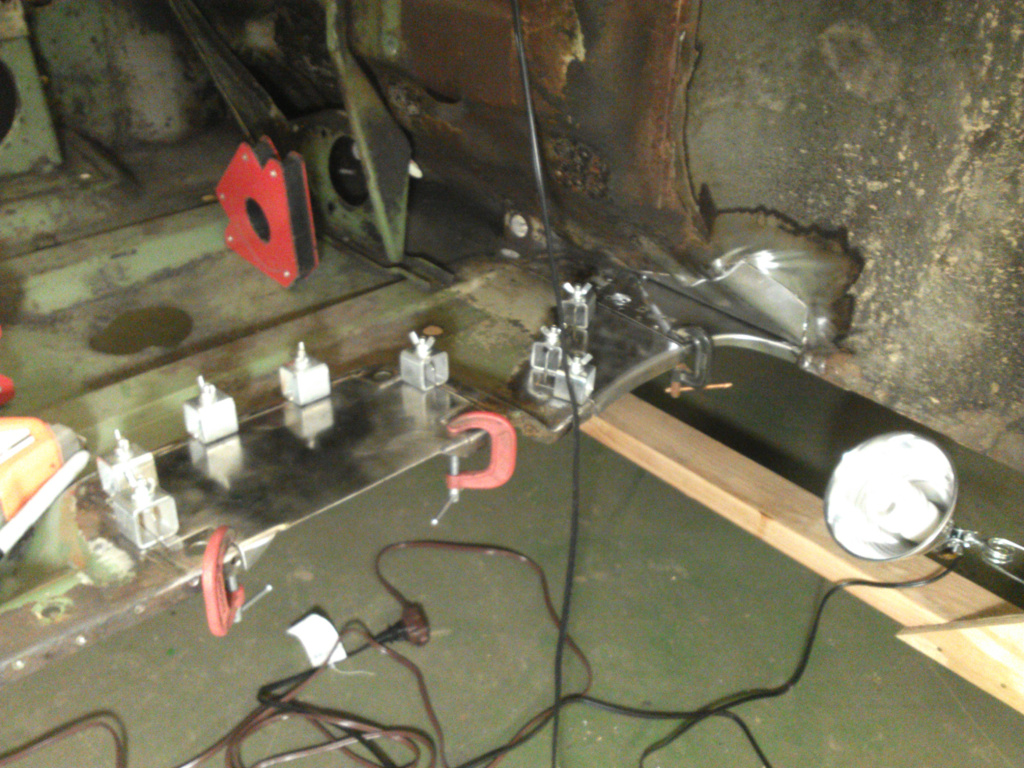
Testing Fit of Floor Pan Patch
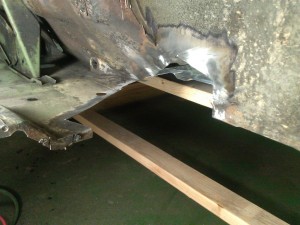
Expanded Floor Cutout
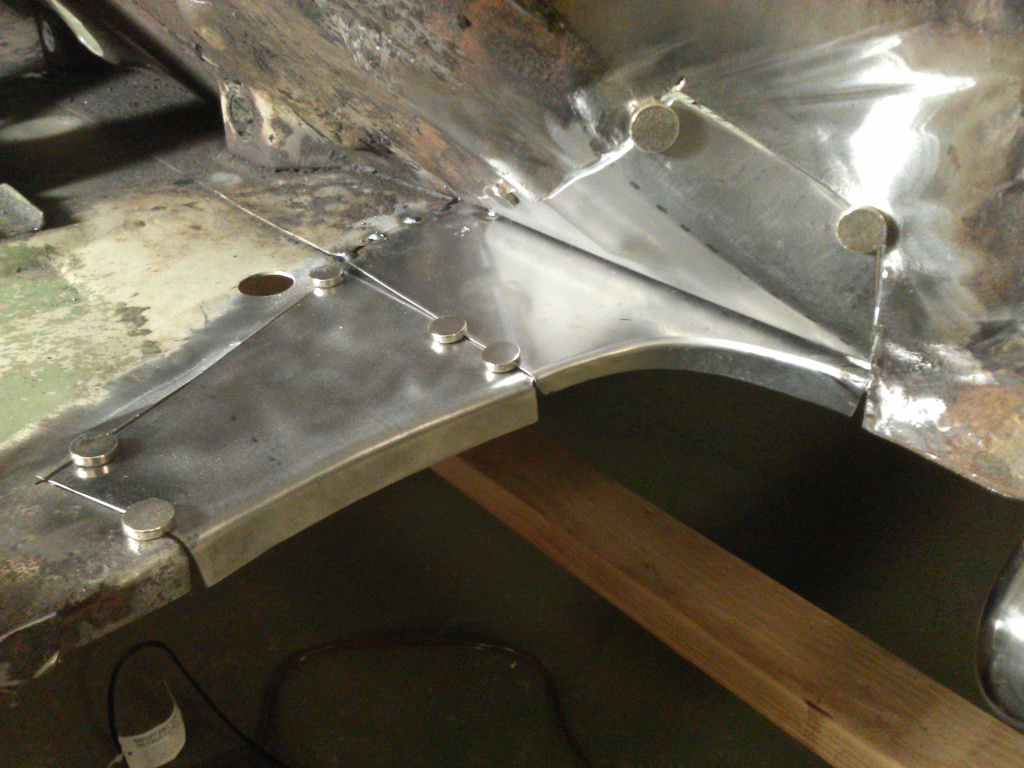
Passenger Floor Patch Tacked in Place

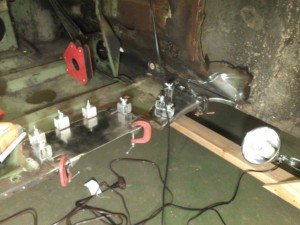
Forming Curved Flange on Passenger Floor Patch
Making the Firewall Patch
Pressing the Firewall Patch
Die for Hammering a Compound Curve into the Firewall Patch
Firewall Patch Being Test Fitted
Making the Engine Floor Patch
Forming a Flange on the Engine Floor Patch
Engine Floor Patch

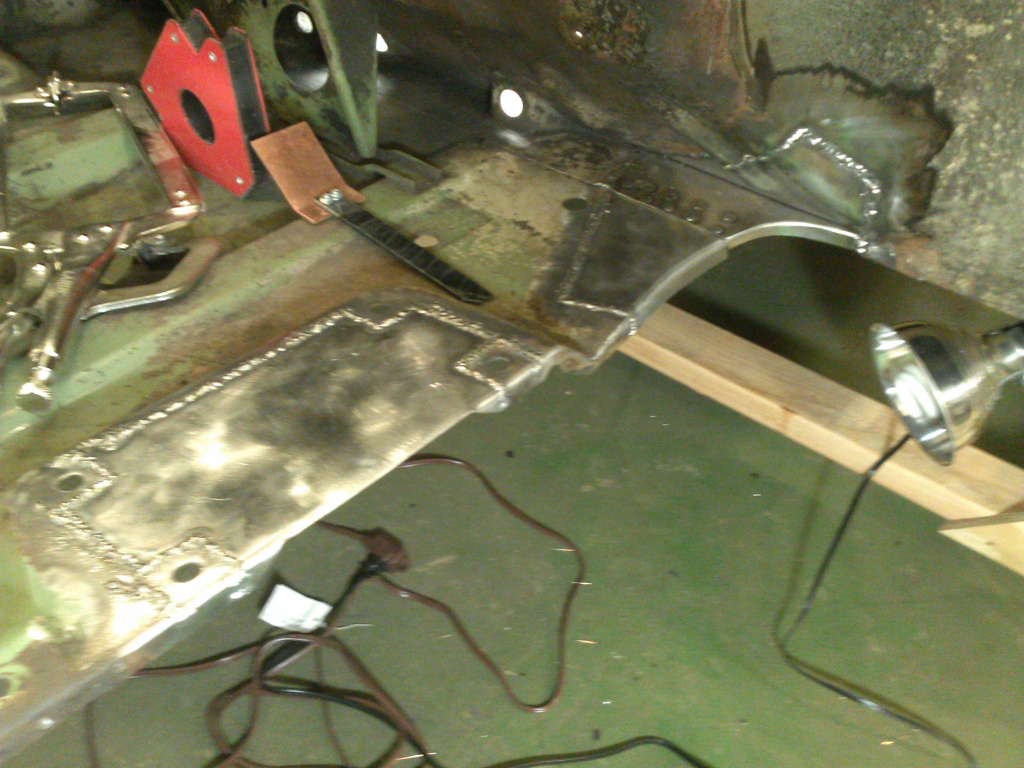
Test Fitting the Engine Floor Patch
Finishing Up
Ready to Weld Floor and Firewall Patches

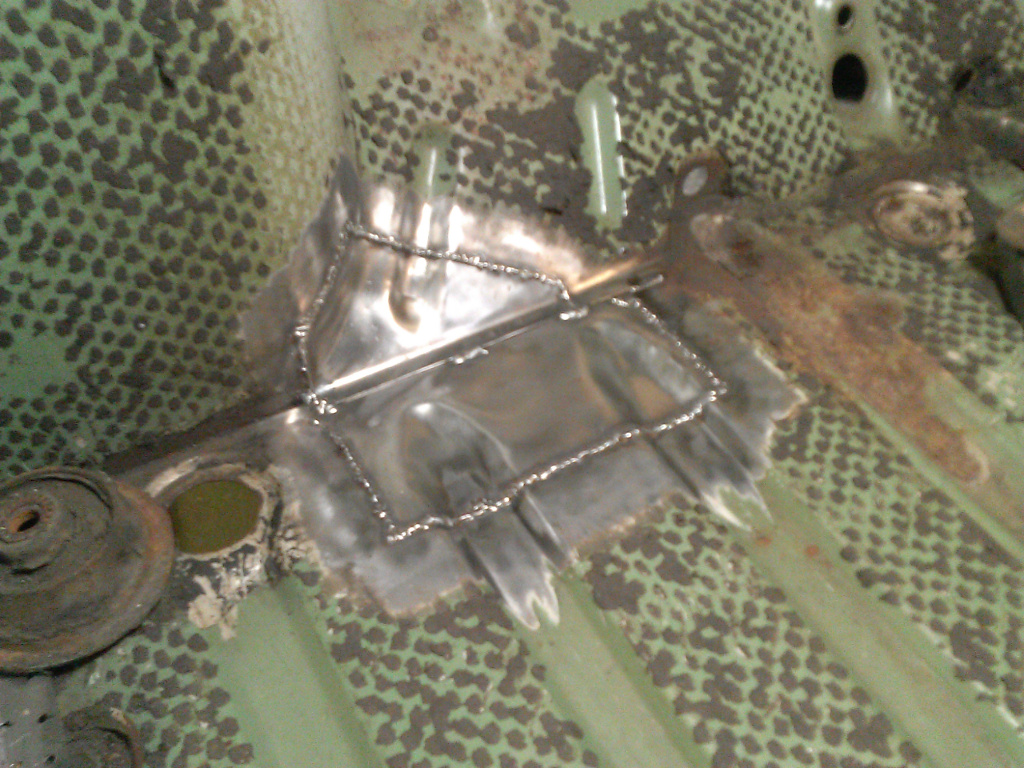
Welded Engine Floor Patches
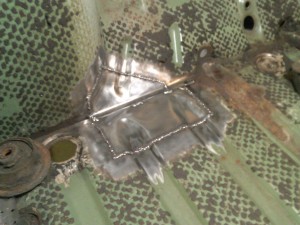
Welded Firewall and Passenger Floor Patches
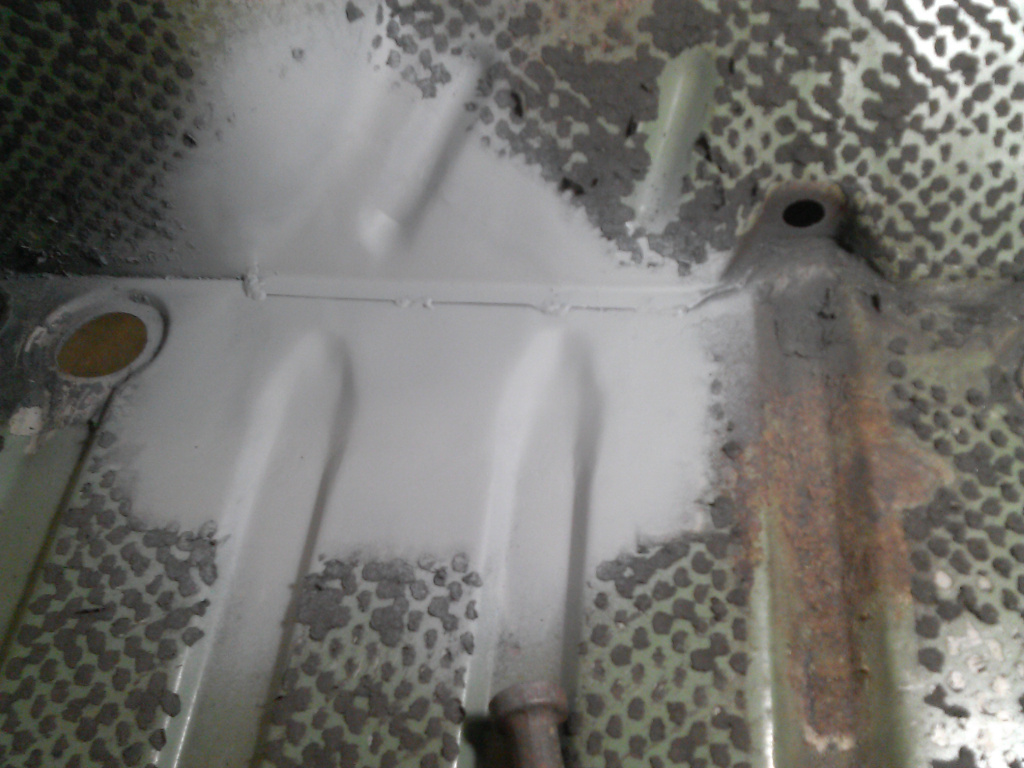
Finished Engine Floor Patches
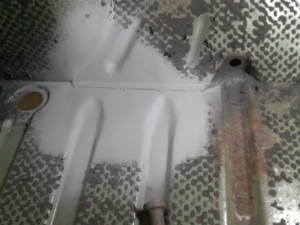
Finished Firewall and Passenger Floor Patches
Up Next
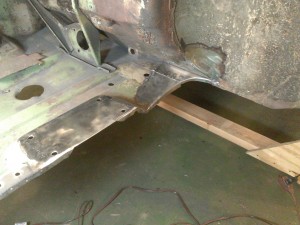
I’m almost ready to mount a donor wheel housing, however, the front cross member (the piece in front of the engine floor) needs work. That will be covered in my next post. I may also have the wheel housing mounted by that time. I’m hoping for lots of rainy weather. That’s when I can justify working in my car barn. 🙂


Rank amateur? I don’t think so. Your work is very impressive, humbling even. Thanks for sharing your progess and techniques!
Thanks much.
Yes, the “little things”. To me, those would be big things. This was a very rusty car, I assume, which many would have not wanted to repair. A “tip of the hat” to you for going ahead with this project. Skill and patience, virtues these days. Very inspiring as well!
Thanks. Besides the rust, it was in an accident of some kind. It’s only because it’s a true MC850 that I’m doing this, and because this is about the only way I can afford a solid MC850.
Nice work! I bet that’s going to be a very nice Monte Carlo when finished.
Thanks, I hope so.