
In my previous post, I mentioned removal of the passenger quarter panel. Here, I describe installation of a donor panel.
Cleaning up the Extracted Donor
Extracting the donor panels, both the original and the donor, was not an easy task. To remove the original, I first used a spot weld drill bit to drill out the spot welds on the B-pillar. Elsewhere, I just used a 1 mm cutting disk on my angle grinder to cut near the flanges or lips, leaving remnants on the car which I carefully ground off — not hard but very time consuming.
Removing the donor was sort of an inverse procedure. I drilled out the B-pillar spot welds like I did on the donor, but then I cut the donor body close to the panel, leaving the donor panel unscathed but having remnants remaining on the flanges and lips. See Figure 1.
Removing the remnants from the donor panel required some care. There were 42 spot welds on the top lip alone! I ground each spot weld which was easier than drilling, and it left the lip smooth and undamaged. I peeled the remnant off by rolling it on a pair of pliers like opening an old sardine can. See Figure 2.
Figure 3 shows a patch being welded into the donor panel at the lower front corner. Figure 4 shows the prepped donor panel.
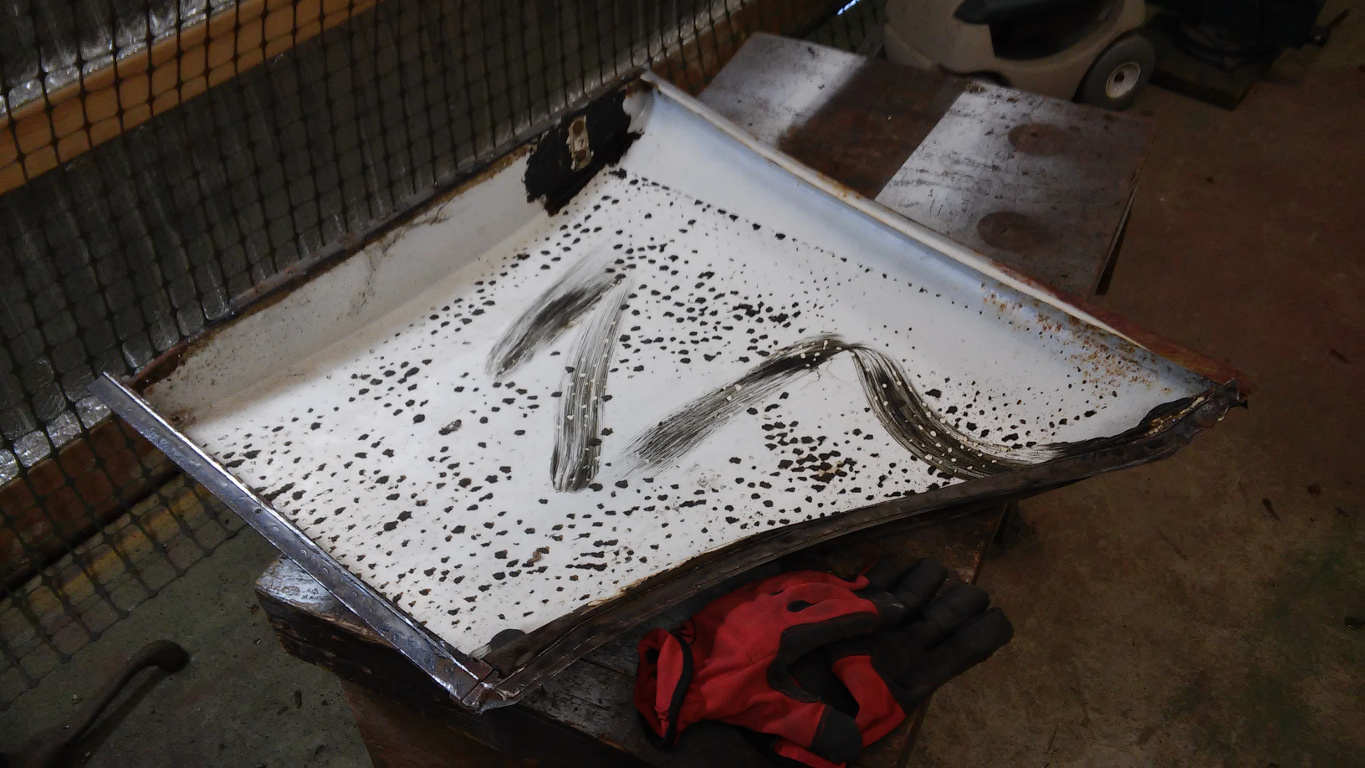
1. Donor Quarter Panel with Spot Weld Remnants
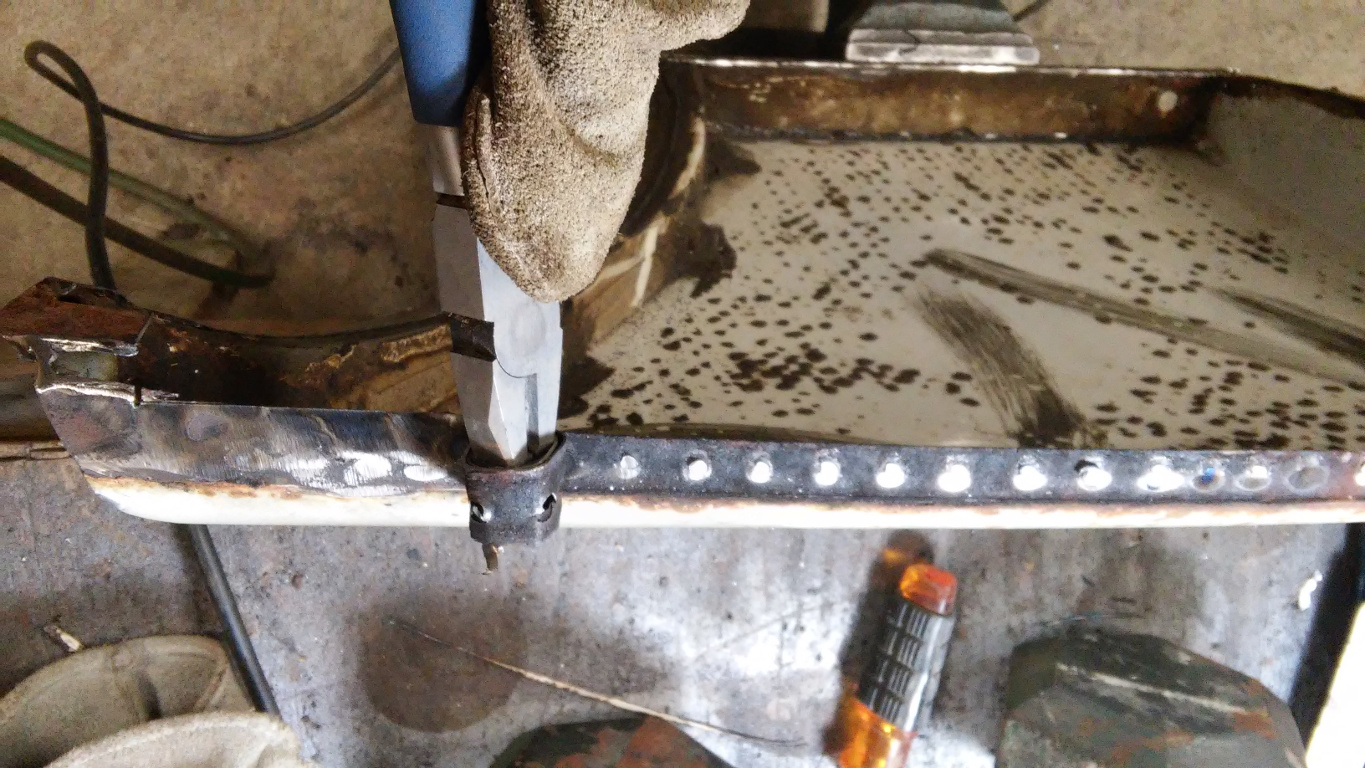
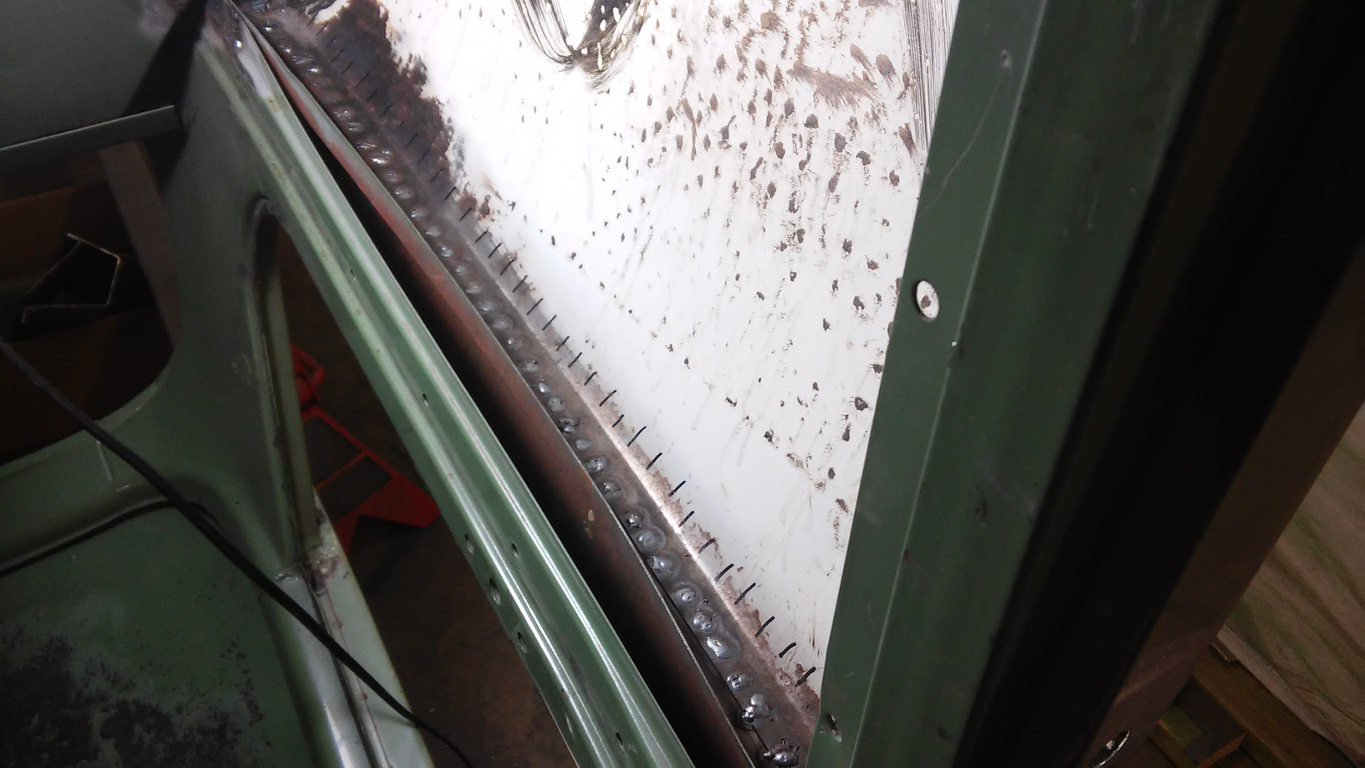
2. Peeling Remnants Off Donor
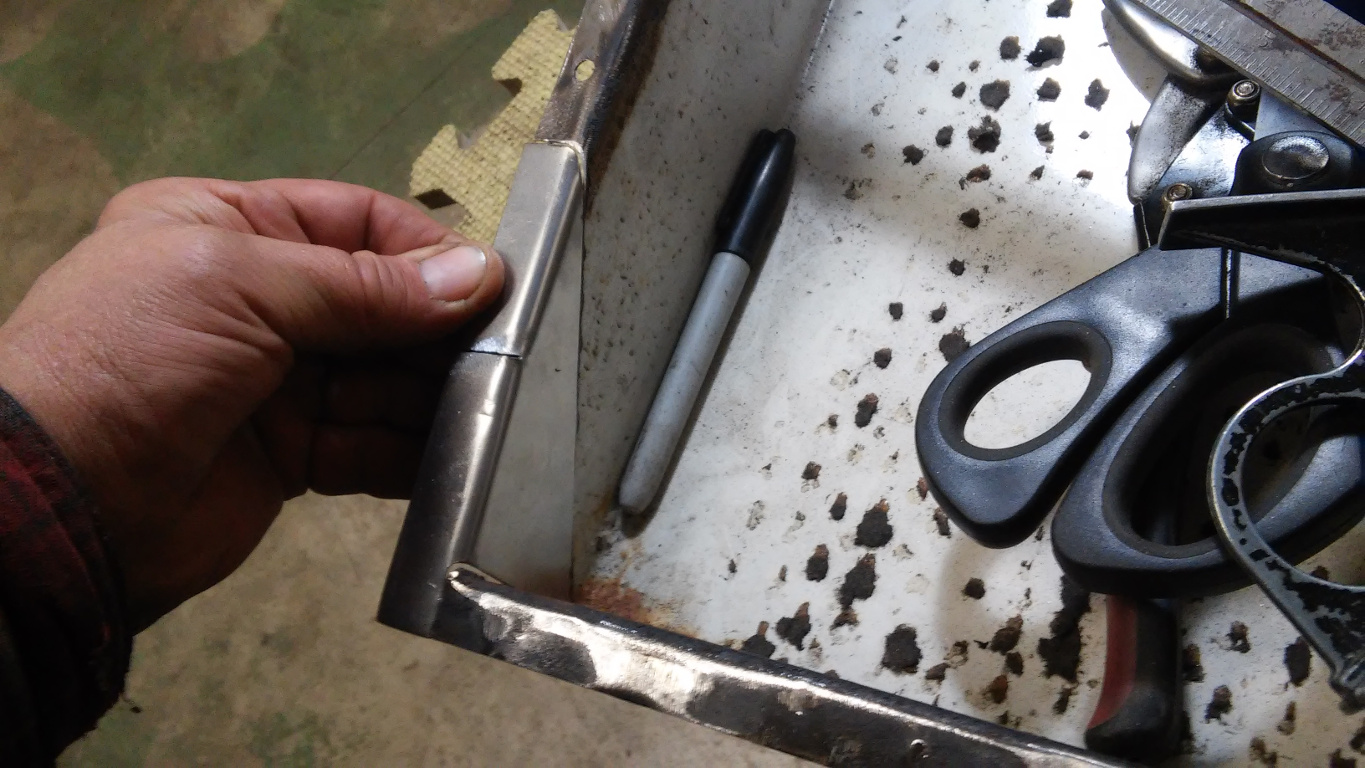
3. Patching Lower Front Corner

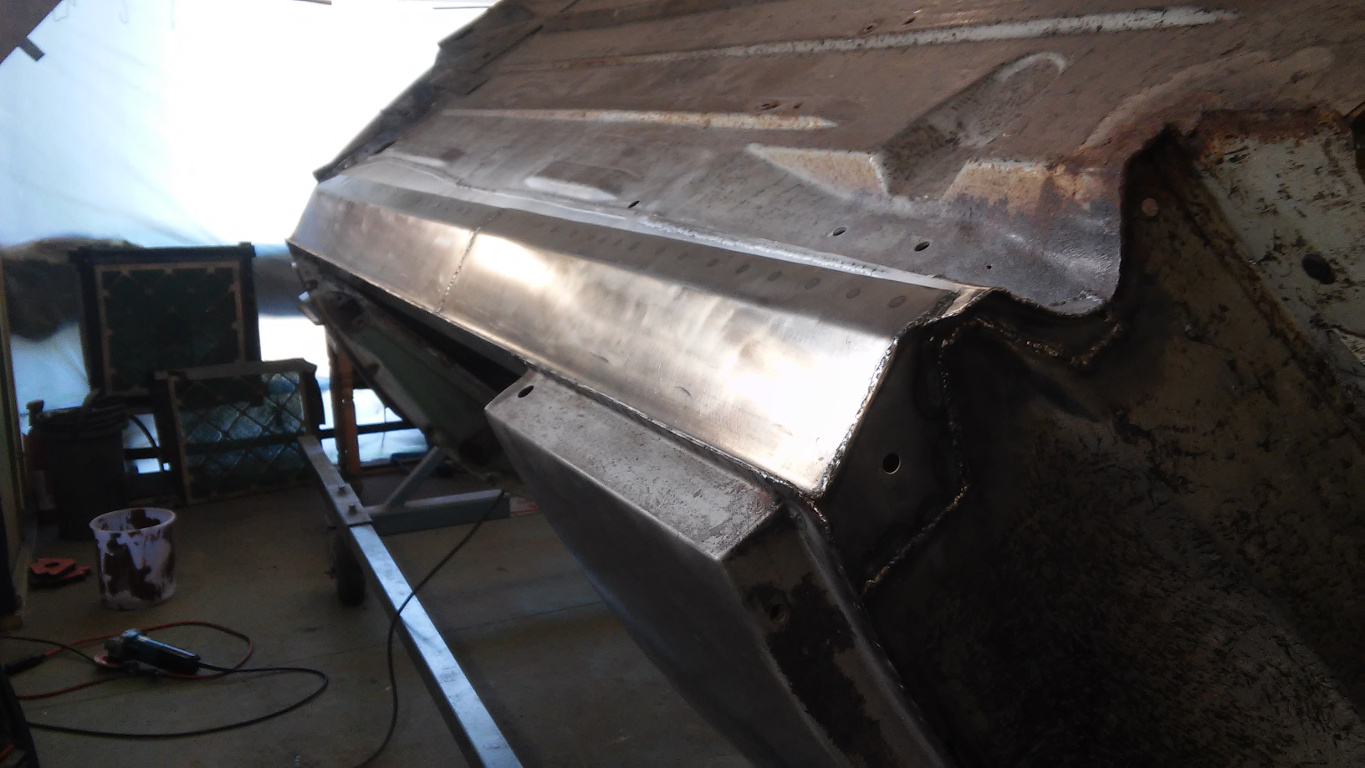
4. Patched Donor Quarter Panel
Clamping and Welding the Donor Quarter Panel
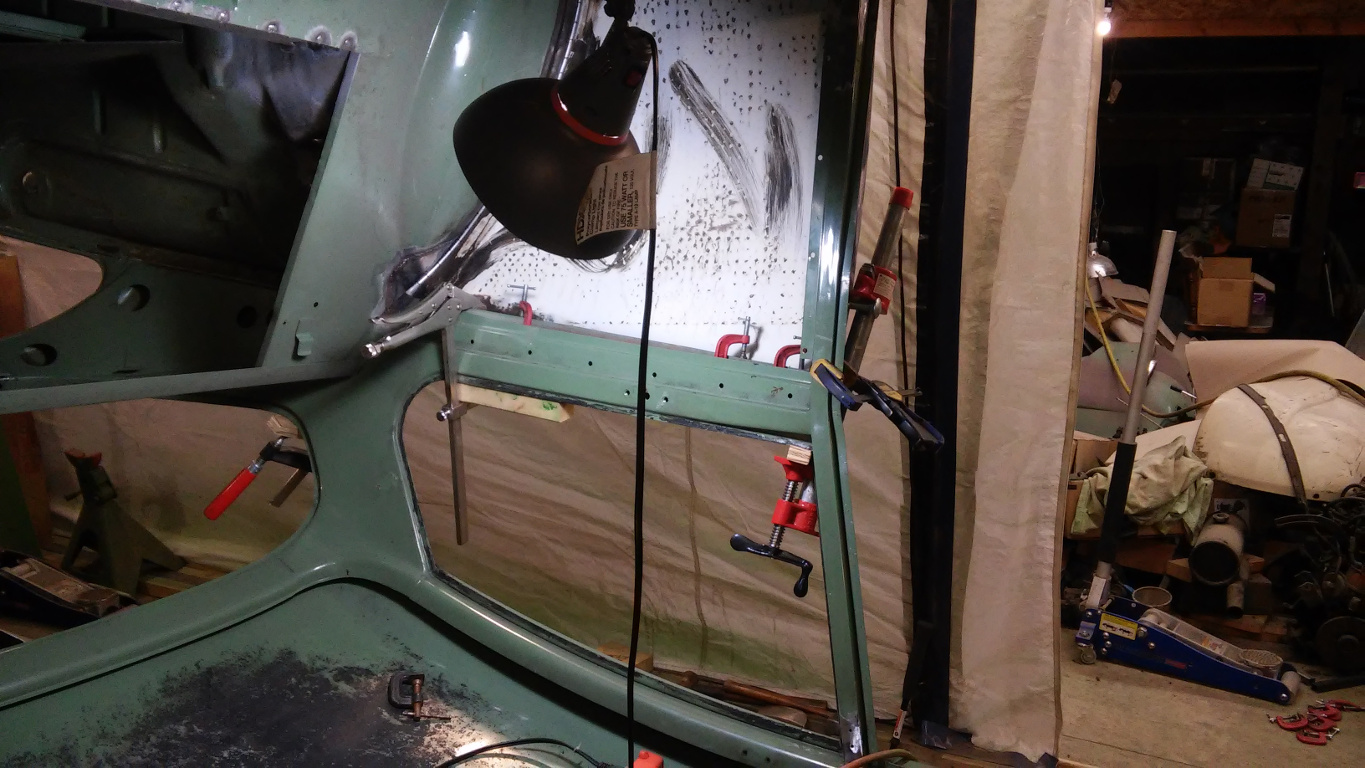
I carefully clamped the donor quarter panel to the car as shown in Figure 5. Clamping the top lip wasn’t enough to pull the donor panel up tight at the top. Figure 6 shows additional clamping to pull the donor panel up tight where it belonged. I used a carriage bolt in the front door catch holes (a nut and washer on each side) to provide a clamp anchor, and I put a bolt in one of the rear fender mounting nuts so that I could pull the panel up tight as shown.
Figure 7 shows the top lip being clamped and pocket welded. Figure 8 shows the top lip fully welded, and Figure 9 shows the bottom flange welded in place.

5. Quarter Panel Clamped to Body

6. Front and Rear Clamping
7. Clamping and Welding Top Lip
8. Welded Top Lip
9. Welded Bottom Flange
Checking Body Straightness
Because this is the last major body work, I checked the body for straightness at this time. I had already measured the door openings to confirm they had remained true but I also wanted to check for body twist. What I did isn’t exactly laser accurate but it’s good enough in my opinion. I placed a 4′ level across a point on the trunk opening and rotated the body until the bubble edge nearly coincided with one line on the bubble tube. I then moved the level forward to another point and checked the reading. I did this for the length of the car. The bubble never wavered, leaving me a happy man. Figure 10 shows the readings. The bubble appears to flip sides in a couple of the photos, but that’s because two of the photos are from the back side of the level, and the rest are from the front side.
Figure 11 shows the finished donor panel and the new rocker panel.

10. Level Readings from Back to Front

11. Finished Quarter Panel Installation
Hard work that will surely pay off in the end. Good work.
Thanks much.
Congratulations on getting the major work finished. I continue to be impressed!