
Hood Restoration
The hood on the MC850 was a replacement, not the original, but it had structural damage and a corkscrew twist to it. I opted instead for the hood from the donor car the grand-kids had applied pasty water paint to because it was undamaged except for pitting from the water paint, and a few dents. The hood required the same stripping treatment as the doors. Figure 1 shows work-in-progress with the stripping disc, and Figure 2 shows the result of that stripping.
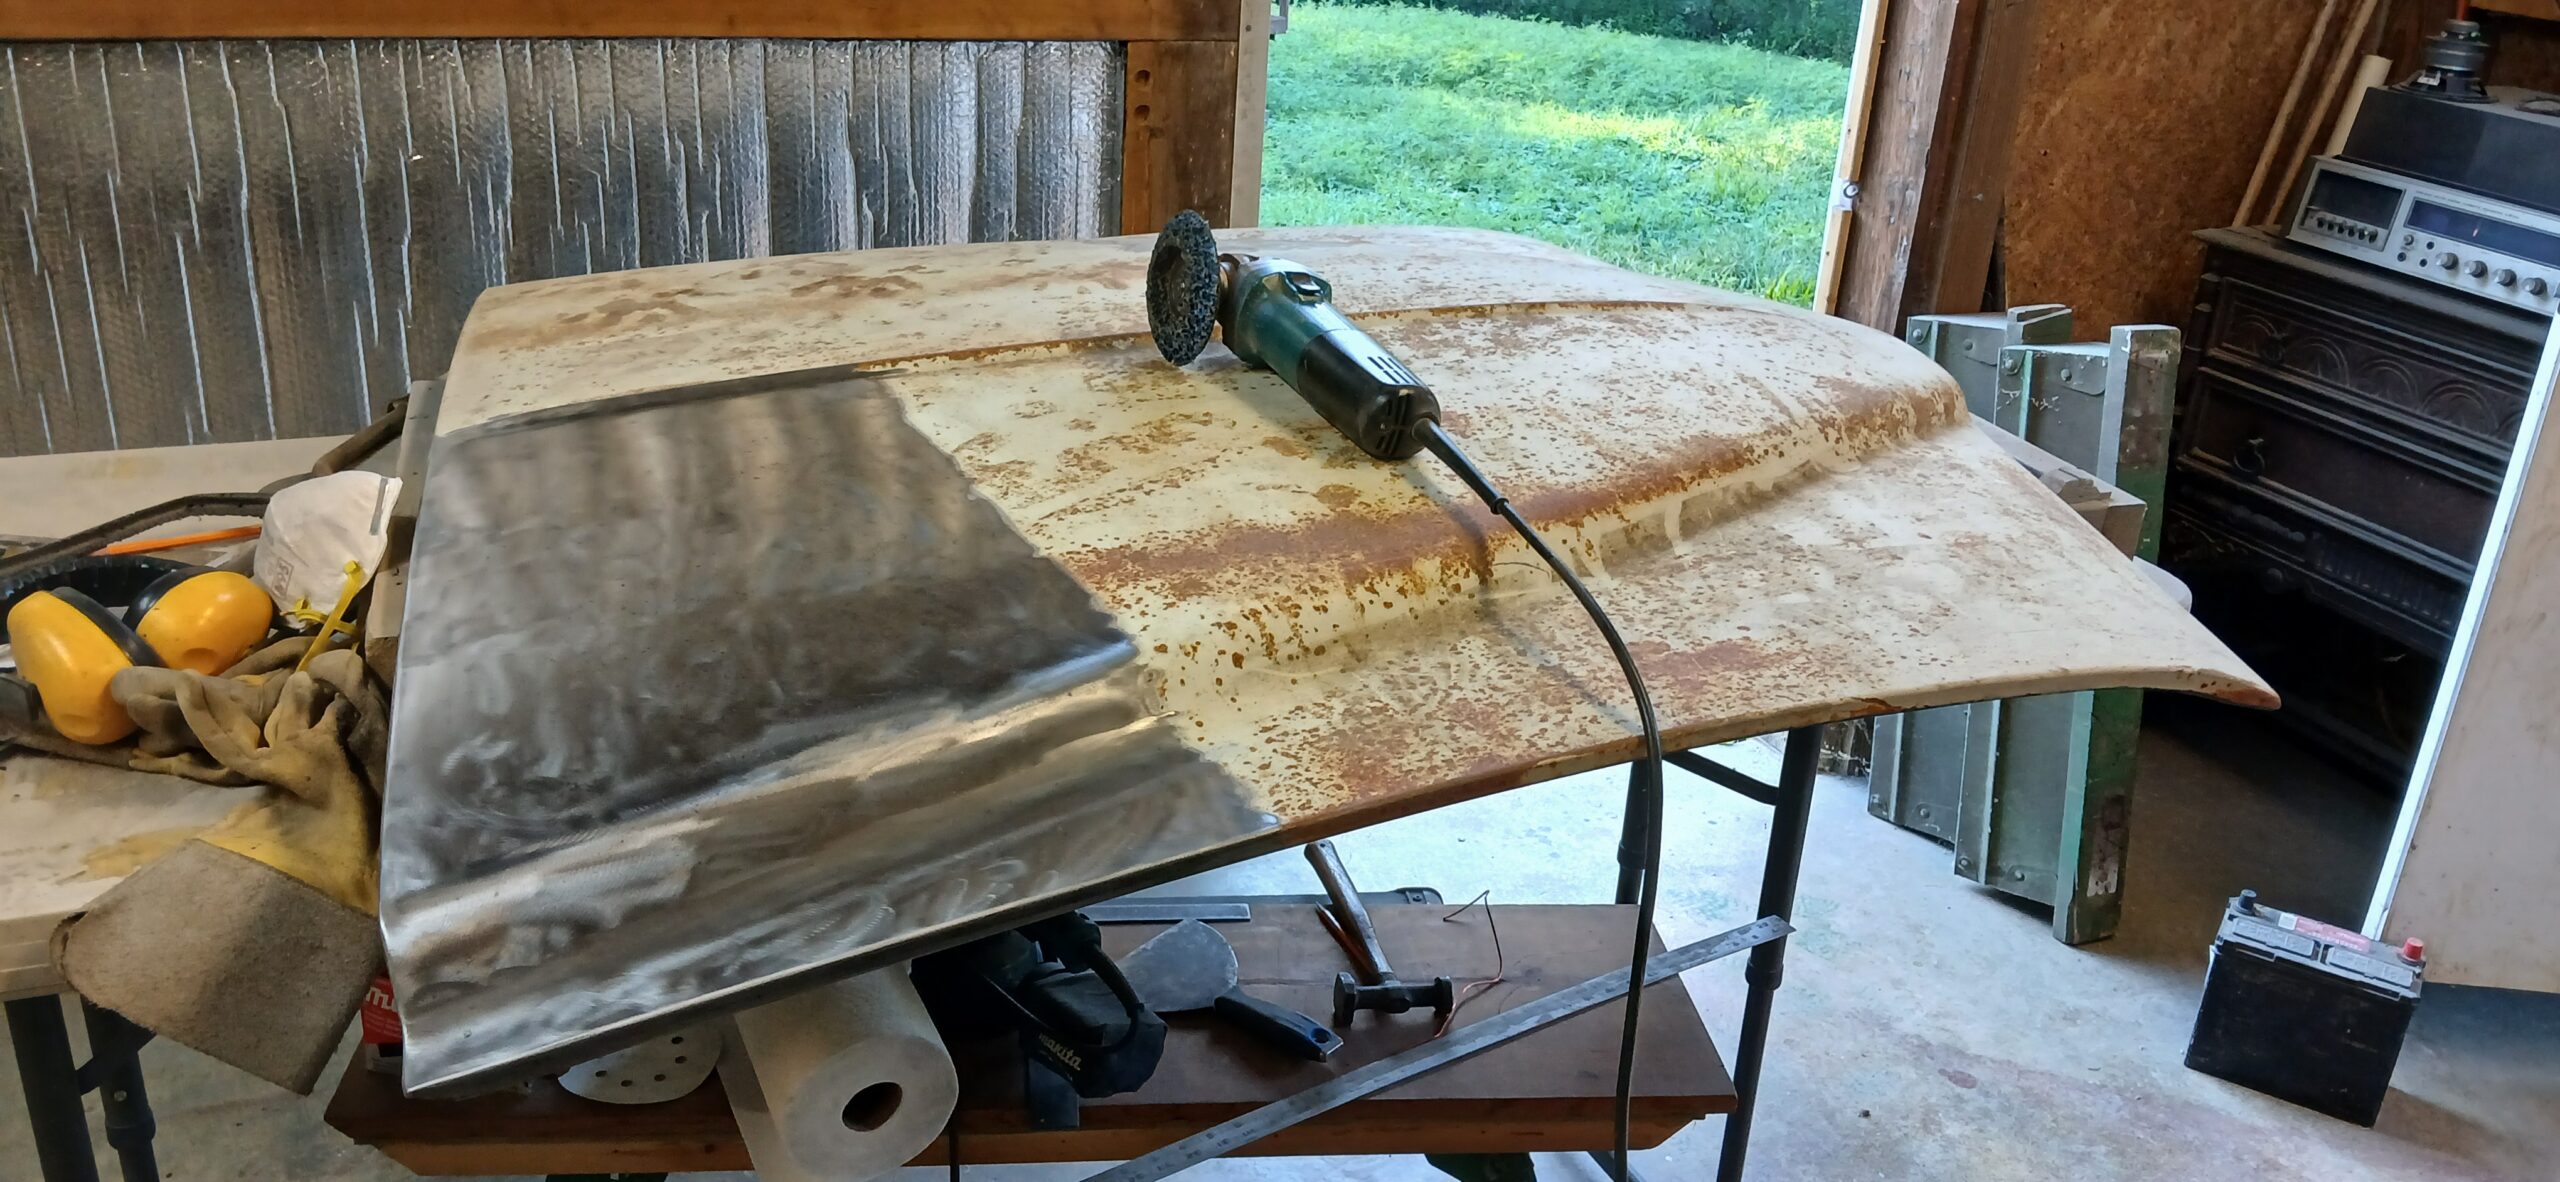
1. Stripping Hood Paint
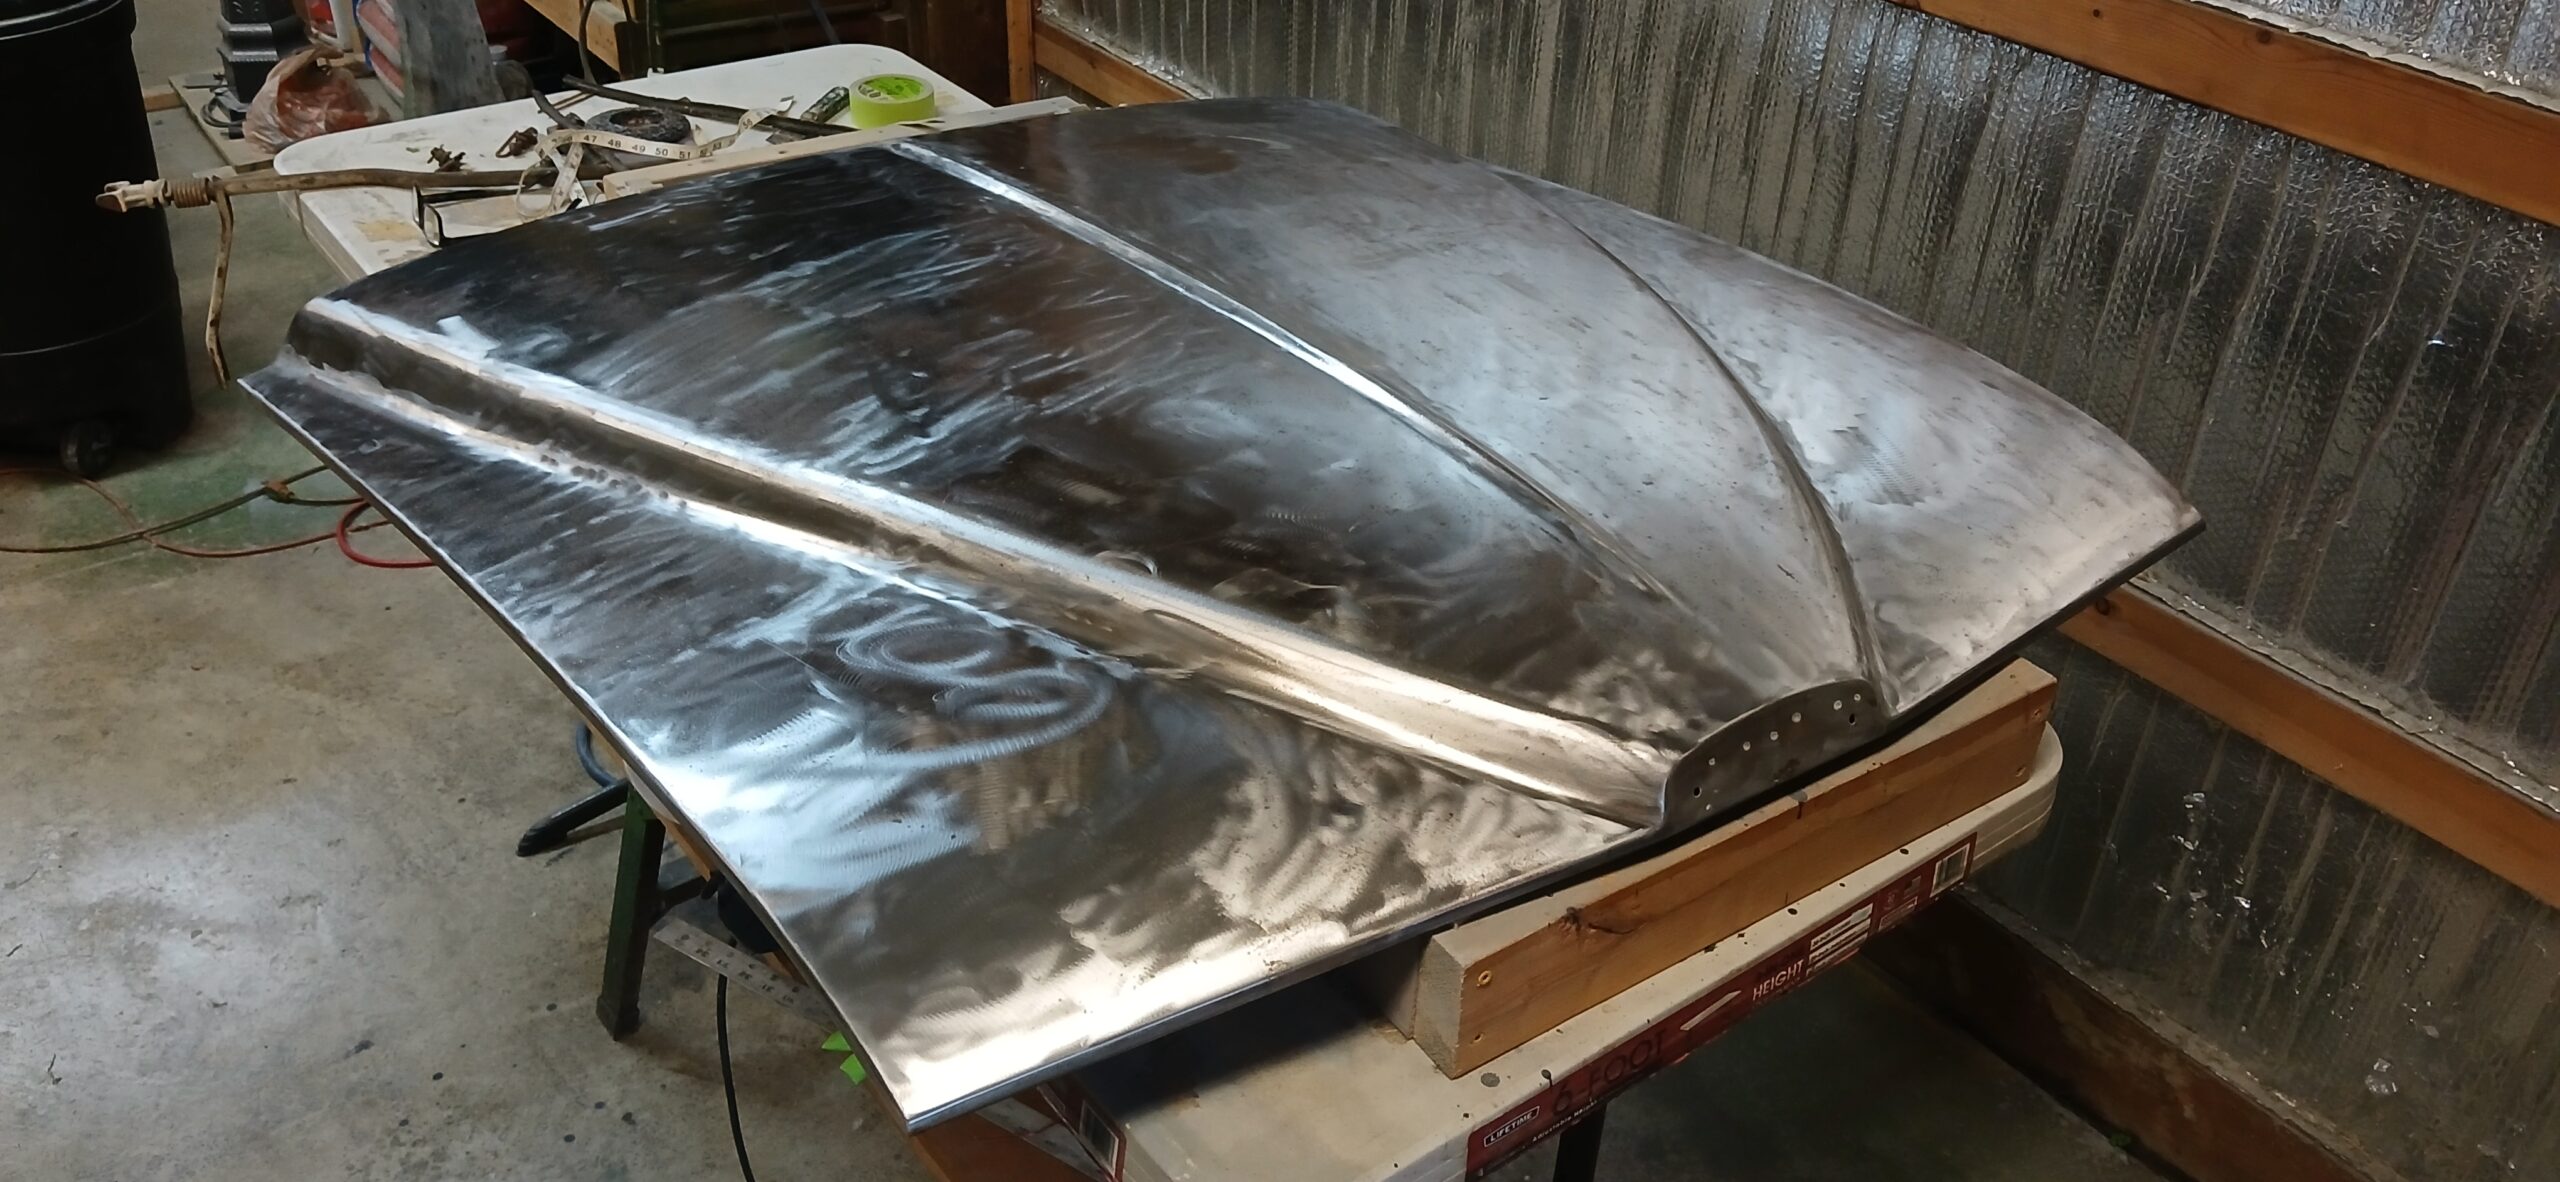
2. Hood Paint Stripped
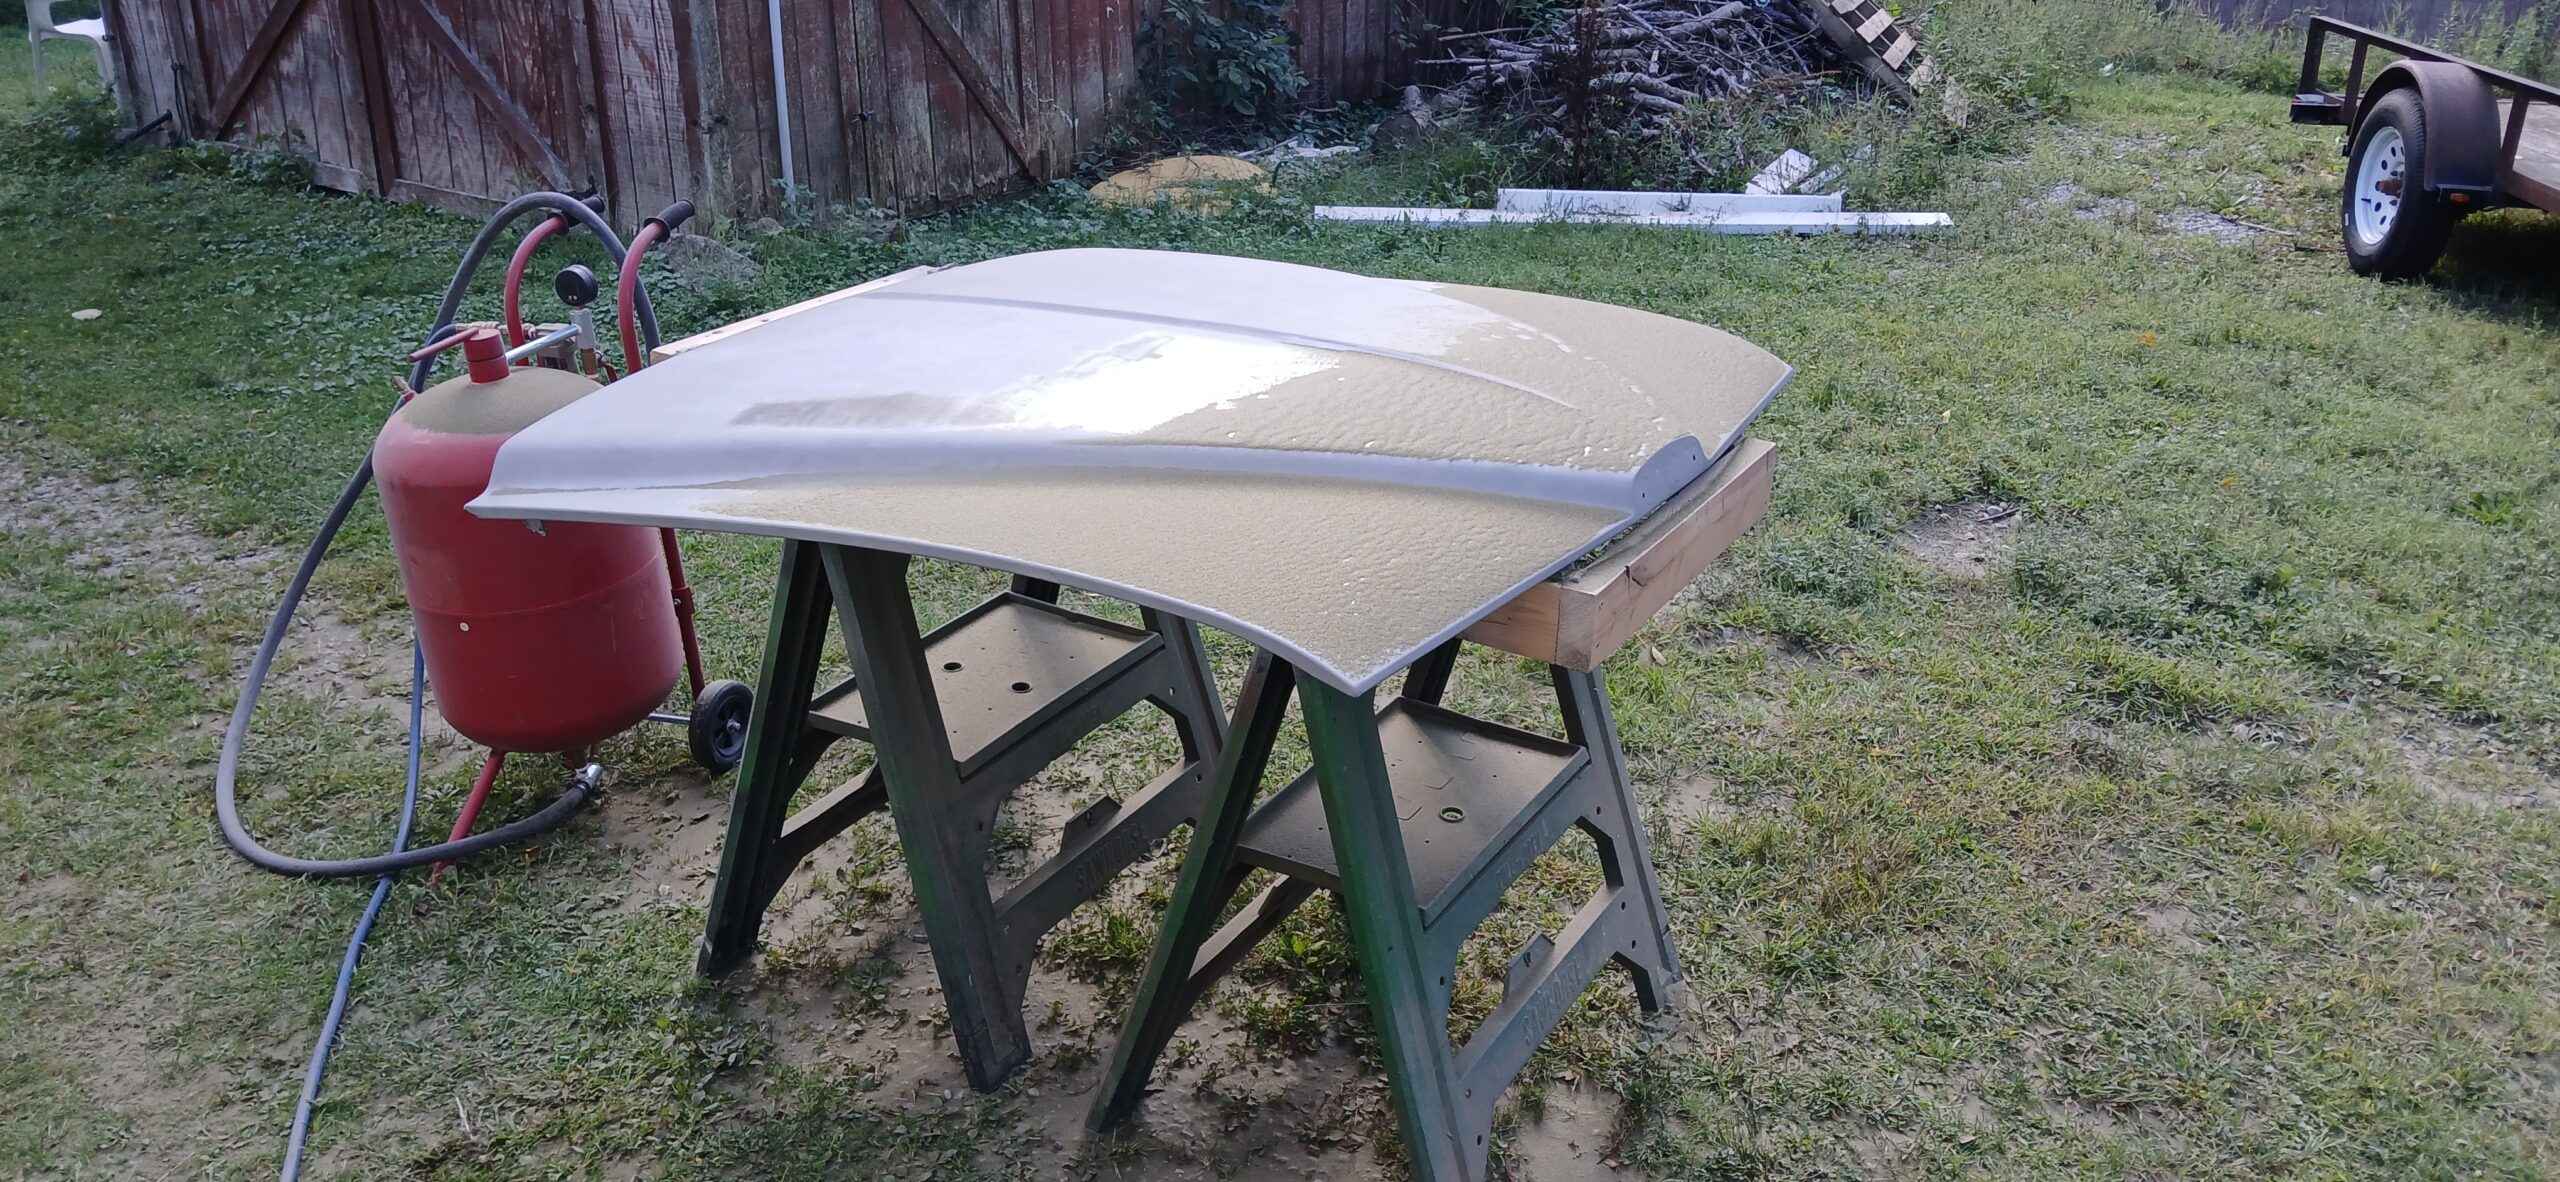
Instead of using rust reformer for the pitting as I did with the doors, I decided to media blast the hood. Figure 1 shows the media blasting in progress, and Figure 4 shows the end result. Self etching primer was applied at this time, and the result of priming is shown in Figure 5.
3. Hood Being Media Blasted
4. Media Blasted Hood
5. Self Etching Primer Applied
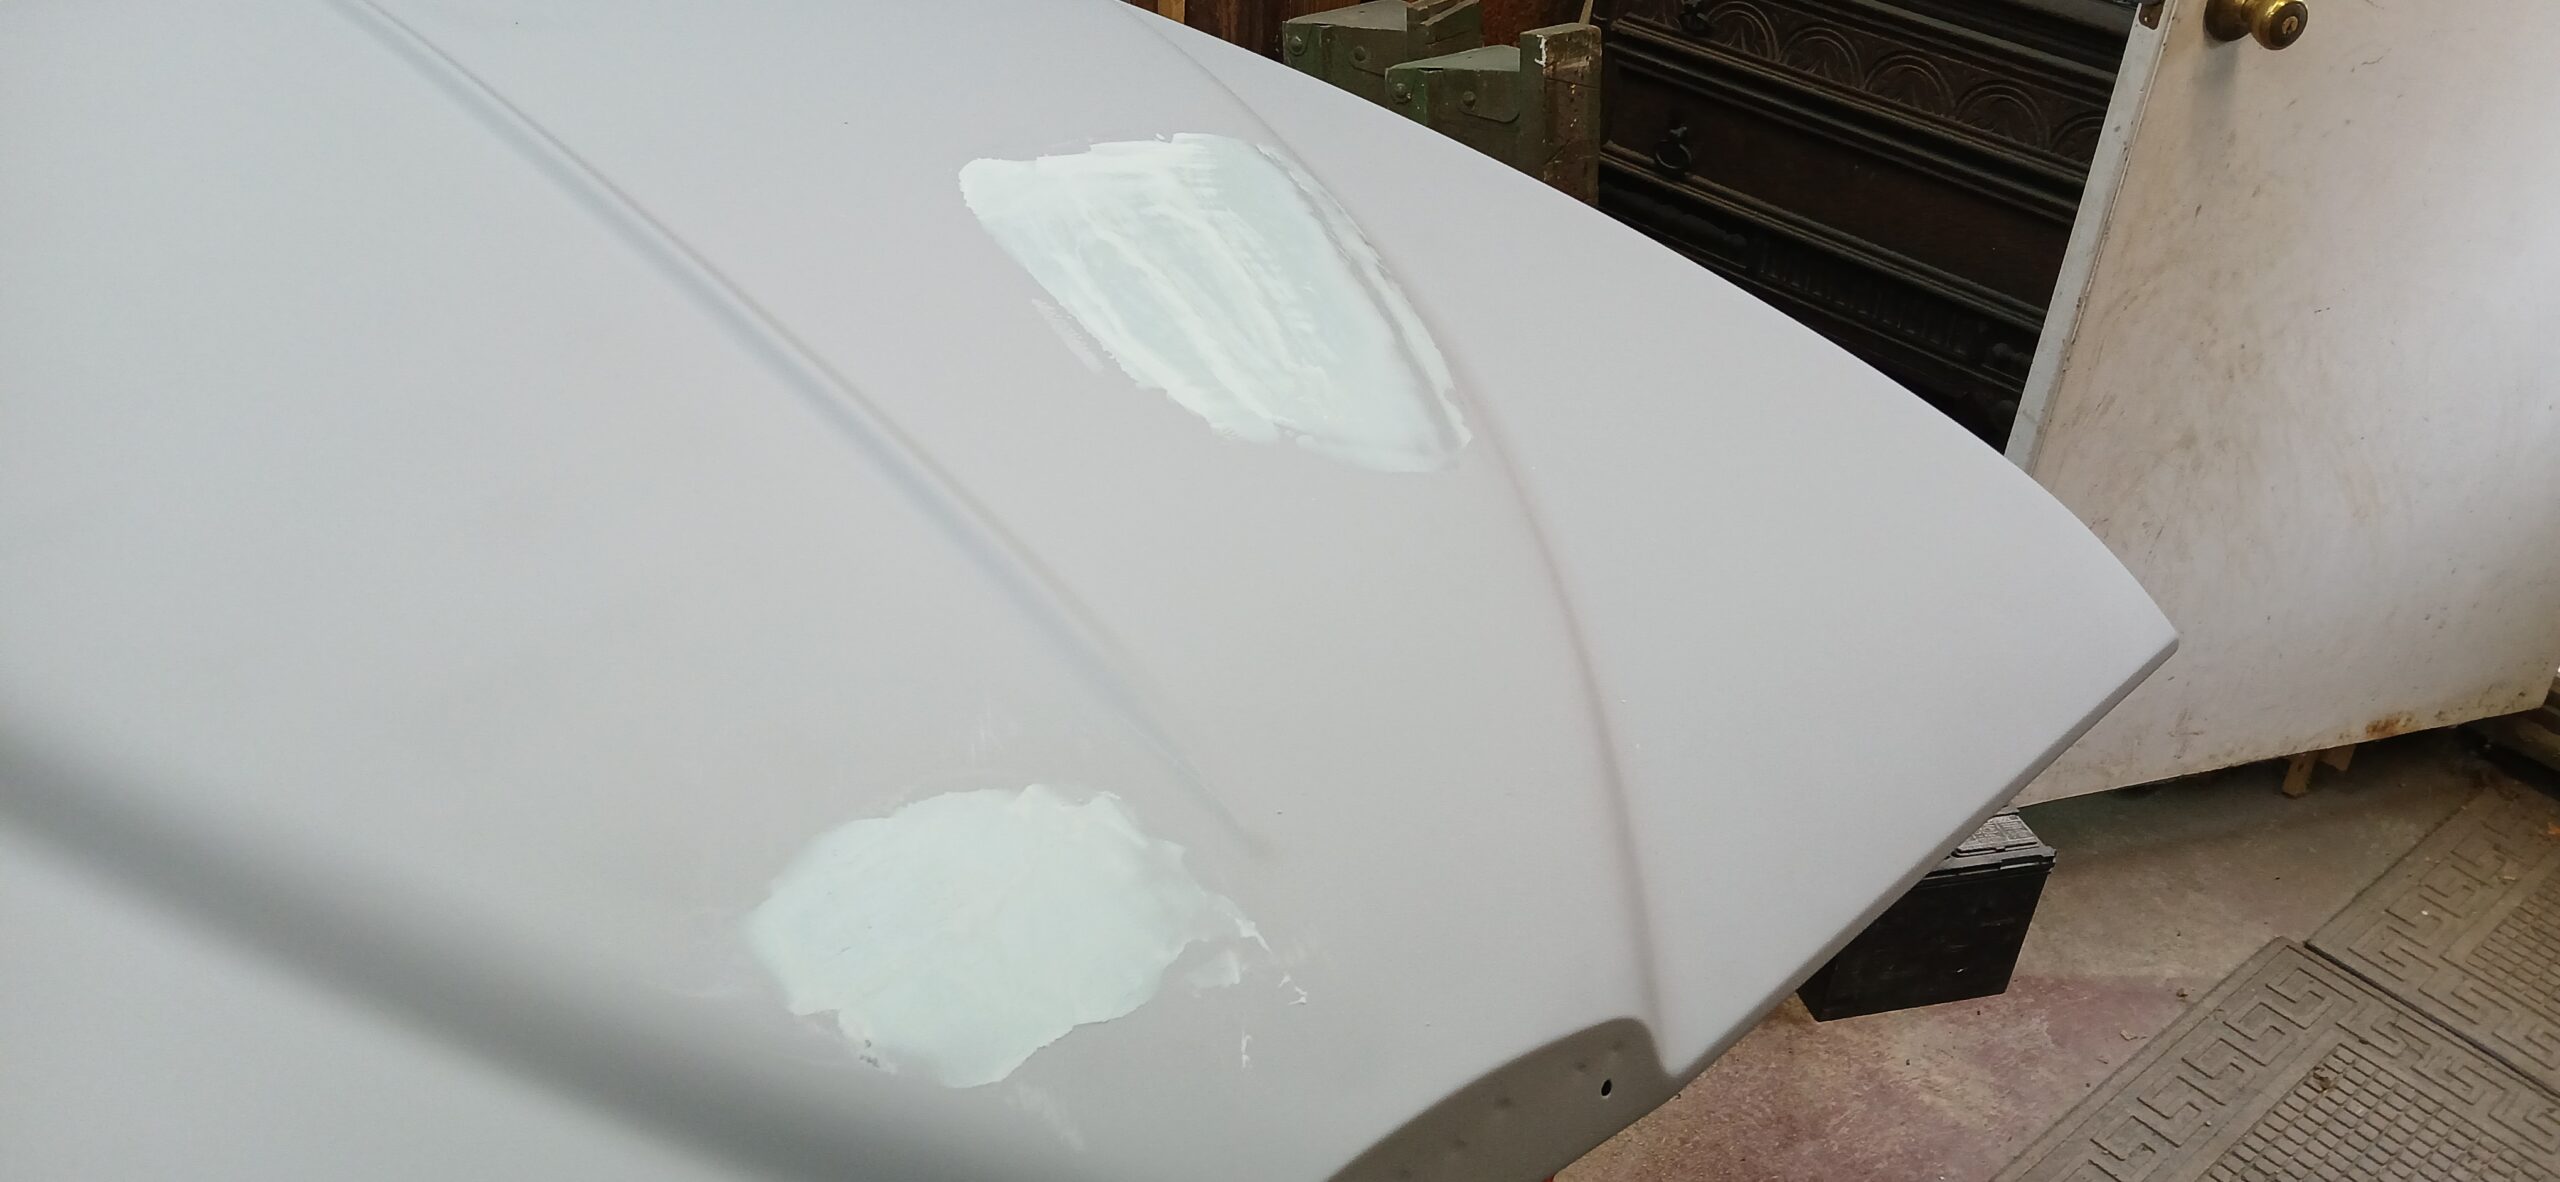
After applying the self etching primer, the many pits were still clearly evident. I therefore applied glazing compound to the entire surface as shown in Figures 6 and 7. I then lightly hand sanded the glazing to re-expose the primer without sanding gown to bare metal. Figure 8 shows a close-up of the surface with the pitted areas filled with glazing compound.
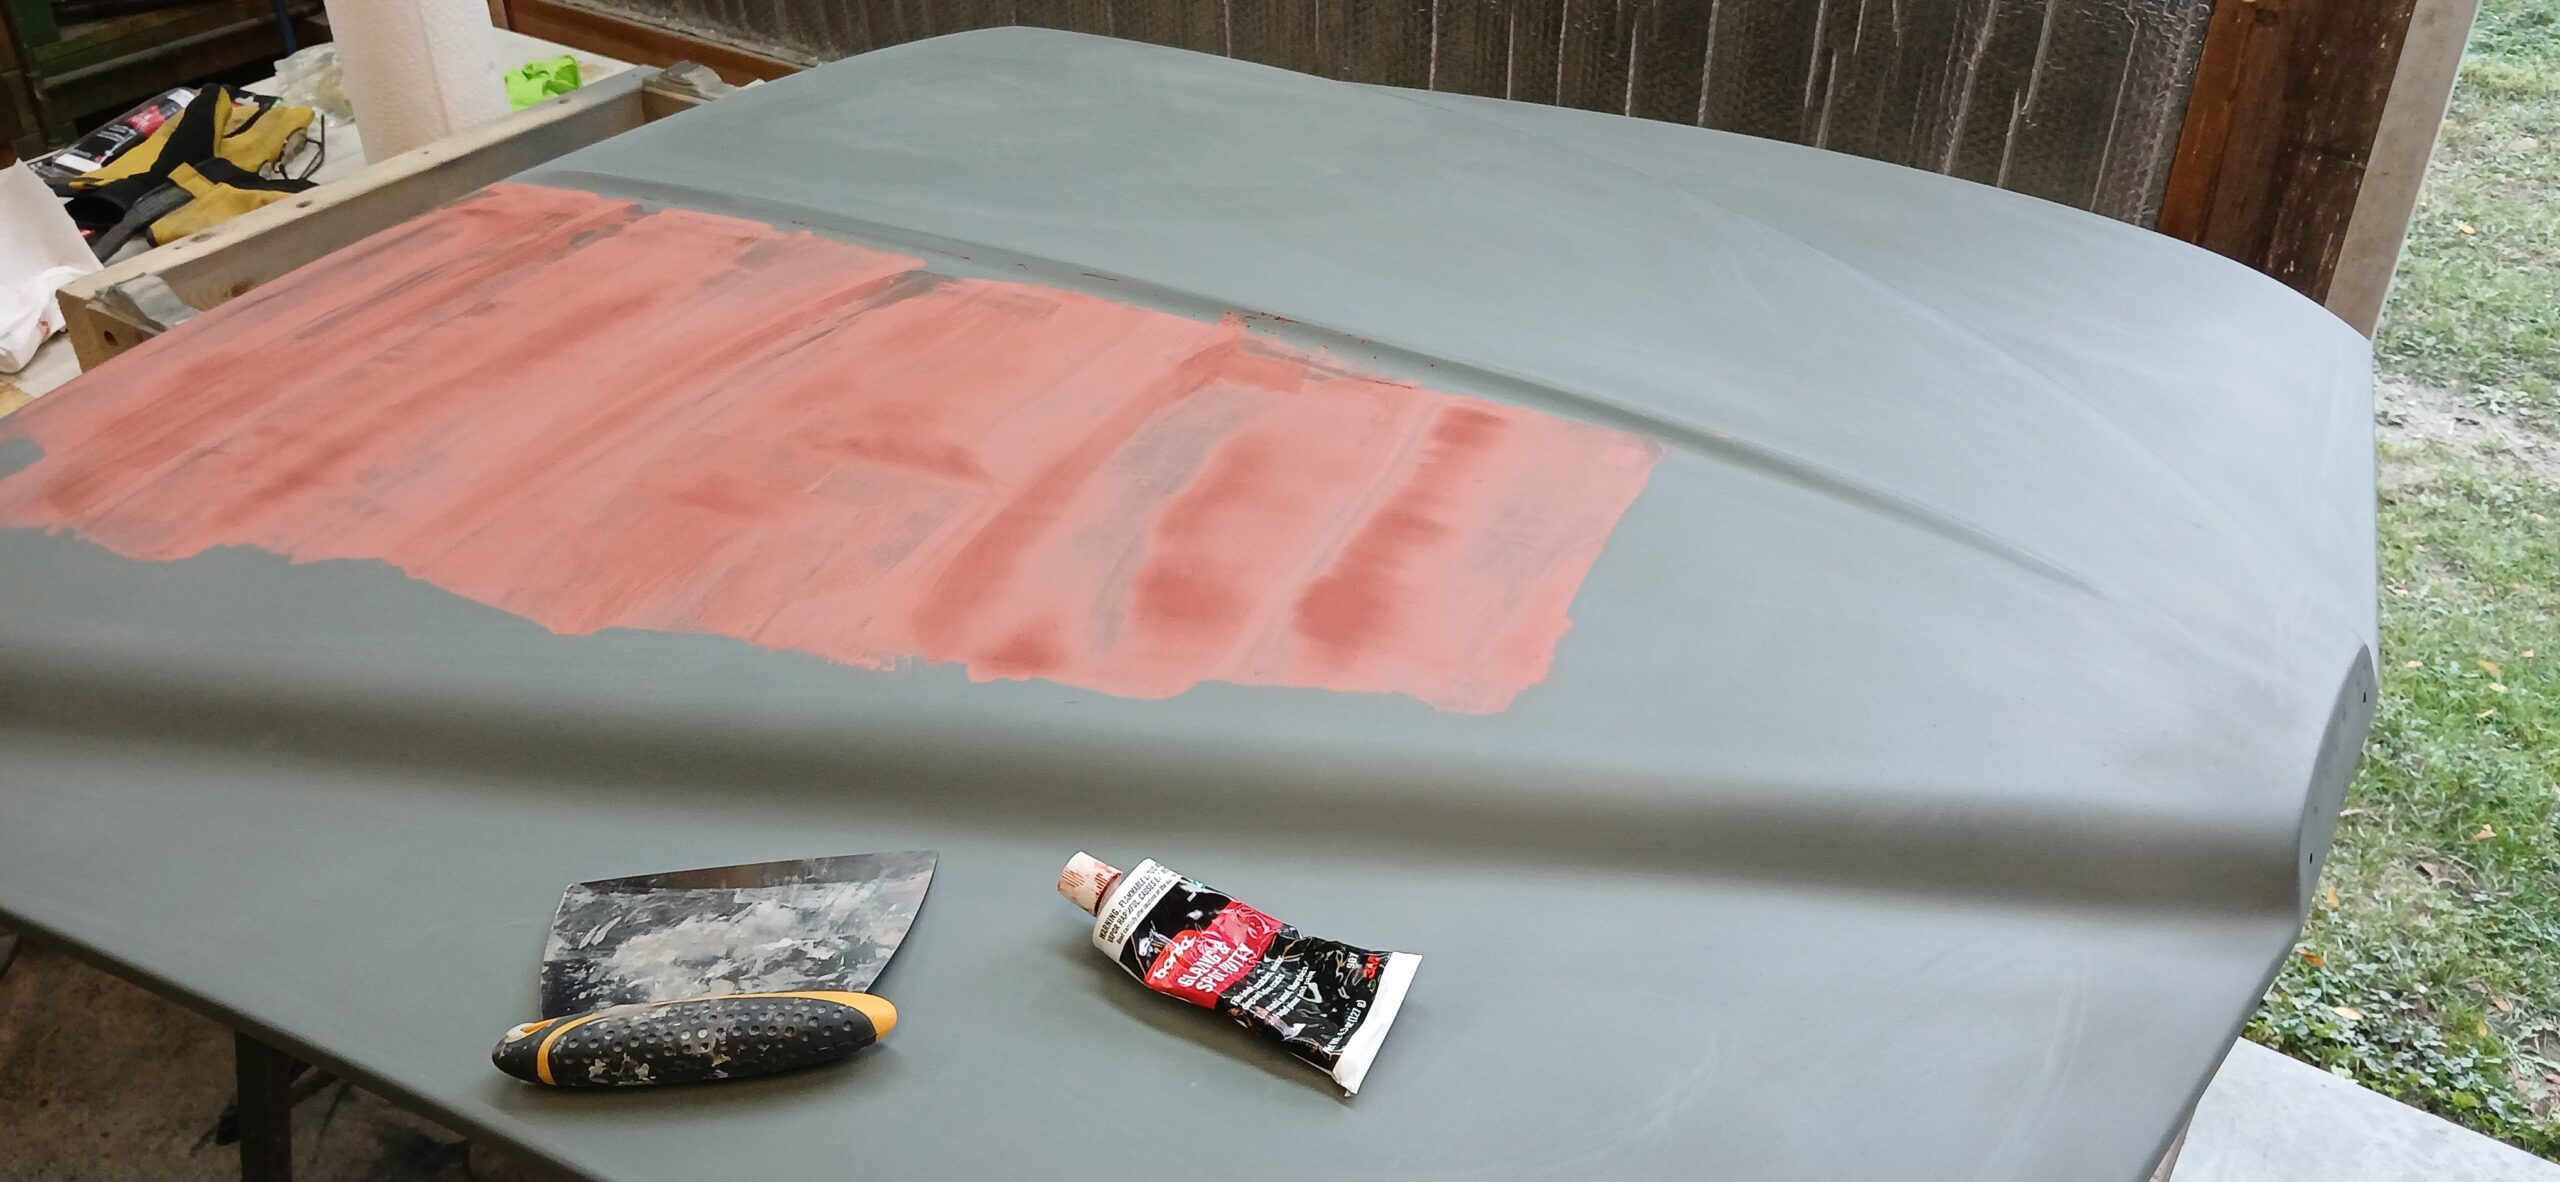
6. Applying Glazing Compound
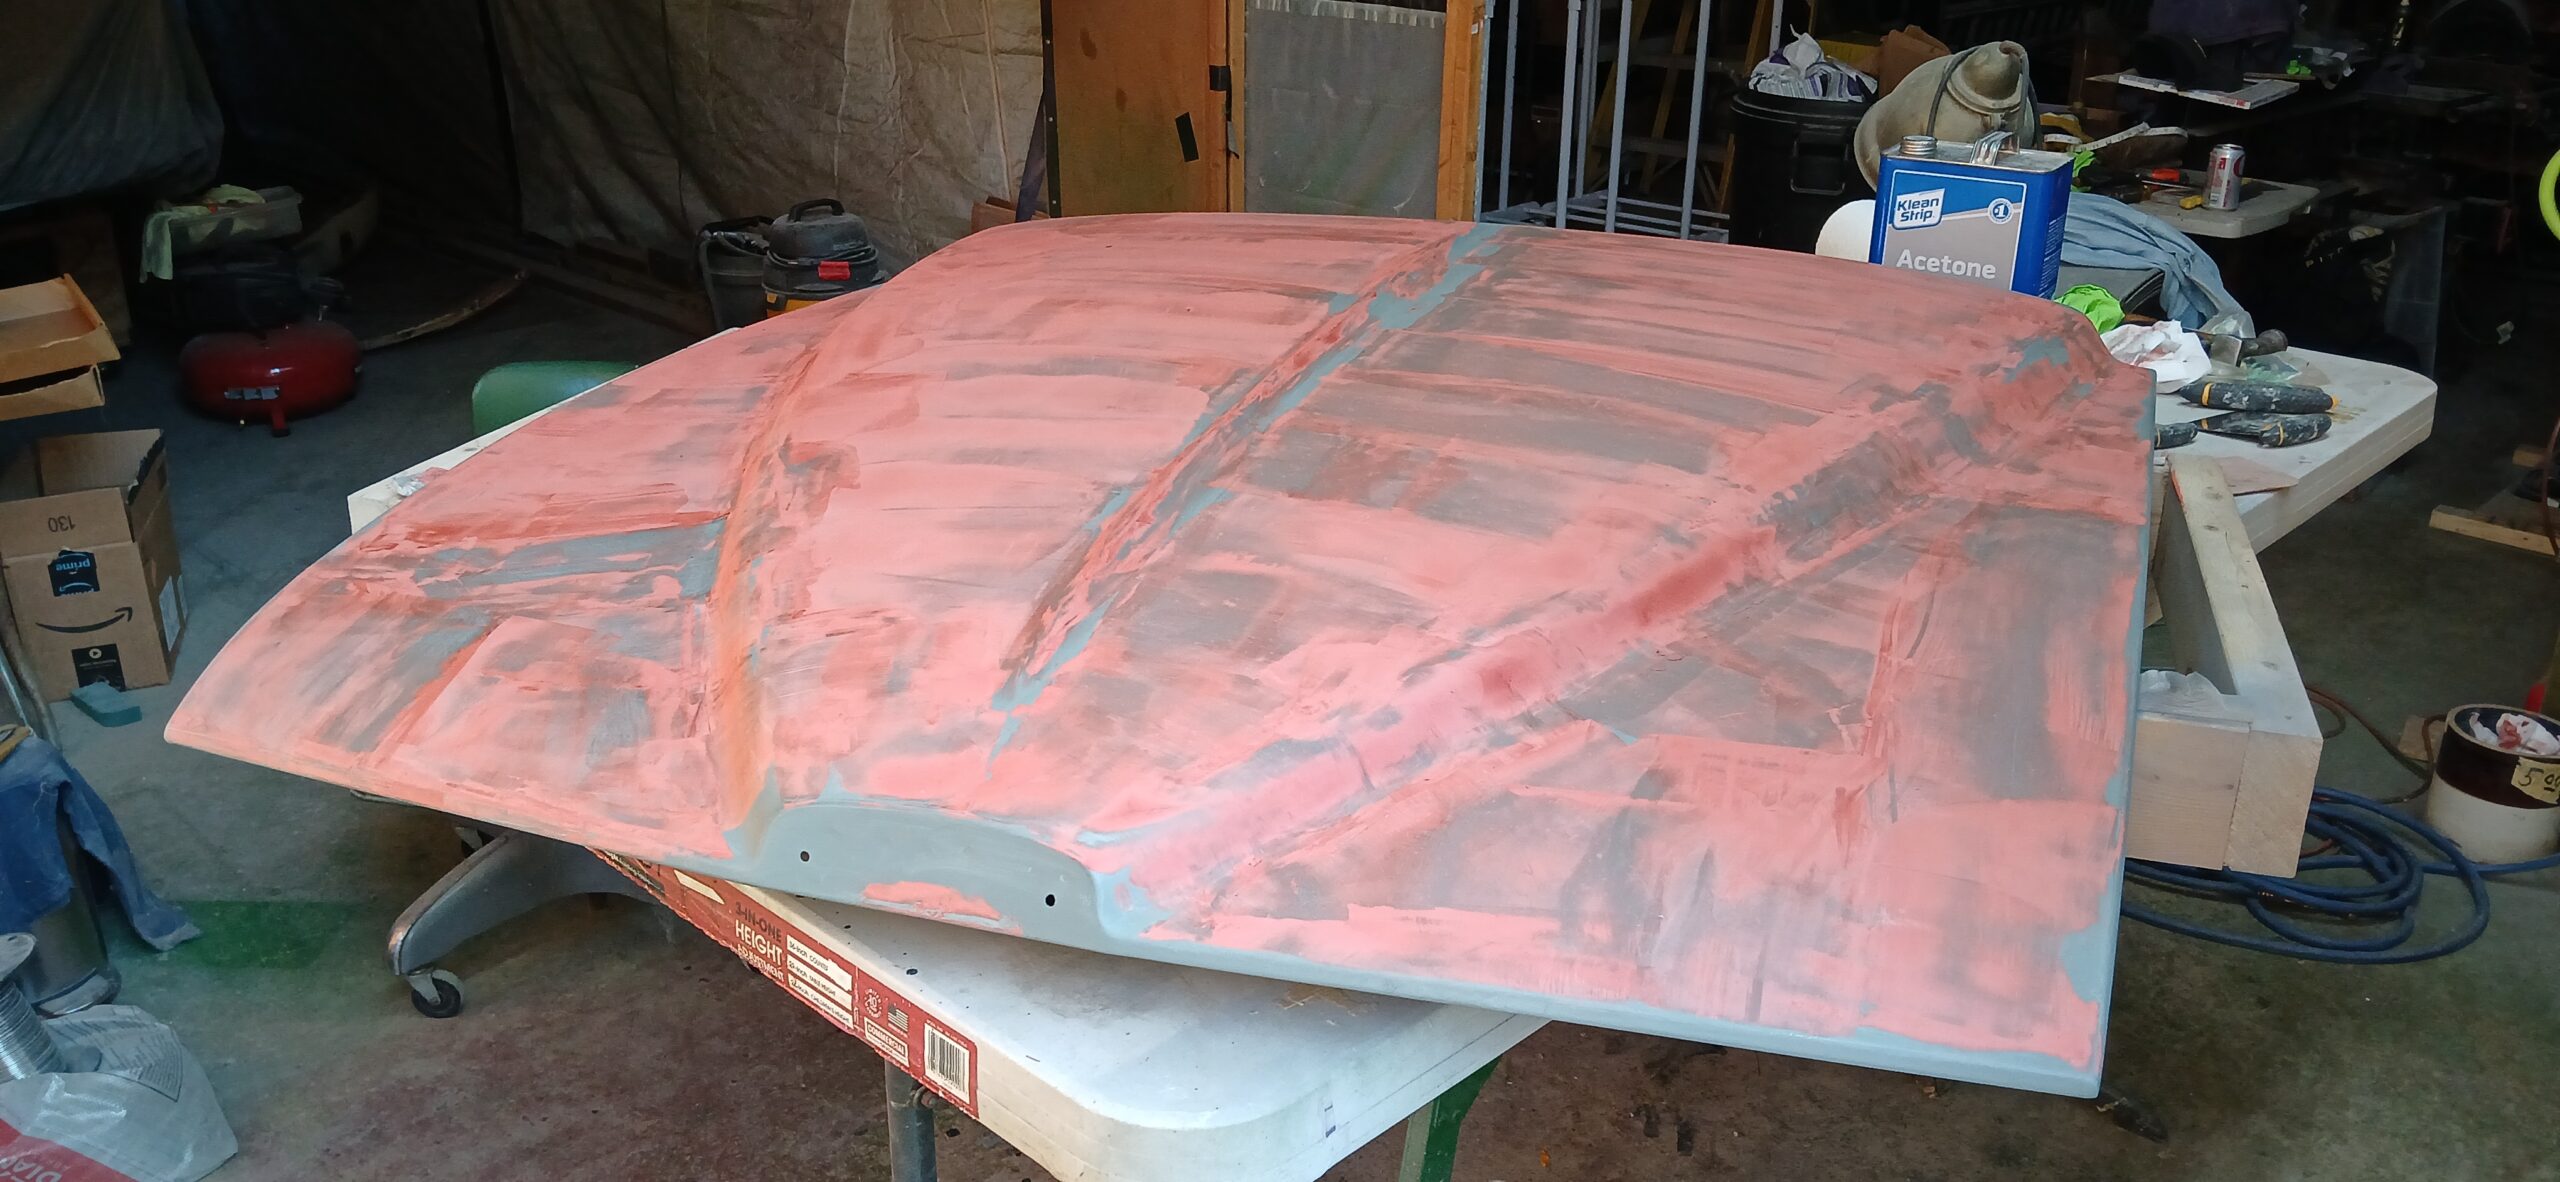
7. Glazing Compound Applied
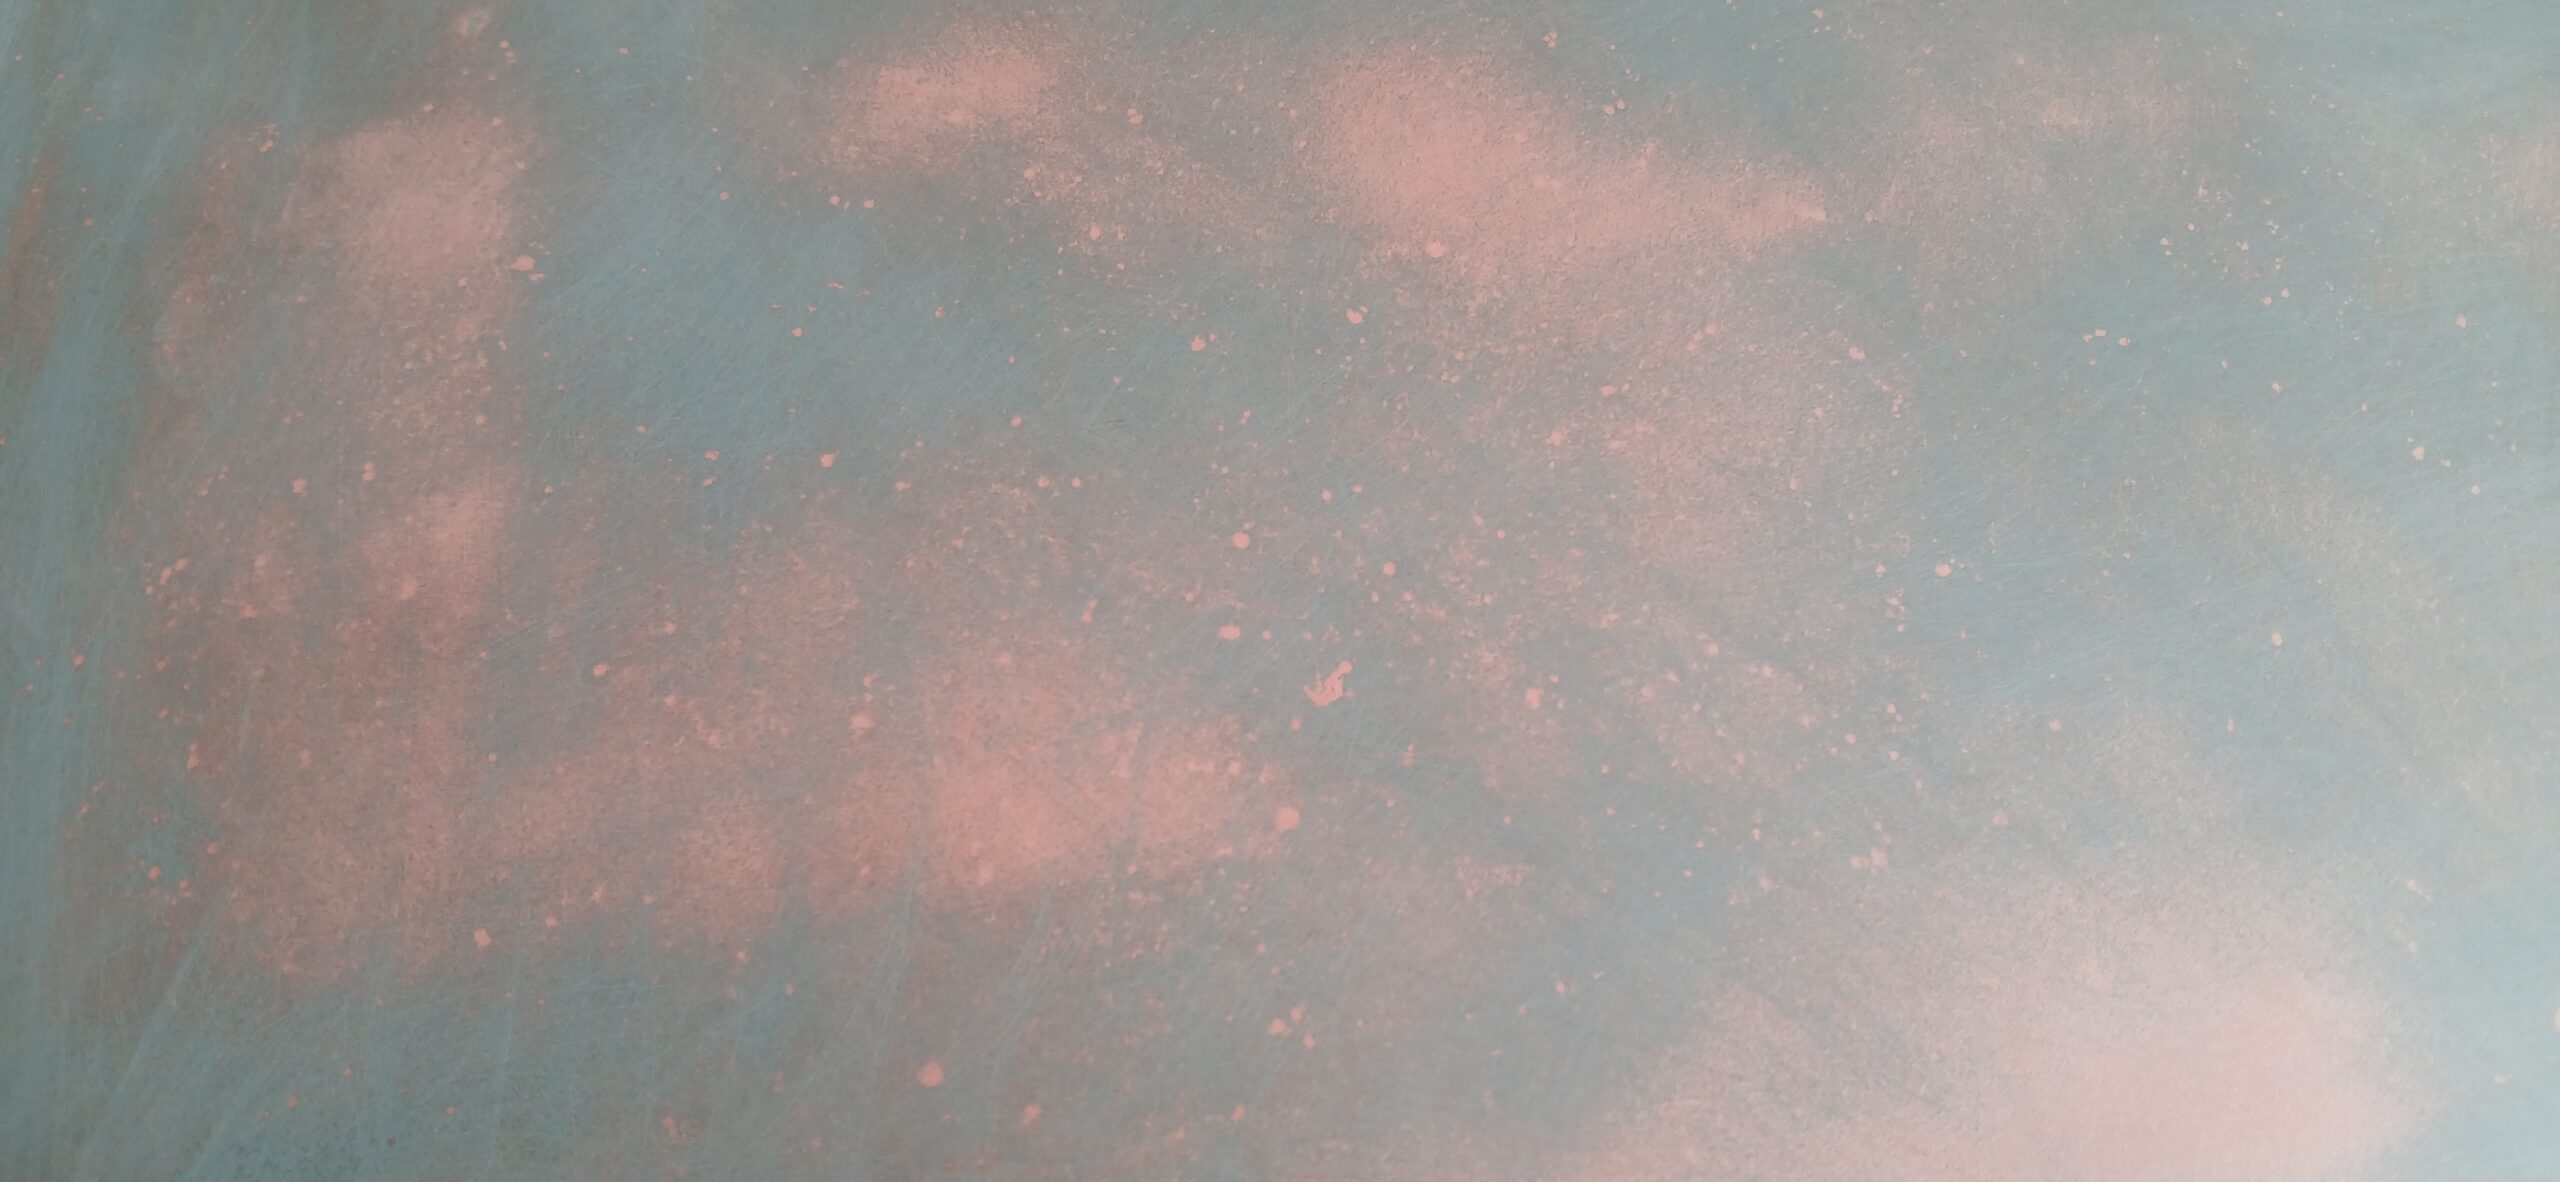
8. Closeup of Pits Filled with Glazing
After a first coat of sealer/primer, the underside looked pretty good. Unfortunately, while the primer was still wet and reflective, I could see minor distortions in the reflections on the top side. A little body filler work before the second coat of primer/sealer fixed that. See Figures 9 and 10.
9. Underside of Hood Primed
10. Smoothing First Primer/Sealer Coat
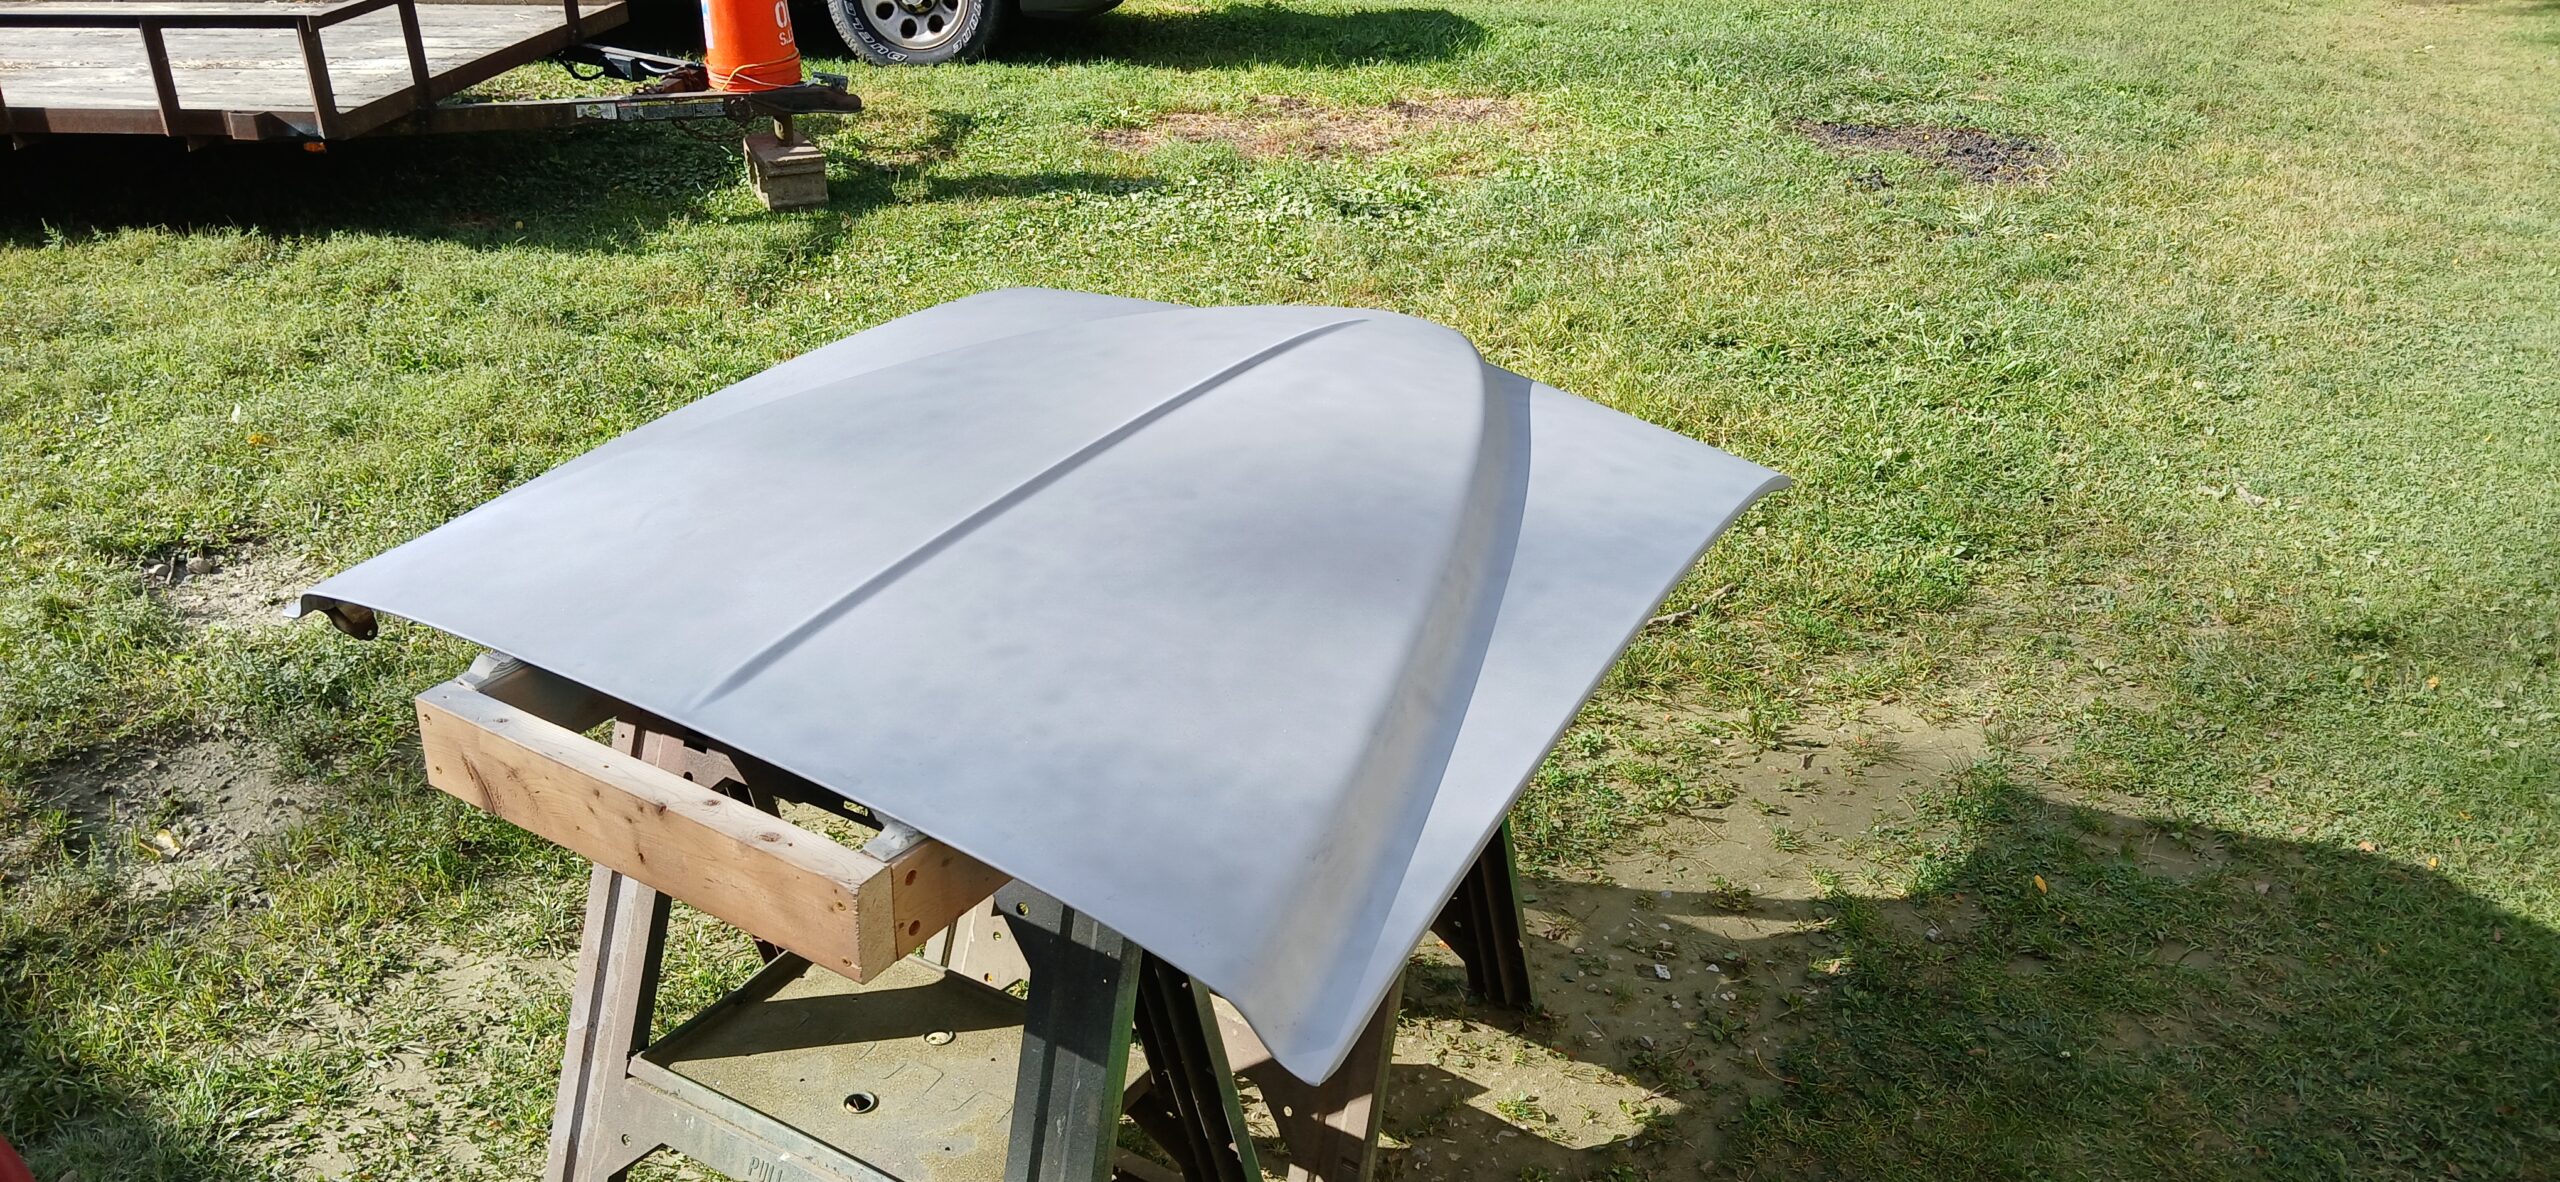
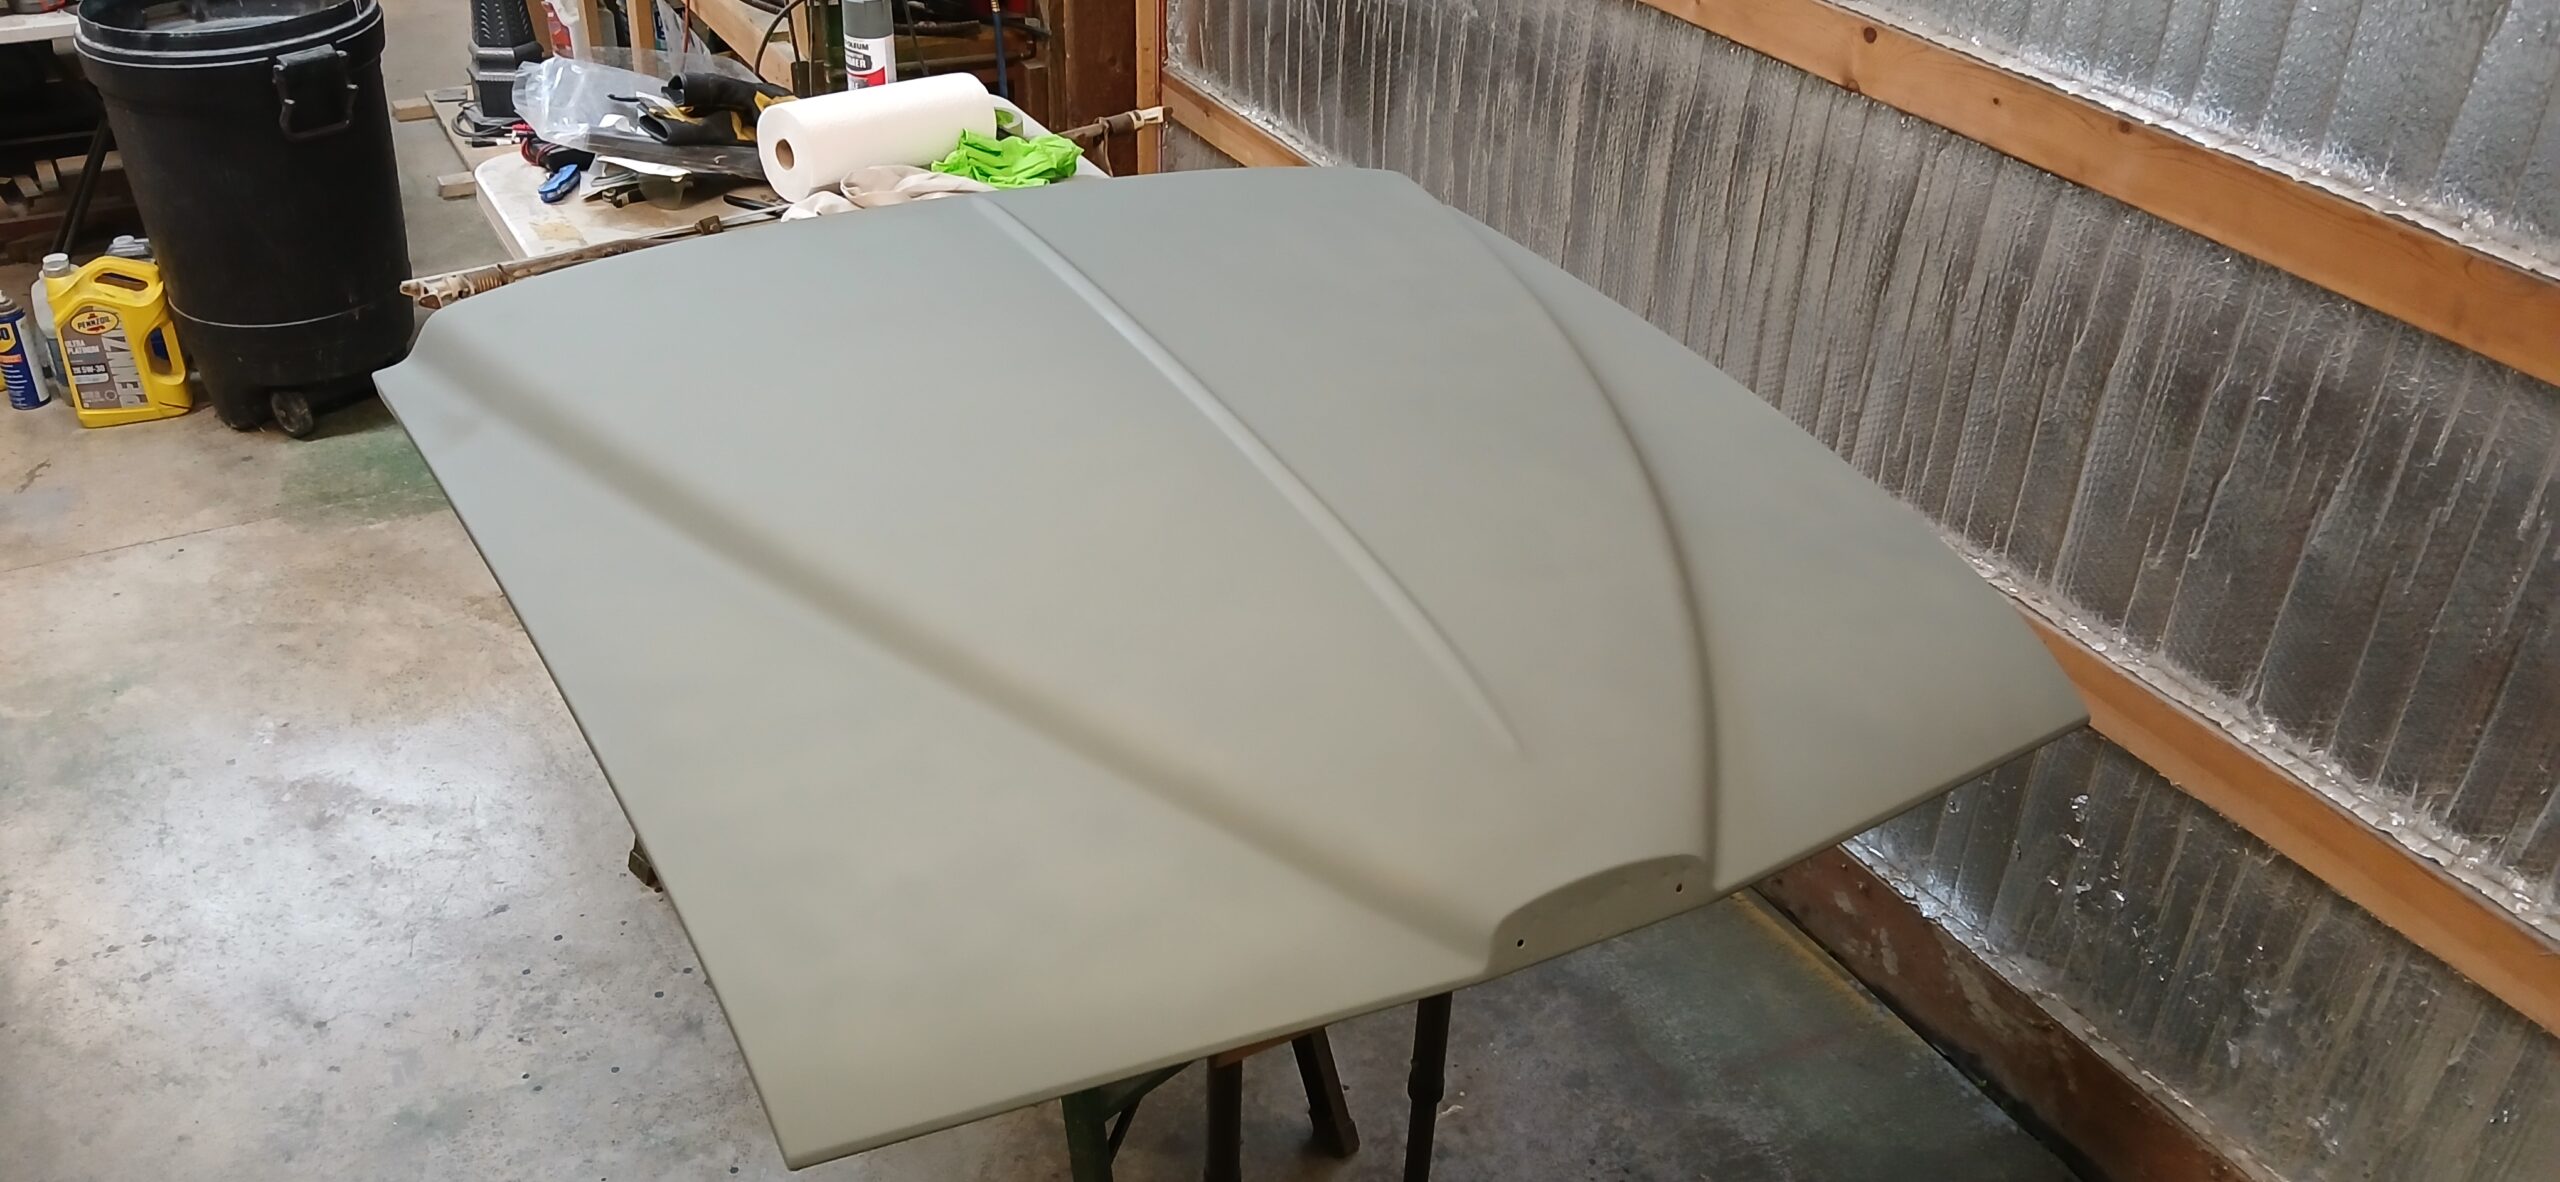
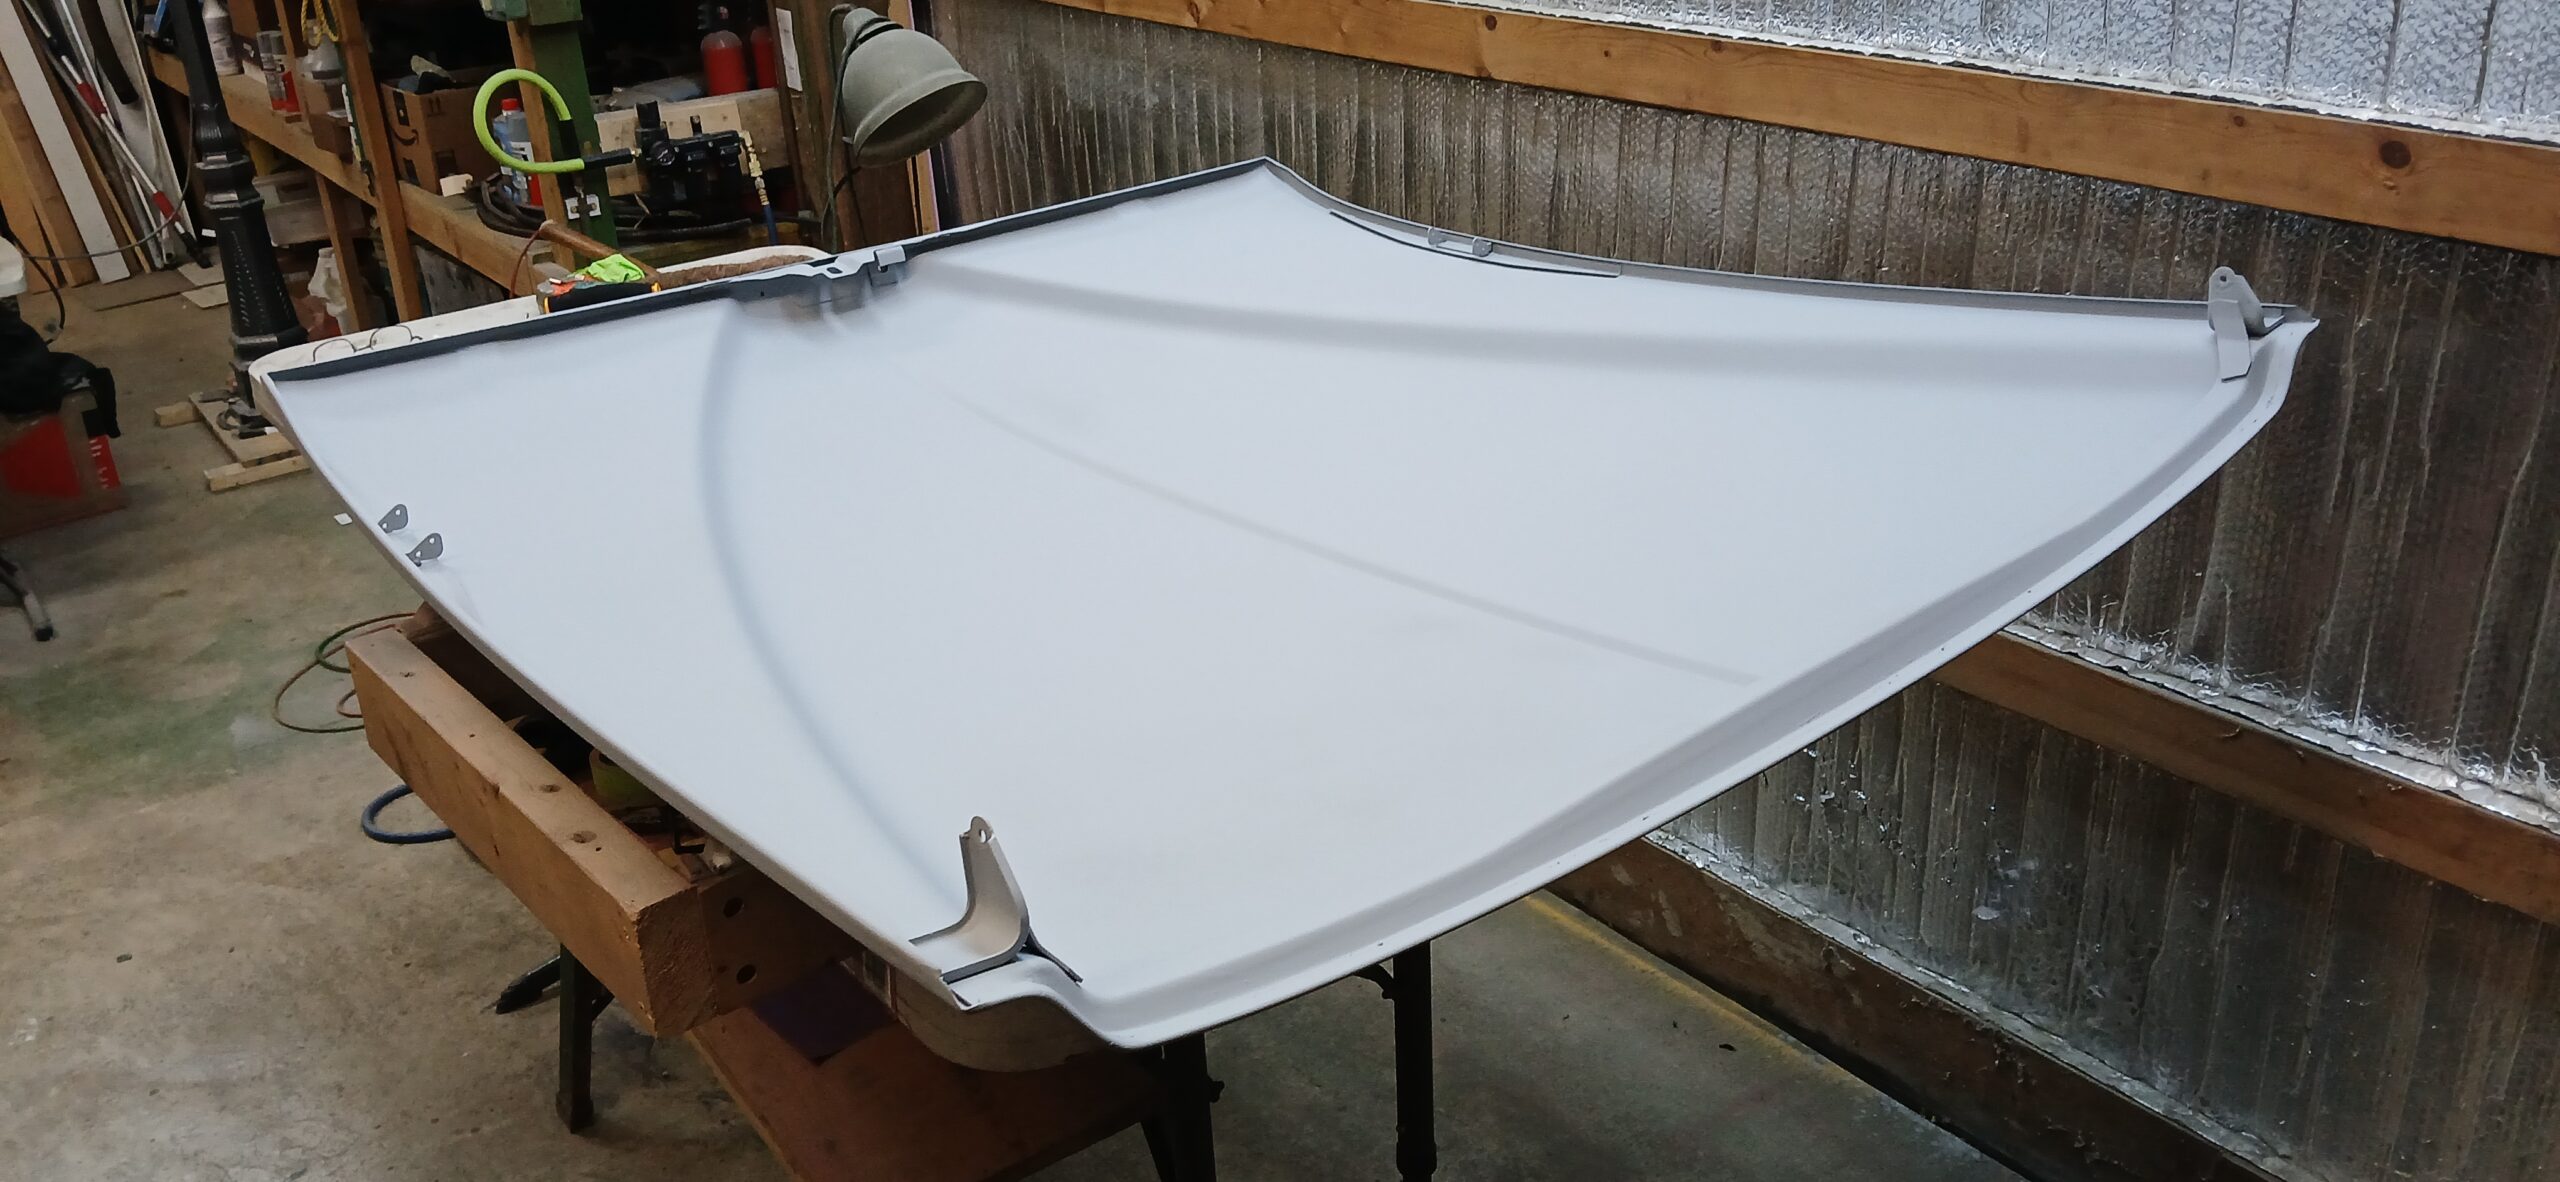
Figure 11 shows the topside after the second coat of primer/sealer, and Figure 12 shows the hood hanging on my cheap Walmart hanger racks waiting for future work. Those racks are really cheap but plenty sturdy. Just have to make some hooks as needed.
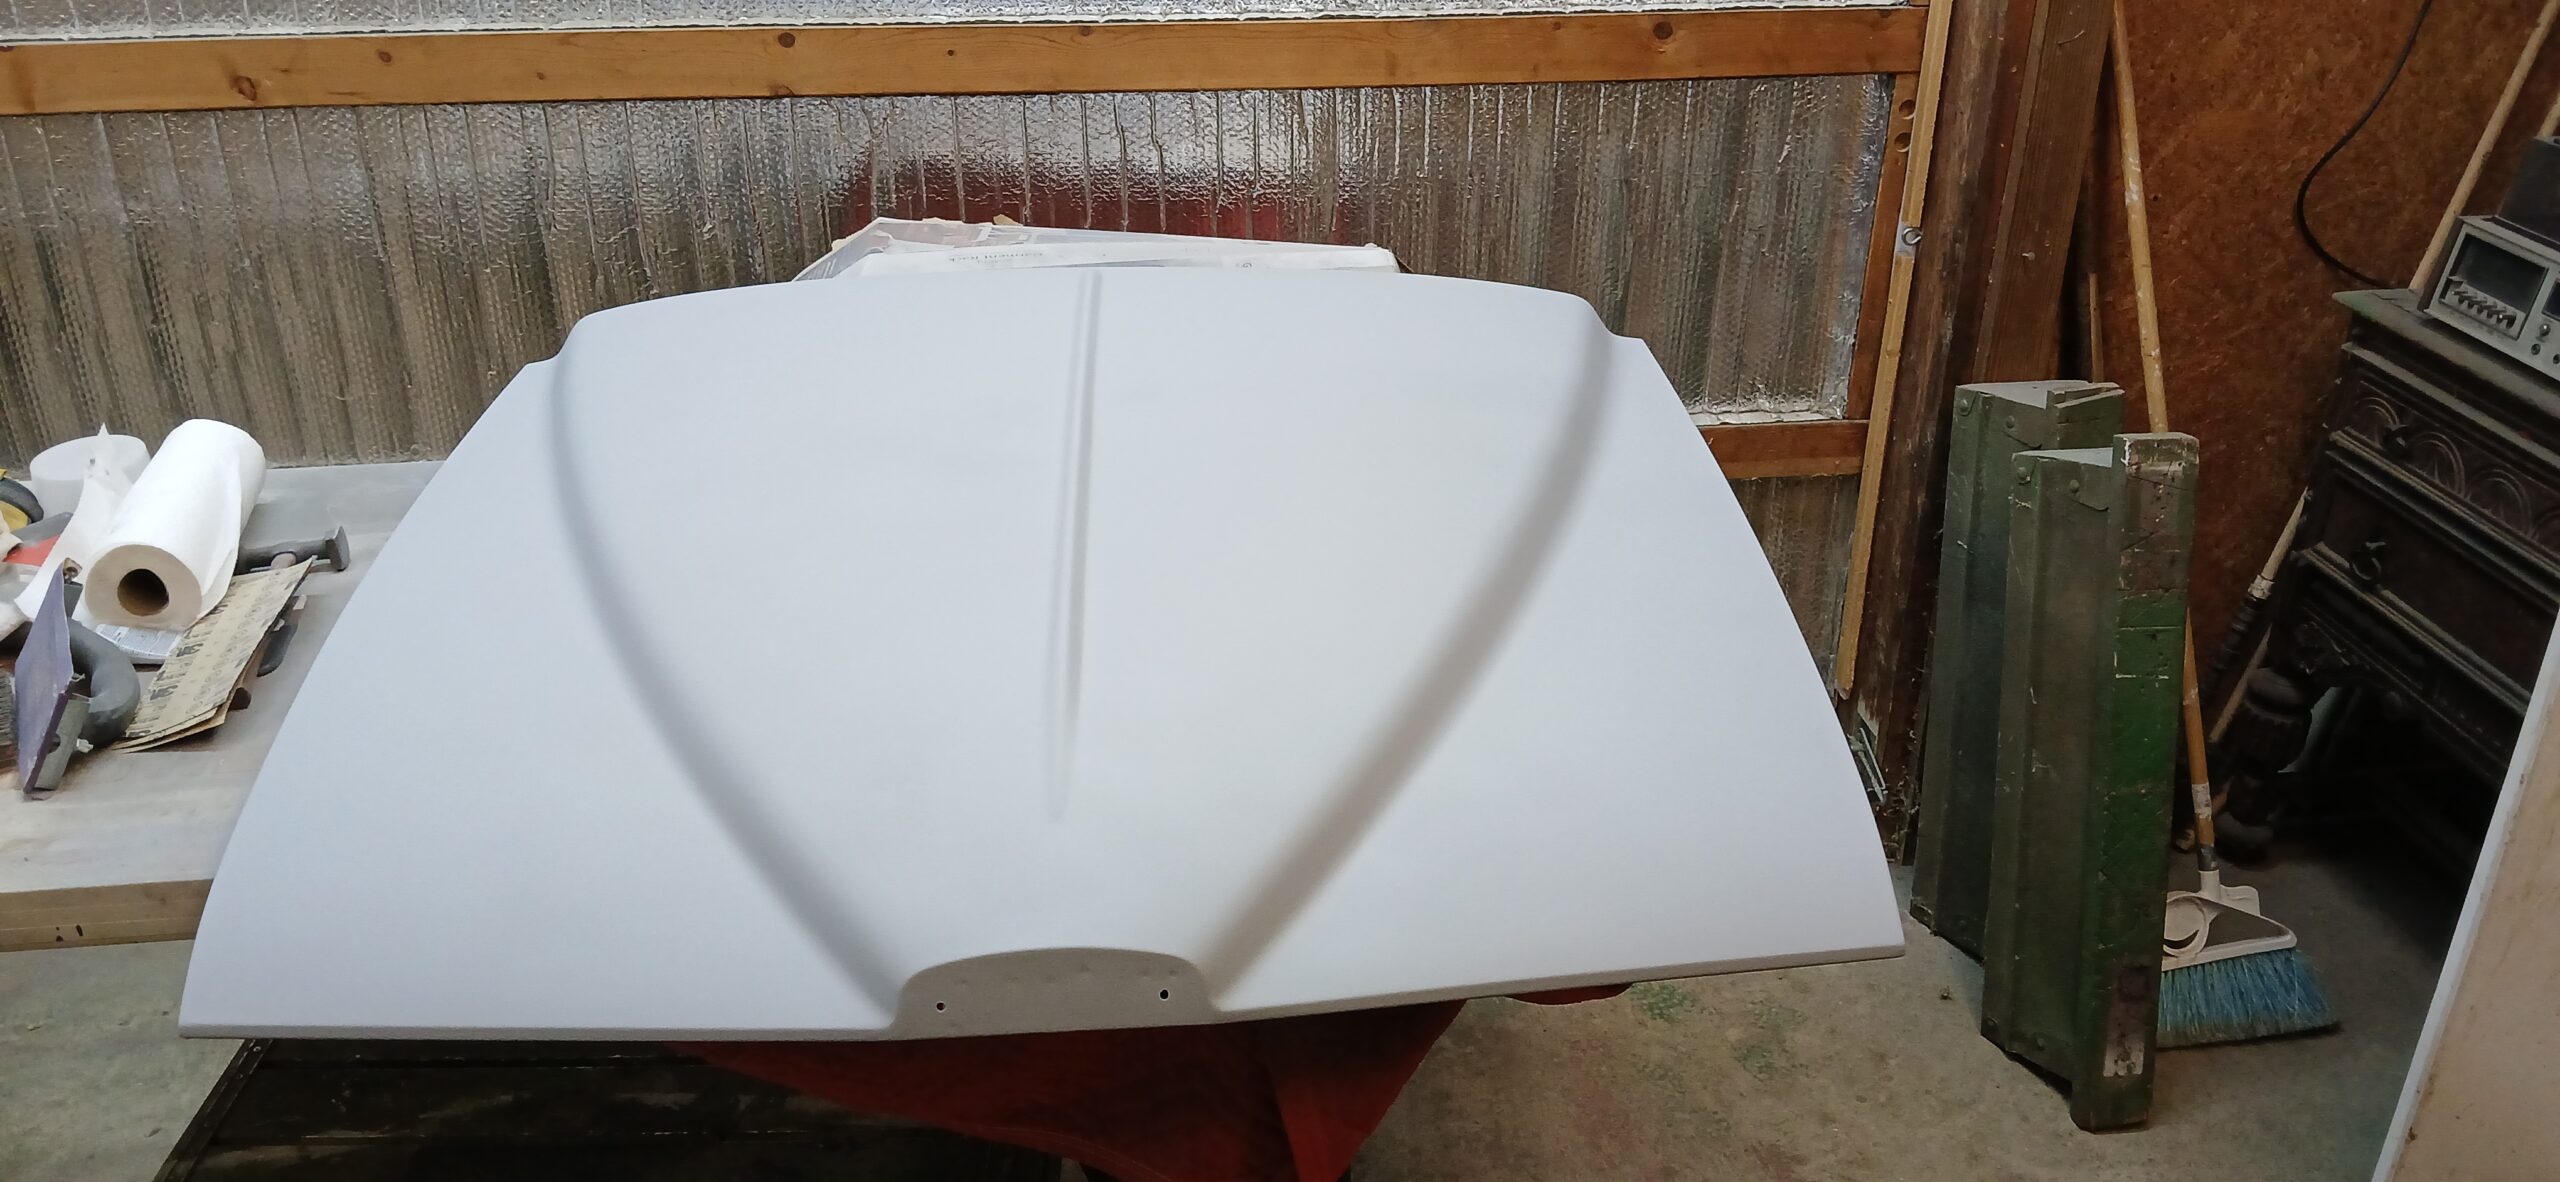
11. After 2nd Coat of Primer/Sealer
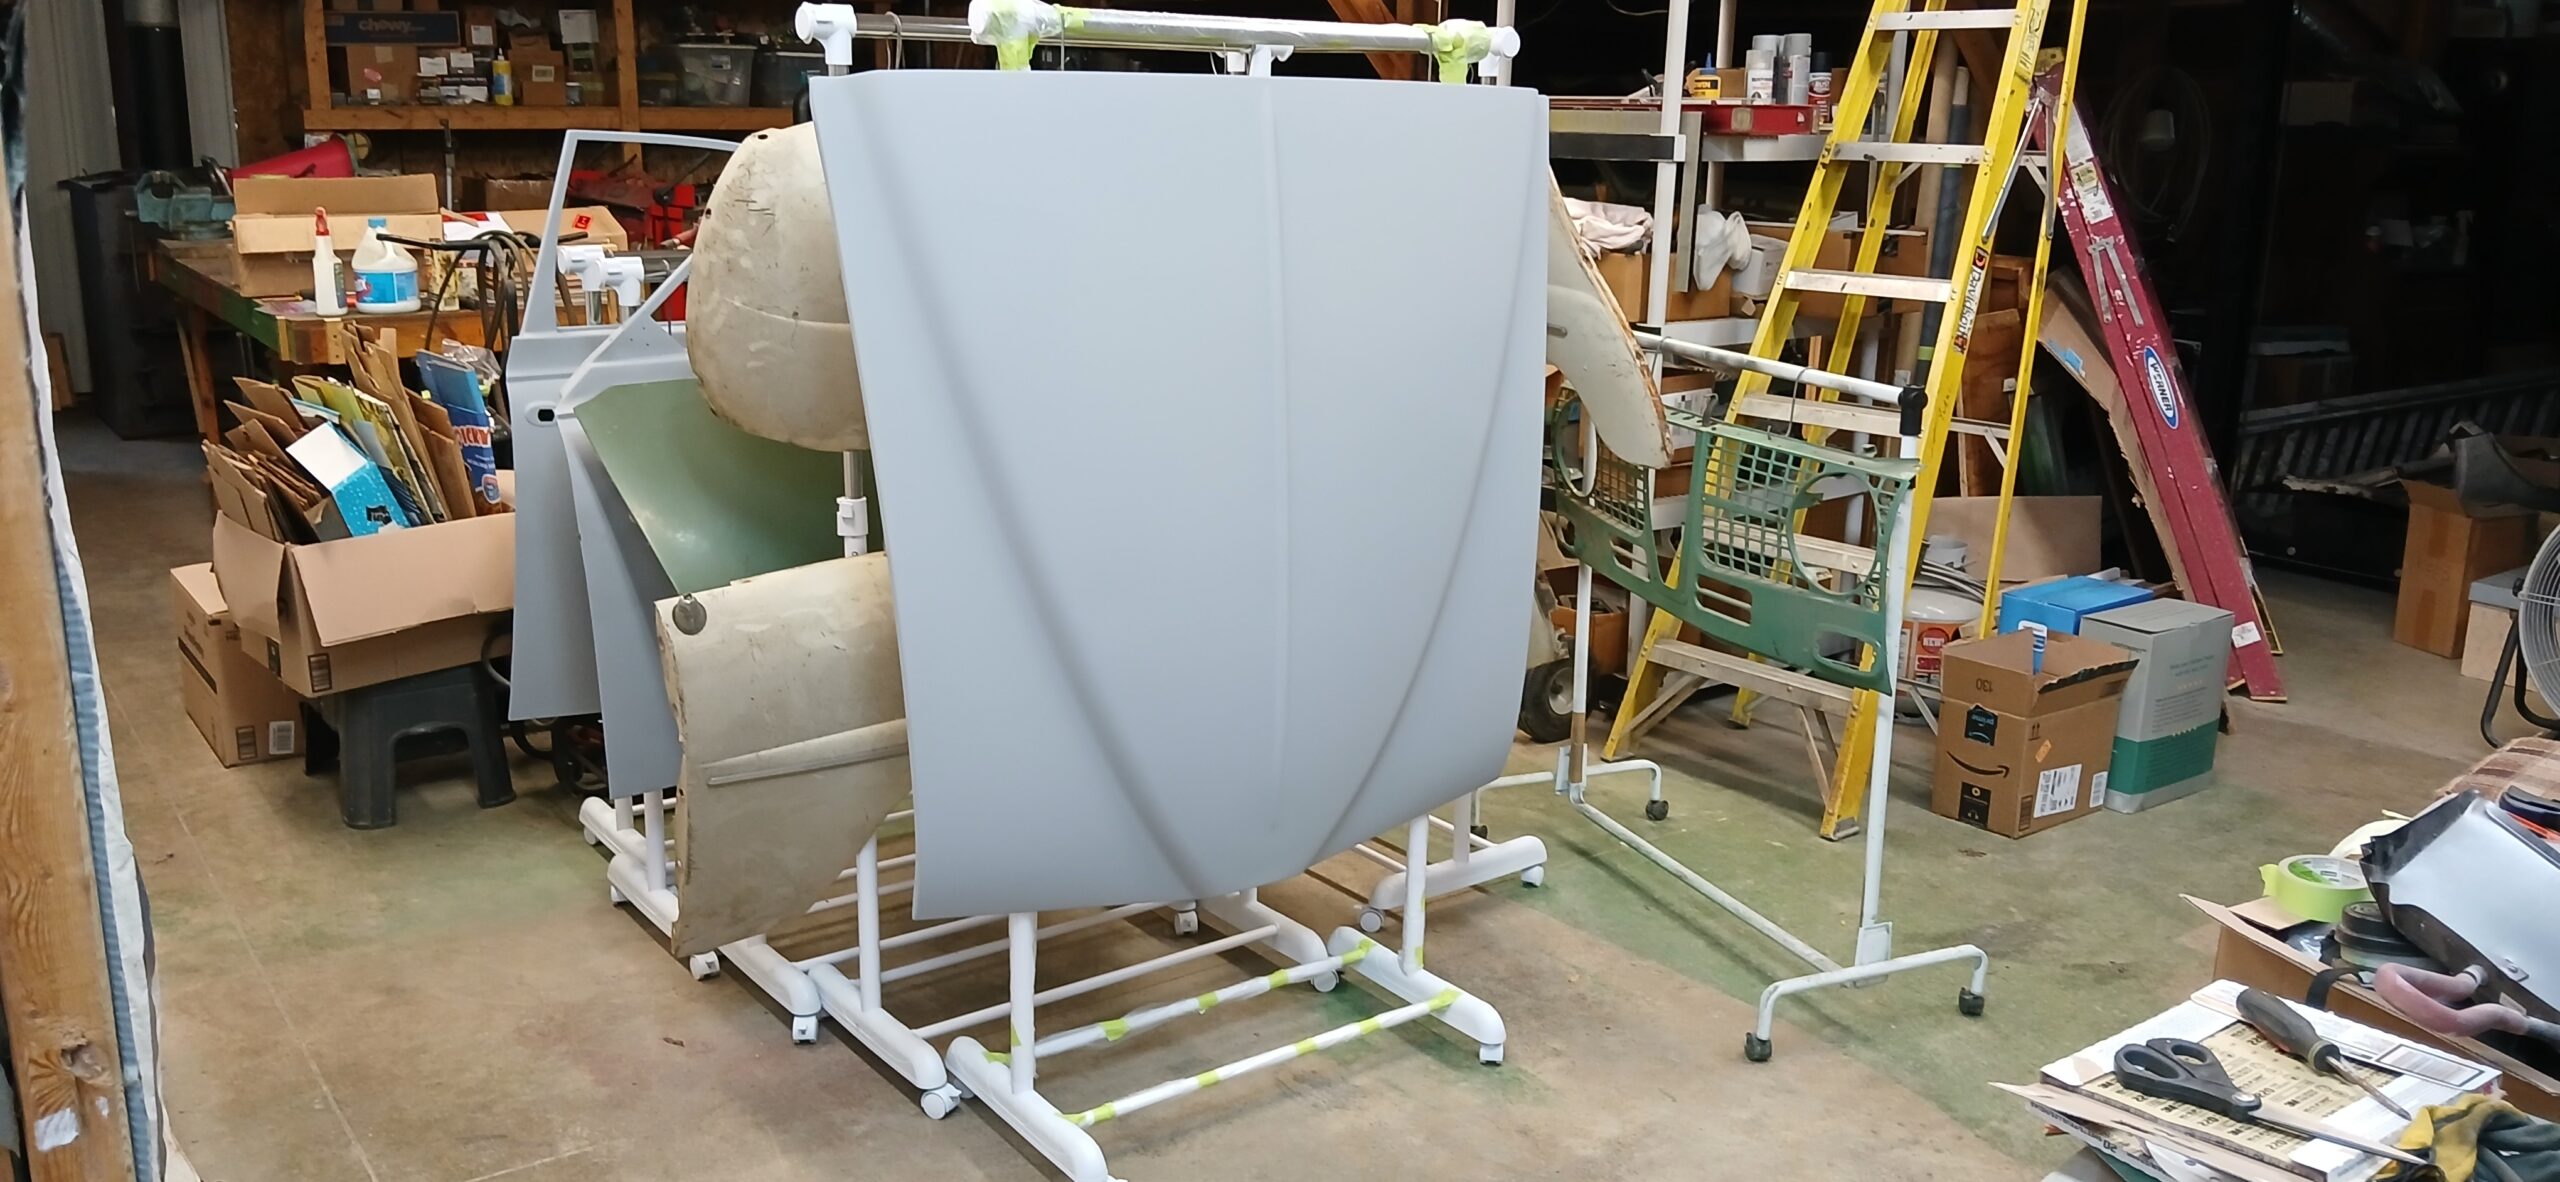
12. Finished Hood
Grille Restoration
The grille that came with the MC850 was in pretty good shape rust-wise. It was apparently a factory replacement part as evidenced by stickers on the back side. Unfortunately, both sides had been flattened vertically and no longer followed the curve of the fender fronts. And the bottom had a significant bend so it no longer followed the contour of the front of the car where it mounts. I therefore traced the fender curves onto some lumber and made a jig of sorts to set the grille on for reshaping. Figure 13 shows the bent grill sitting on the jig, and Figure 14 shows the results of reshaping. Figure 15 shows the grille after a trip outside for media blasting.
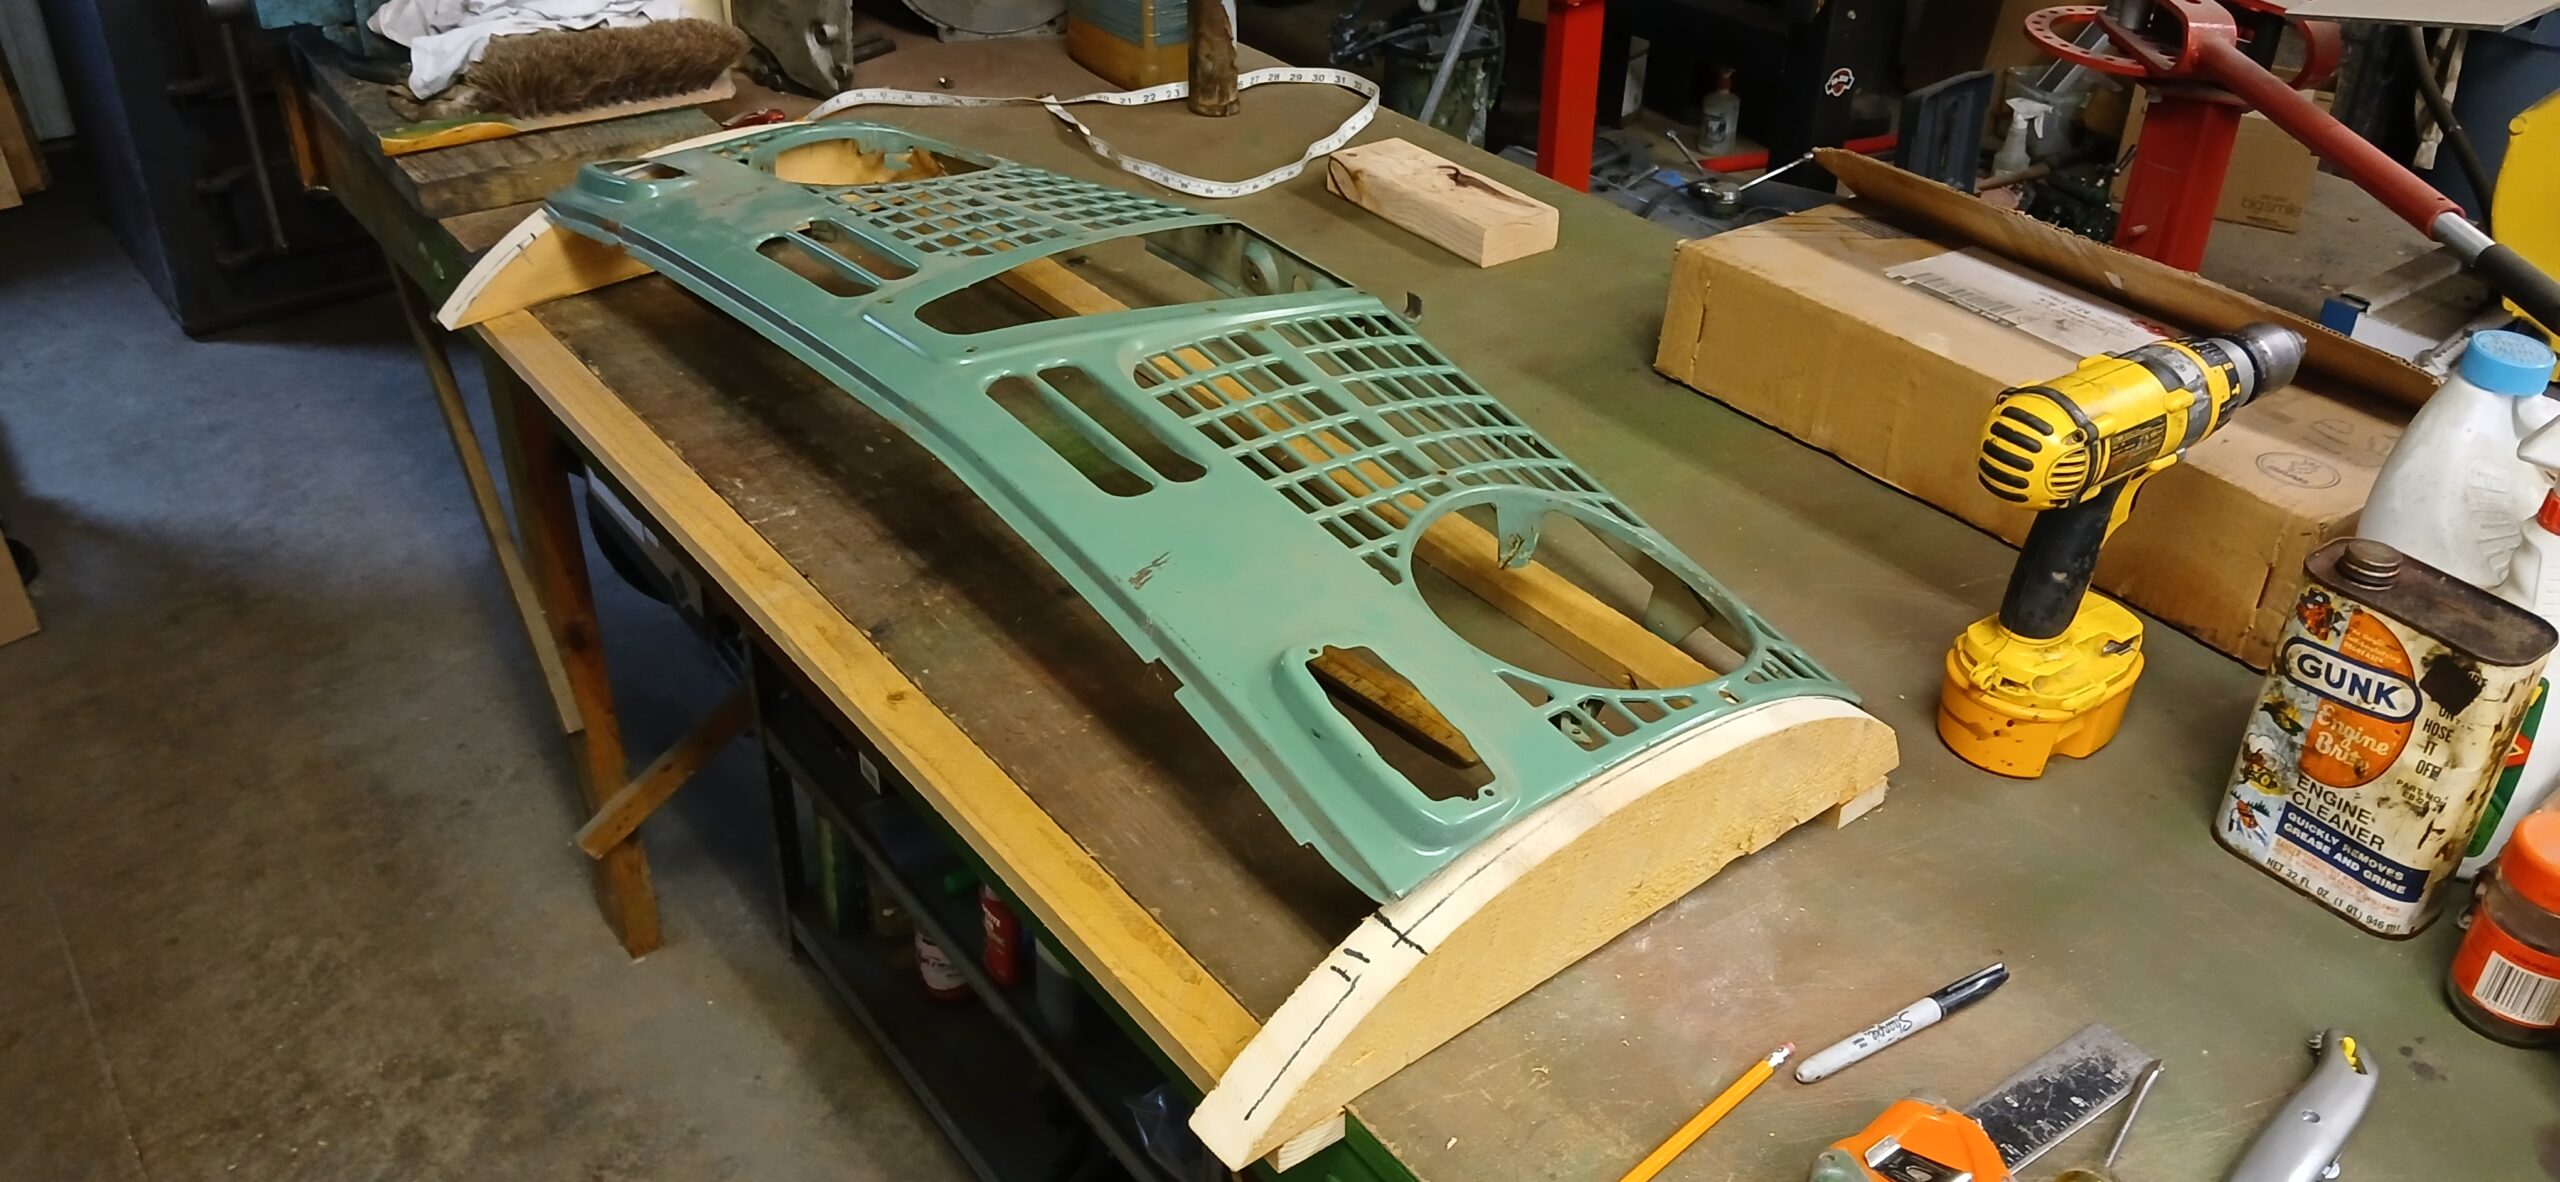
13. Bent Grille on Jig
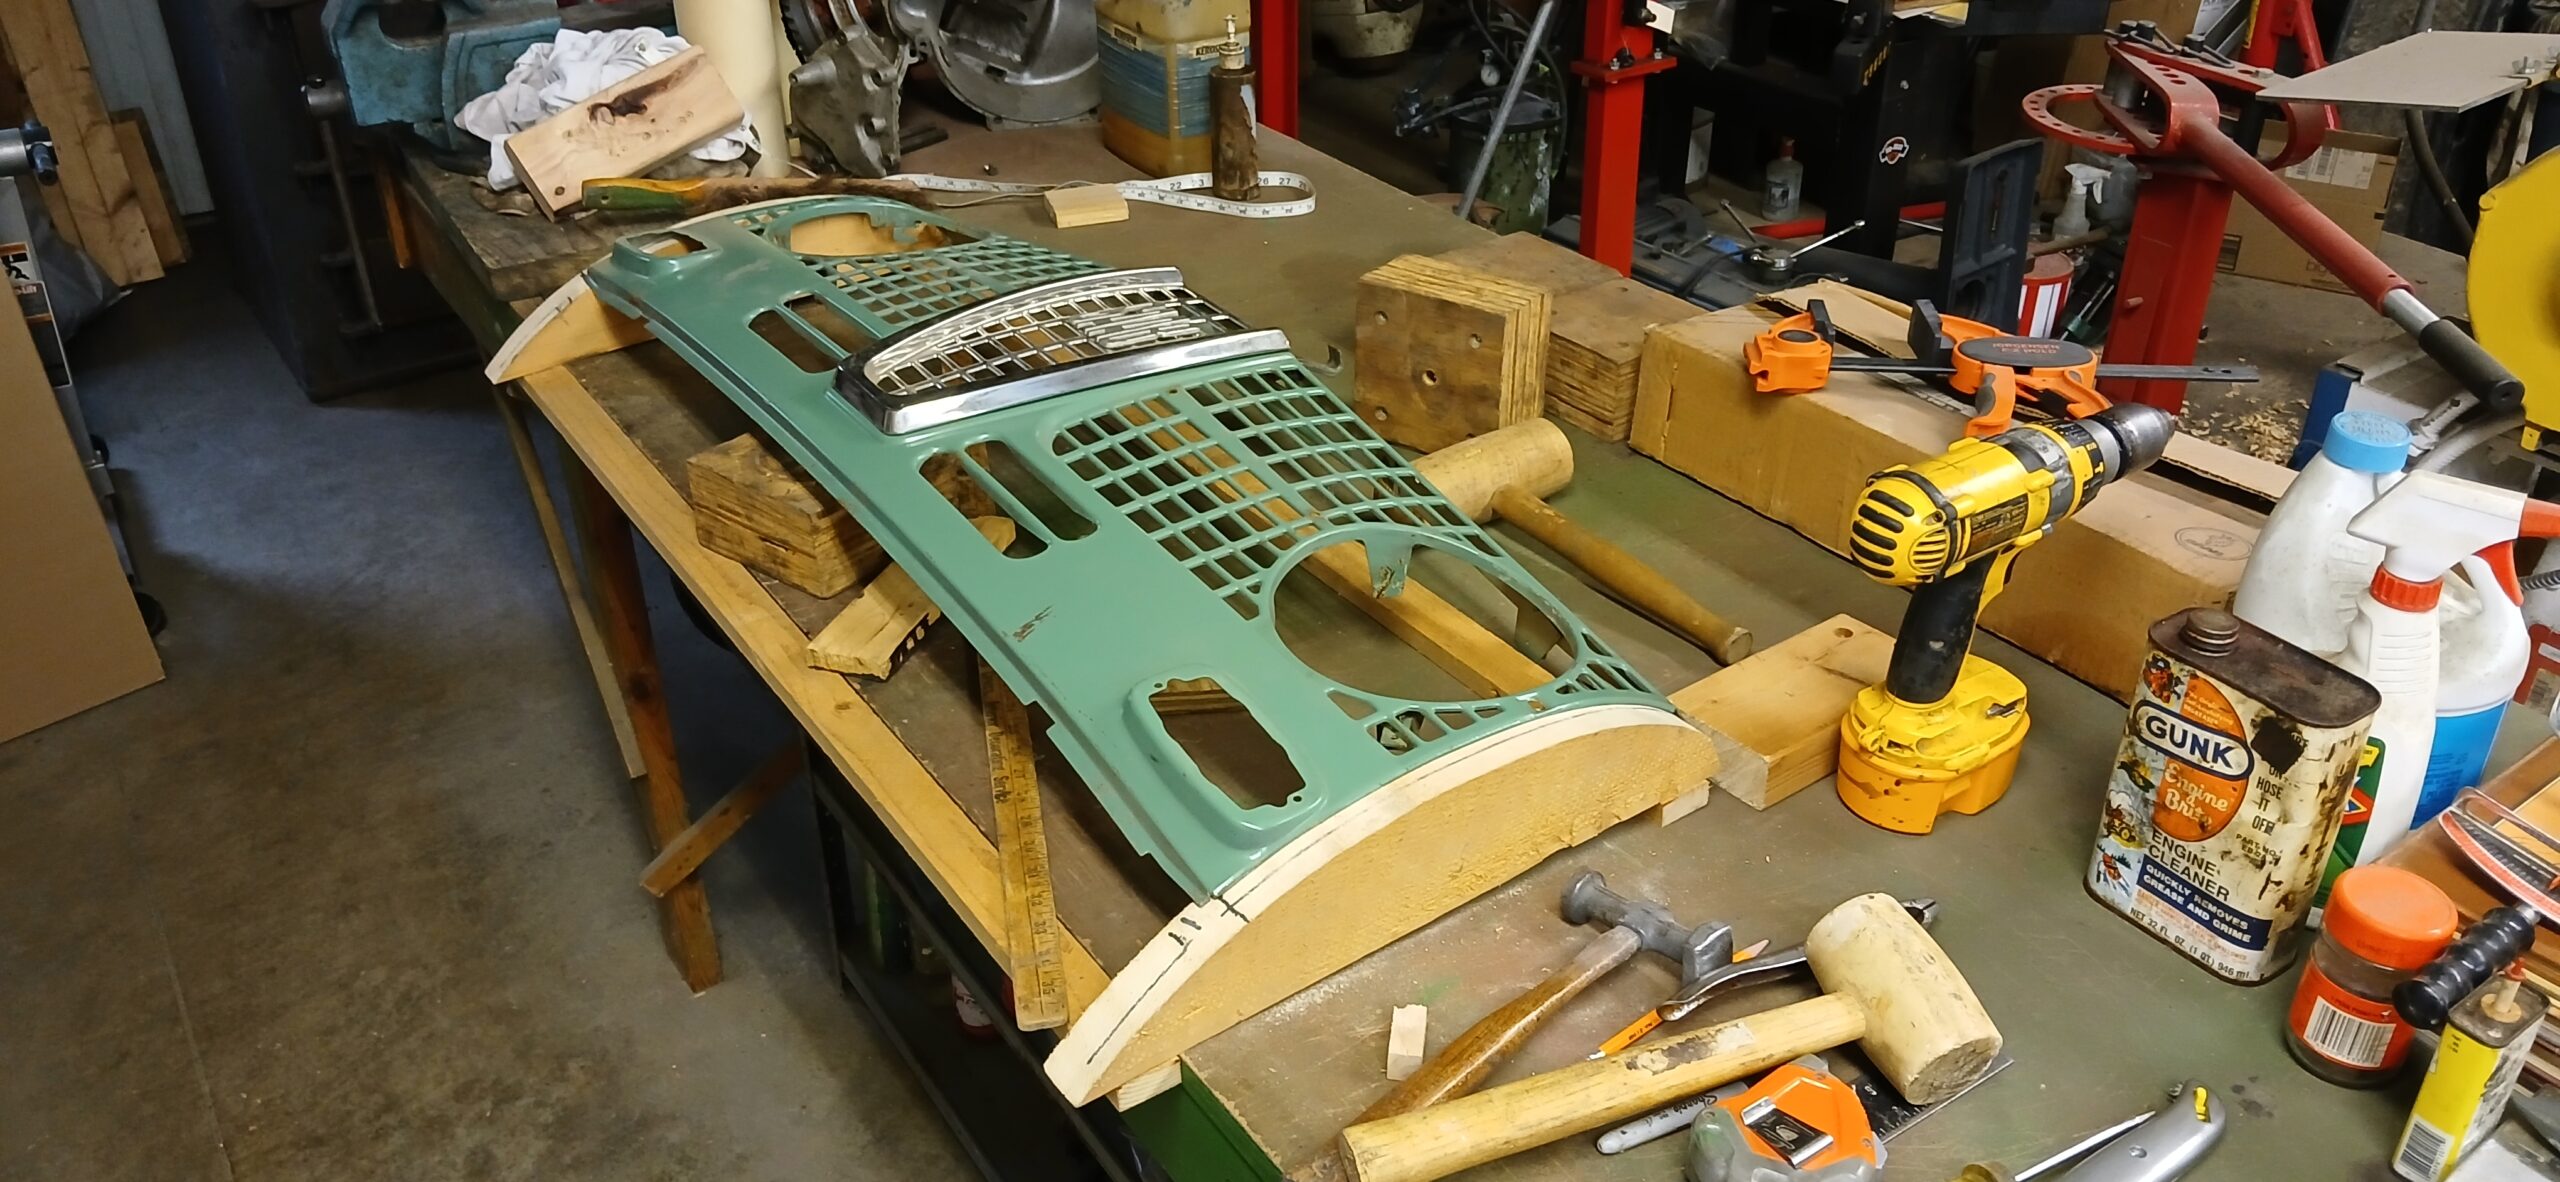
14. Straightened Grille on Jig
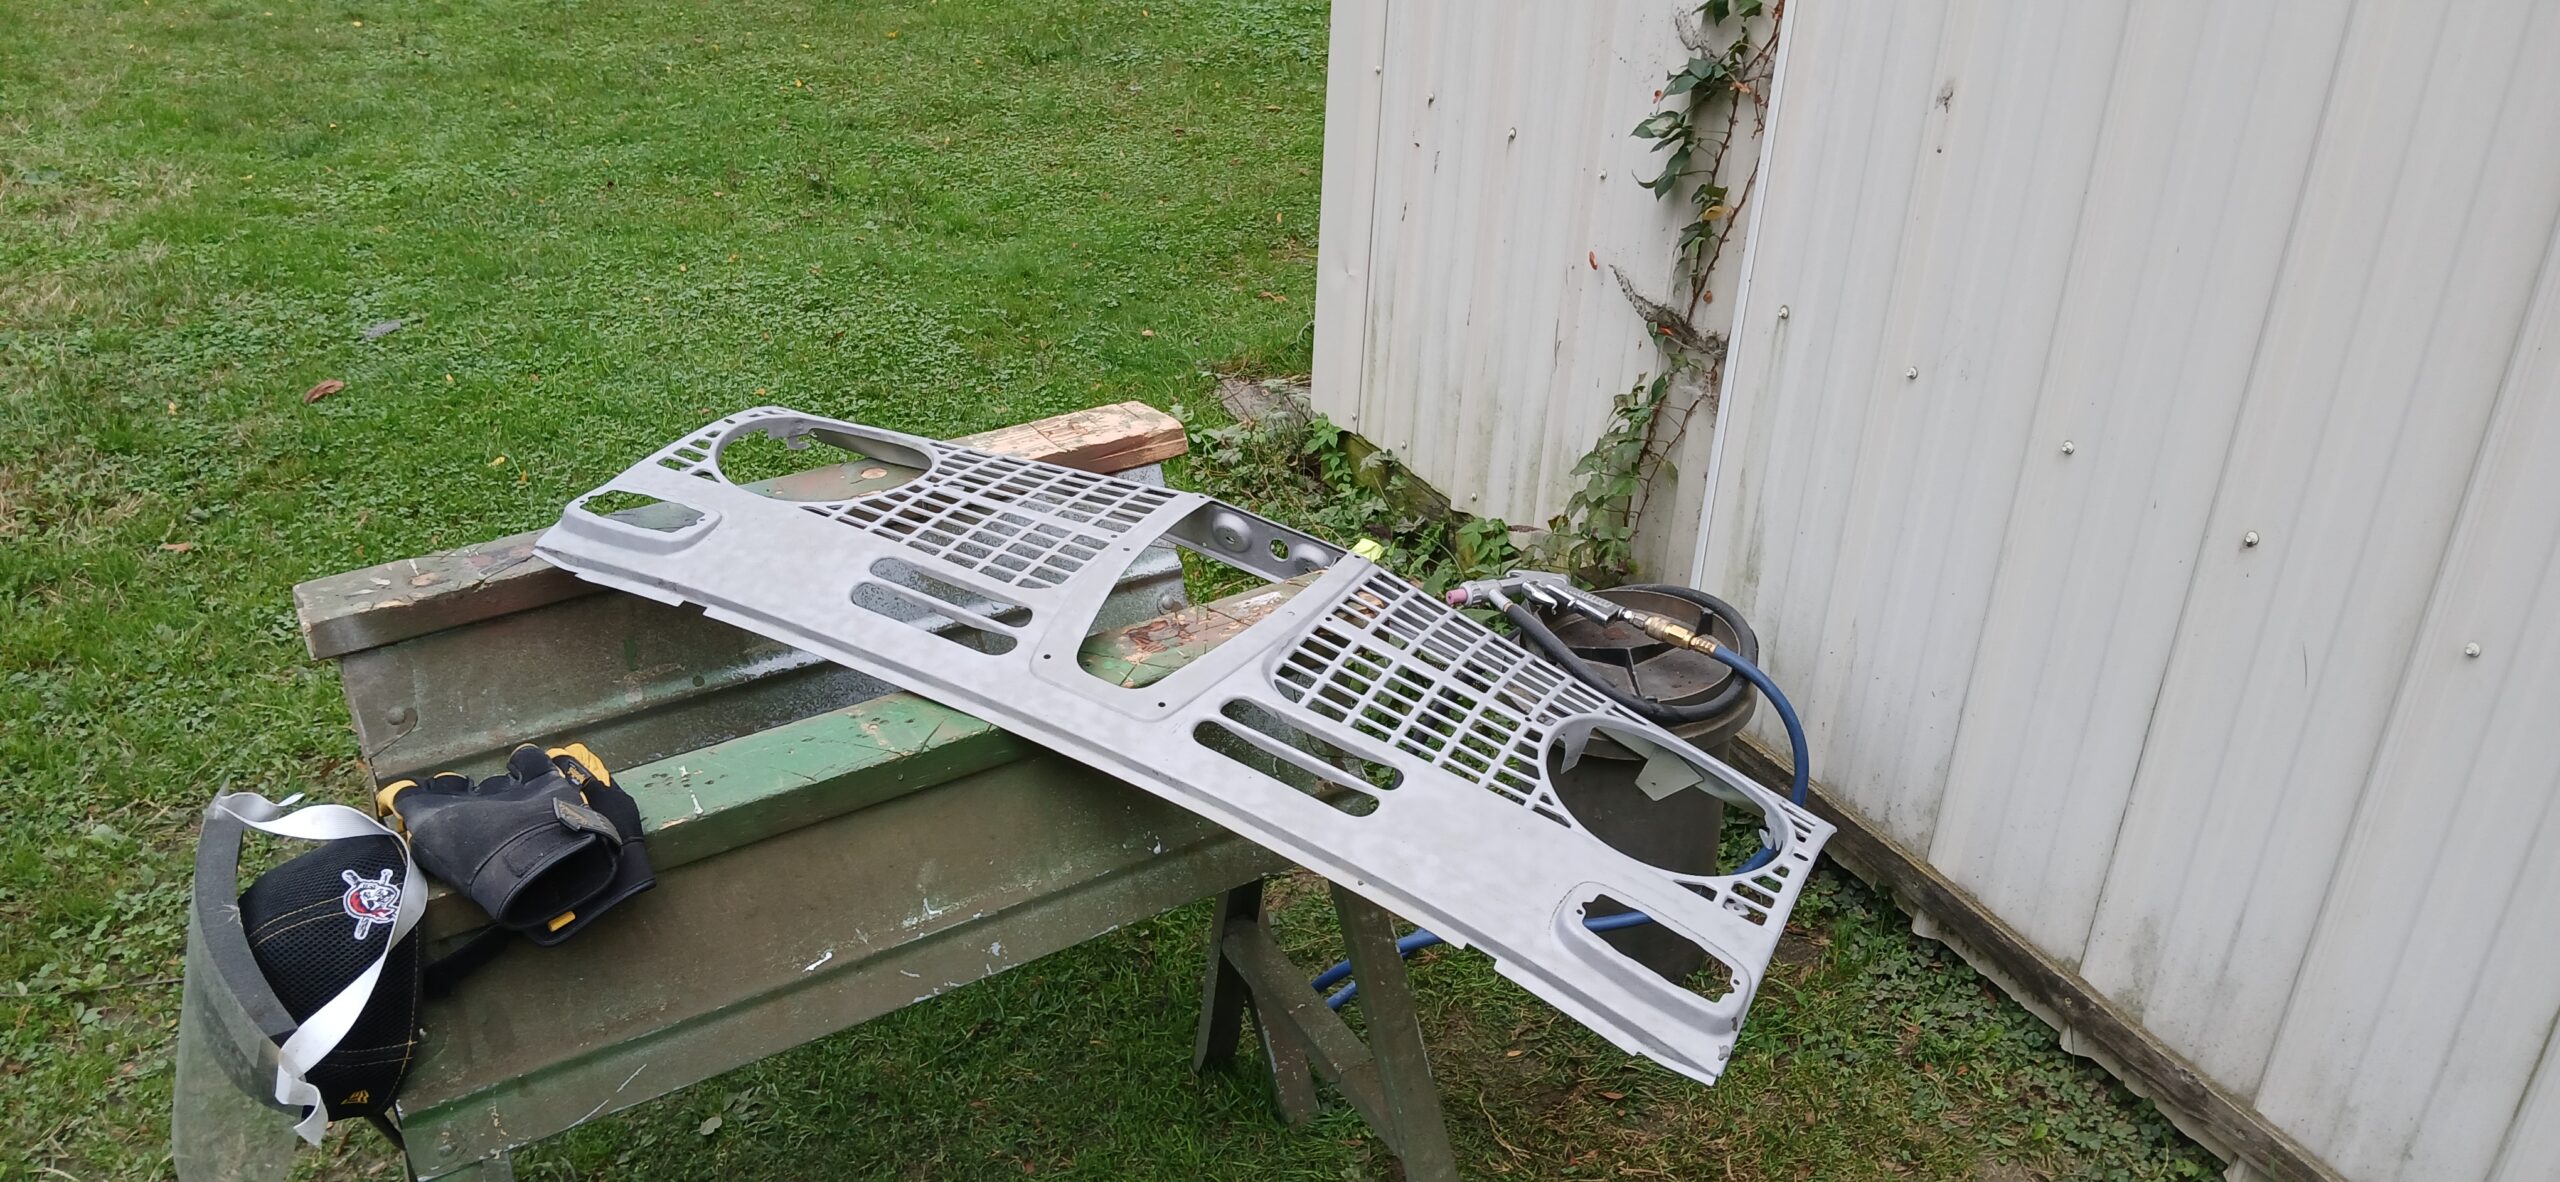
15. Grille After Media Blasting
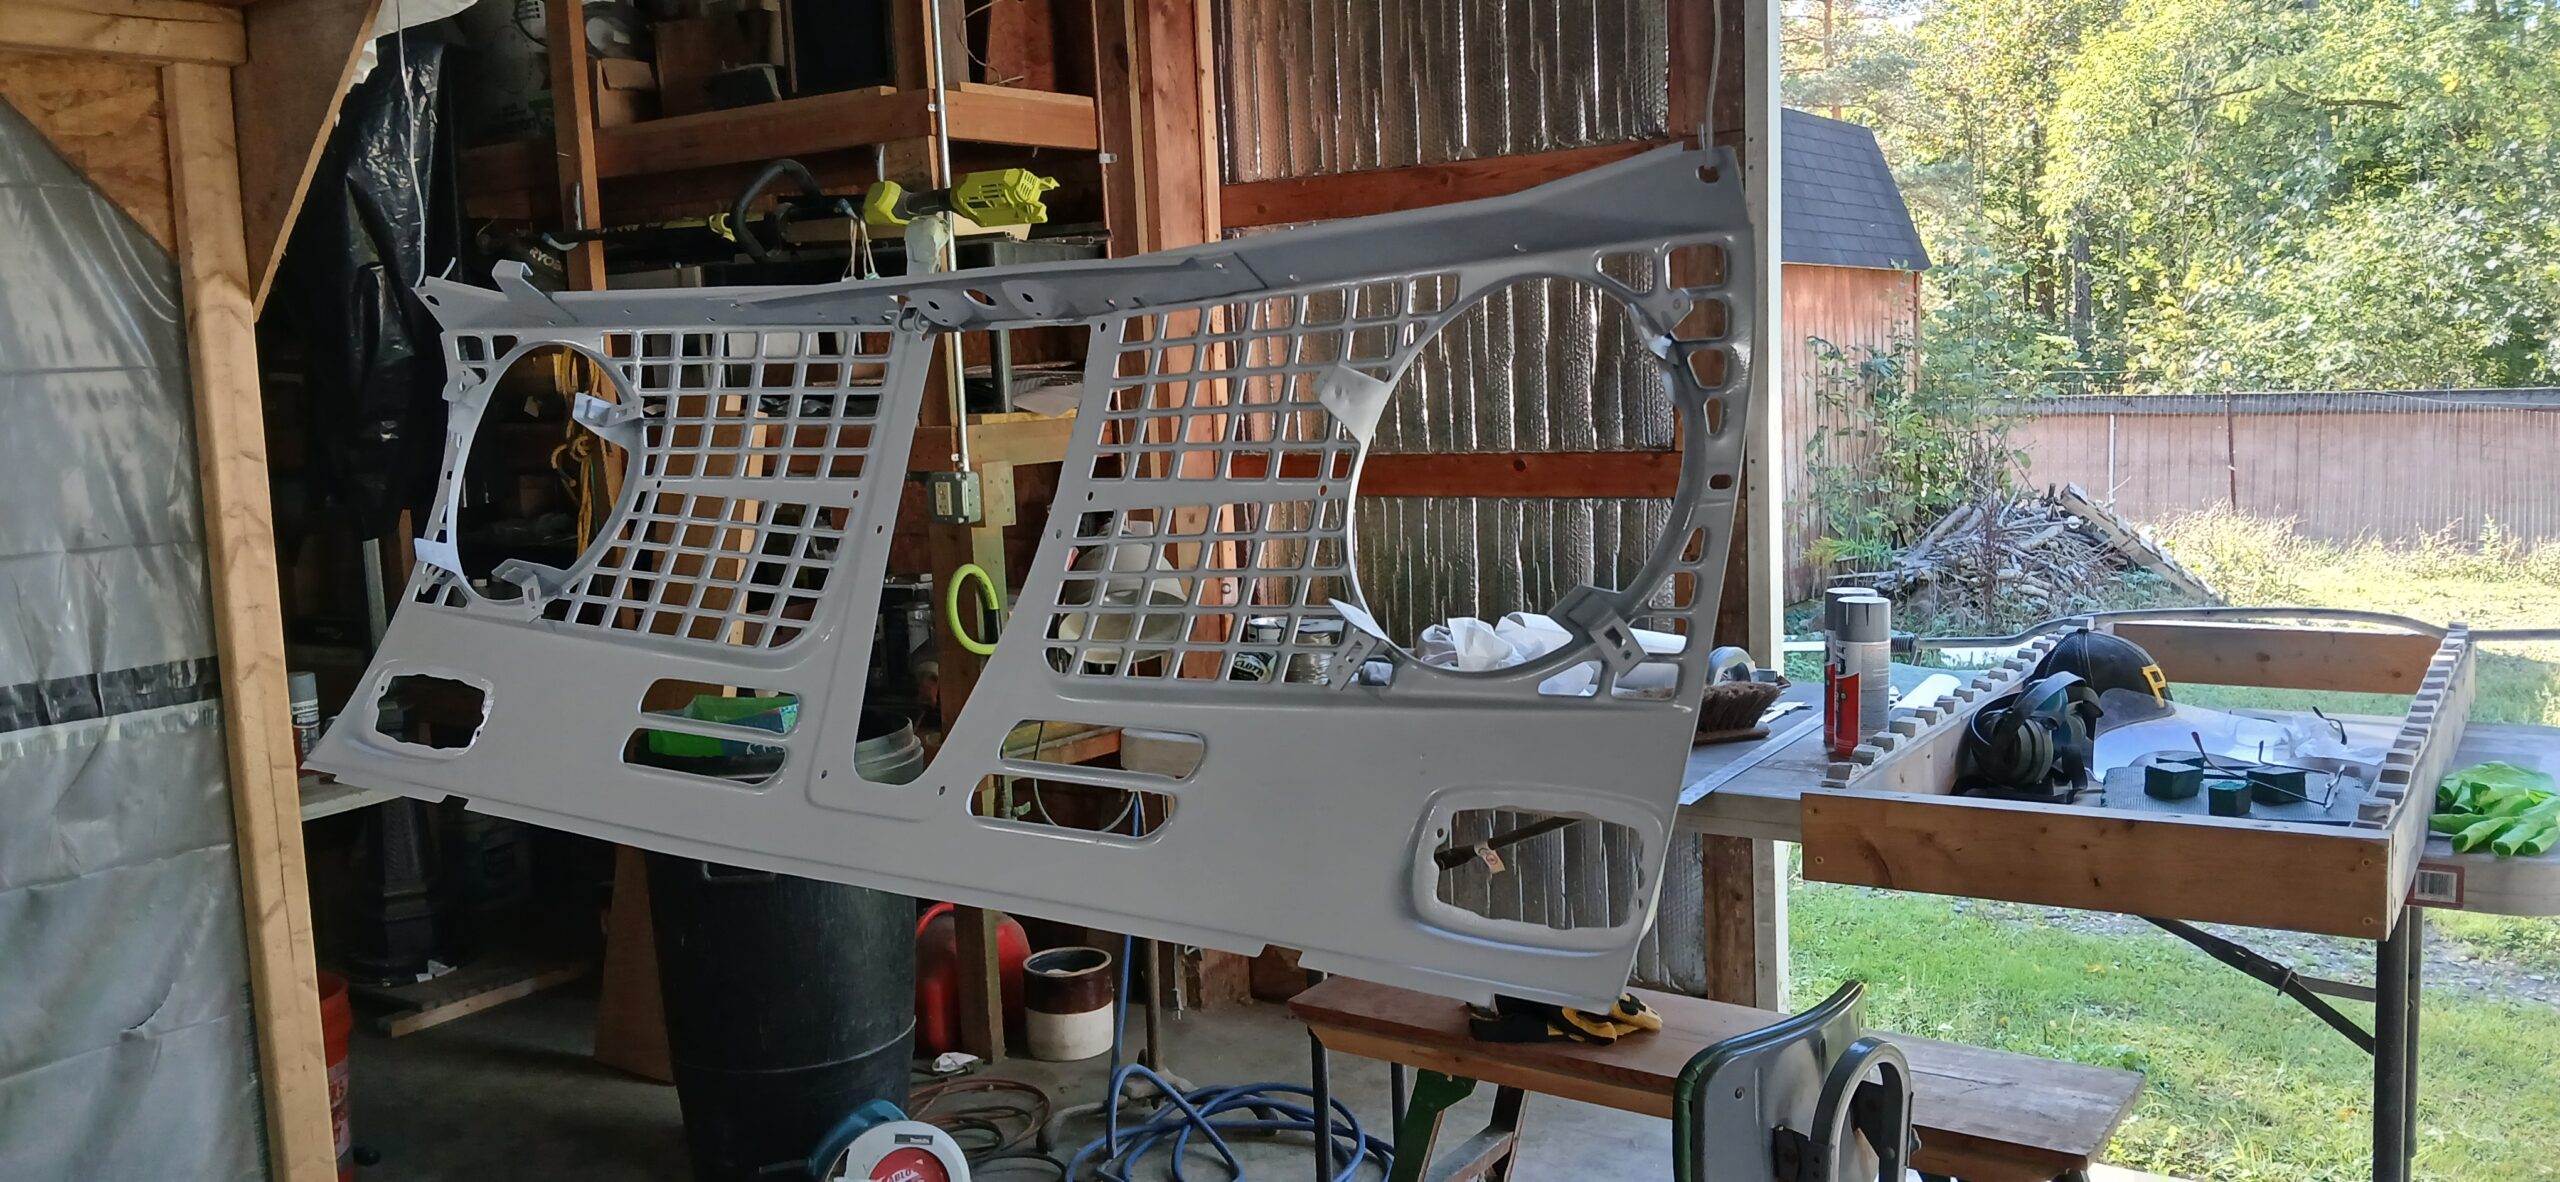
Figure 16 shows the backside after a double coat of sealer/primer. Figure 17 shows the front after a coat of self-etching primer followed by two coats of sealer/primer.
I am happy with the results. Next up are the fenders.
16. Backside of Primed Grille

17. Front of Grille After 2nd Primer/Sealer Coat
Great job Ted! Can not wait for the finish line …. Very nice attention to every detail- a quality restoration.
Carl
Very nice work Ted. Are you happy with the HF SANDBLASTER?
It’s a bit tricky to keep working but it does the job. My 60 gal compressor can’t maintain pressure. It’s only around 40-45 PSI but gets the job done even at that low pressure.