
Media Blasting Underside
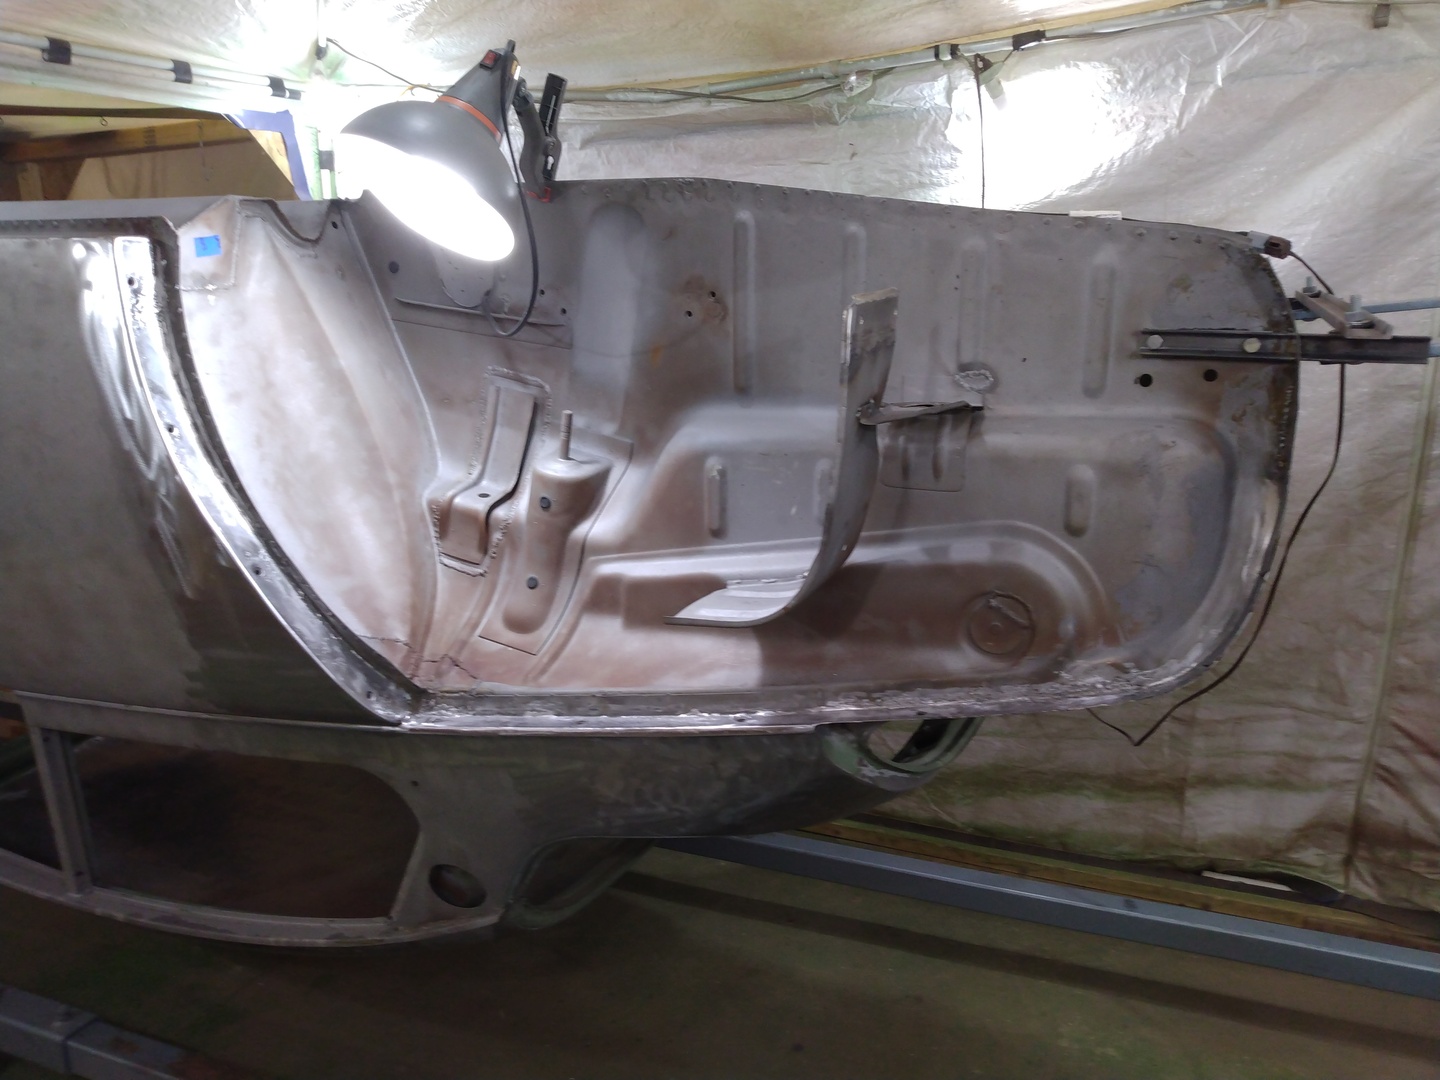
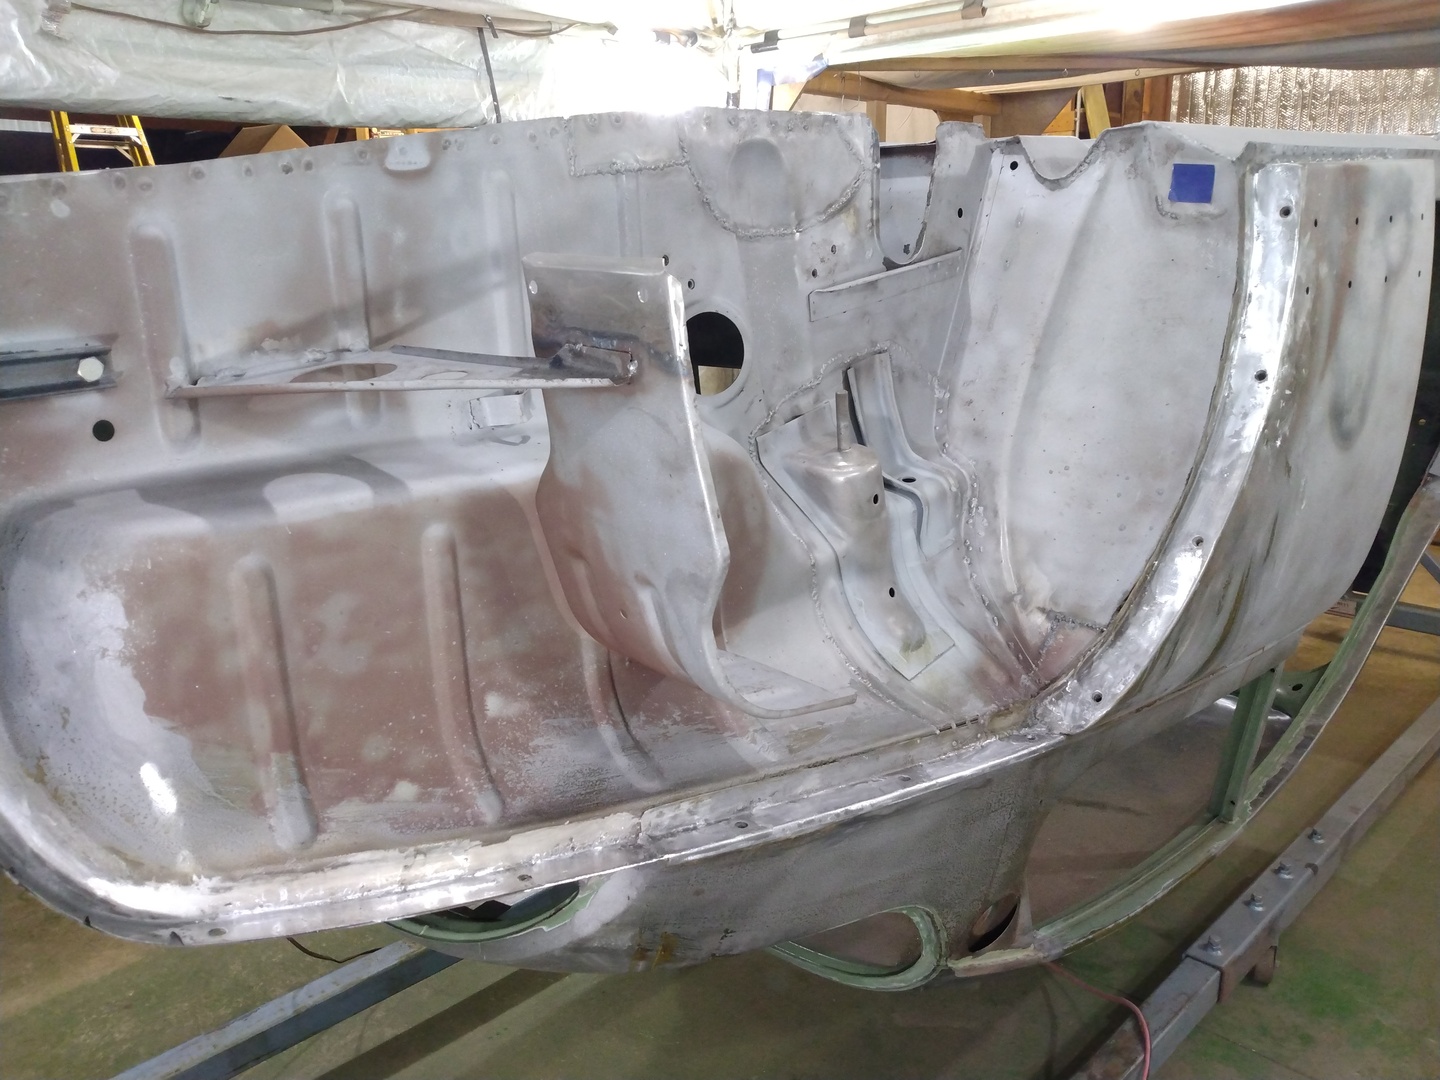
The most economical media for blasting is coal slag. It’s effective and leaves the metal well textured so paint should adhere well. Figure 1 shows the car rolled outside for blasting. Figure 2 shows the work in progress, and Figure 3 shows the completed blasting of the underside.
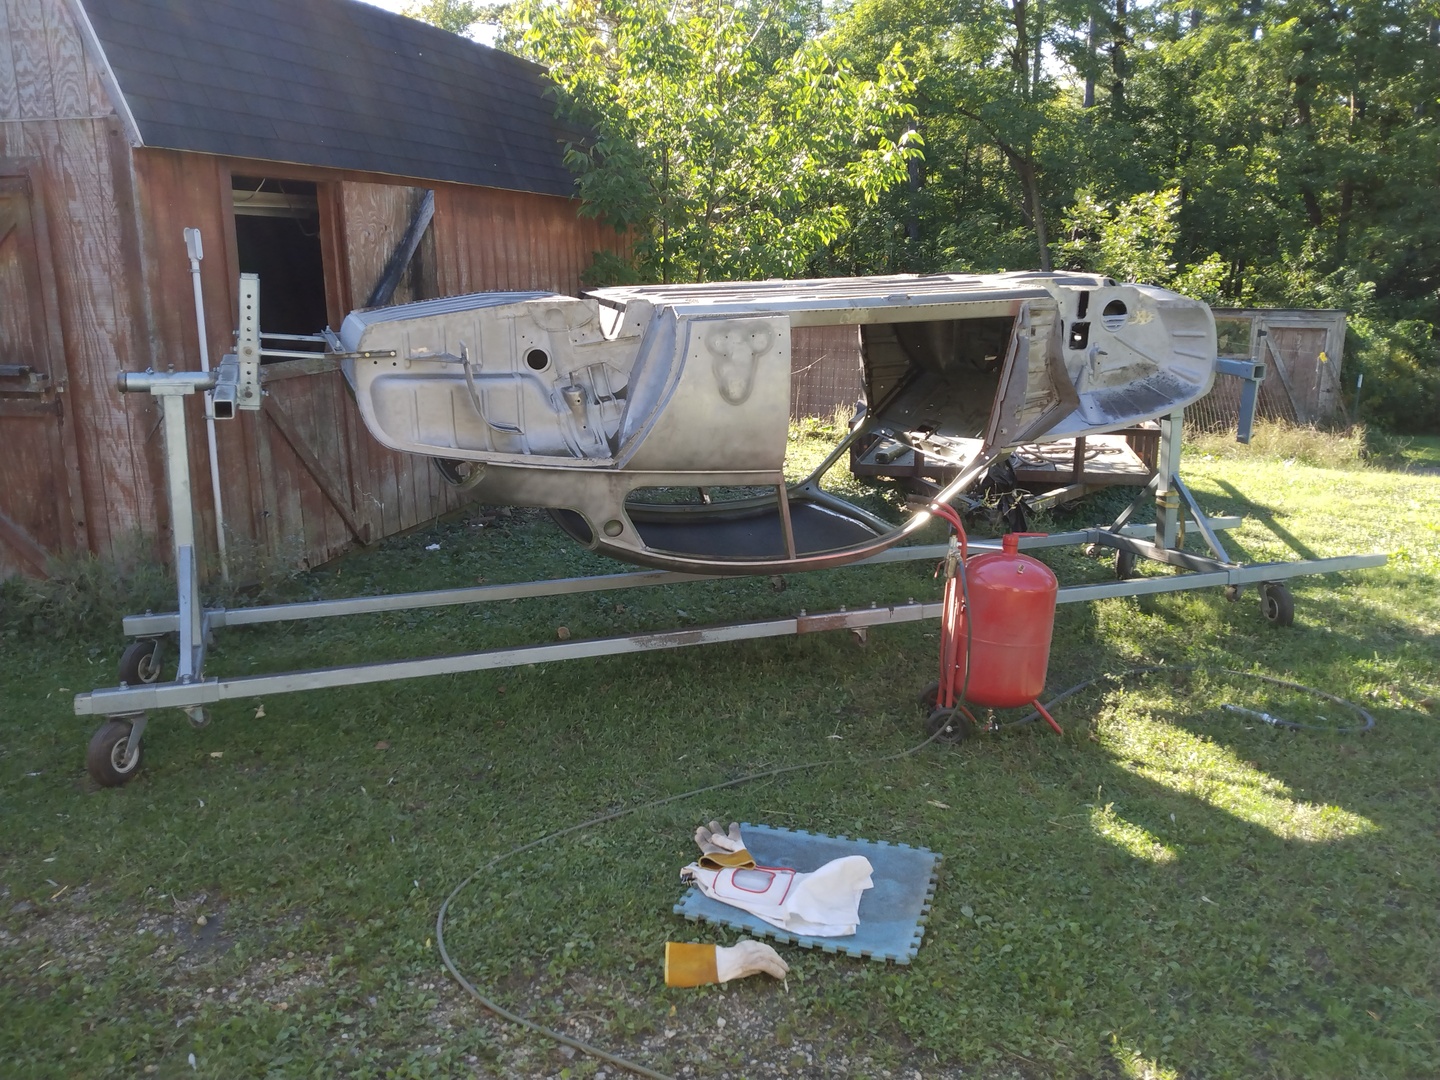
1. Saab Outside for Media Blasting

2. Media Blasting Floor Pan
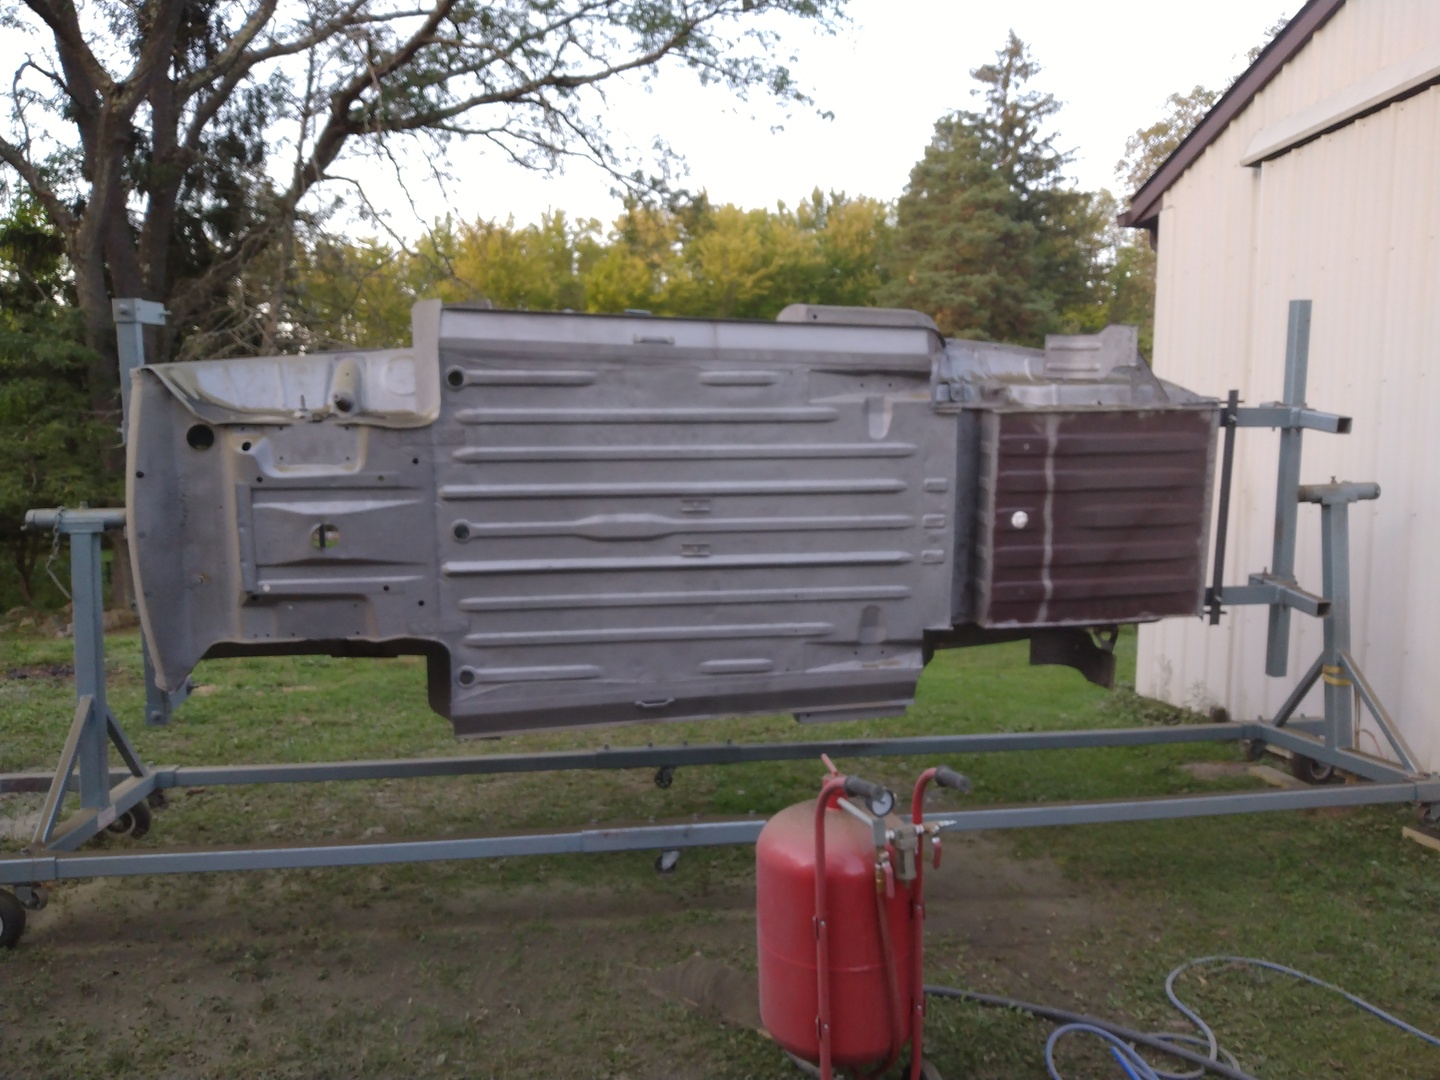
3. Underside Media Blasting Complete
Cleaning up an oops
In Figure 4, I am using a cobbled up vacuum attachment to vacuum the rocker frames. I had forgotten to cover the holes at each end prior to blasting. Figures 5-6 are interior camera shots verifying all media was cleaned out.

4. Vacuuming Blast Media from Rocker Frame
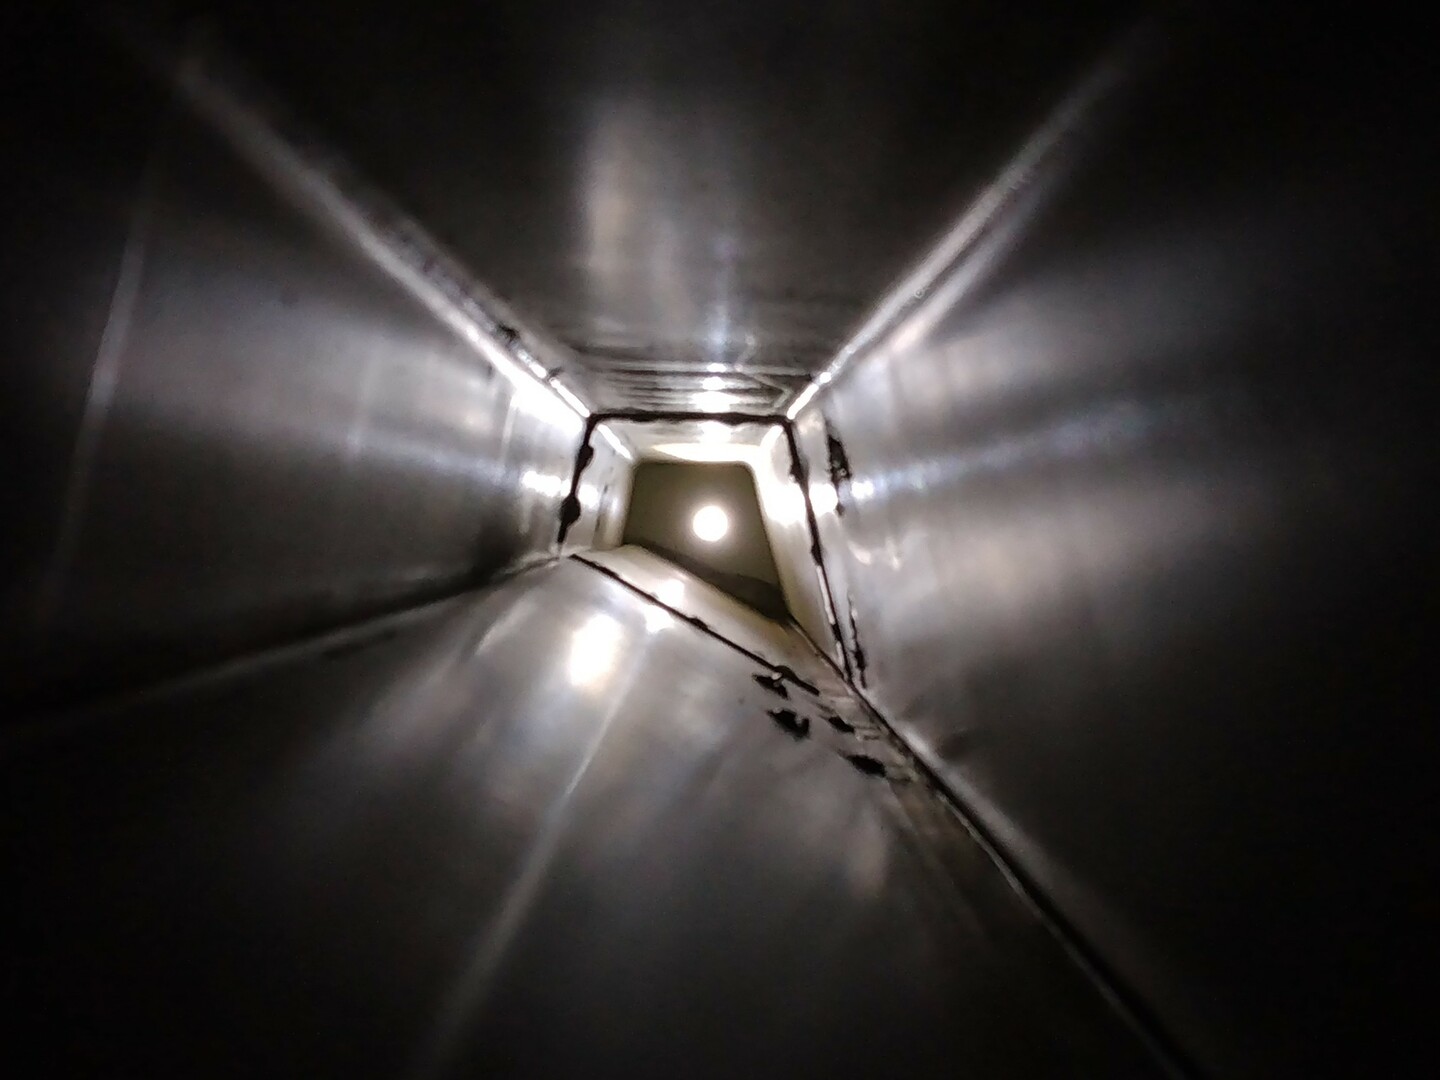
5. Inside of Passenger Side Rocker Frame
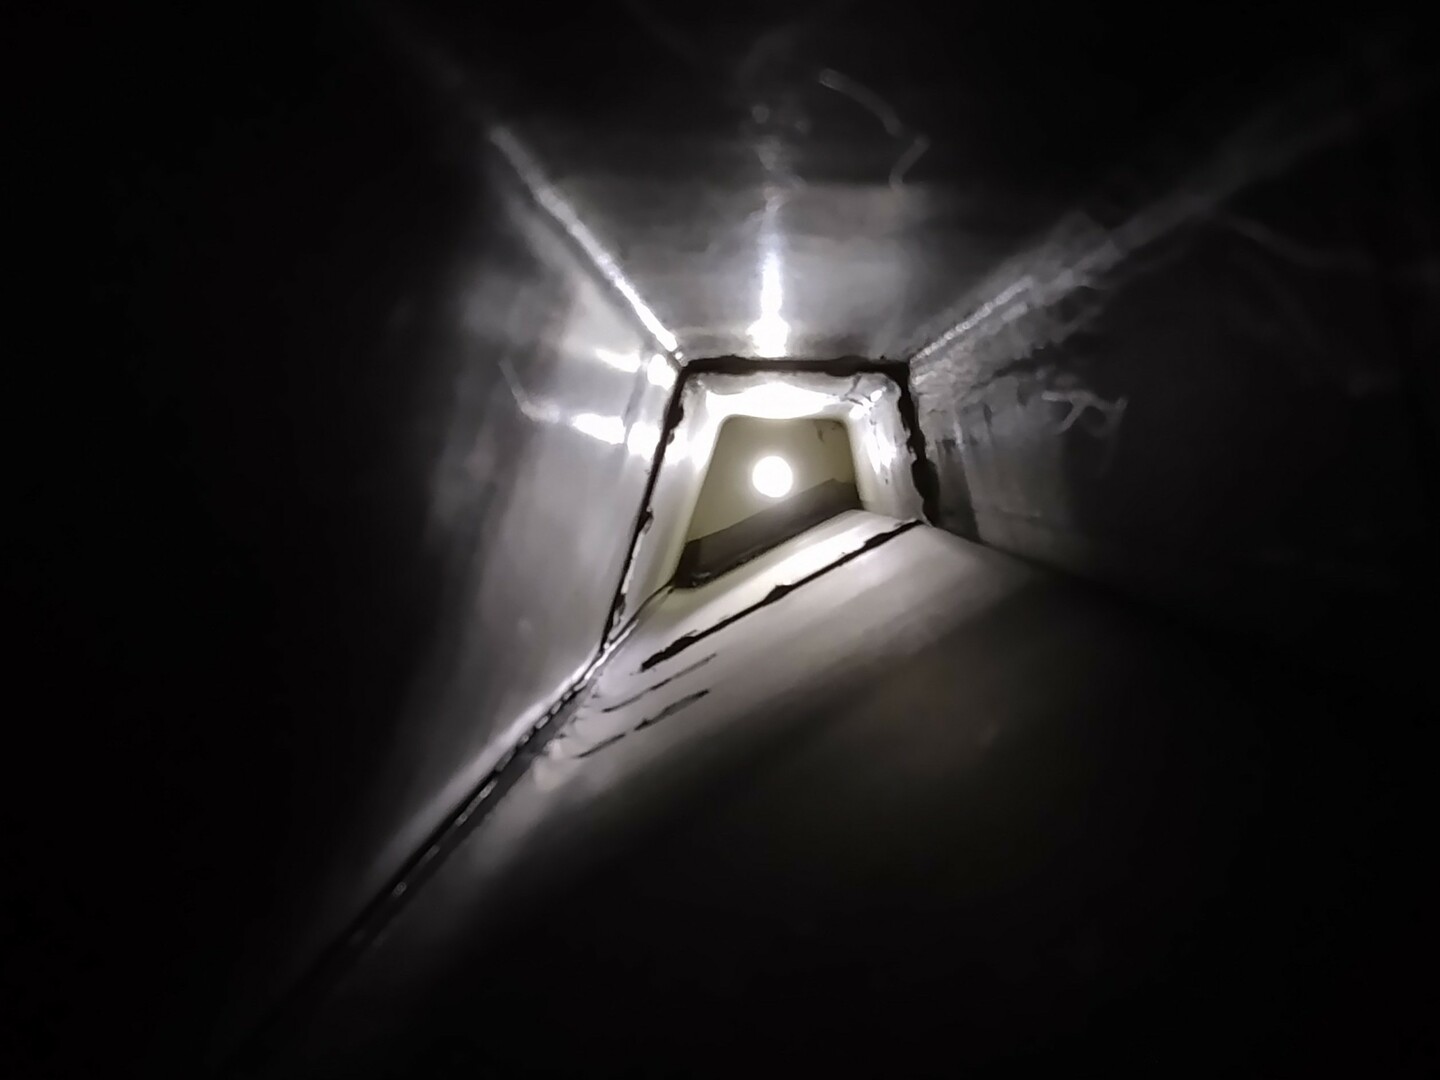
6. Inside of Driver Side Rocker Frame
Tinning and Leading Rear Fender Mount Areas
The fender mounting areas for the rear fenders were reasonably solid but rough so I decided to tin those areas and smooth them with body solder. Figures 7-8 show the result.
7. Tinning and Leading Fender Mount Area
8. Tinning and Leading Fender Mount Area
Masking in Advance of Coating Underside
Figures 9-10 show the body being masked to prevent over-spray onto the top side. Figure 11 shows the holes in the engine bay being covered to prevent spray-through into the bay.
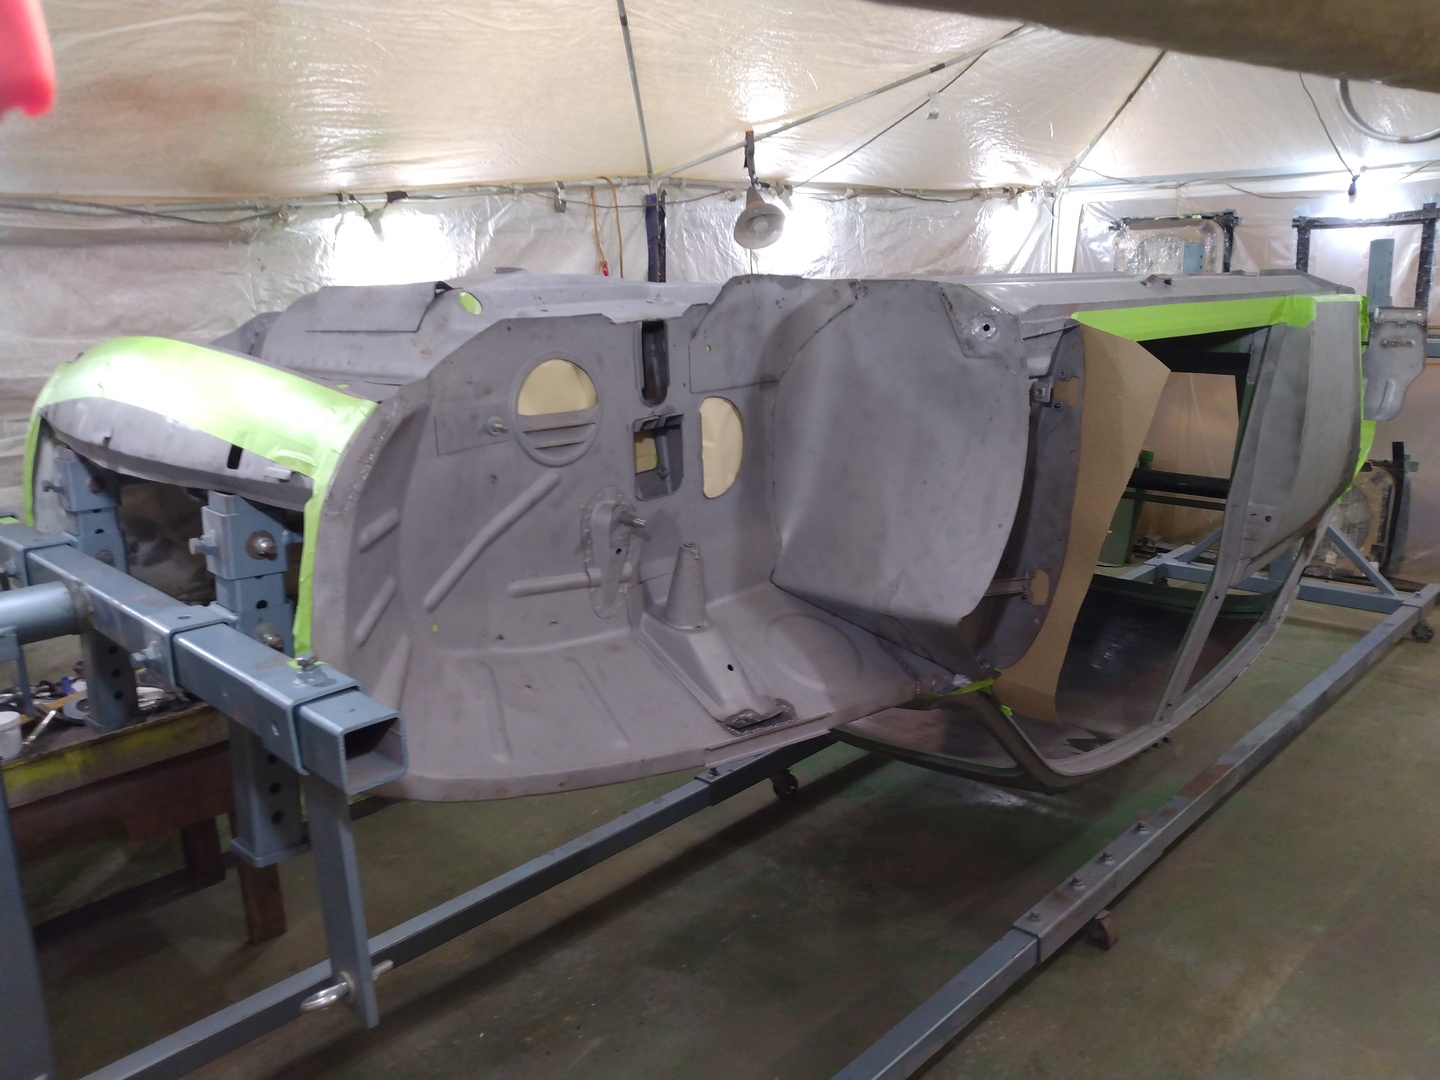
9. Masking for Epoxy Primer

10. Masking for Epoxy Primer

11. Masking Holes in Engine Bay
Senility Rears Its Ugly Head
Both the epoxy primer and the Raptor bedliner coatings are 2-part products meaning that each requires addition of an activator prior to application. The epoxy primer has a time window during which any top coatings can be applied, 1-5 days in this case. Beyond that time, the coating is fully cured and has a hard glossy surface to which coatings don’t adhere very well.
Well, I was all set to apply everything, both the primer and bedliner, on the same day. I double checked everything and poured half the activator into the primer and mixed. The primer immediately started resembling tapioca pudding and I wondered how on earth I could spray that. At this point, to my horror, I looked up and saw the unopened can of epoxy paint activator still sitting on the bench! I had poured half the Raptor bedliner activator into the epoxy paint! Half my very expensive product turned to garbage!
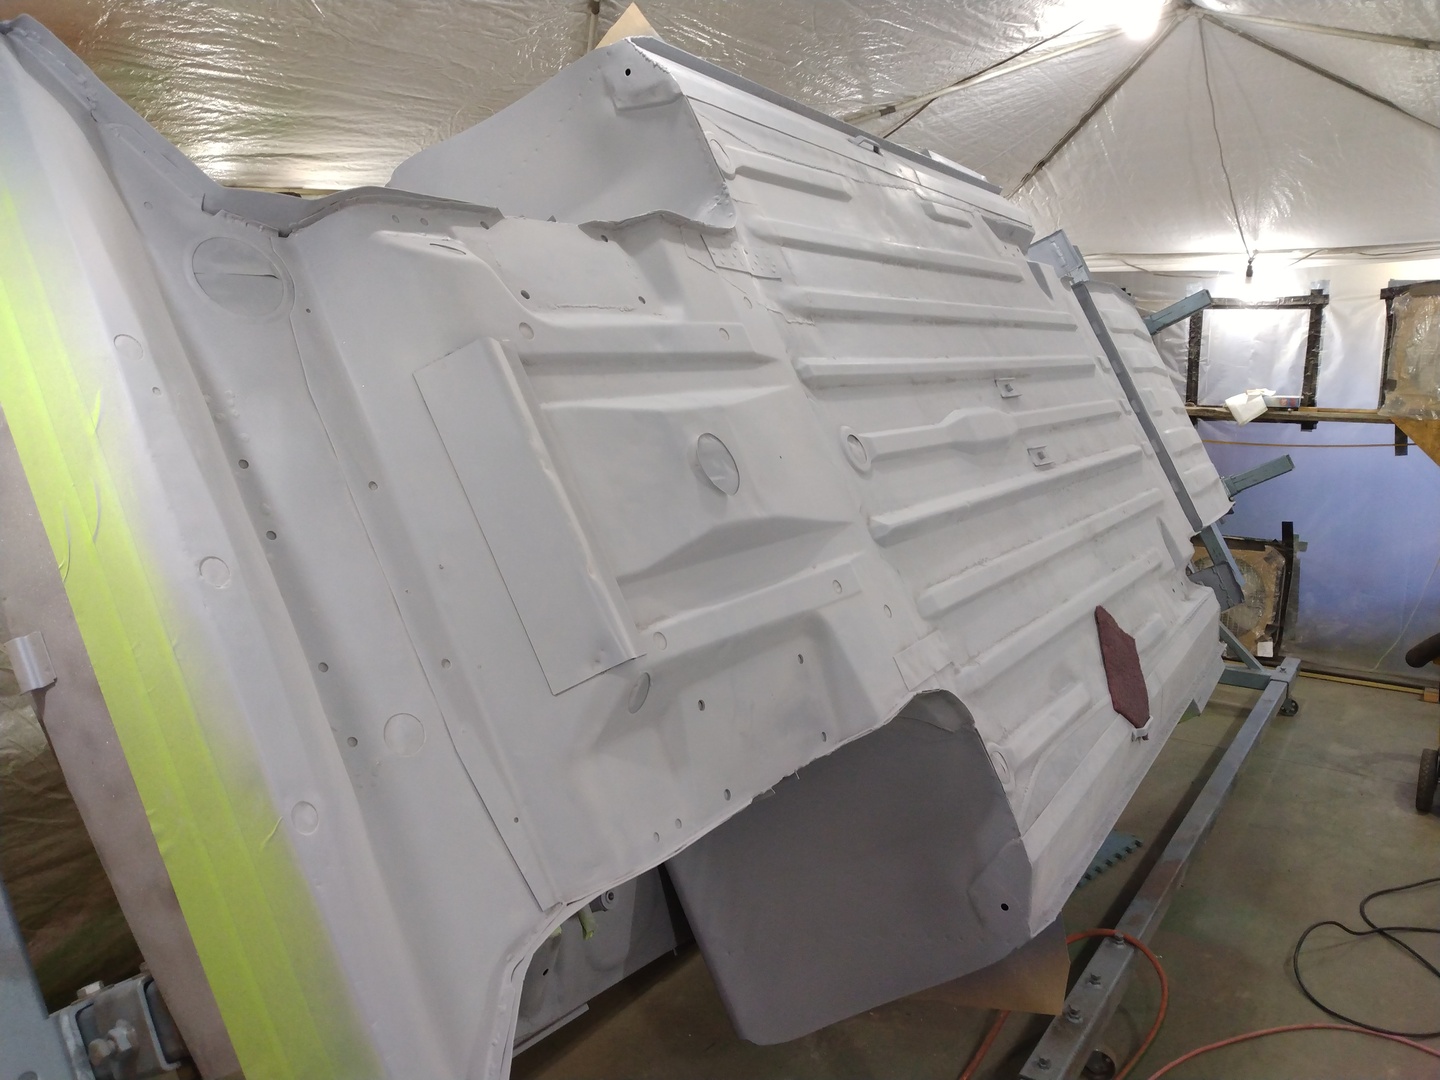
I should have called it quits and waited until I restocked before continuing. However, not thinking too clearly at this point, I decided I still had enough primer to at least get the primer sprayed which is what I did. Figures 12-13 show the rather nice result.
What I failed to consider, however, was that I couldn’t restock the Raptor bedliner until the top-coating window had expired. The surface needed to be deglossed and roughed up before top coating. Well, 3M Scotch-Brite seemed to be the preferred fix. Figure 14 shows the result of over 4 hours of manual scrubbing with the Scotch-Brite.
12. Epoxy Primer Applied Rear View
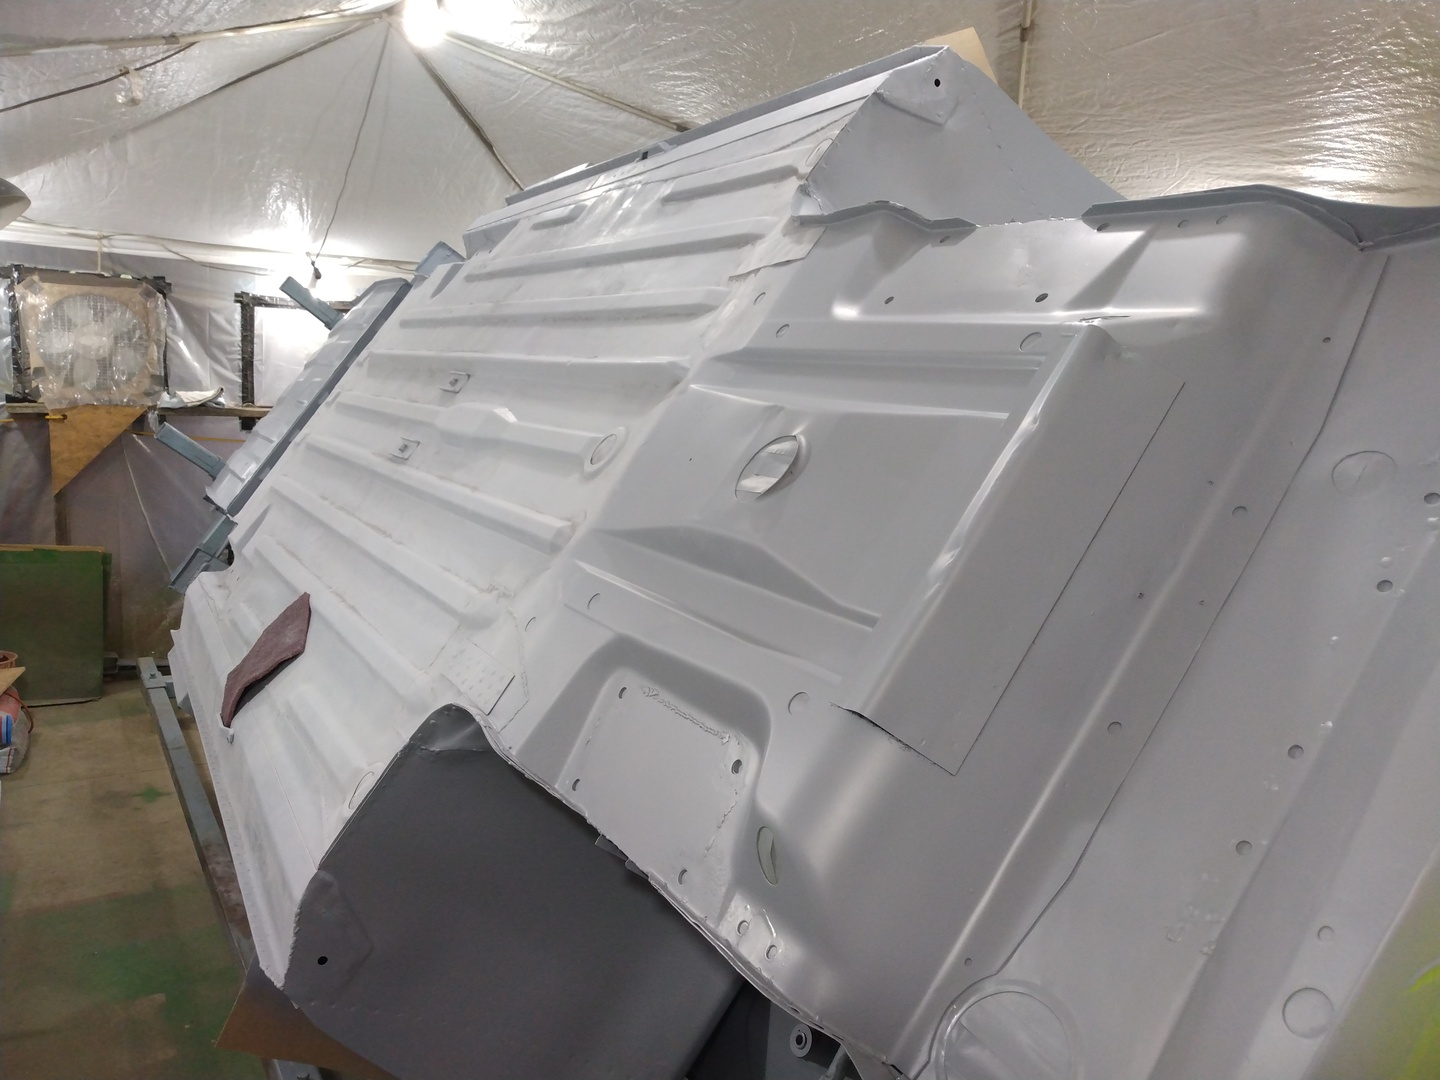
13. Epoxy Primer Applied Front View
14. Result of Hours of 3M Scotch-Brite Scrubbing
Pretty Good Final Result
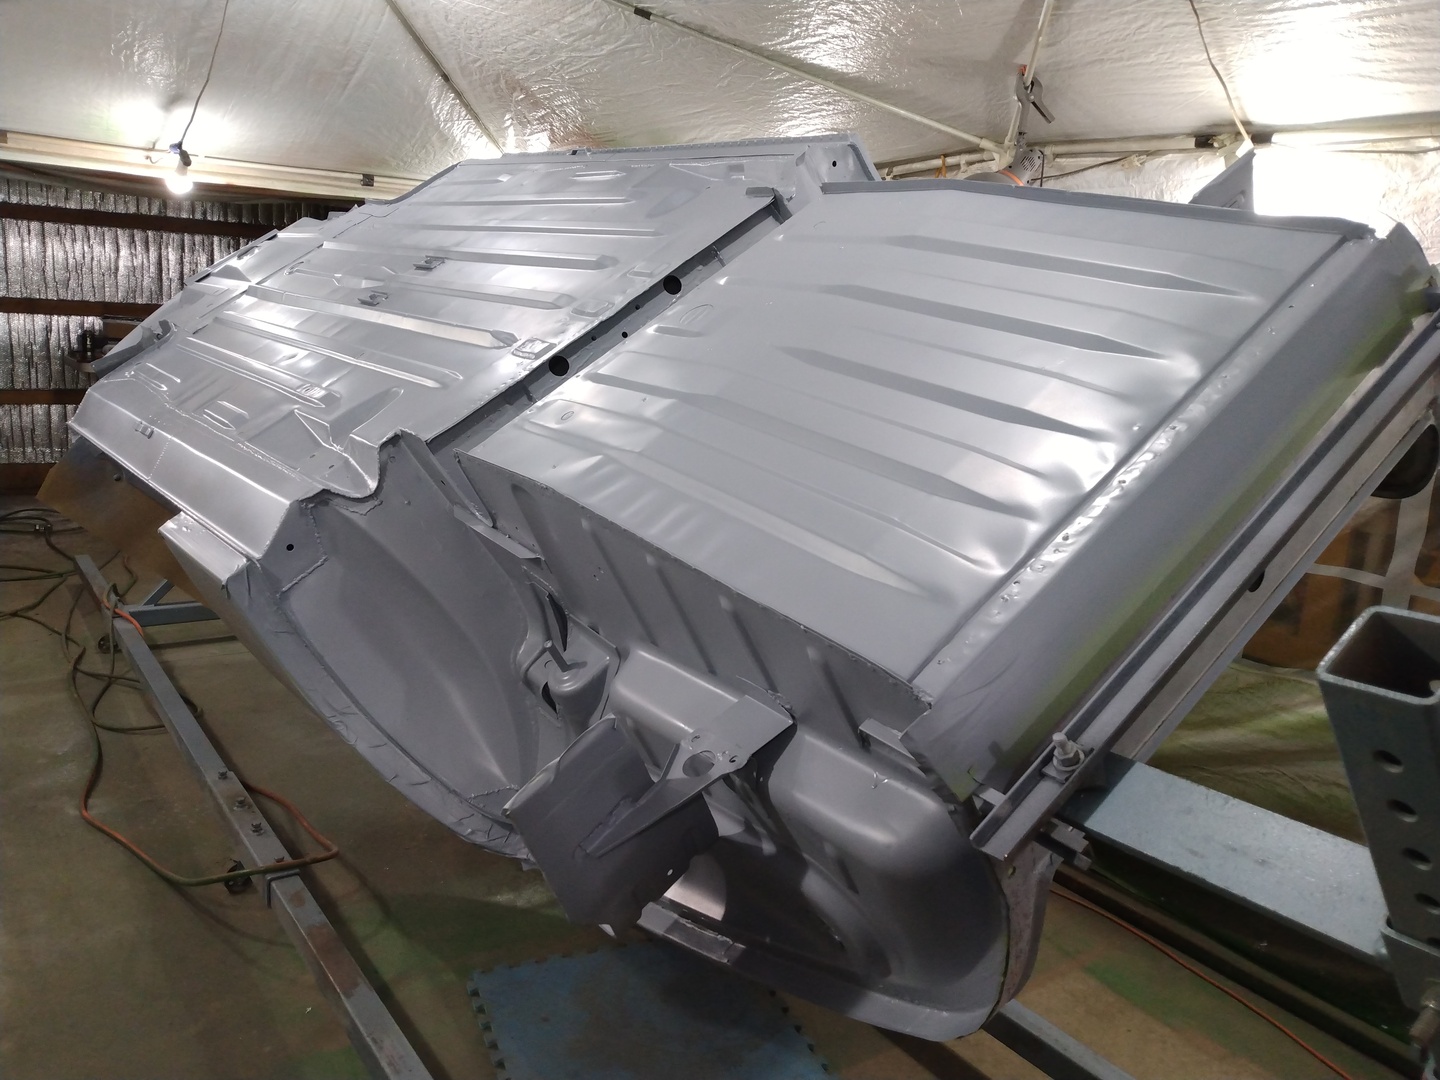
Having adequately prepped the epoxy primer, I set about spraying the Raptor bedliner. I had calculated that I had more than enough for two coats of bedliner but ended up with one thick coat. The outside temperature had dropped to below 50 degrees (Fahrenheit), well below the recommended temperature range. I had the barn heated with a wood stove to over 55 but I had to open the barn doors and run large exhaust fans so the heat didn’t help much. I think the cool temperature prevented the spray from atomizing adequately and I ended up with a thick, rather smooth coating instead of the typical rough textured coating. However, I like it better this way for the underbody. Figures 15-19 show the result. Very happy.

15. Raptor Bed Liner Applied
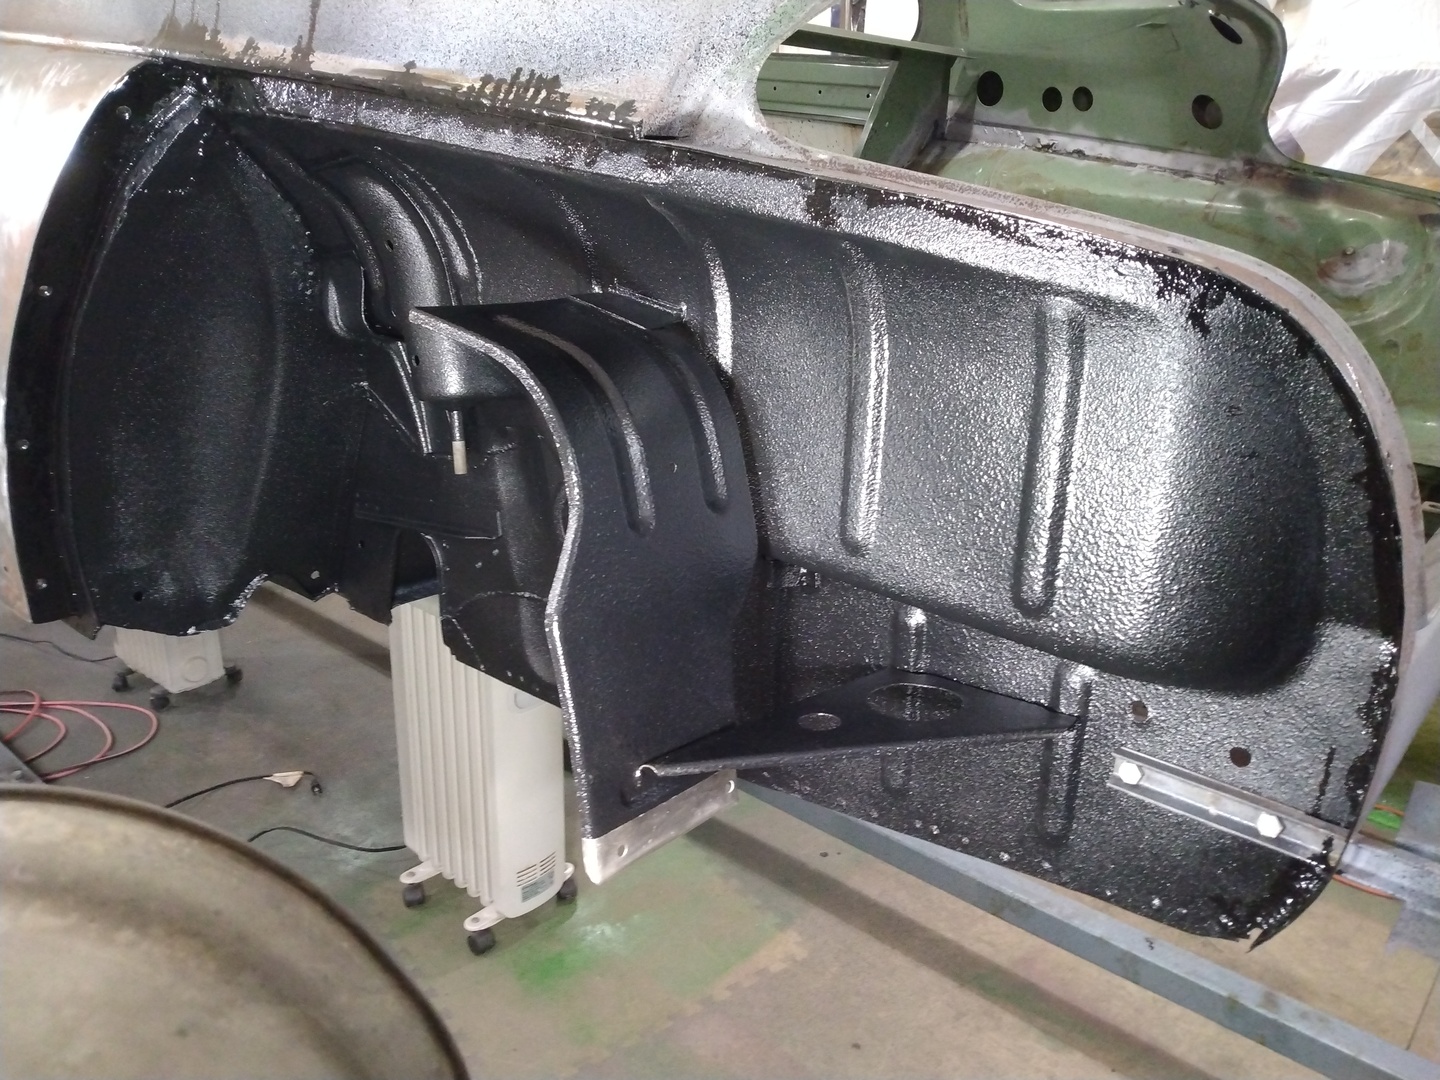
16. Driver Side Rear Wheel Housing Closeup
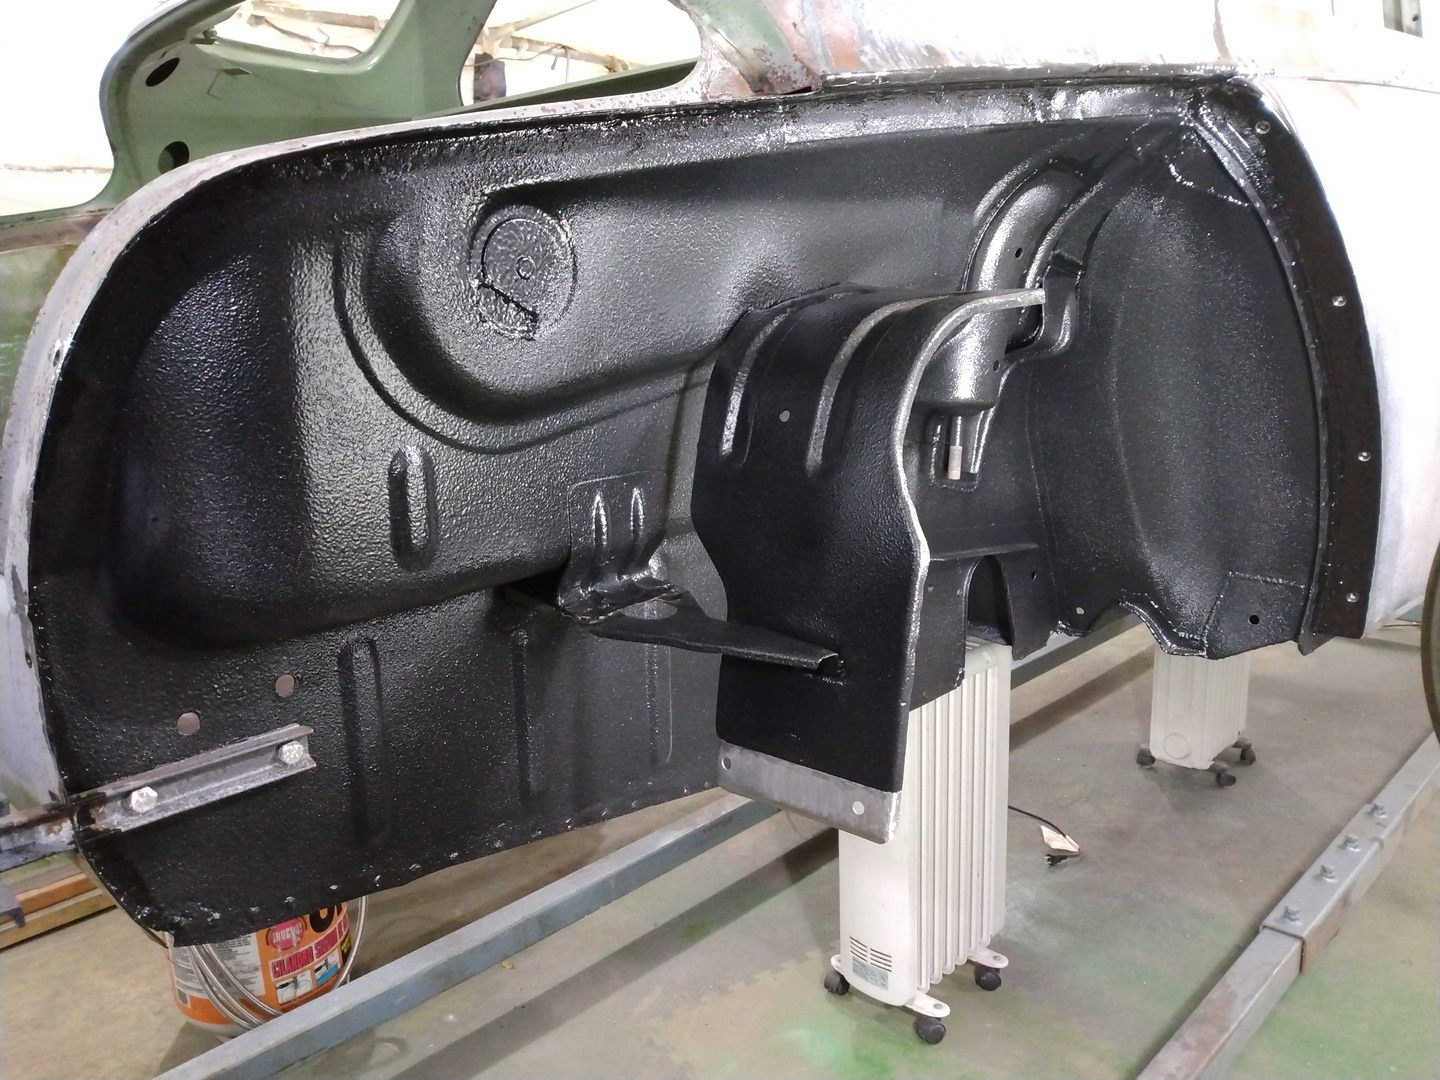
17. Passenger Side Rear Wheel Housing Closeup
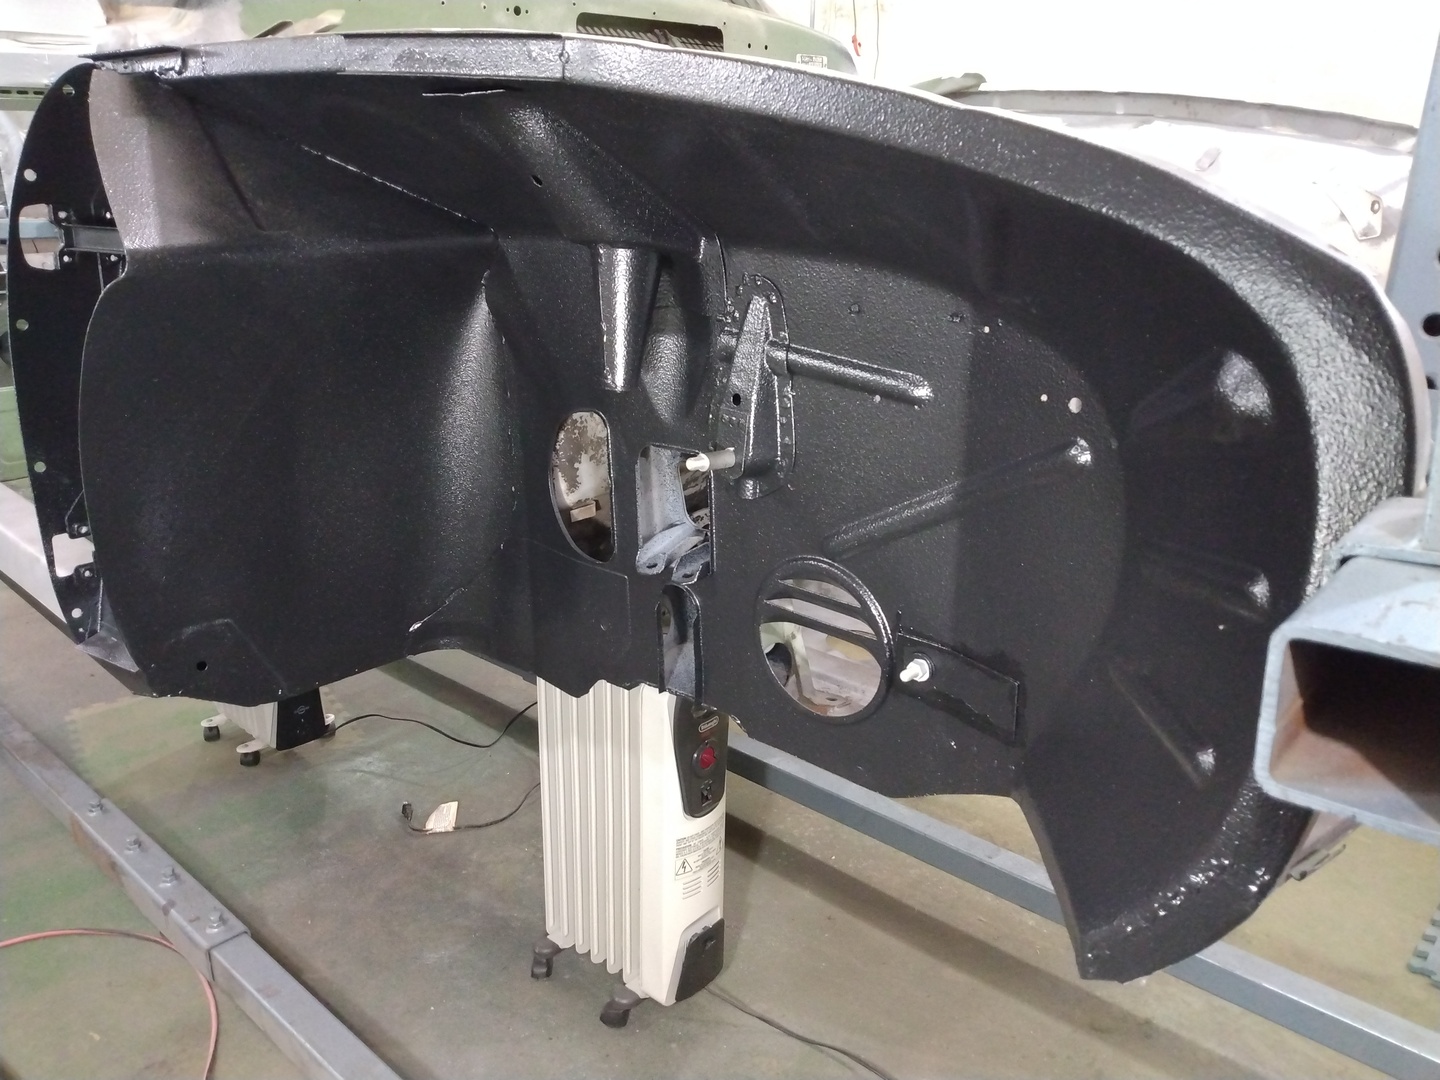
18. Passenger Side Front Wheel Housing Closeup
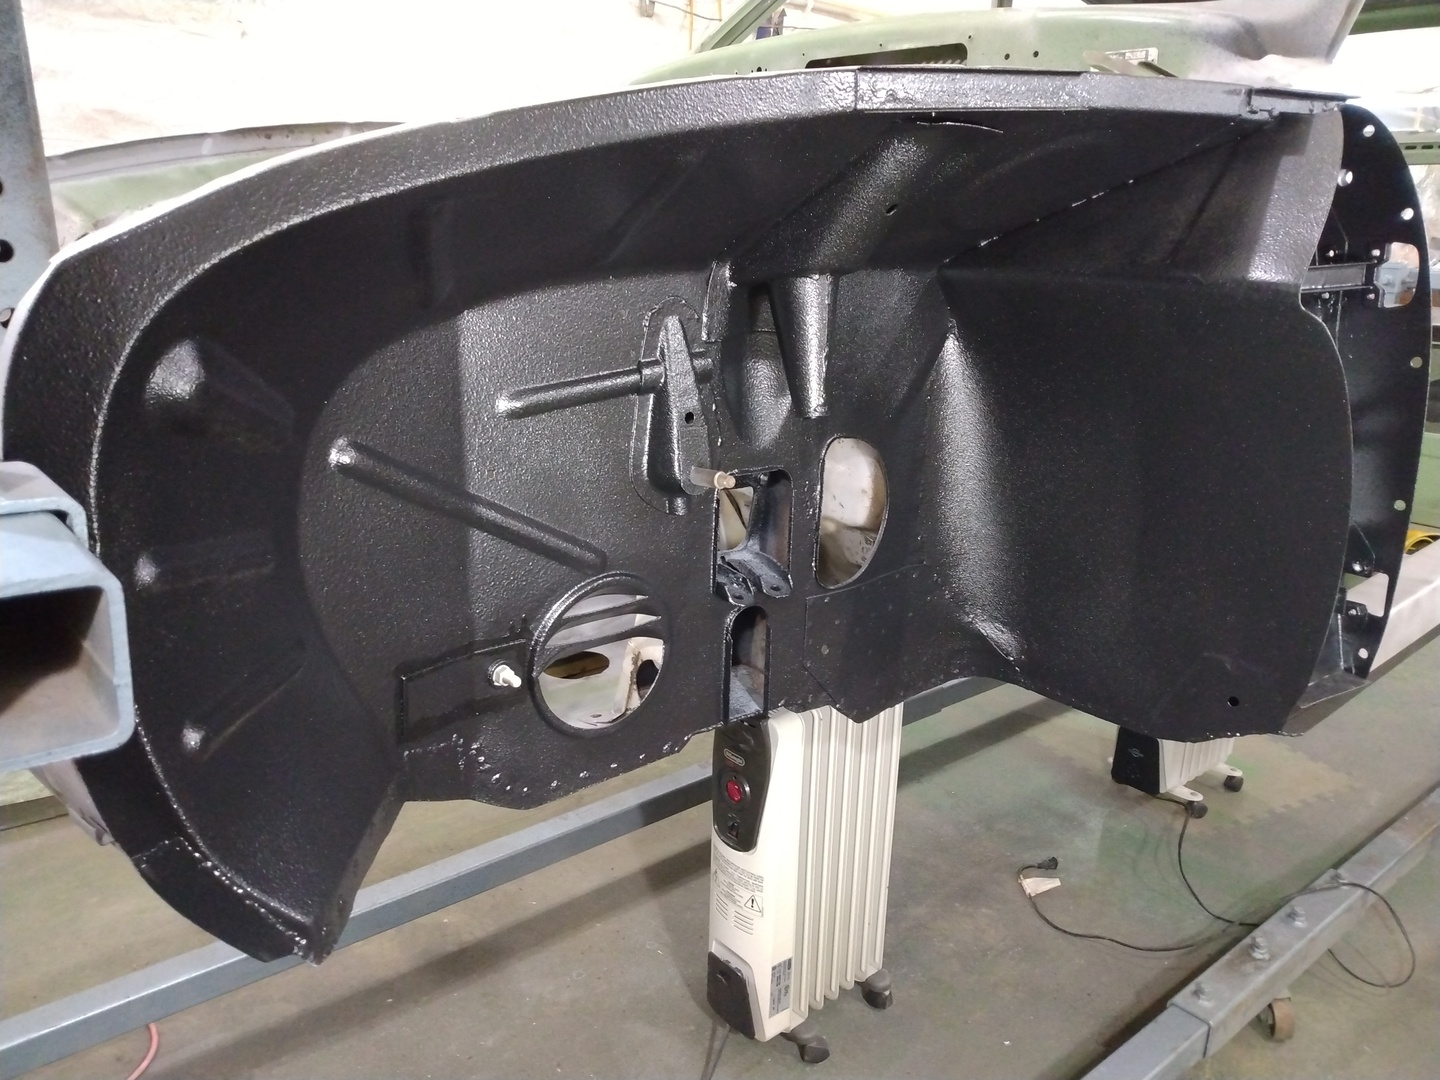
19. Driver Side Front Wheel Housing Closeup
Coatings Used on the Underside
Figure 20 shows the coatings I purchased for the underside. I can’t endorse any of them because I’ve never done this before but I’ll make a few comments about each.
The Speedokote epoxy primer mixed and applied very well. From what I was able to determine by reading many articles, epoxy primer is the preferred coating for bare, media blasted metal. This product mixed and sprayed very well with a nice thick coating. Epoxy primer also acts as a sealant against moisture which other primers don’t do. I’m happy so far with this product.
The Raptor protective coating seems to be well regarded, and I am happy with the looks and feel of it. It covered well and seems very tough. The only downside is that it doesn’t absorb sound at all. The metal actually seems to ring louder now. I’ll have to rely on interior sound deadening I think.
I used the POR-15 Preventive Coating on the narrow strips of metal that I previously tinned and applied body solder to. I used a disposable foam brush for this. I was a little disappointed at first because it is very thin and didn’t seem to cover well. However, this area is two layers of metal with one exposed edge and I noticed the POR-15 seemed to wick deeply in between the two layers which other paints don’t seem to do. Then, when I got to the second coat, I was very surprised to see that it covered extremely well and seemed to be self-leveling in rough areas. The finish ended up looking very smooth and durable. If it does its rust preventive job, I’ll be very happy. Time will tell.
Finally, I haven’t applied the 3M Cavity Wax Plus yet but it is highly regarded. I would have chosen it above all others just because of the straight application tubes if for no other reason. All other brands seem to supply a coiled-up tube which I think would be impossible to control when being inserted into the rocker frames. This will go into the rocker frames, spring mounts, shock mounts, and any other place where there’s a rubber plug.
This will be my last post for awhile. Hopefully, more to come in the spring.

20. Group Photo of All Coating Products
Again, superior workmanship! Best wishes in carrying on and thank you for posting.