
Introduction
I thought the doors on the MC850 when I bought it were both very nice. Unfortunately, both had been badly patched up with pop-riveted and thin sheet metal which was subsequently covered with a deep layer of body filler. The bottom of the door was “repaired” with a thick layer of roof coating. I decided the doors on my white donor 96 were the best bet. However, all SAAB 96 doors rust on the bottom due to the lack of protection from wheel splash. These were no exception, and I decided to rebuild the door bottoms to the best of my amateur ability.
Making a Patch Panel
Making a patch panel for the MC850 turned out to be a little more complicated than I expected. The doors don’t seem to have straight or flat sections anywhere. The outside sheet metal is curved in both the vertical and horizontal directions. Not having the skills or tools to form compound curved sheet metal, I decided to keep the patch panel as short as possible where the door is almost straight in the vertical direction. A thin layer of body filler could make the necessary vertical curvature.
Unfortunately, even the door bottom is not a straight line. Consequently, you will notice in Figure 1 that I cut a sheet of paper to match the door bottom-edge curvature, and I traced that curvature onto a pair of boards, and I then cut the boards to match. In Figure 2, I am folding the fold-over section at the bottom of the patch panel so that the fold line will match the door bottom contour. In Figure 3, I am using a trick learned from a Youtuber known as Fitzee’s Fabrications. I completed the fold-over using a spacer which would leave a gap big enough to slide the patch panel onto the door bottom later. This greatly helped in producing a smooth bottom with a nice fold-over. In Figure 4, I am testing the fit of the patch panel which will later be trimmed to a bit shorter height. It would have fit even better if I had used the correct door—duh.
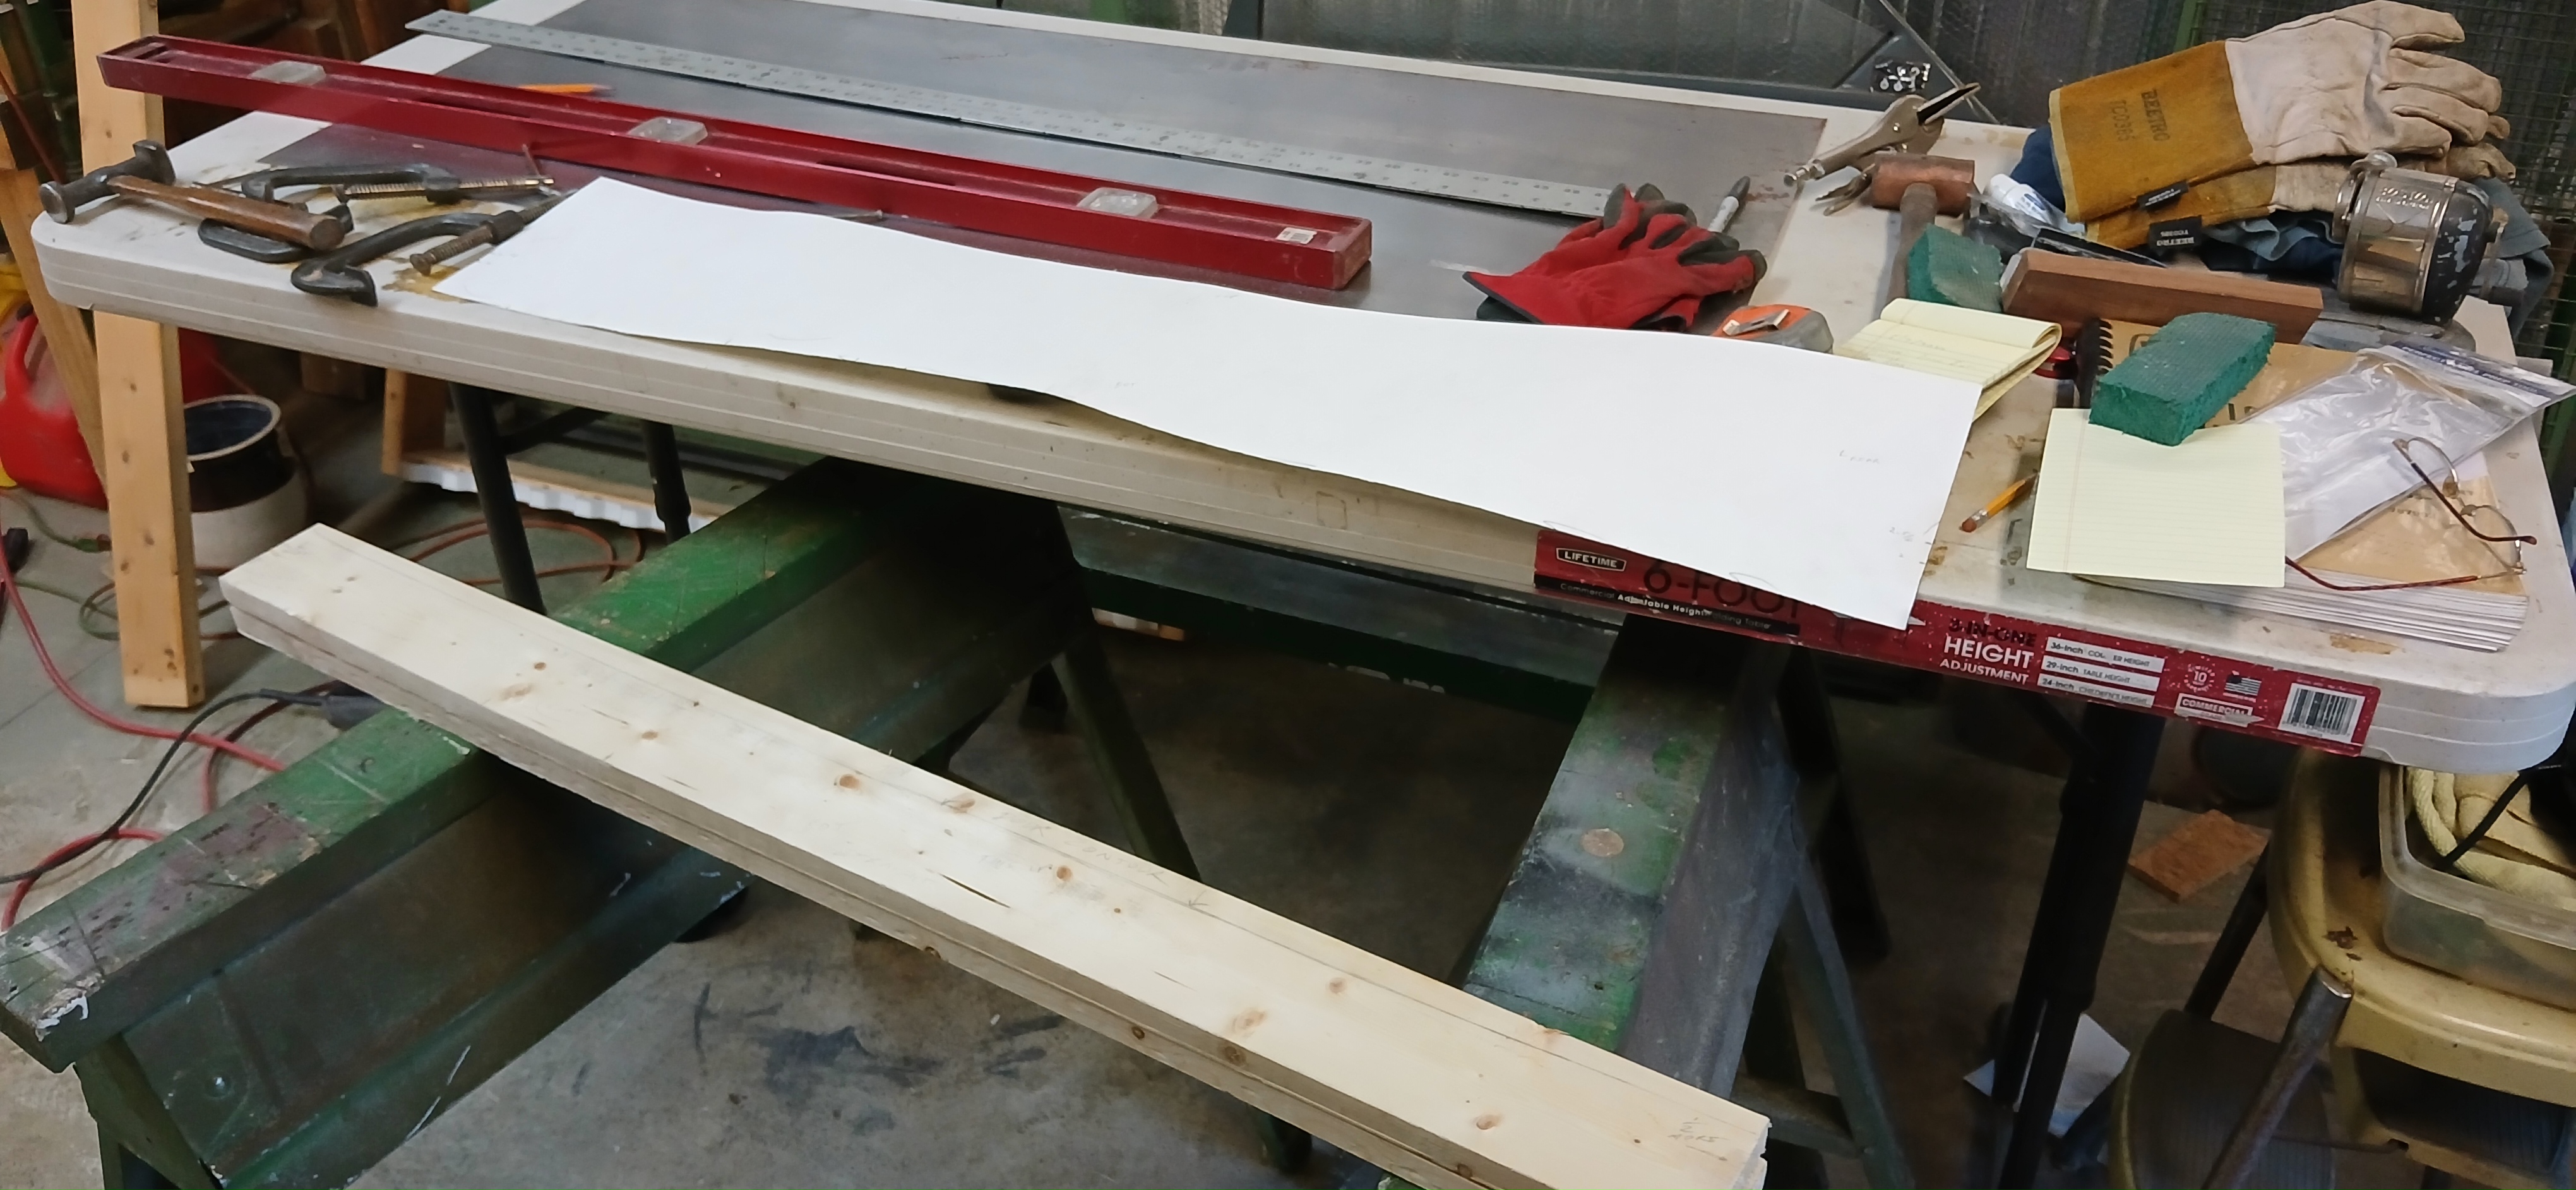
1. Tracing Door Bottom Contour Onto Wood Forms
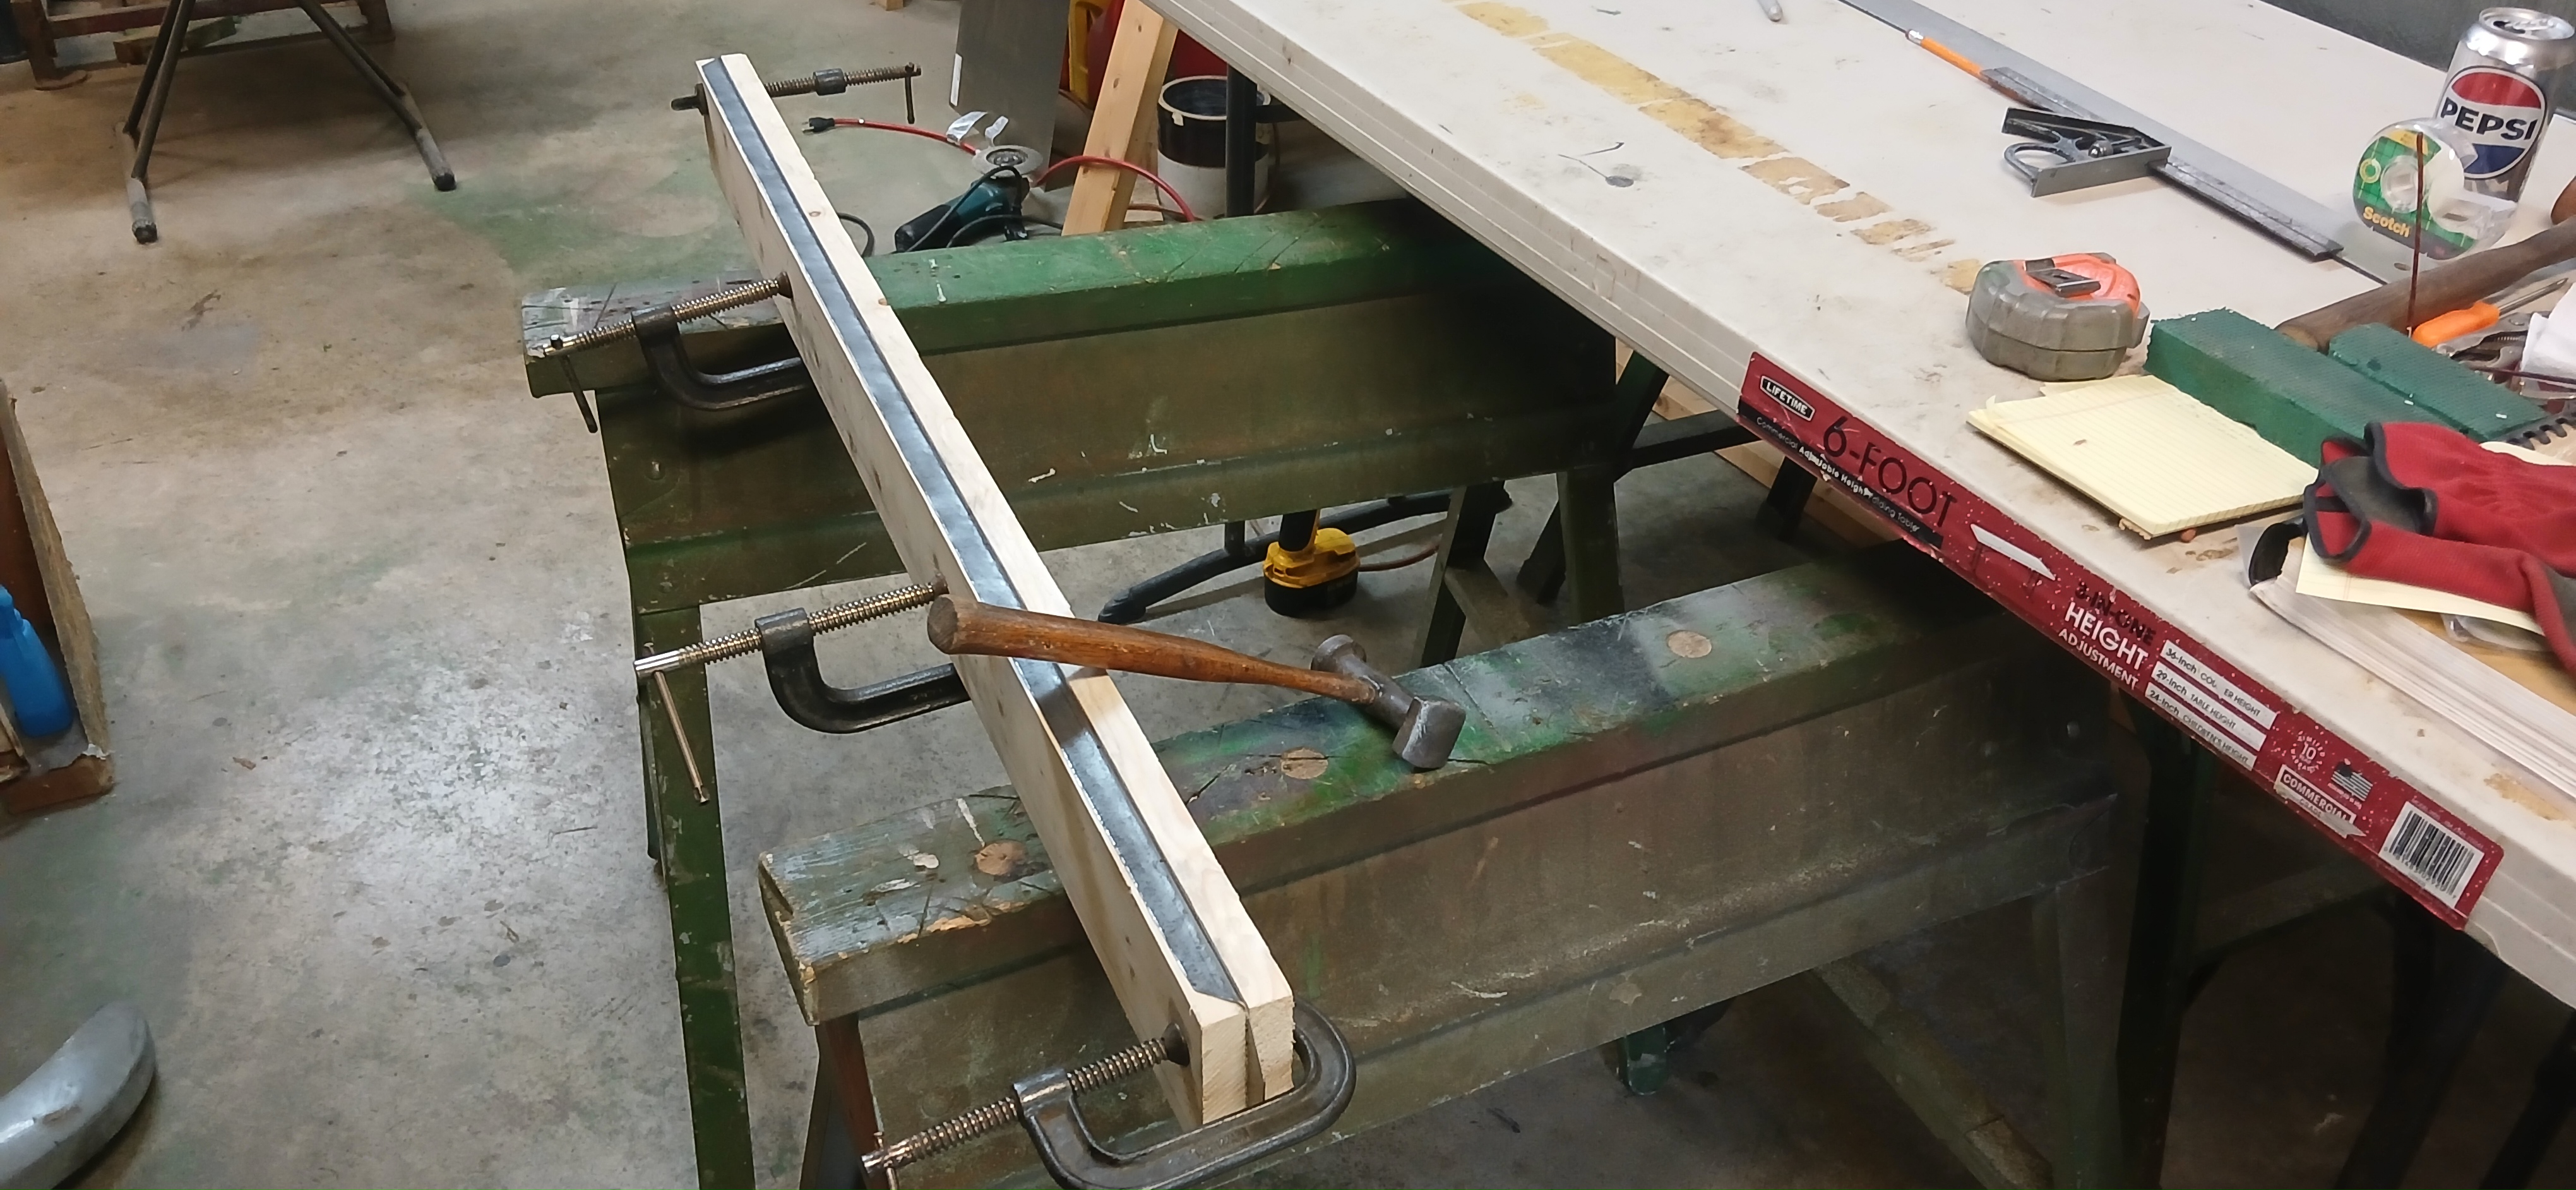
2. Shaping Fold-over on Contour Jig
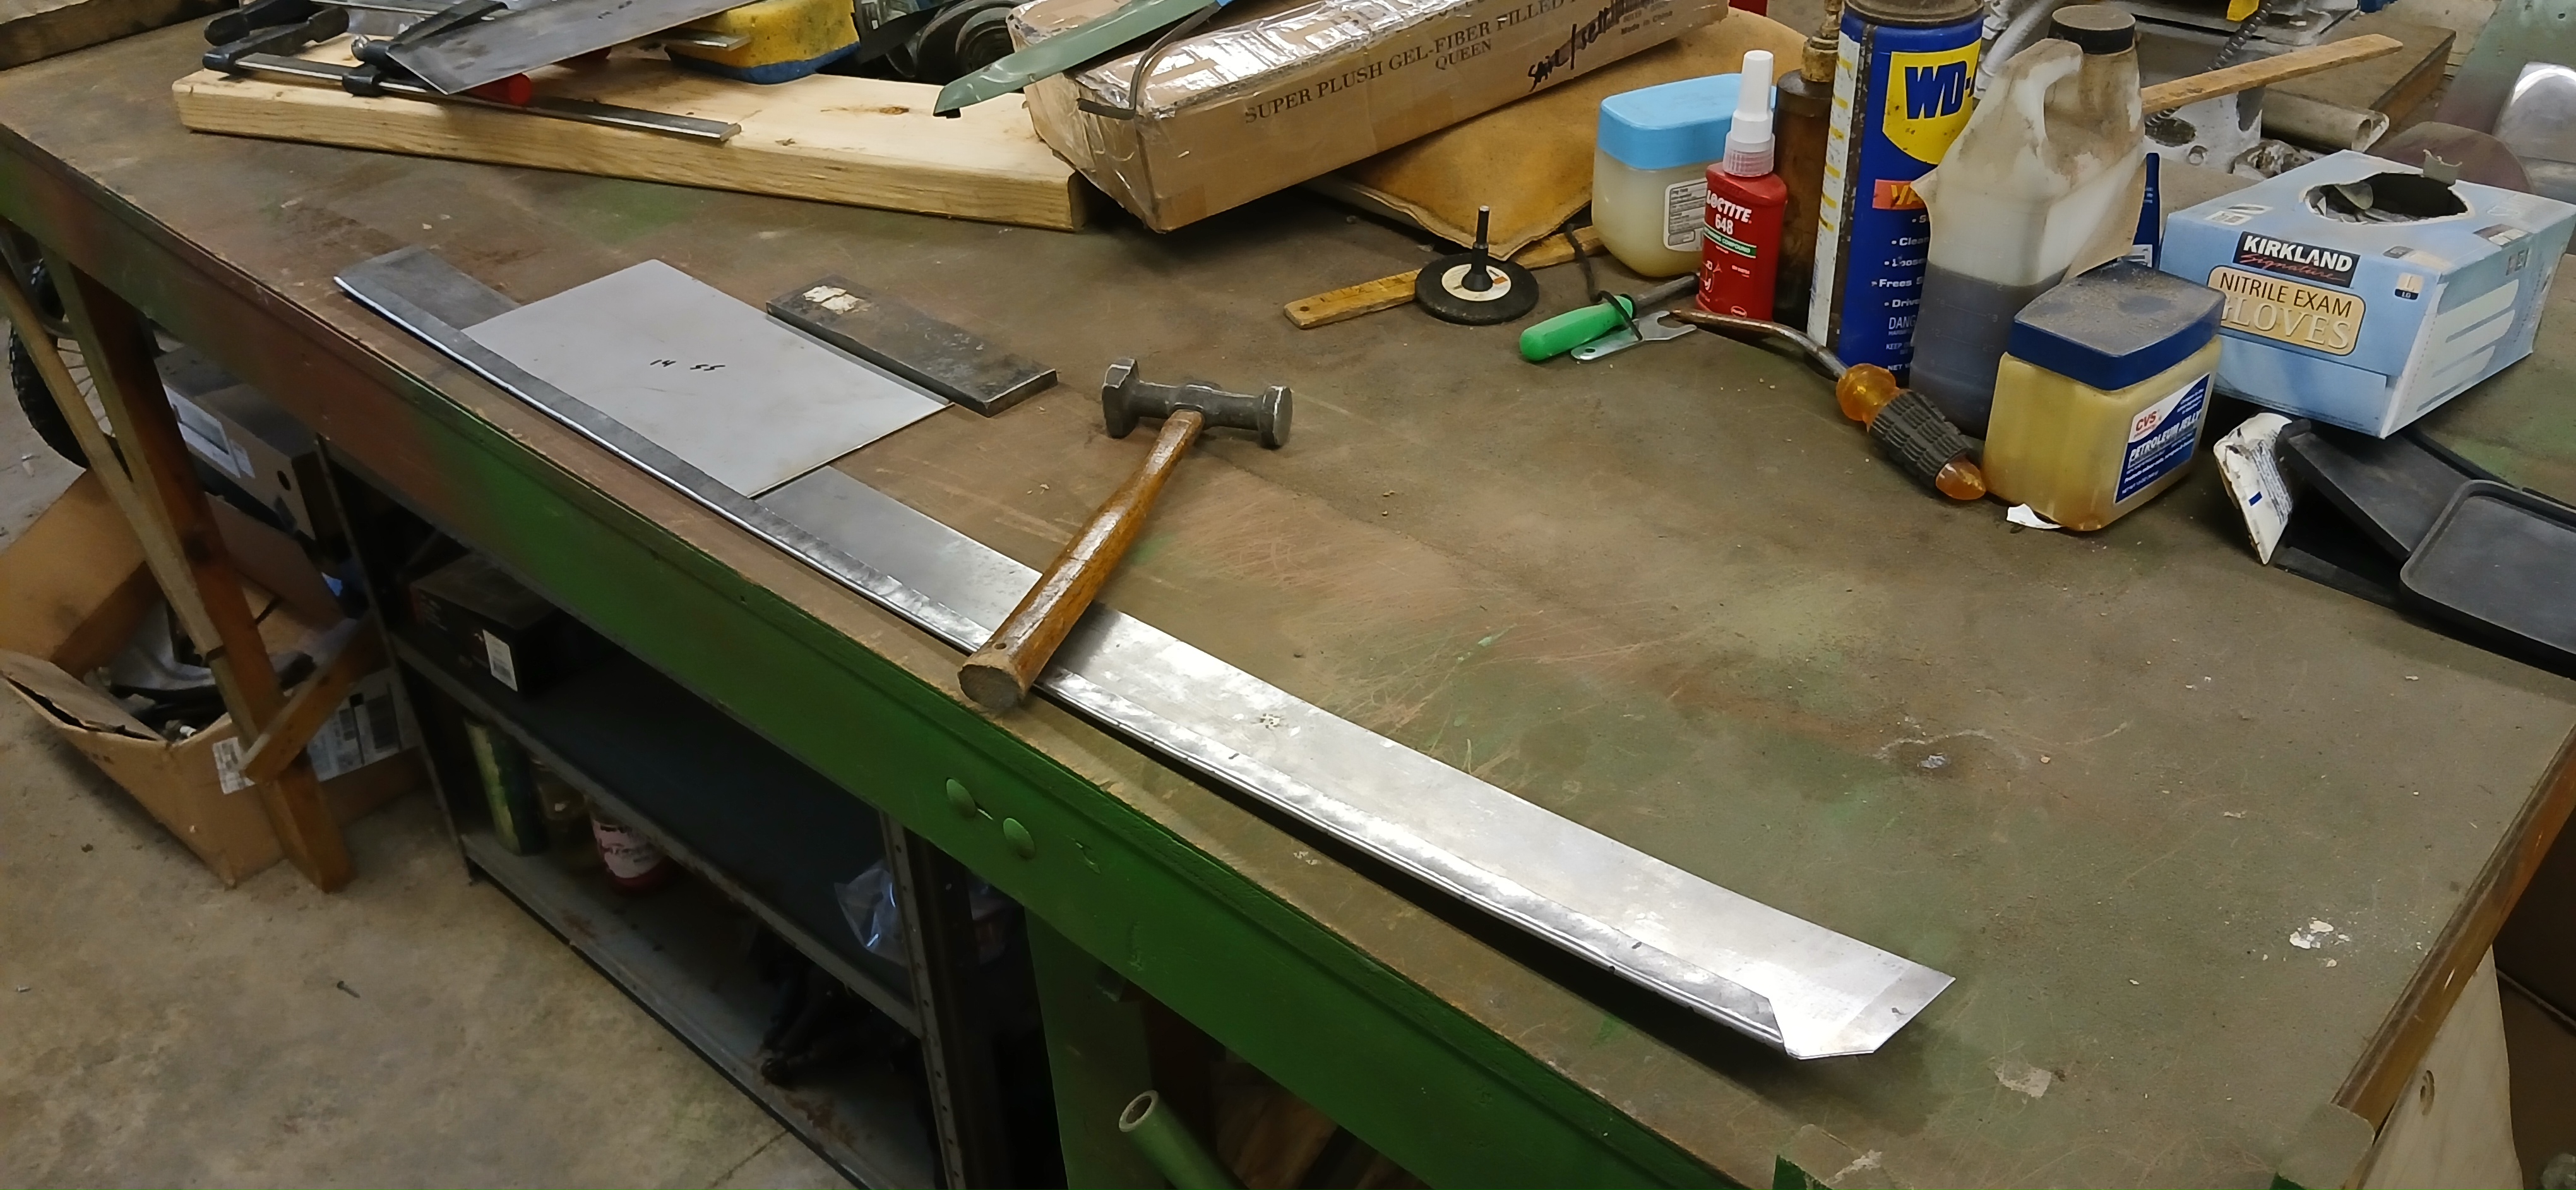
3. Folding Over Patch Panel Bottom
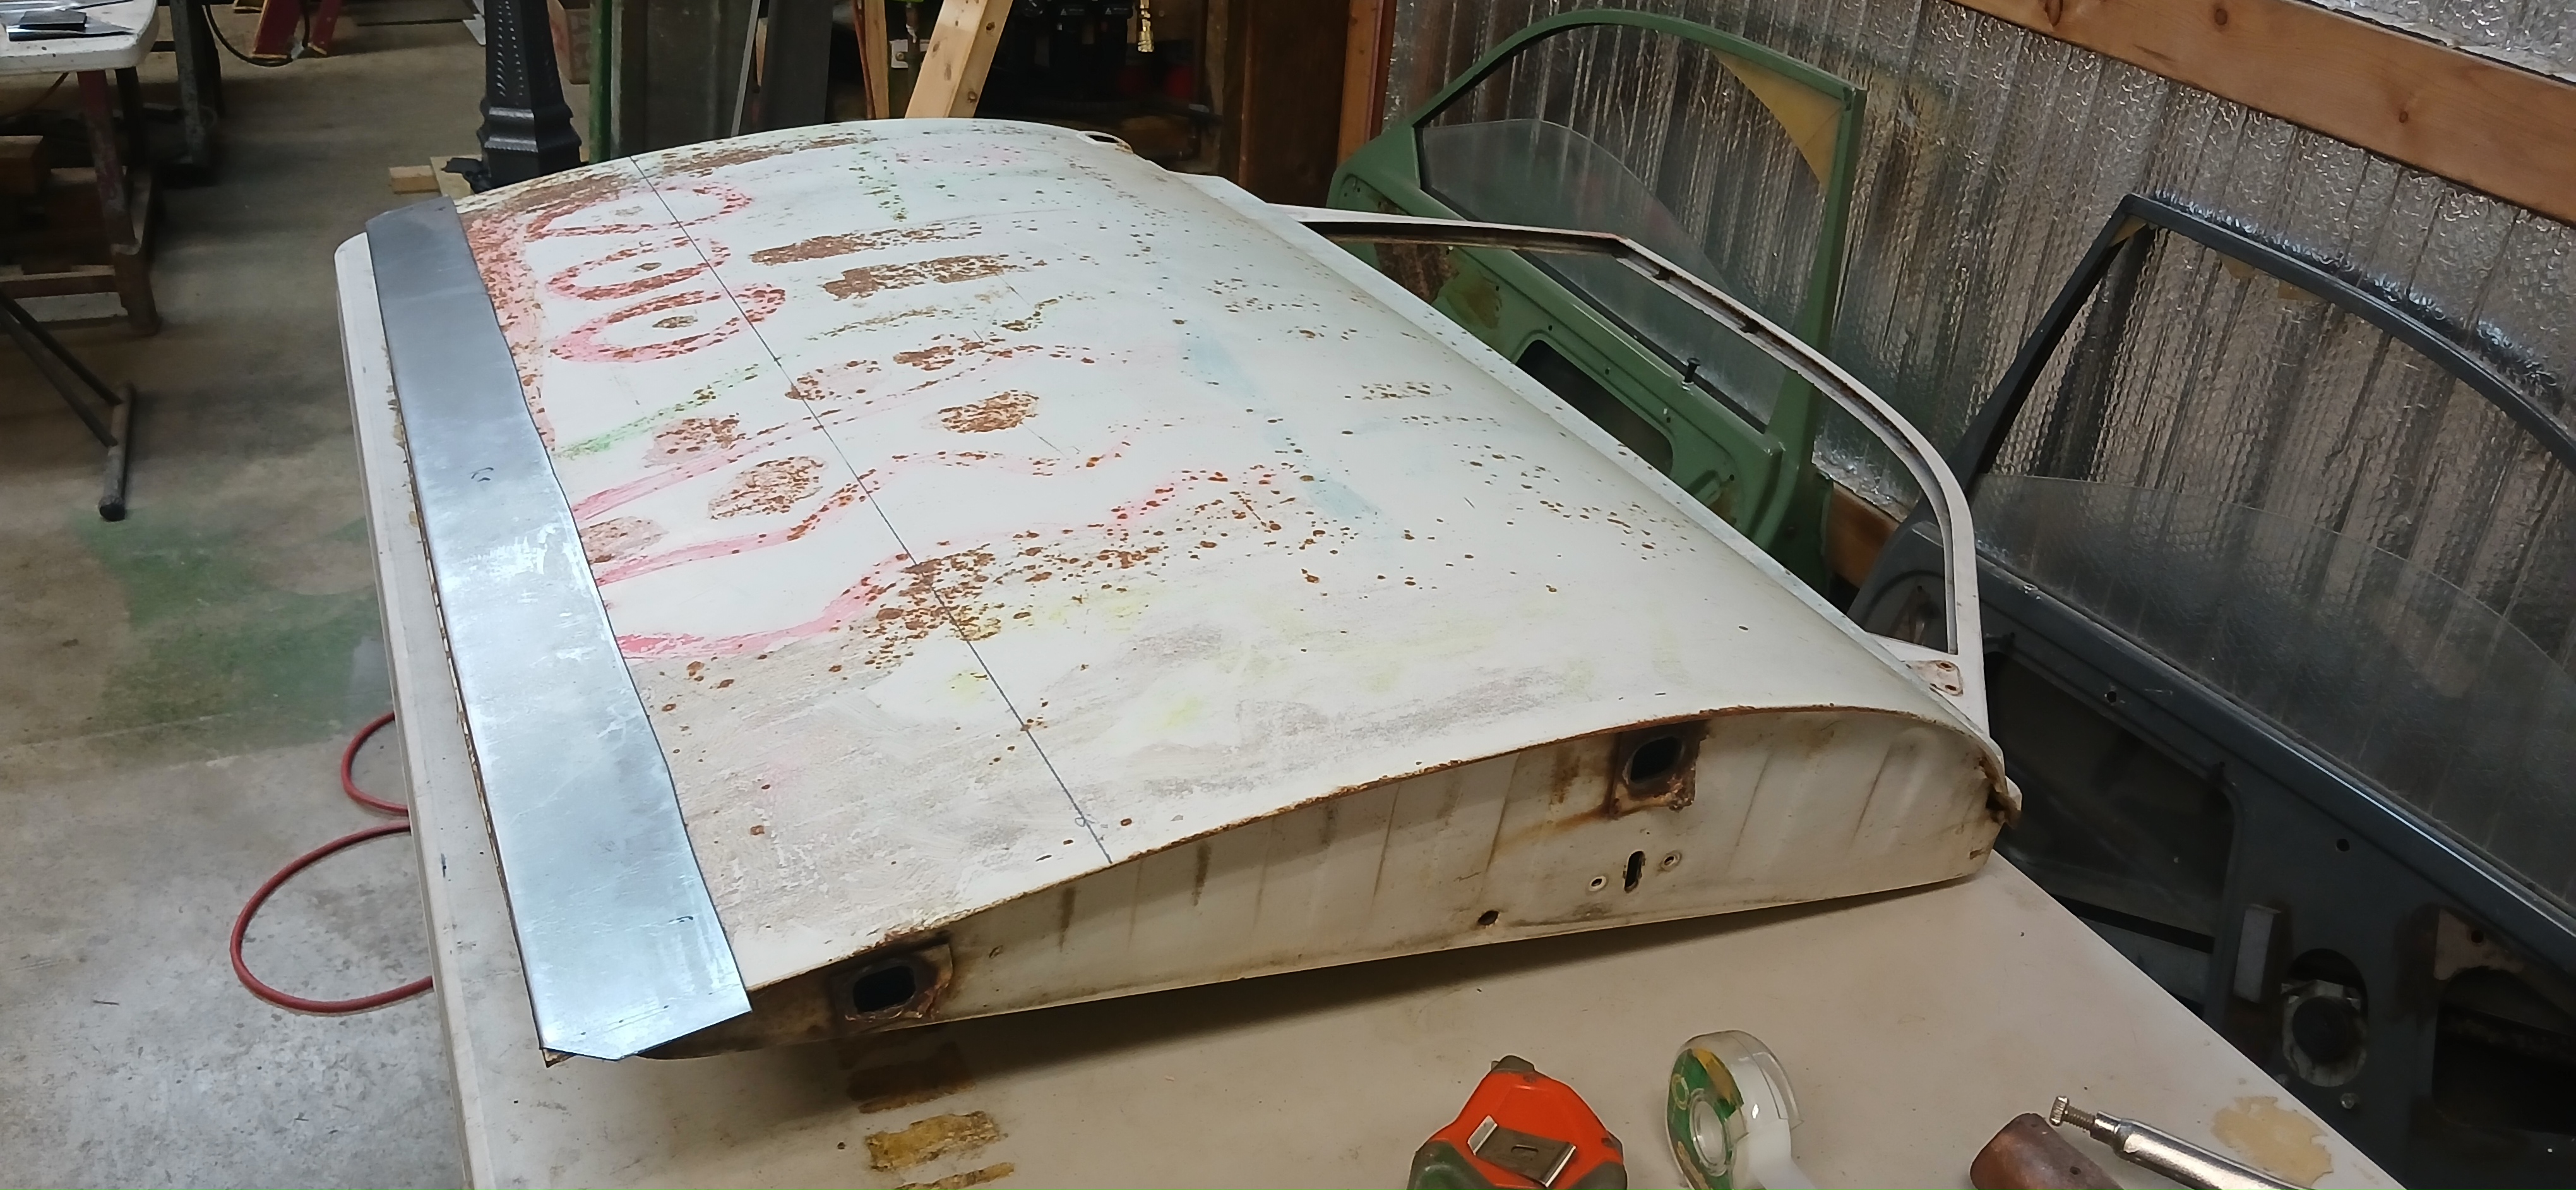
4. Testing Fit of Passenger Door Patch Panel
Driver Door Metalwork and Welding
In Figures 5-6 below, I cut bad metal from the driver door using metal shears where feasible and an angle grinder elsewhere. Figure 6 shows everything removed except a bad corner which I trimmed out later.

5. Cutting Bad Metal from Driver Door

6. Driver Door After Removal of Bad Metal
In Figure 7 below, I tried a new 45 degree flange tool from Eastwood. The idea is to form a valley where the two sheets meet so a stronger weld is produced. I’m not sure this was a good idea because I got significantly more distortion than usual. However, it could be my welding technique. Whatever, I got a strong joint in the end.
7. Forming 45 Degree Weld Flange
The inner door (as opposed to the skin) has a flange which the door skin folds over and onto. That flange has to match the outer curvature of the door skin at the bottom. It forms an angle of about 80 degrees with the bottom of the inner door, not 90 degrees. As shown in Figure 8, I cut a pair of 2×4 inch studs at that angle along a line I traced by setting a door upright on the 2×4. After hammering out a flange, I attached one 2×4 to the door to aid in placing the new door bottom as shown in Figure 9. Figure 10 shows the bottom patch being welded into place.

8. Cutting 80 Degree Wood Form

9. Wood Form Fixed to Driver Door Bottom

10. Welding New Driver Door Bottom Metal
It was now time to fix the bad corner, and Figures 11-13 show that rather self-descriptive process. Figure 14 shows the end result before grinding.
As a side note, I ended up removing the metal weather seal base because there was rust underneath. I don’t know why they needed so many spot welds. Also, I have decided not to weld a new one back on. Instead, I plan on using a modern 3M adhesive to mount a replacement after painting so there will be no rust problems. Similarly, there was also a small metal splash guard on the bottom, rear of the door that I will replace later.

11. Forming New Bottom Corner for Driver Door

12. Welding Driver Door Front, Bottom Corner

13. Finishing Driver Front, Bottom Corner
14. Driver Door Bottom After Welding
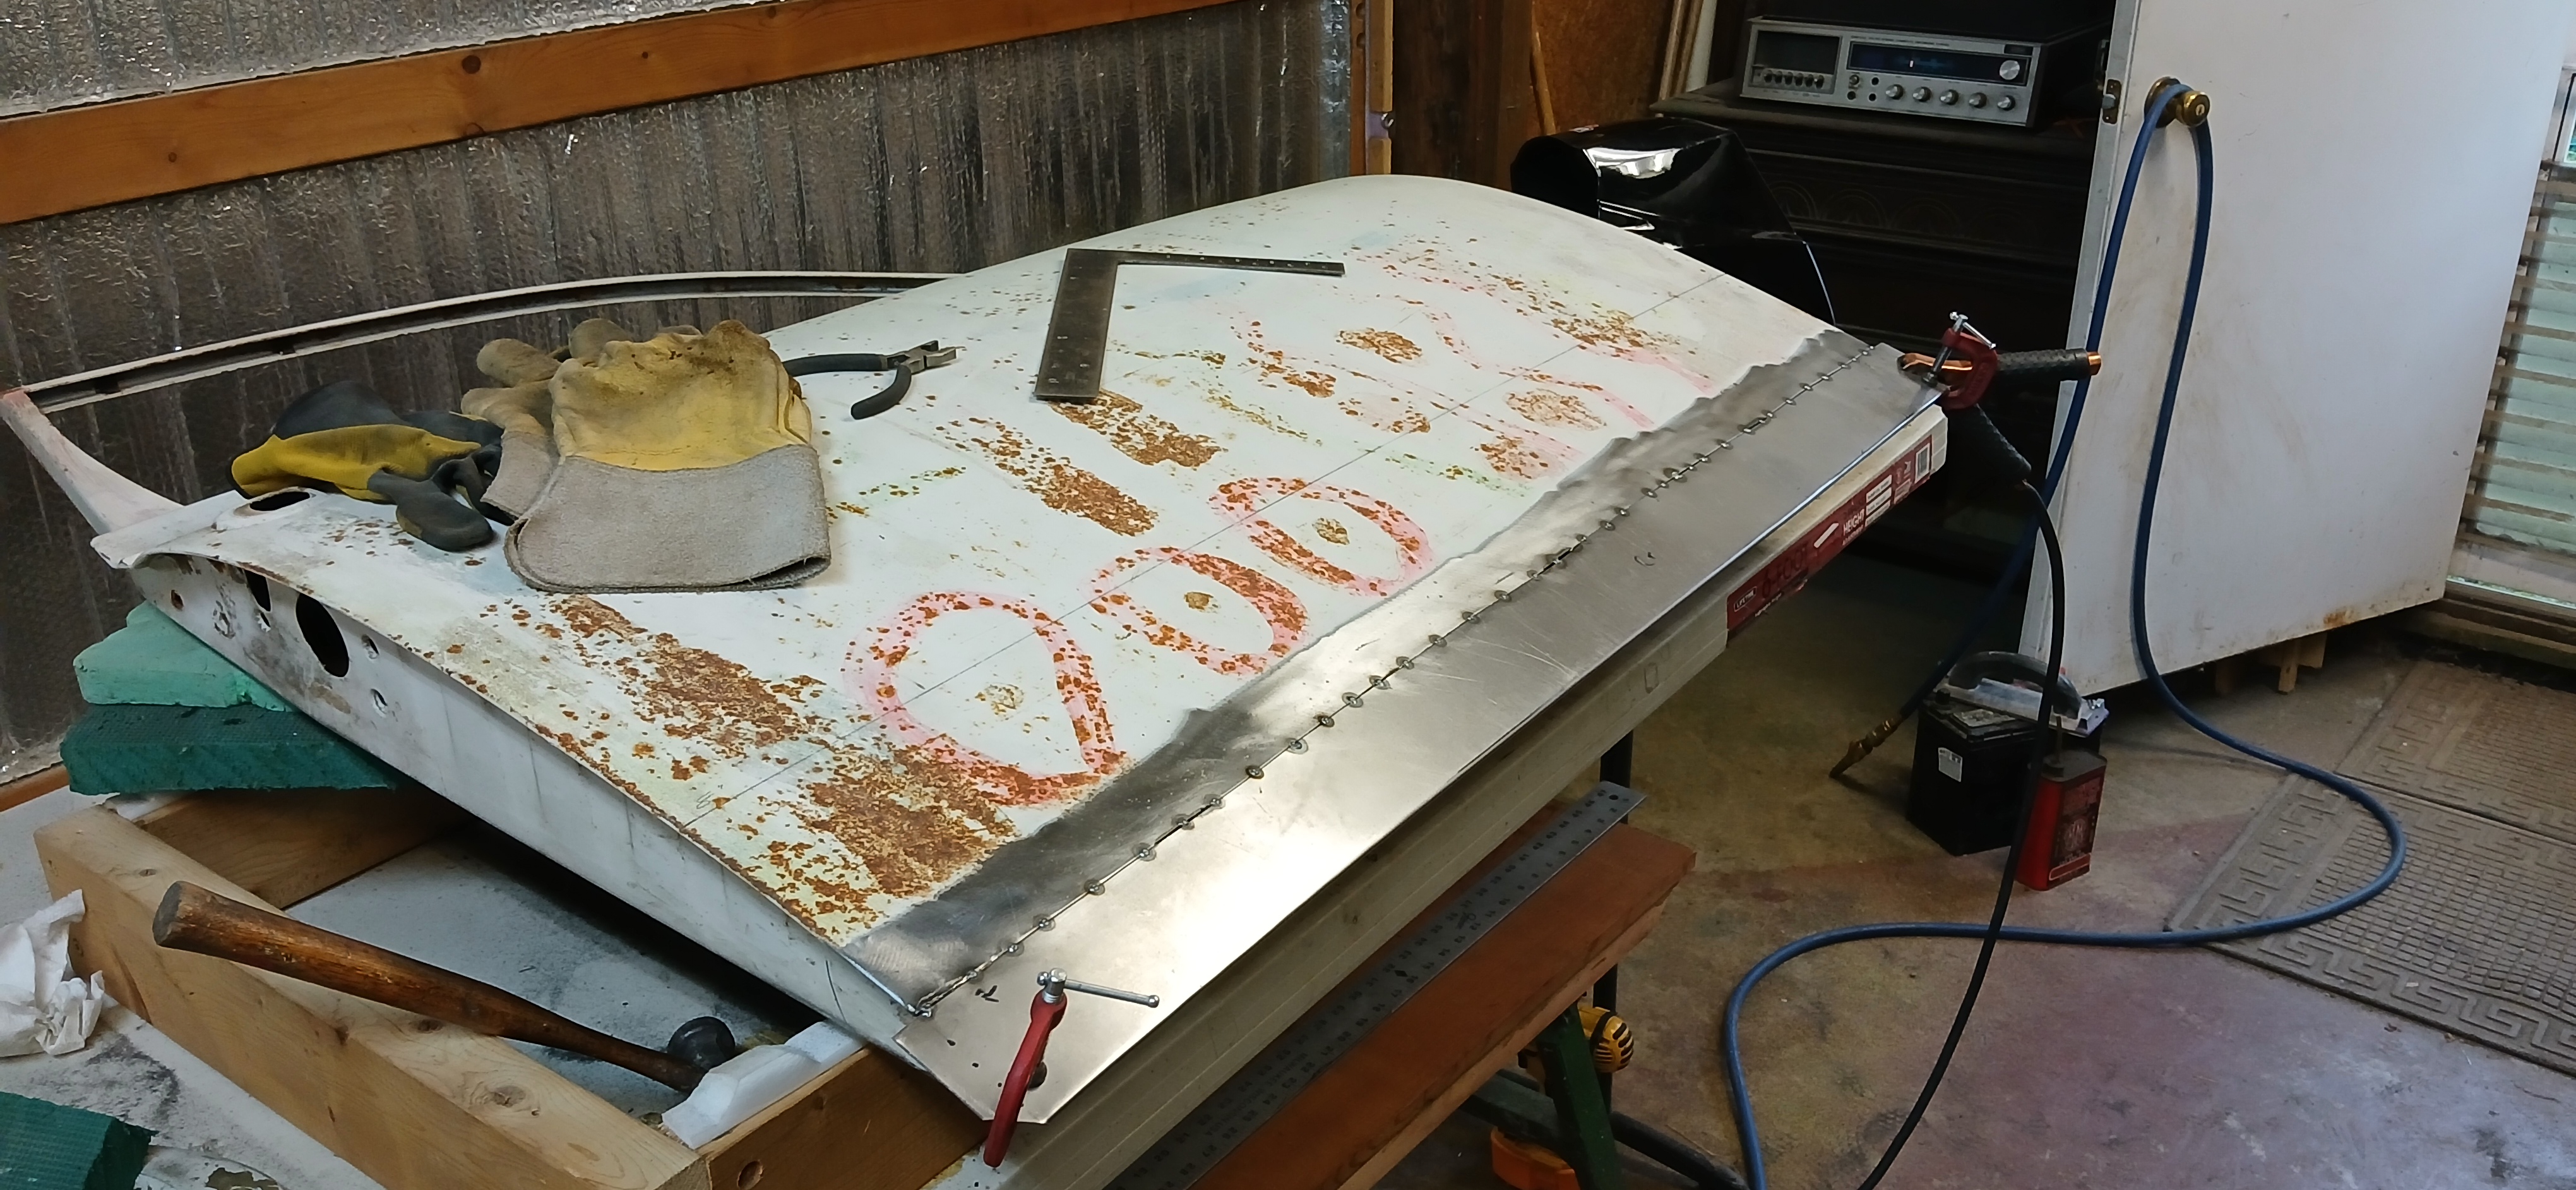
Now it was time to weld the door skin patch into place. Figure 15 shows it set up for welding, and Figure 16 shows the completed process viewed from the backside of the door.

15. Welding Driver Door Patch Panel
16. Driver Door New Bottom
Passenger Door Metalwork and Welding
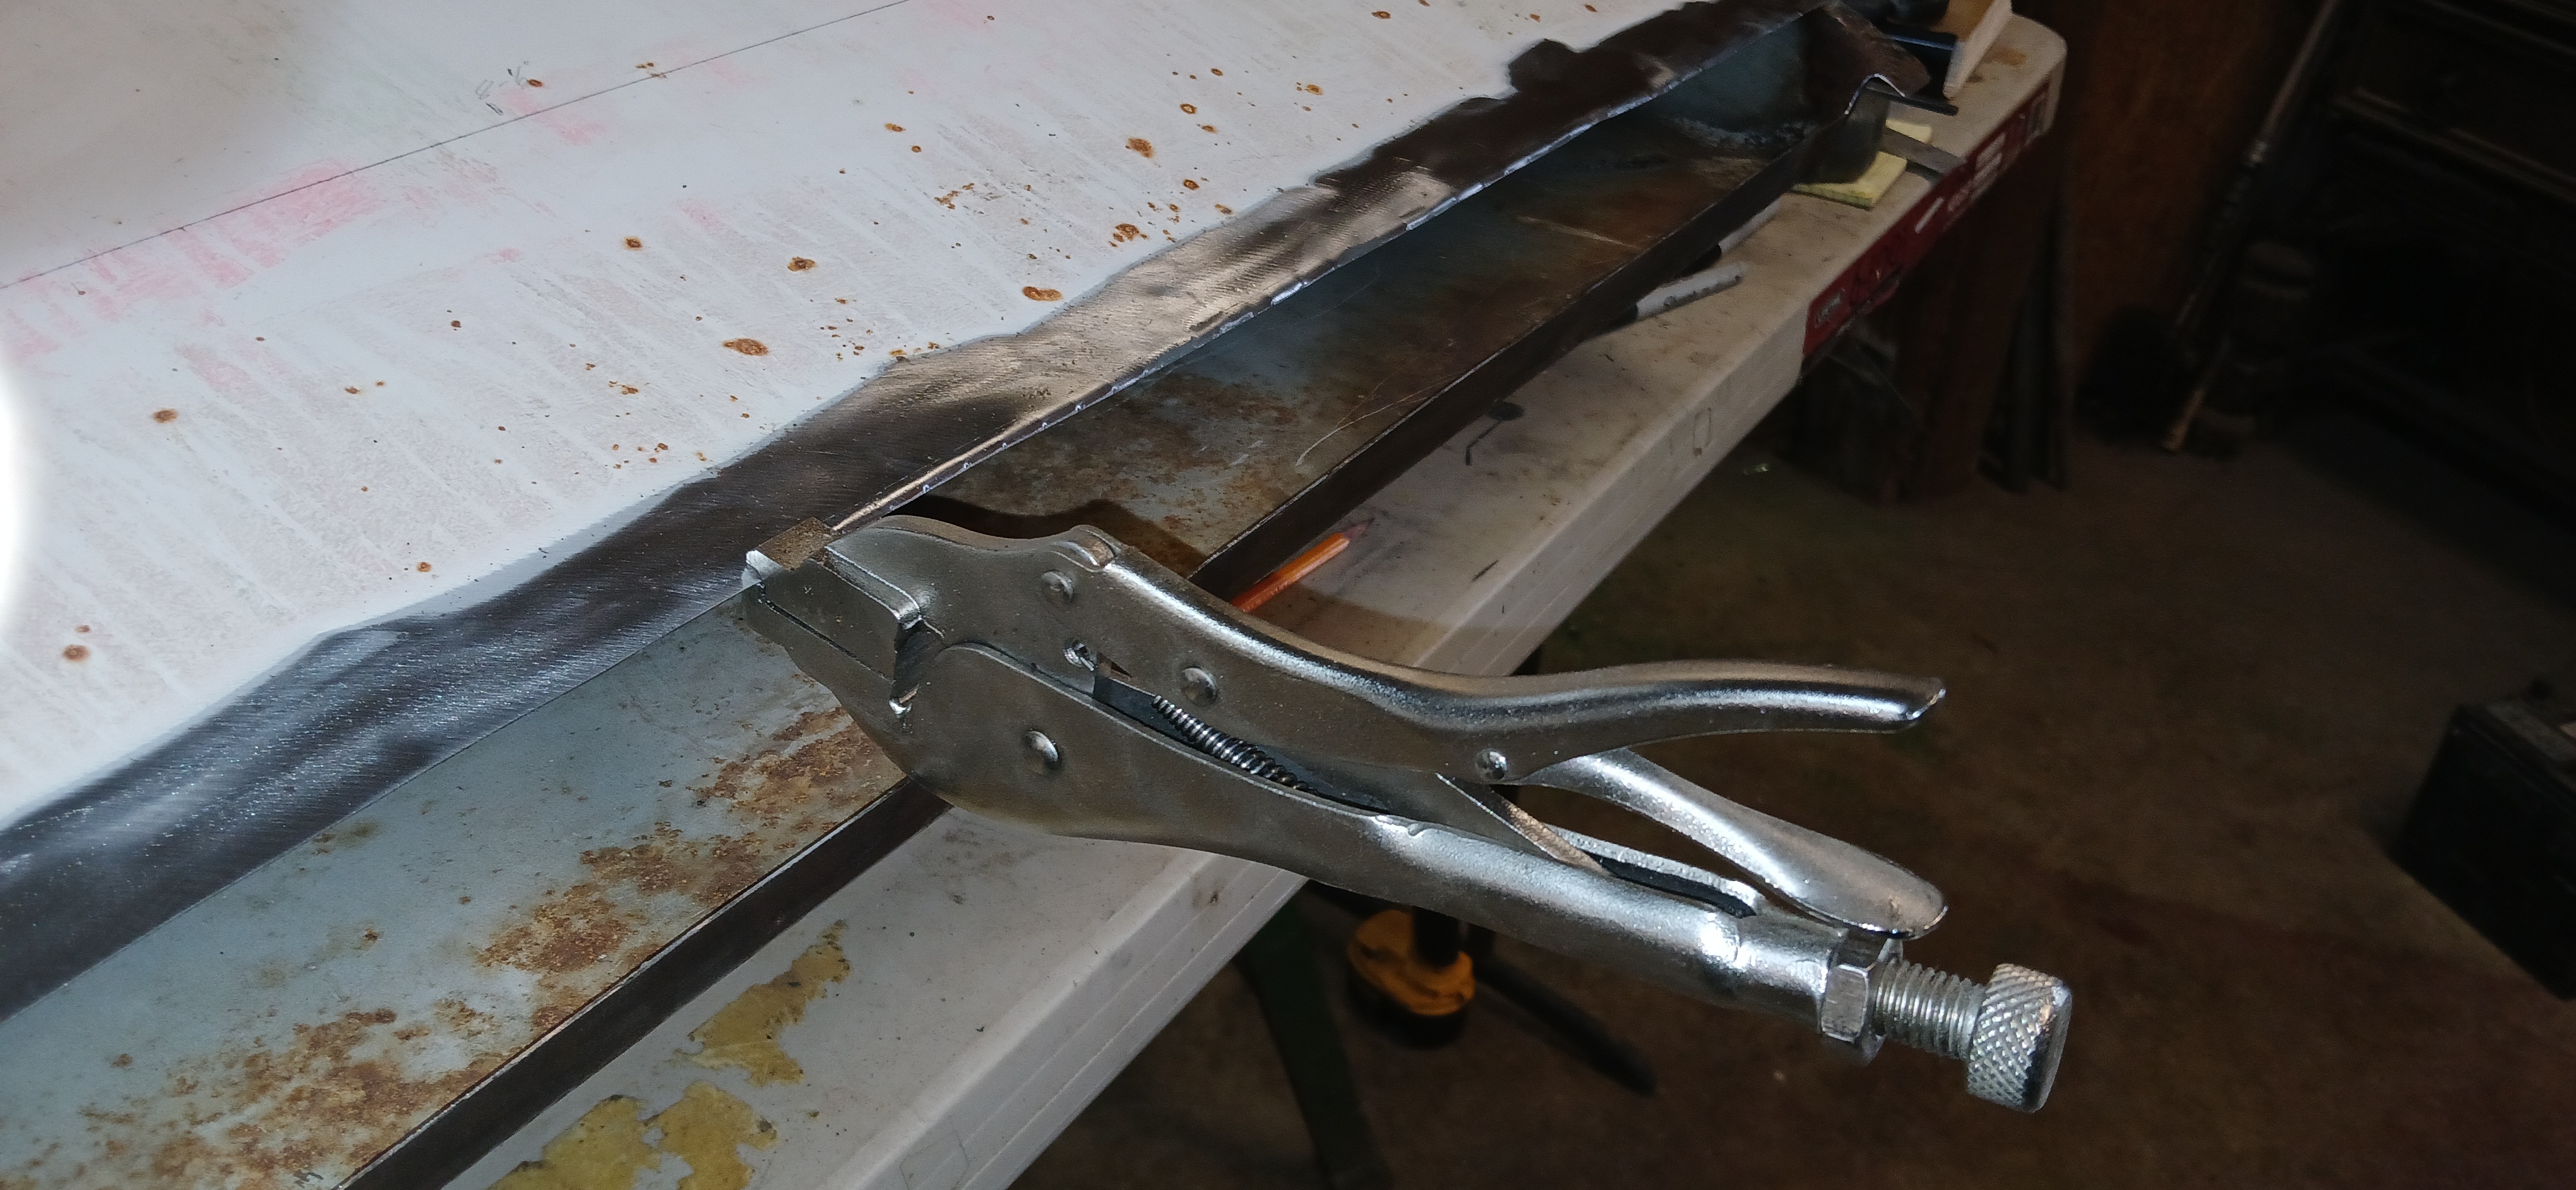
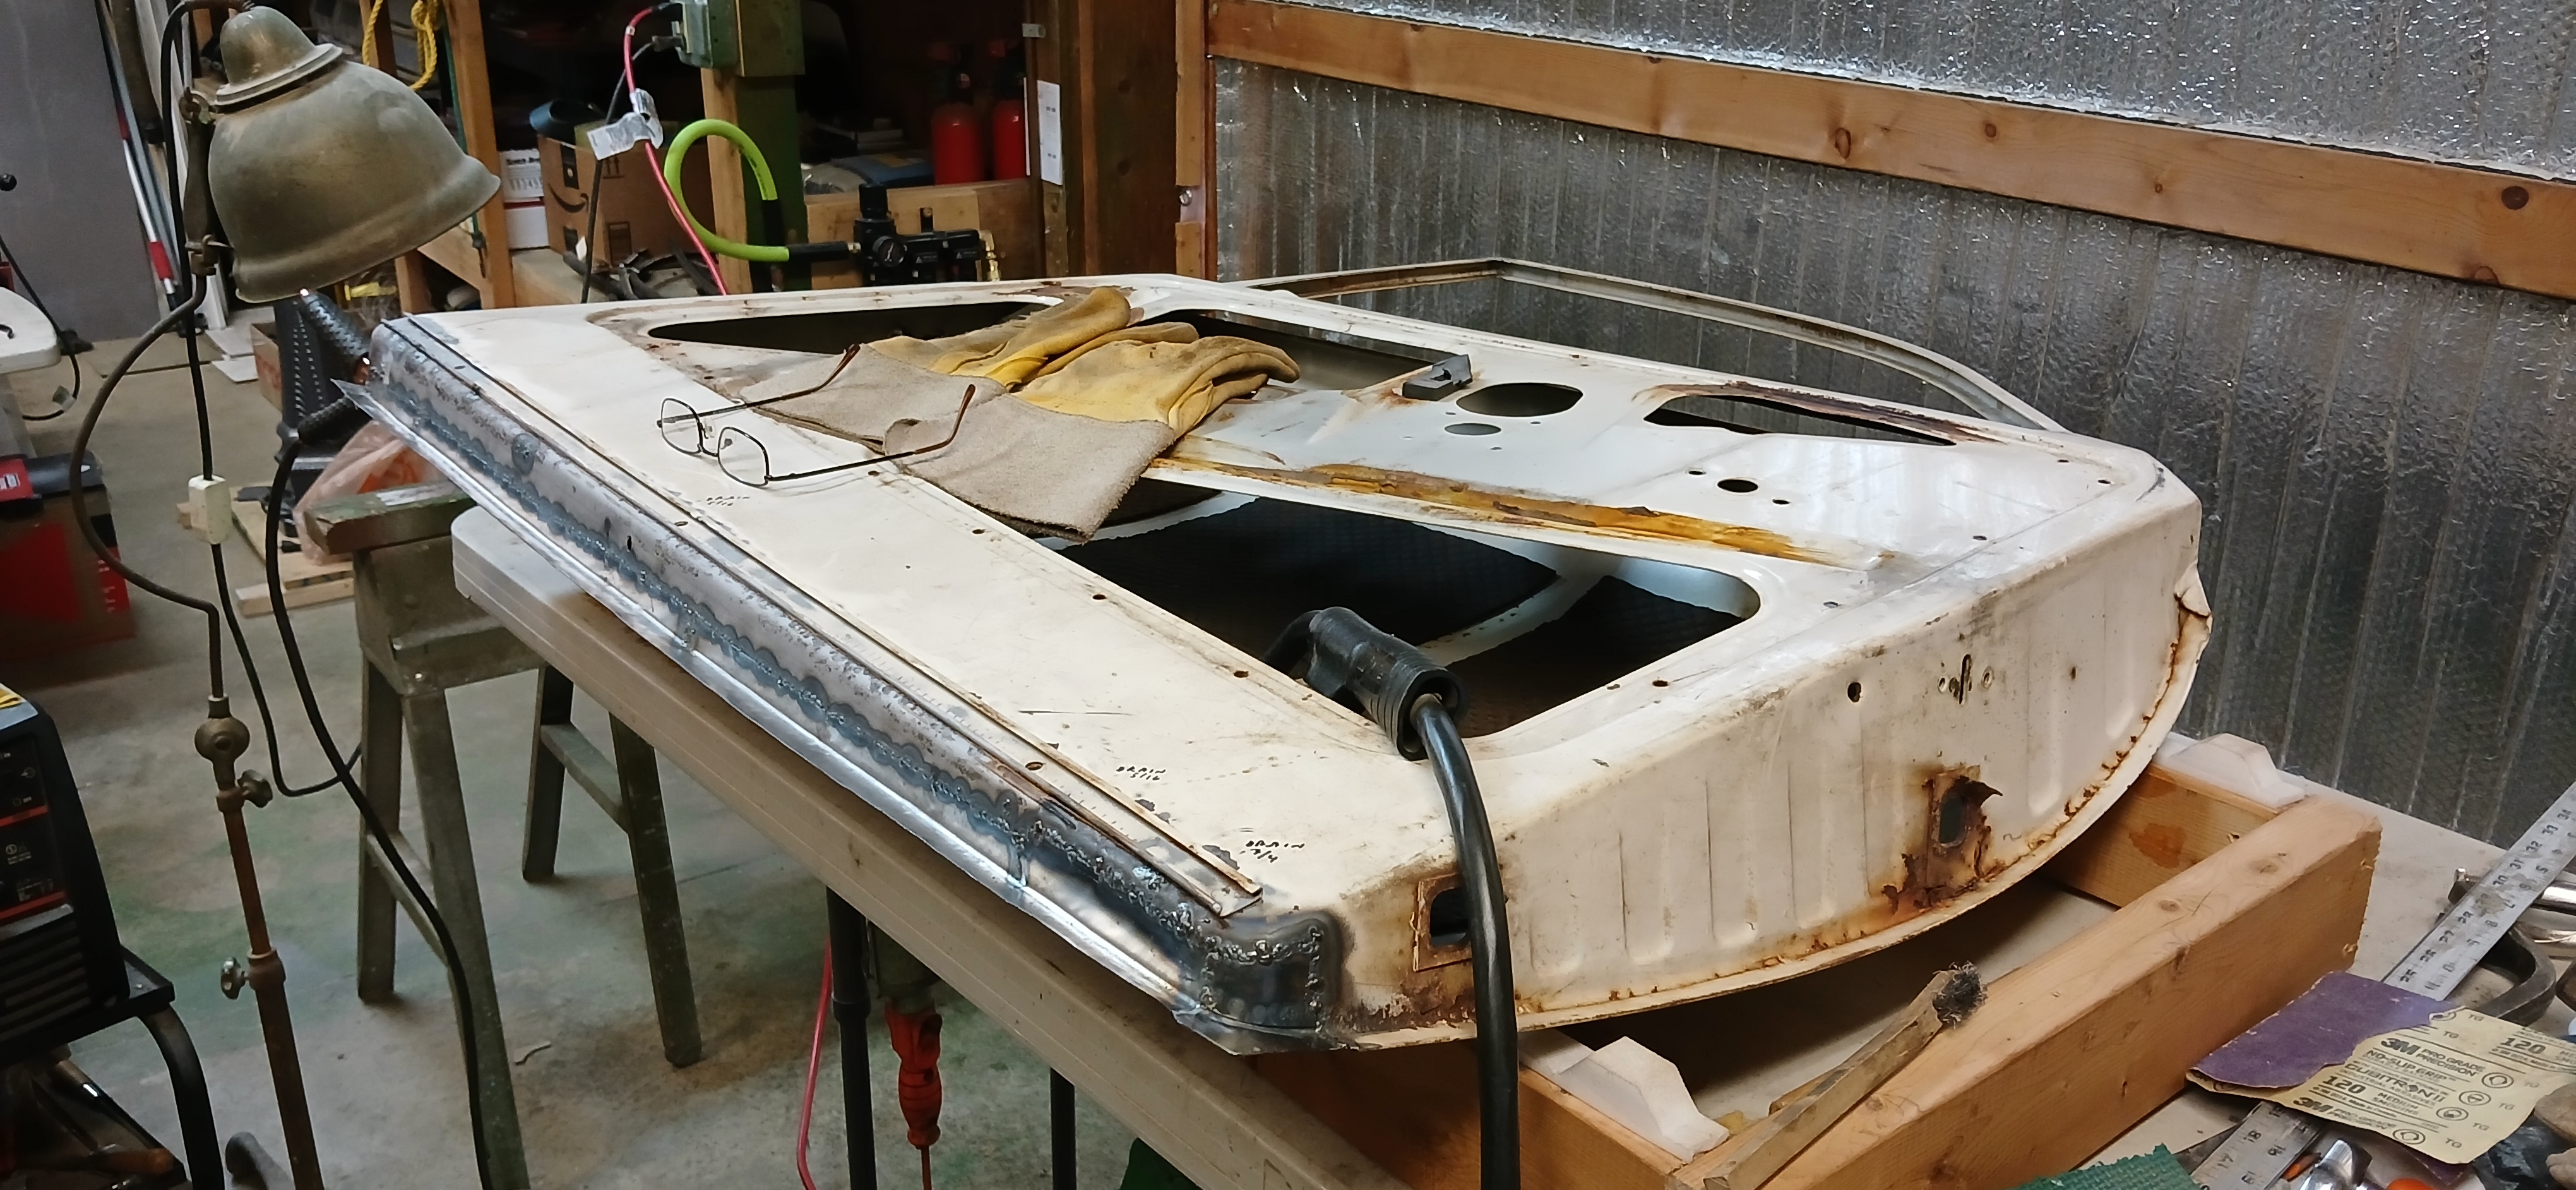
Figures 17-22 illustrate work on the passenger door, similar to the work above on the driver door with some exceptions. On this door, I decided to replace the entire bottom, part way up onto the inner side of the door as shown in Figure 18. I needed to make sure the inner panel remained perfectly flat so the door seal would remain straight. In Figure 19, you can see a length of angle iron clamped to the inner skin. There is a shorter length on the inside of the door, and the inner skin is clamped between the two angle iron sections to ensure that it remains straight. Figure 22 shows the final result from the bottom inside.

17. Forming New Passenger Door Bottom

18. Testing Fit of New Passenger Door Bottom

19. Welding New Passenger Door Bottom
20. Welded Passenger Door Bottom
21. Welding Passenger Patch Panel
22. New Metal on Passenger Door Bottom
Cleaning, Surfacing and Priming the Doors
It was time to strip paint. I used a paint stripping disc on an angle grinder for the large areas and a small sand blaster for the complex areas, and a lot of scraping and sanding on the interiors. You might notice a bronze color for the joint on the driver door. That’s because I decided to try silicon-bronze wire with 100% argon gas. I thought it would reduce warping. It didn’t seem to help but the valley formed by the aforementioned 45 degree valley gave me a very strong bond. I stuck with normal butt-welding for the passenger door with a better result.
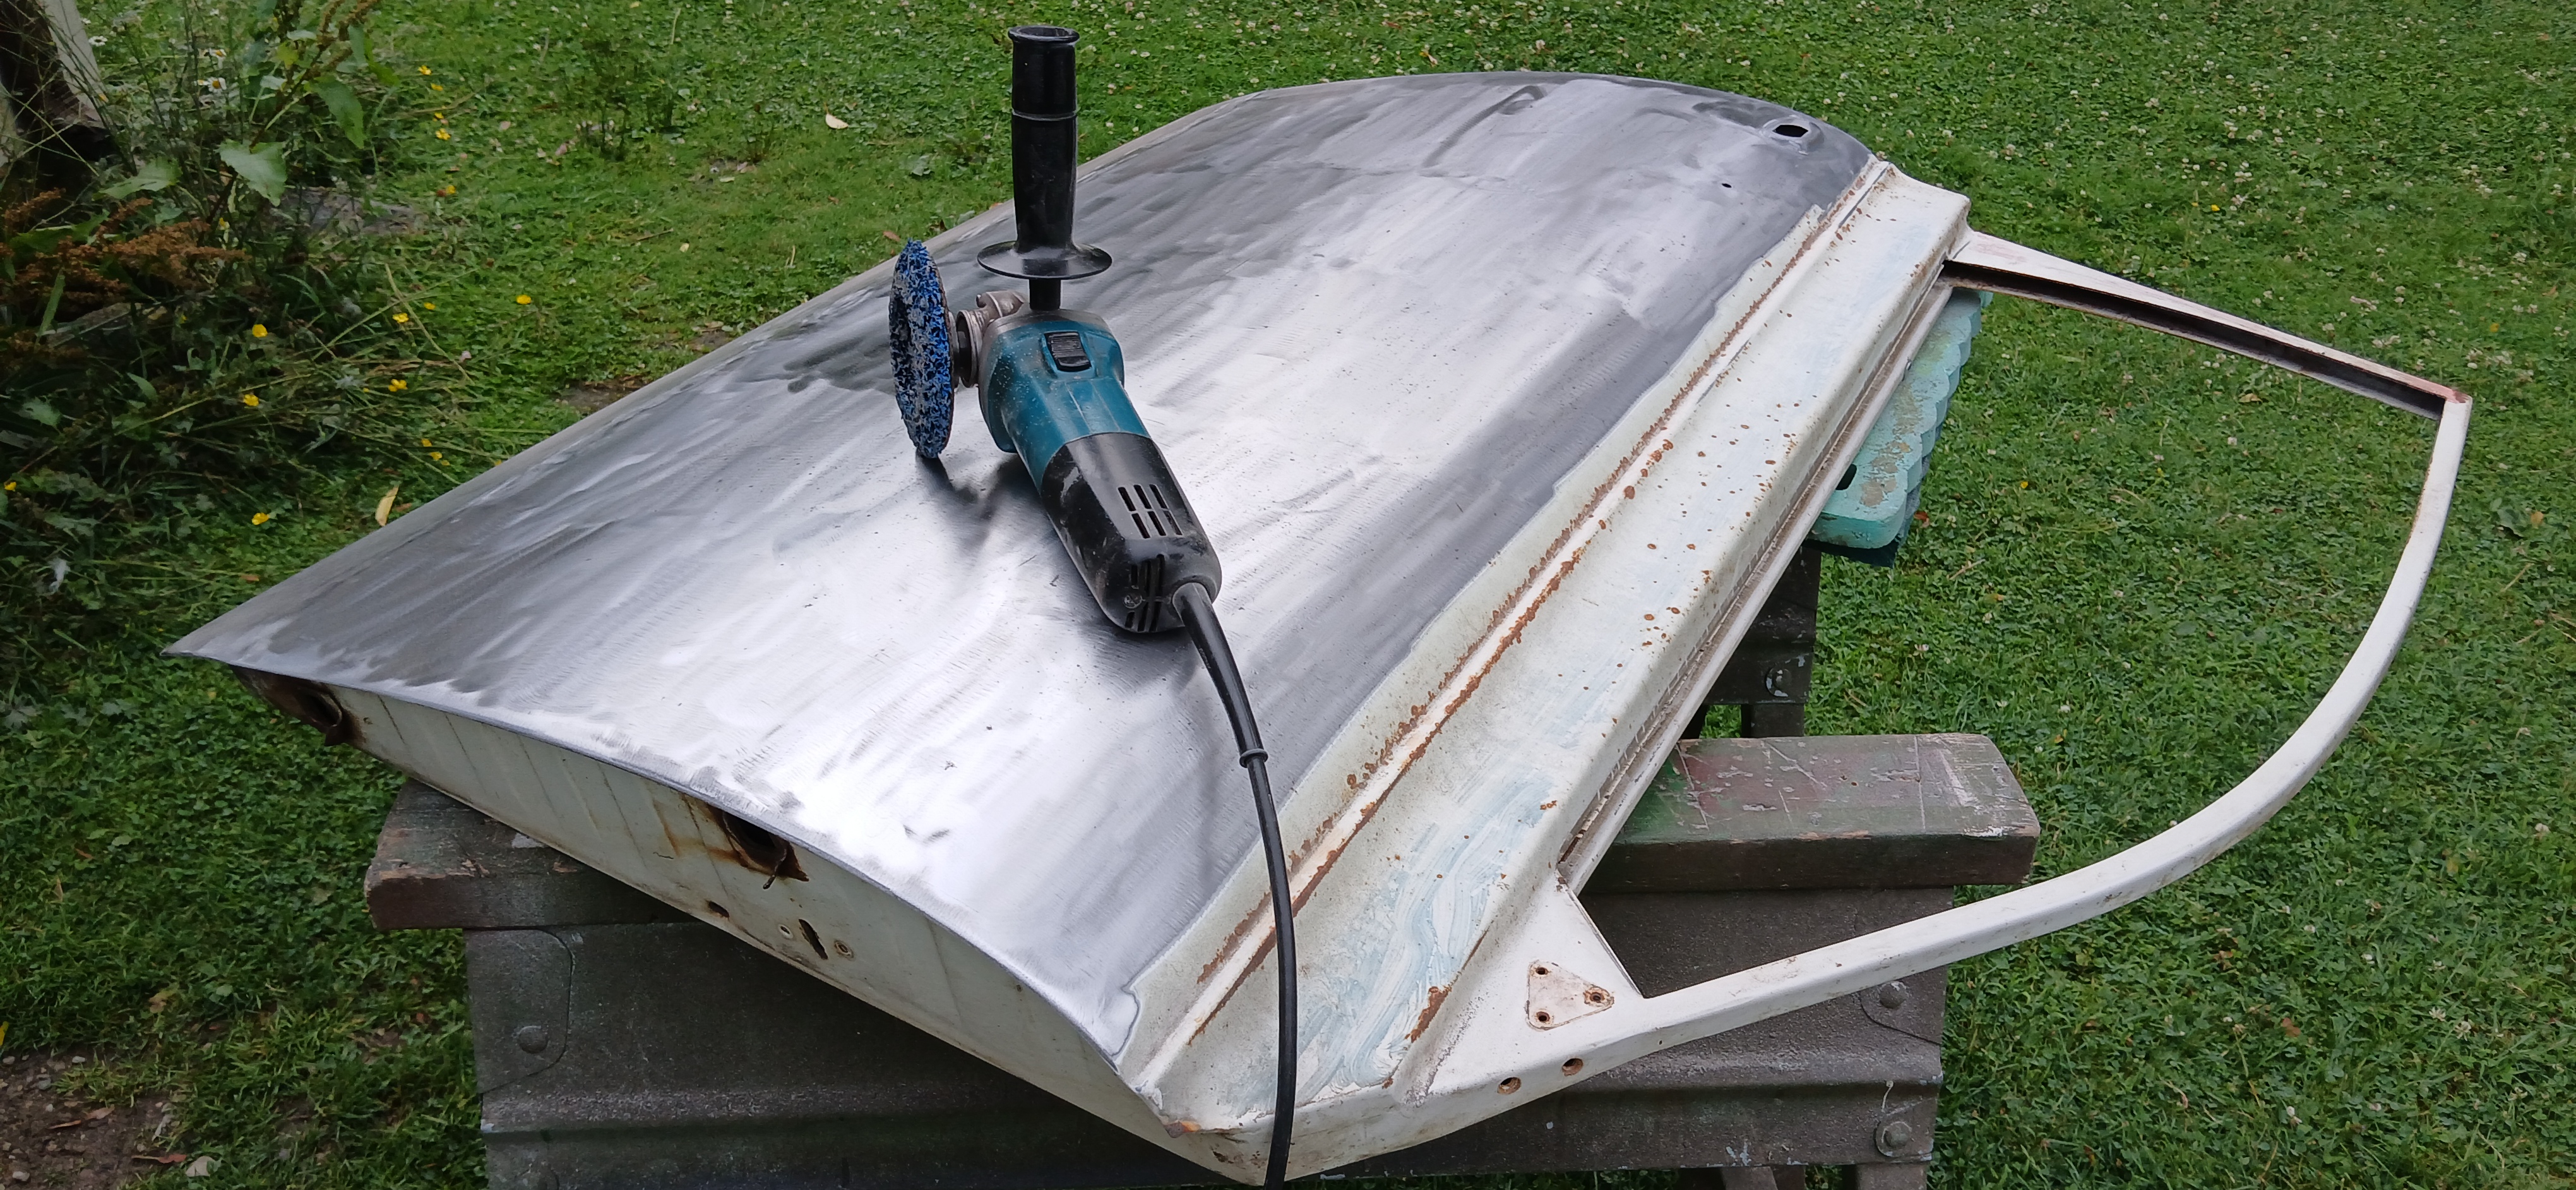
23. Stripping Paint with Stripping Disc
24. Door After Stripping with Paint Stripping Disc
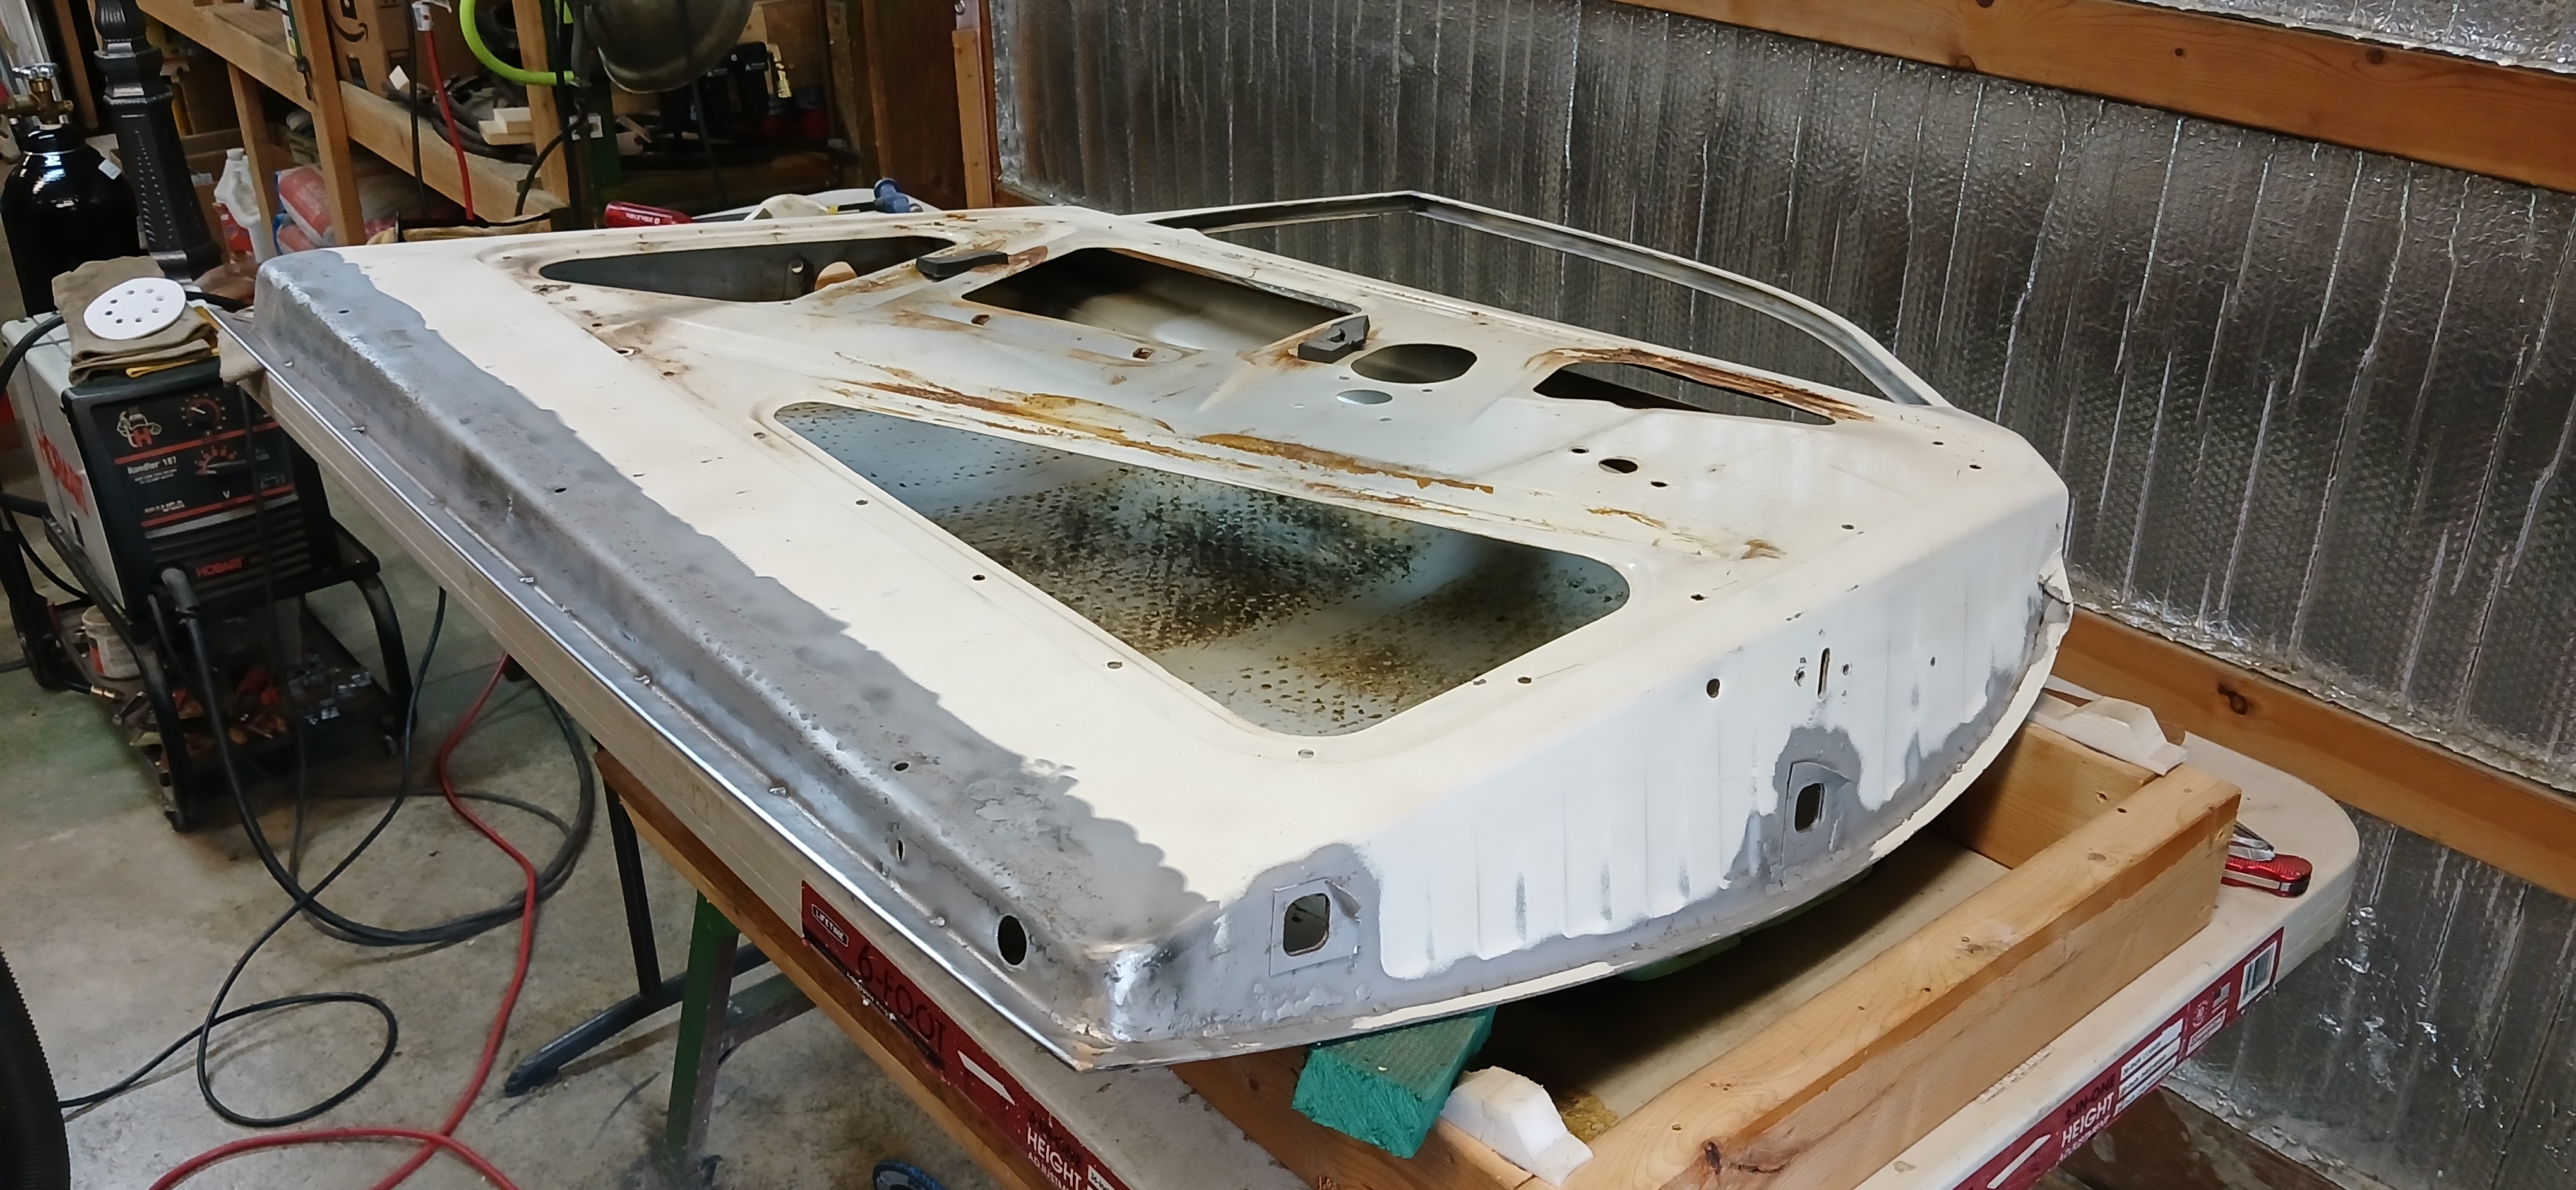
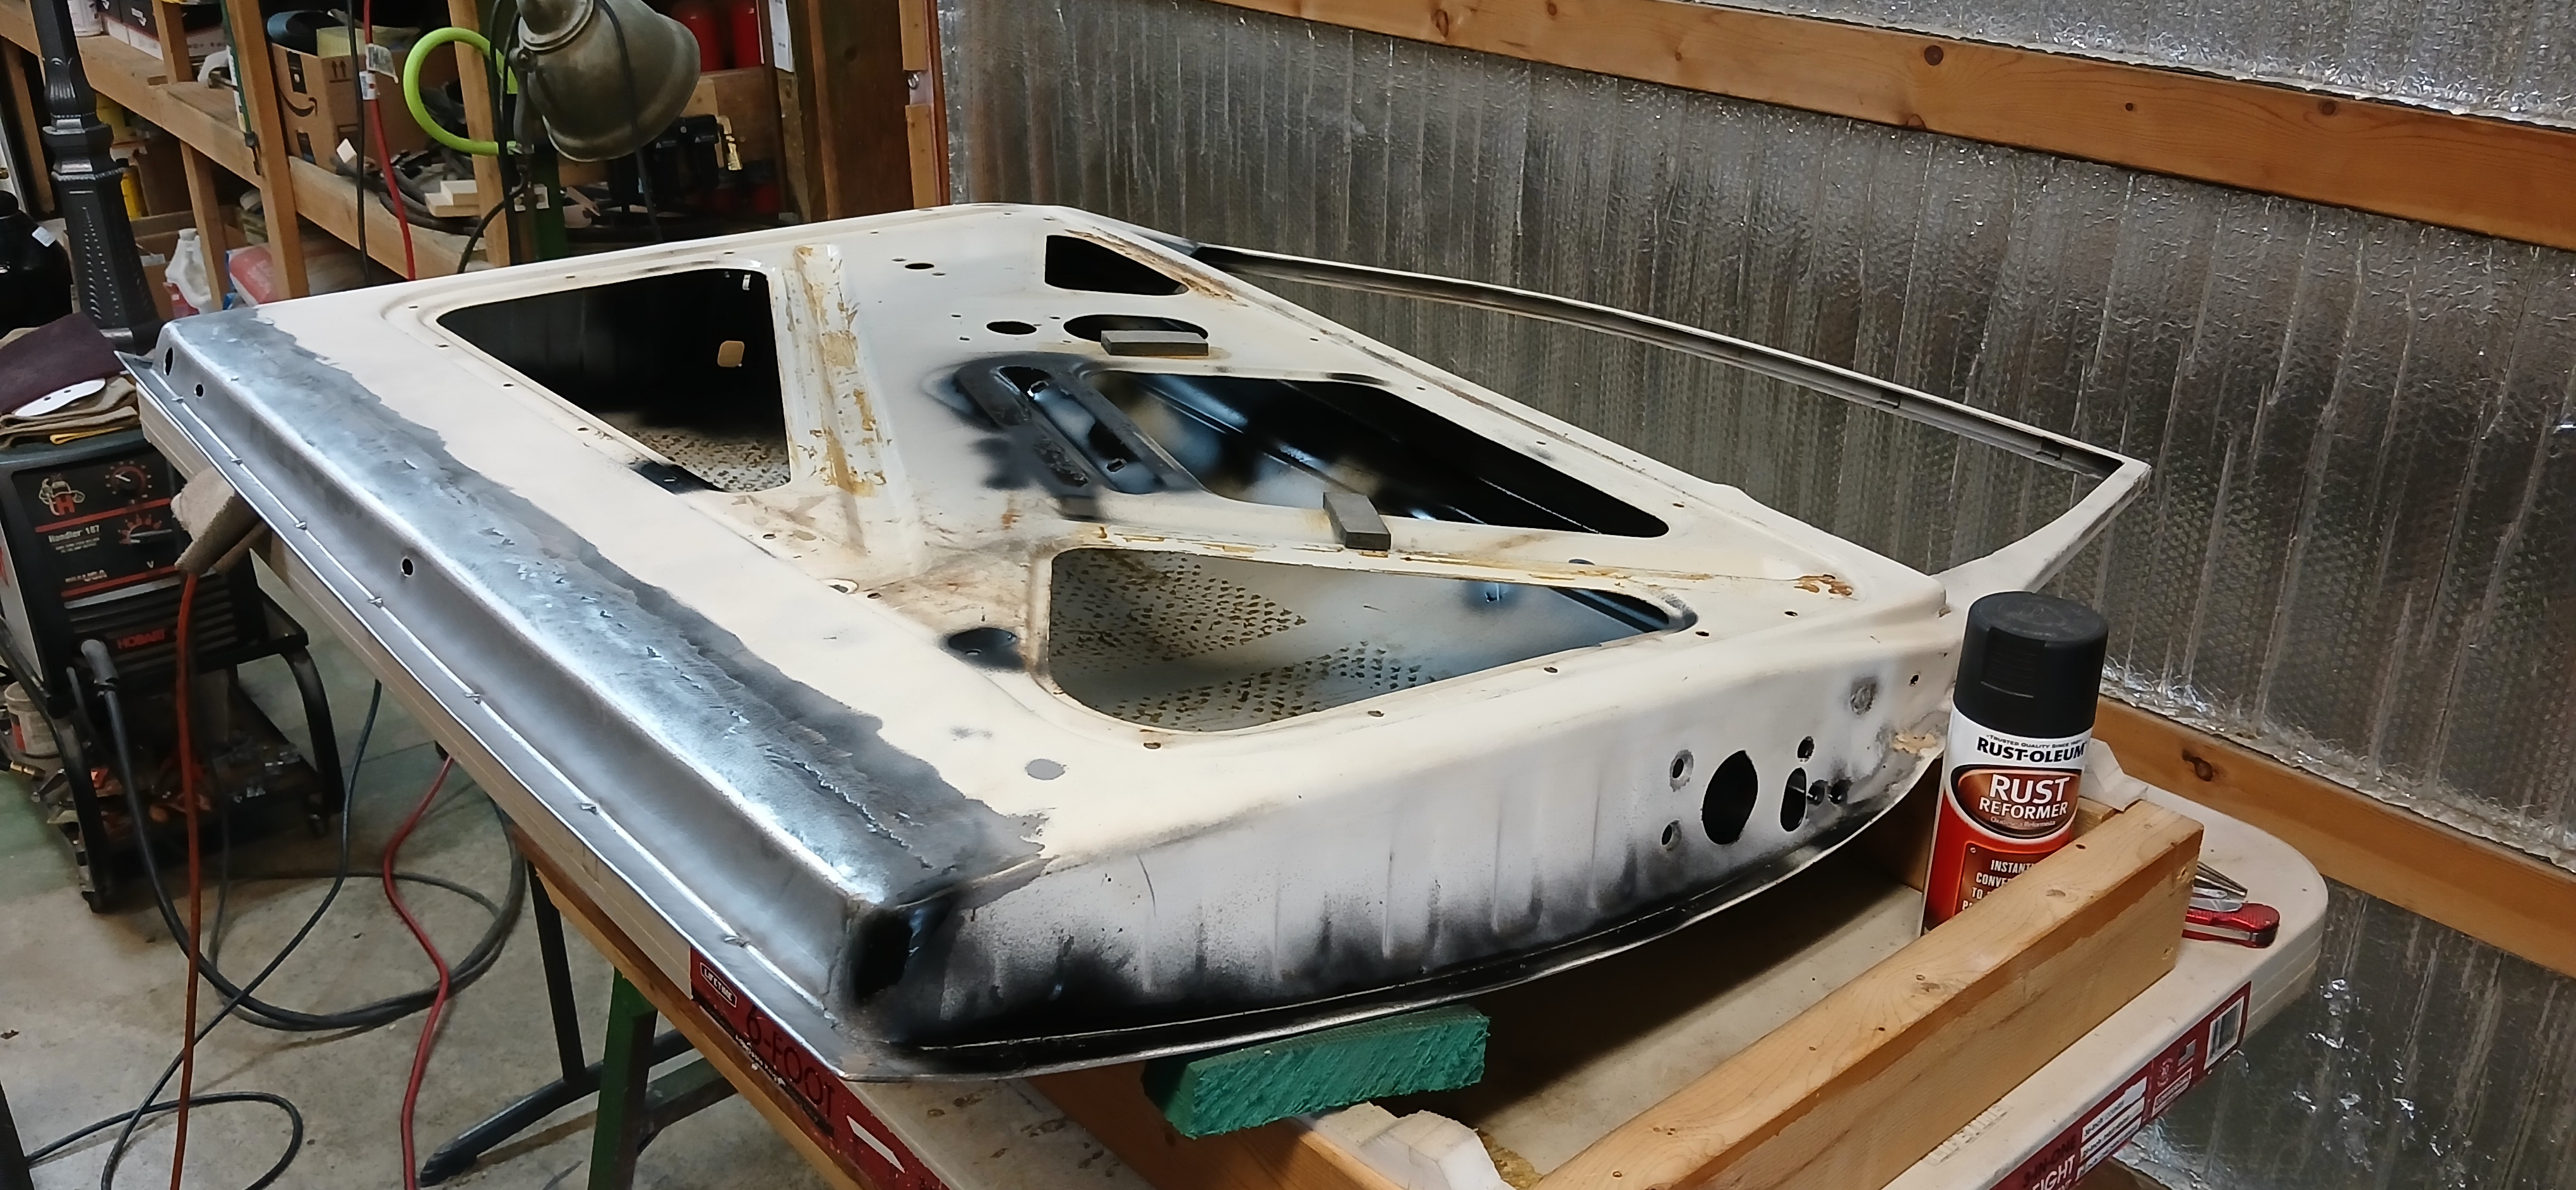
A note of warning here. If your grandkids ever ask to water paint stuff on an old car sitting out back, just say “NO!” if you ever plan on refinishing that car! It sure looked like fun but the water paint got through the car paint and pitted the metal. I could read some of the writing by looking at the pitting. I didn’t want to sand blast the whole door to clean the pits so I opted to put a thick coat of Rust-Oleum Rust Reformer (248658) on the whole door. I then hand-sanded the surface, leaving the pits filled with rust reformer. See Figures 25-26. I think it will hold up well. I hope so.
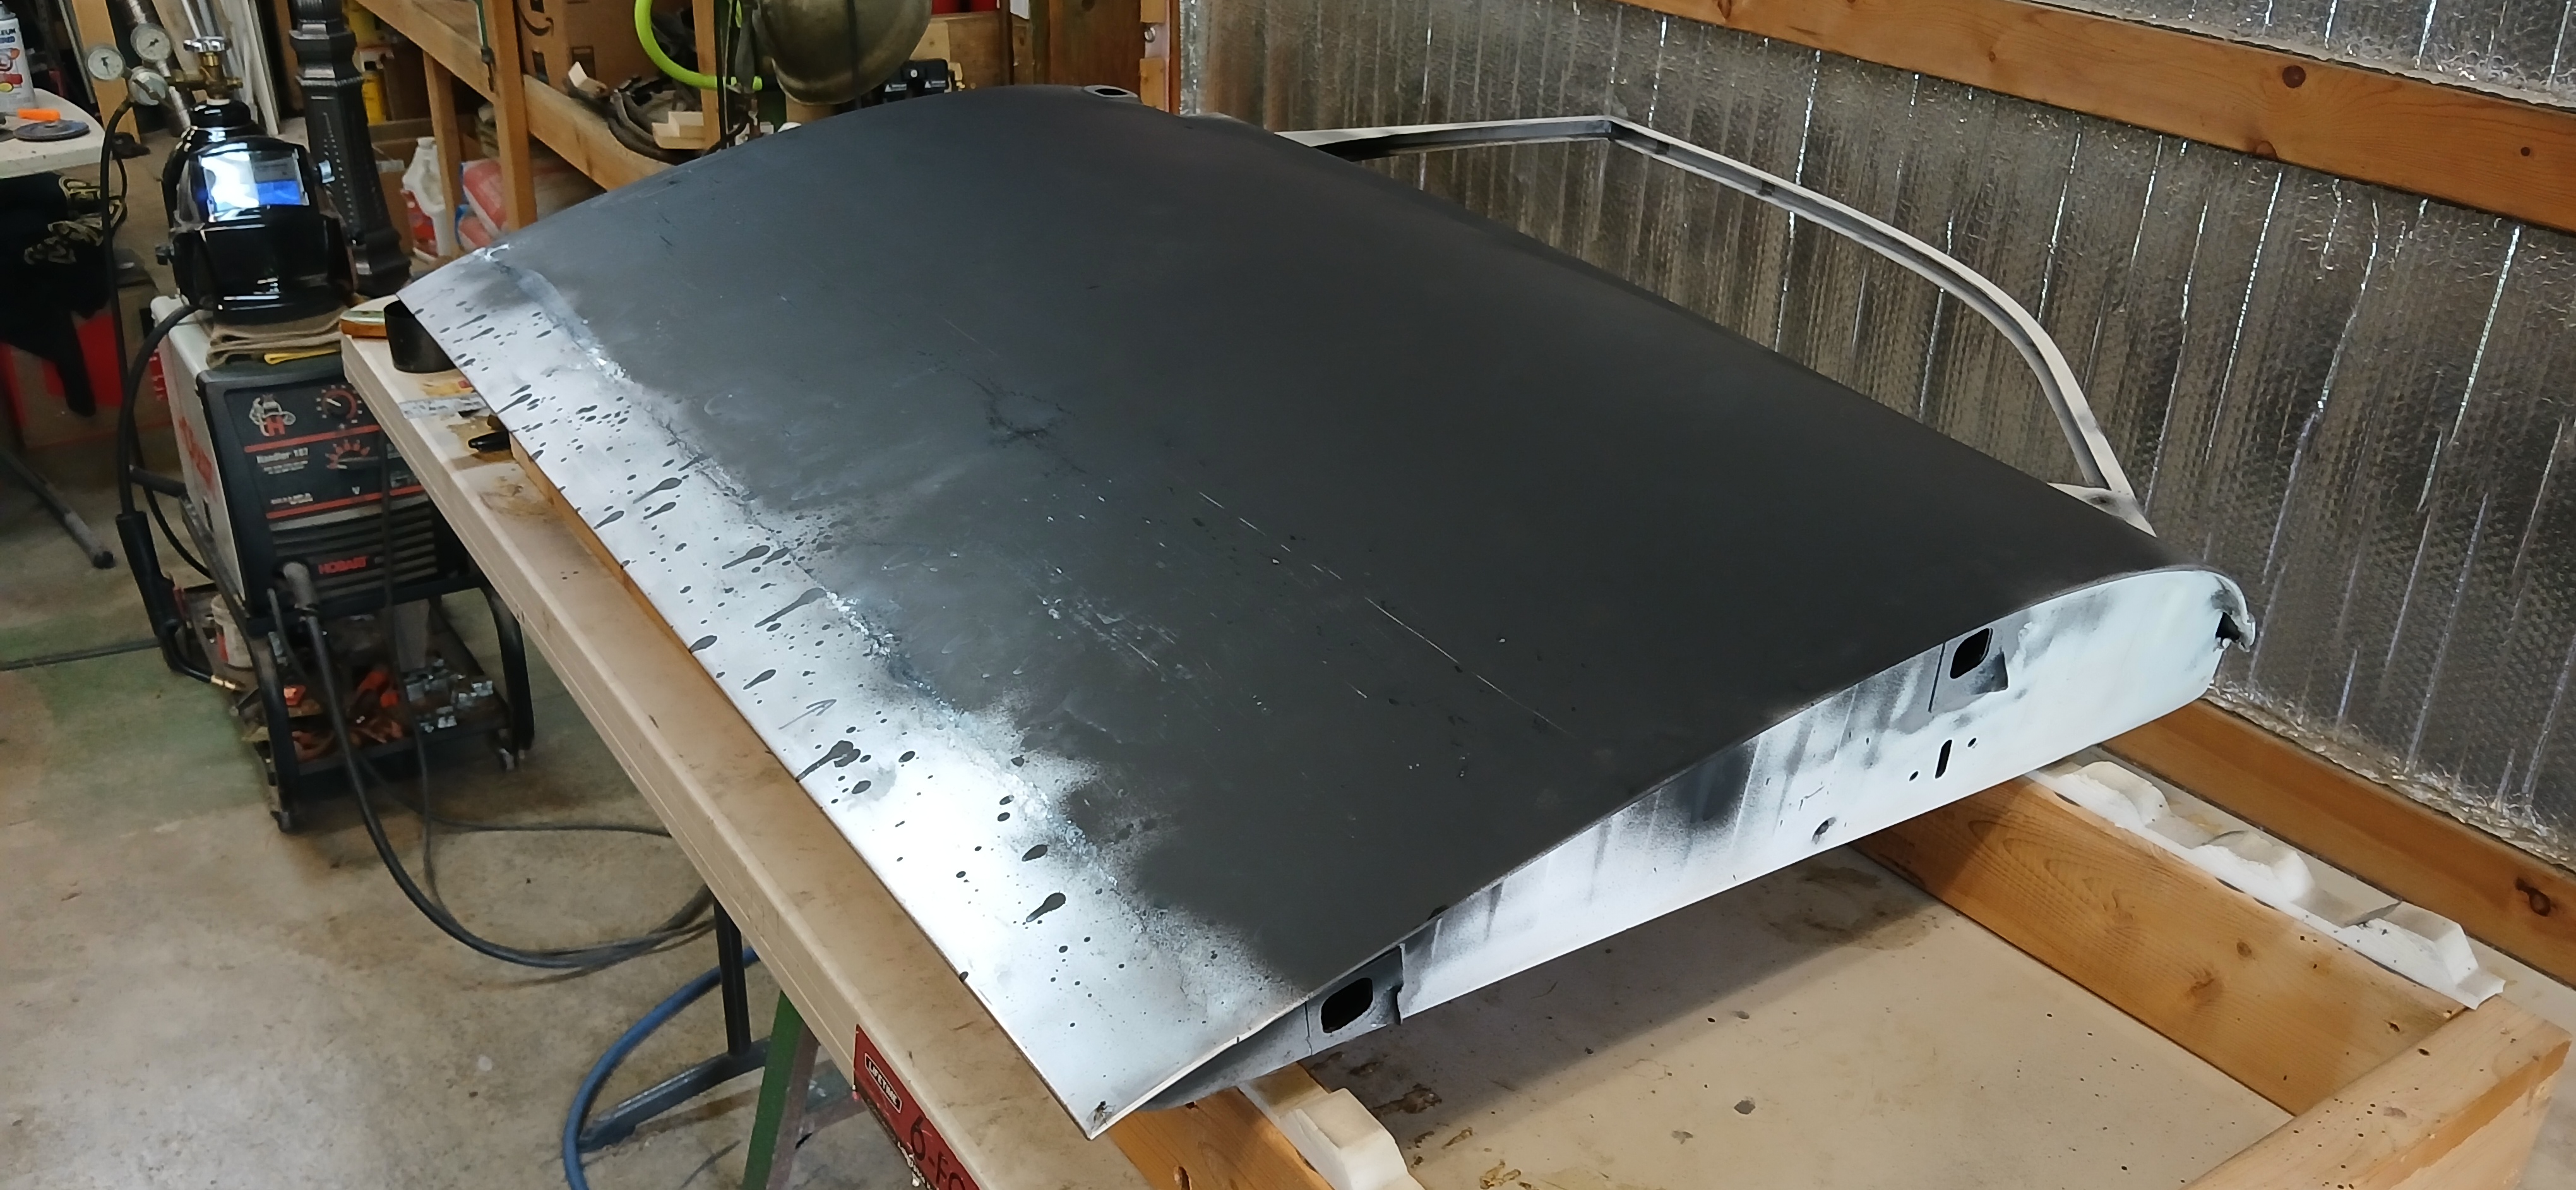
25. Pitted Metal Painted with Rust Reformer
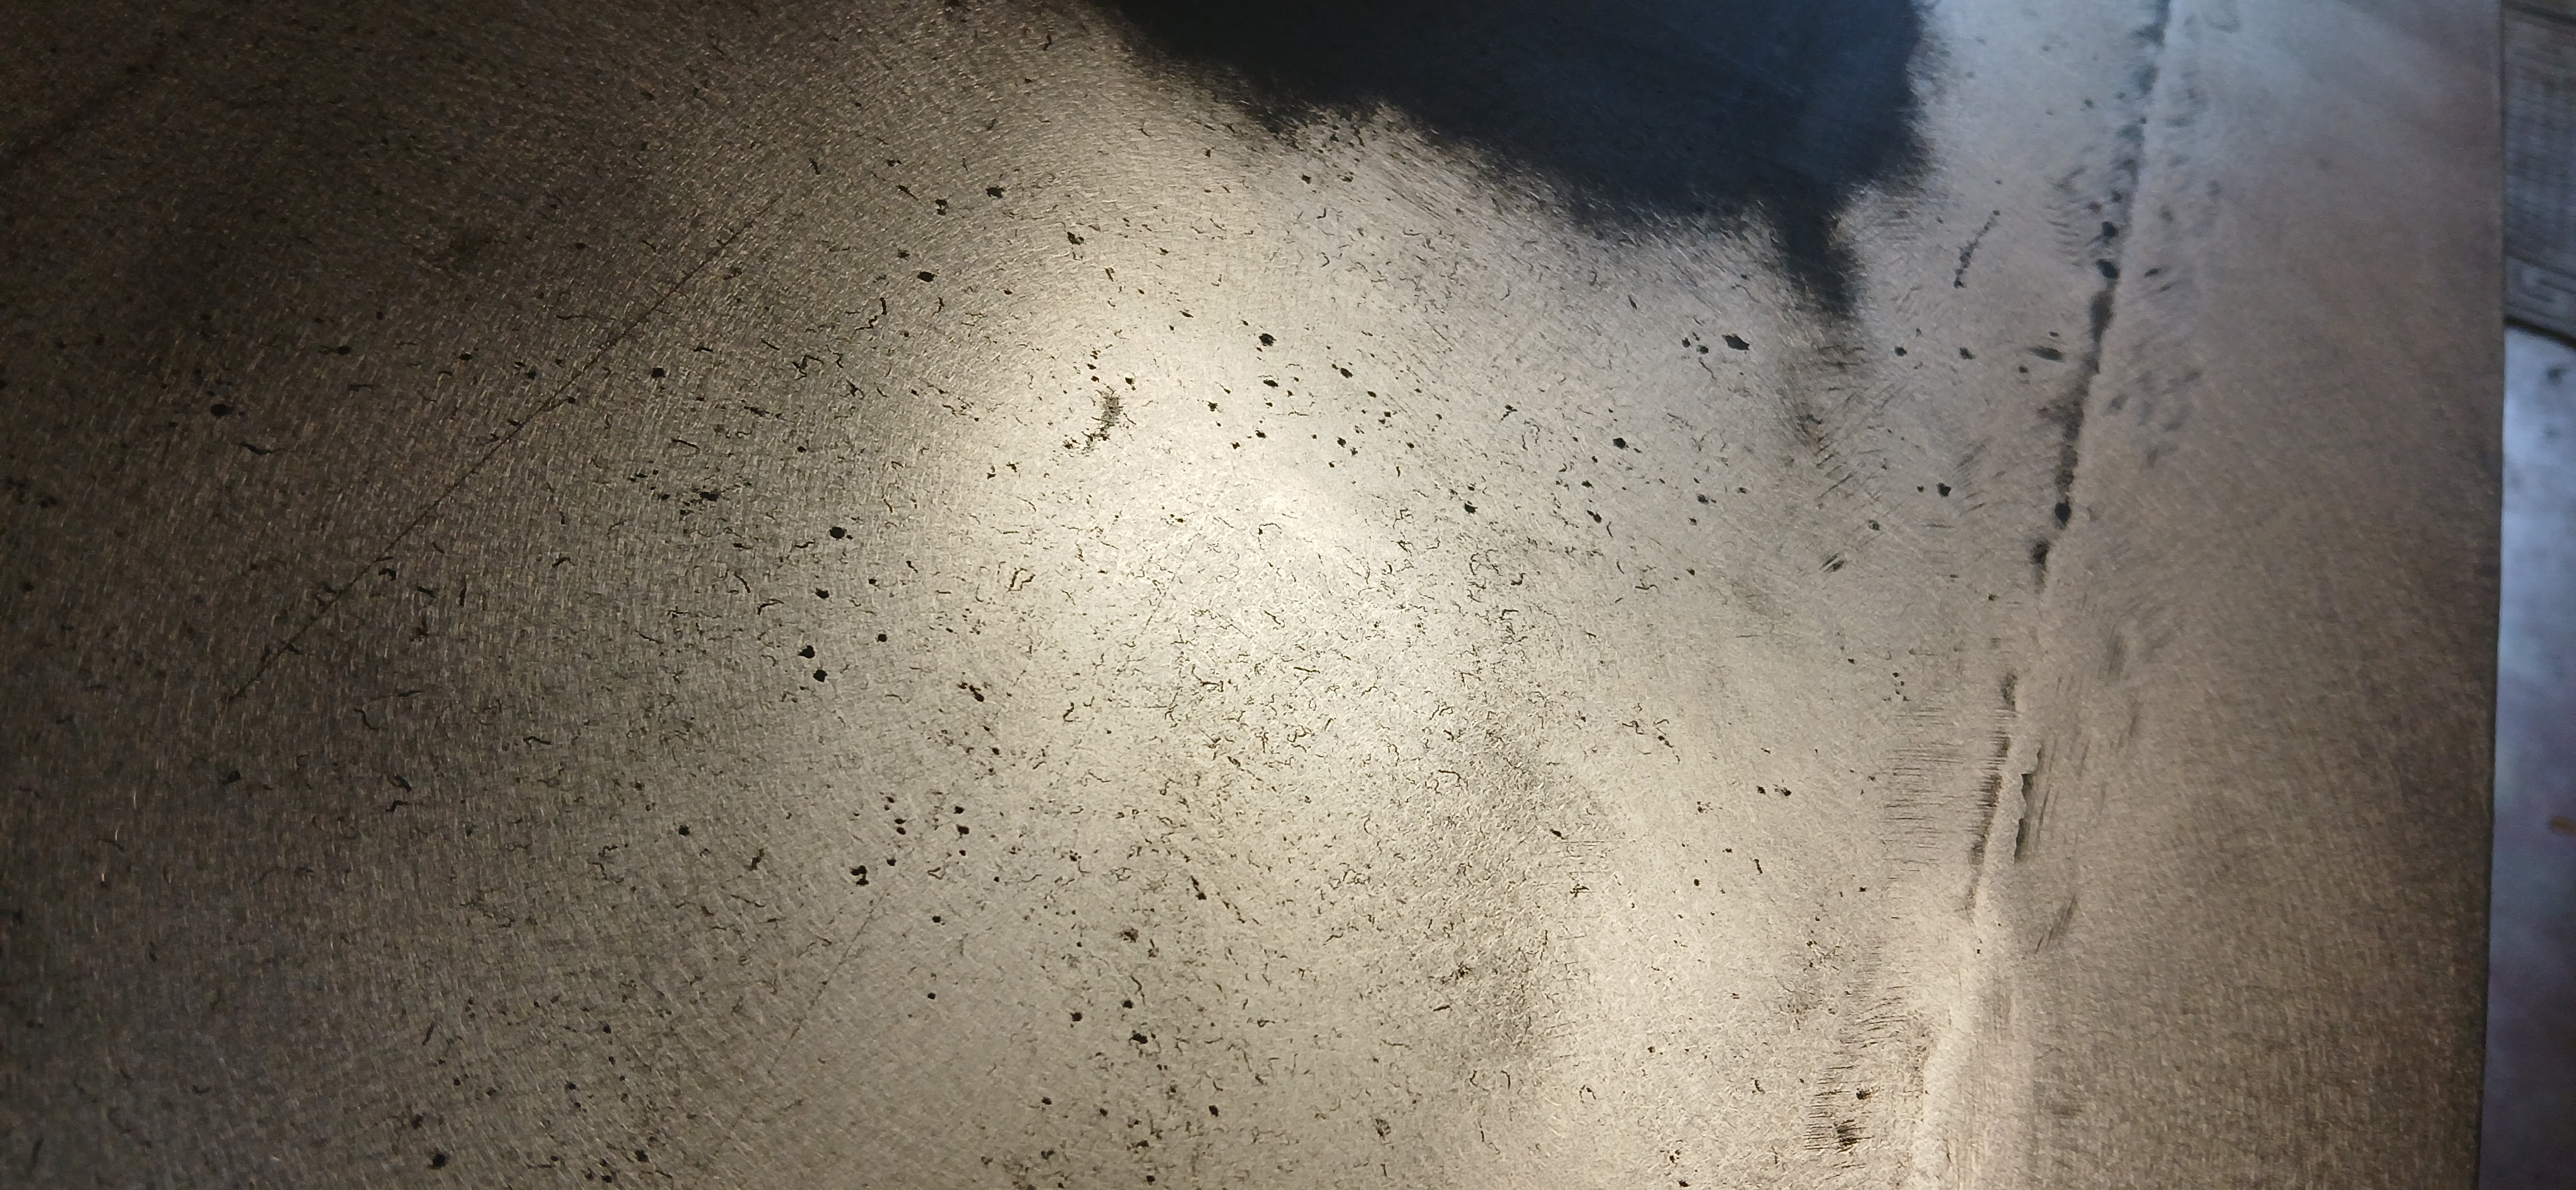
26. Pits in Metal Filled With Rust Reformer
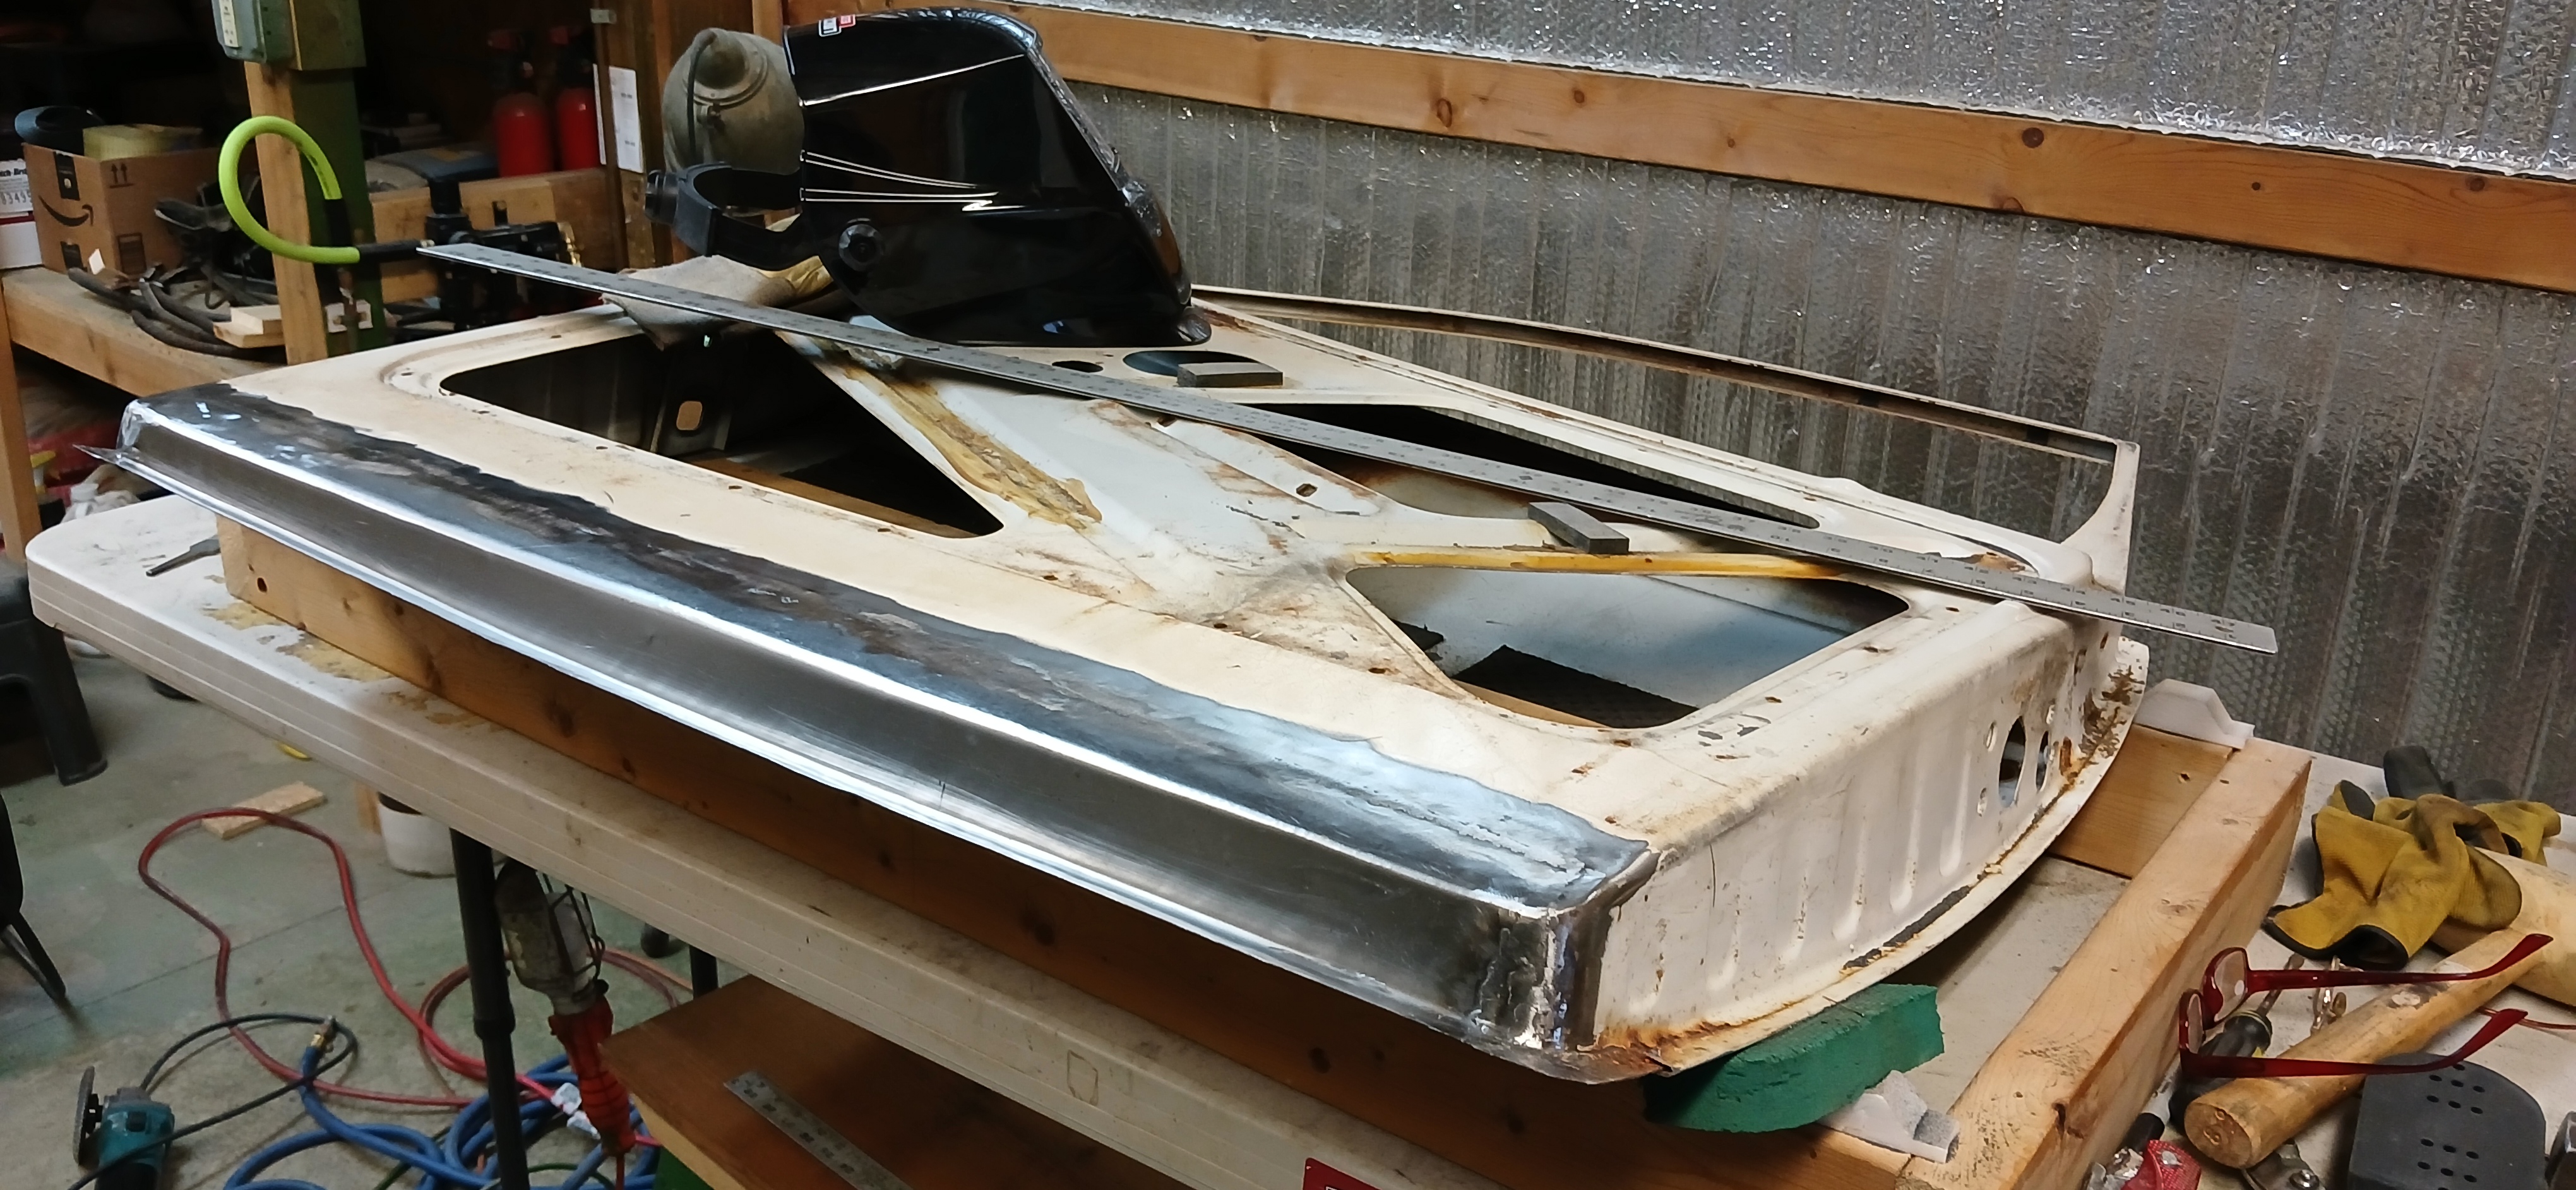
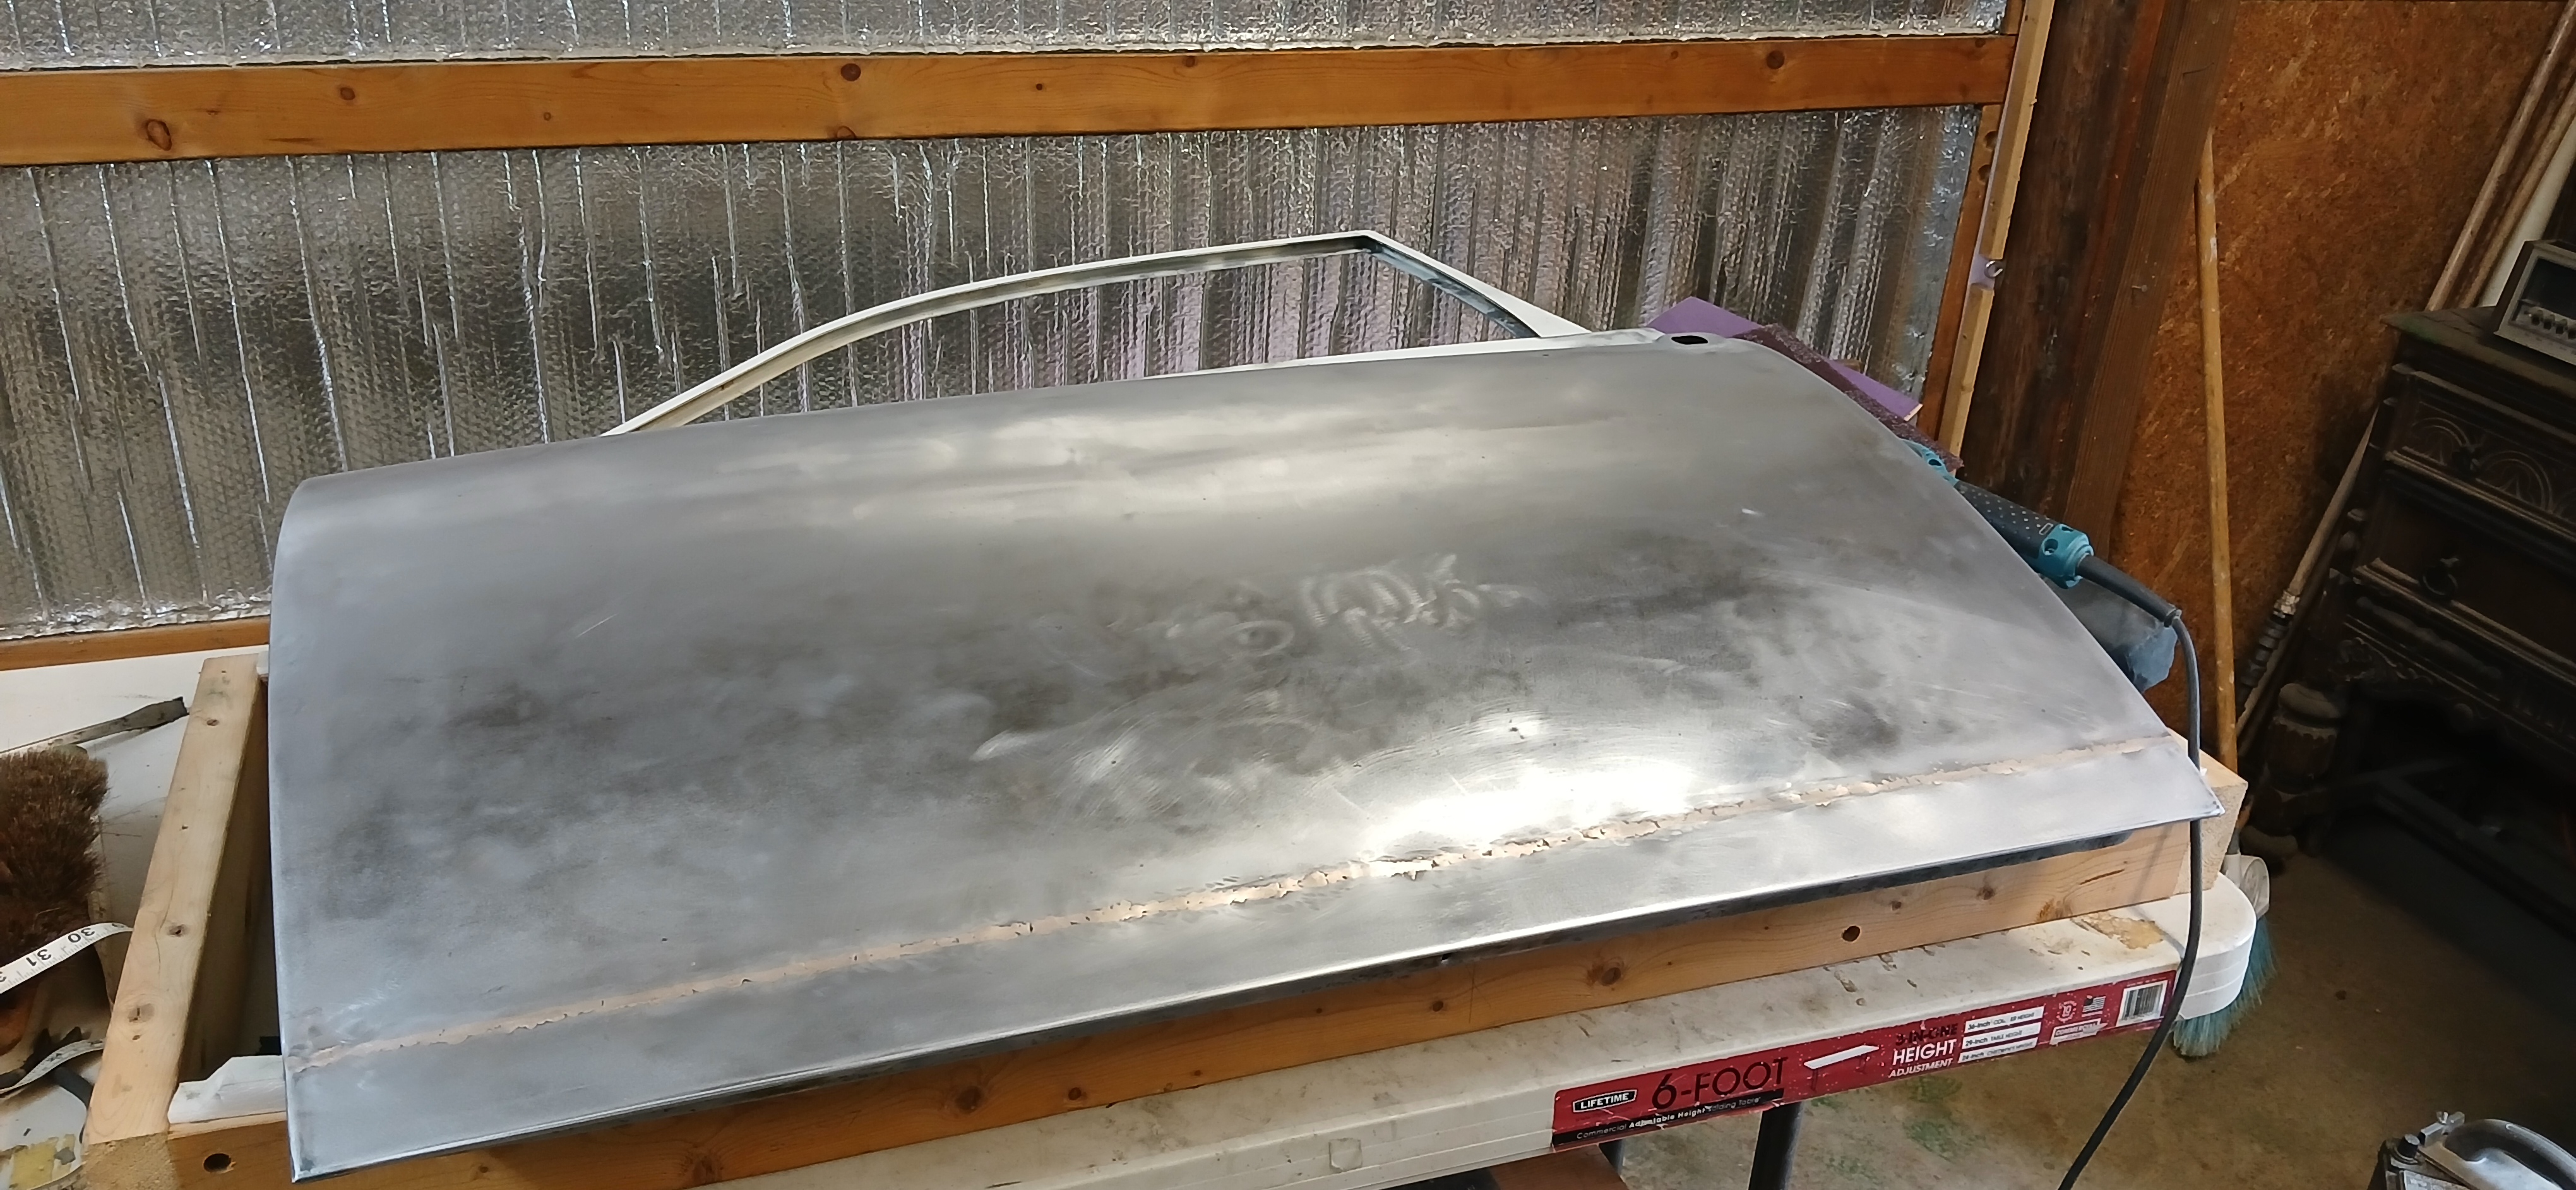
Figures 27-28 show the result of a lot of elbow grease and hand sanding body filler. It took numerous attempts to get a very smooth surface matching the original contour. The body filler isn’t thick anywhere but it does cover a large area. I don’t show it here but I coated the bare-metal areas with Rust-Oleum Automotive Self Etching Primer (249322).
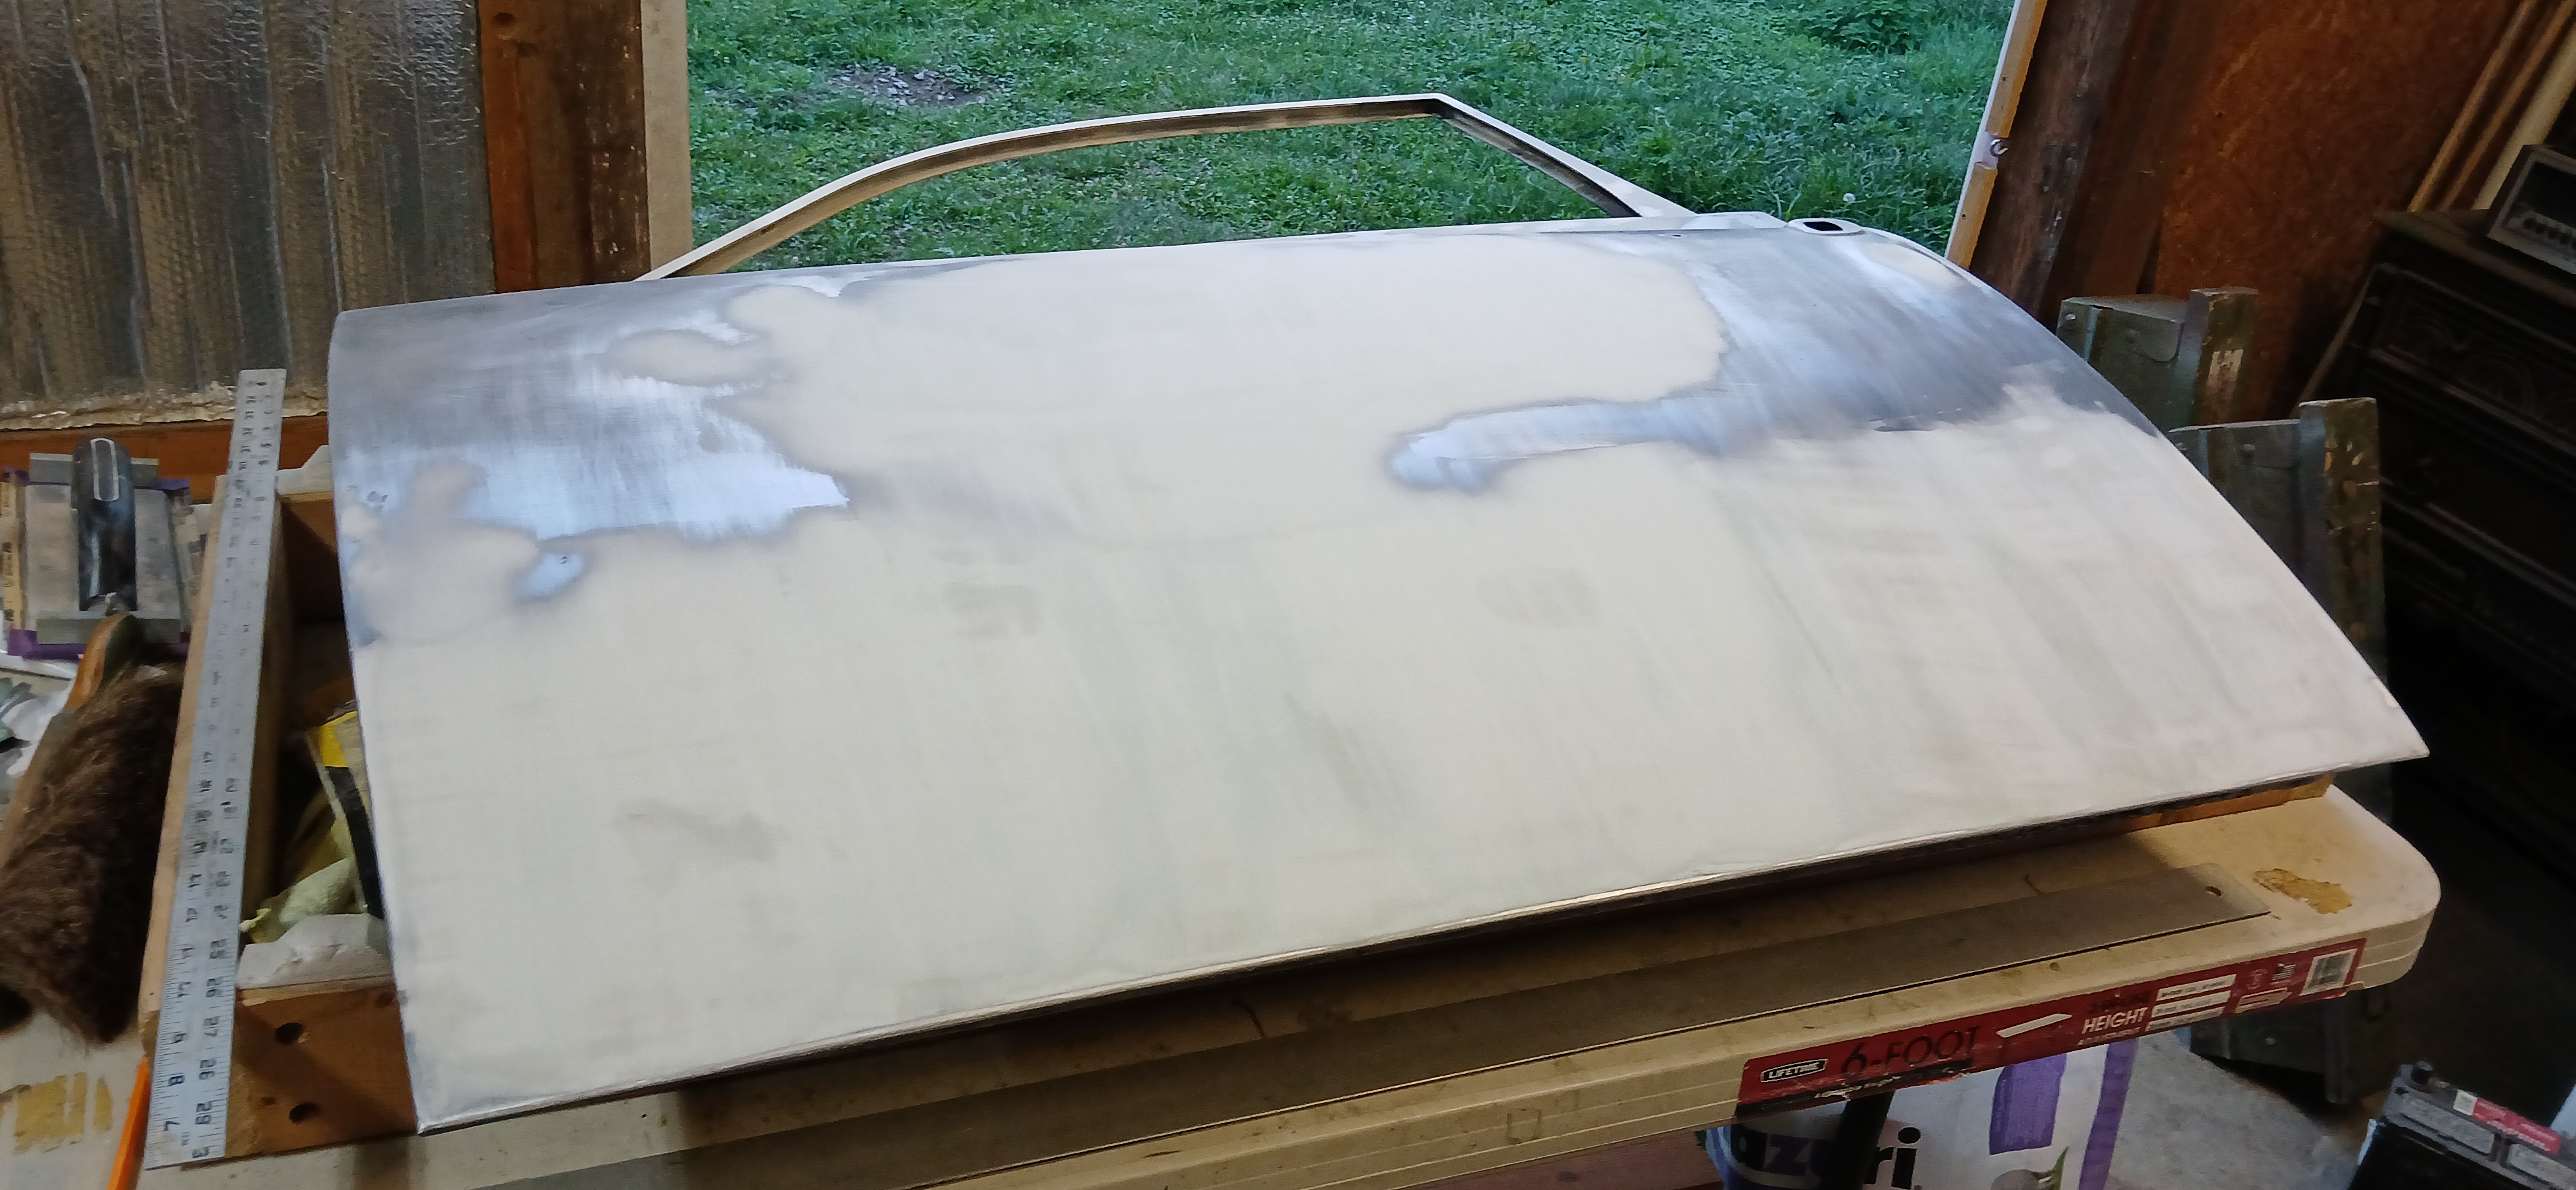
27. Driver Door Ready for Primer
28. Passenger Door Ready for Primer
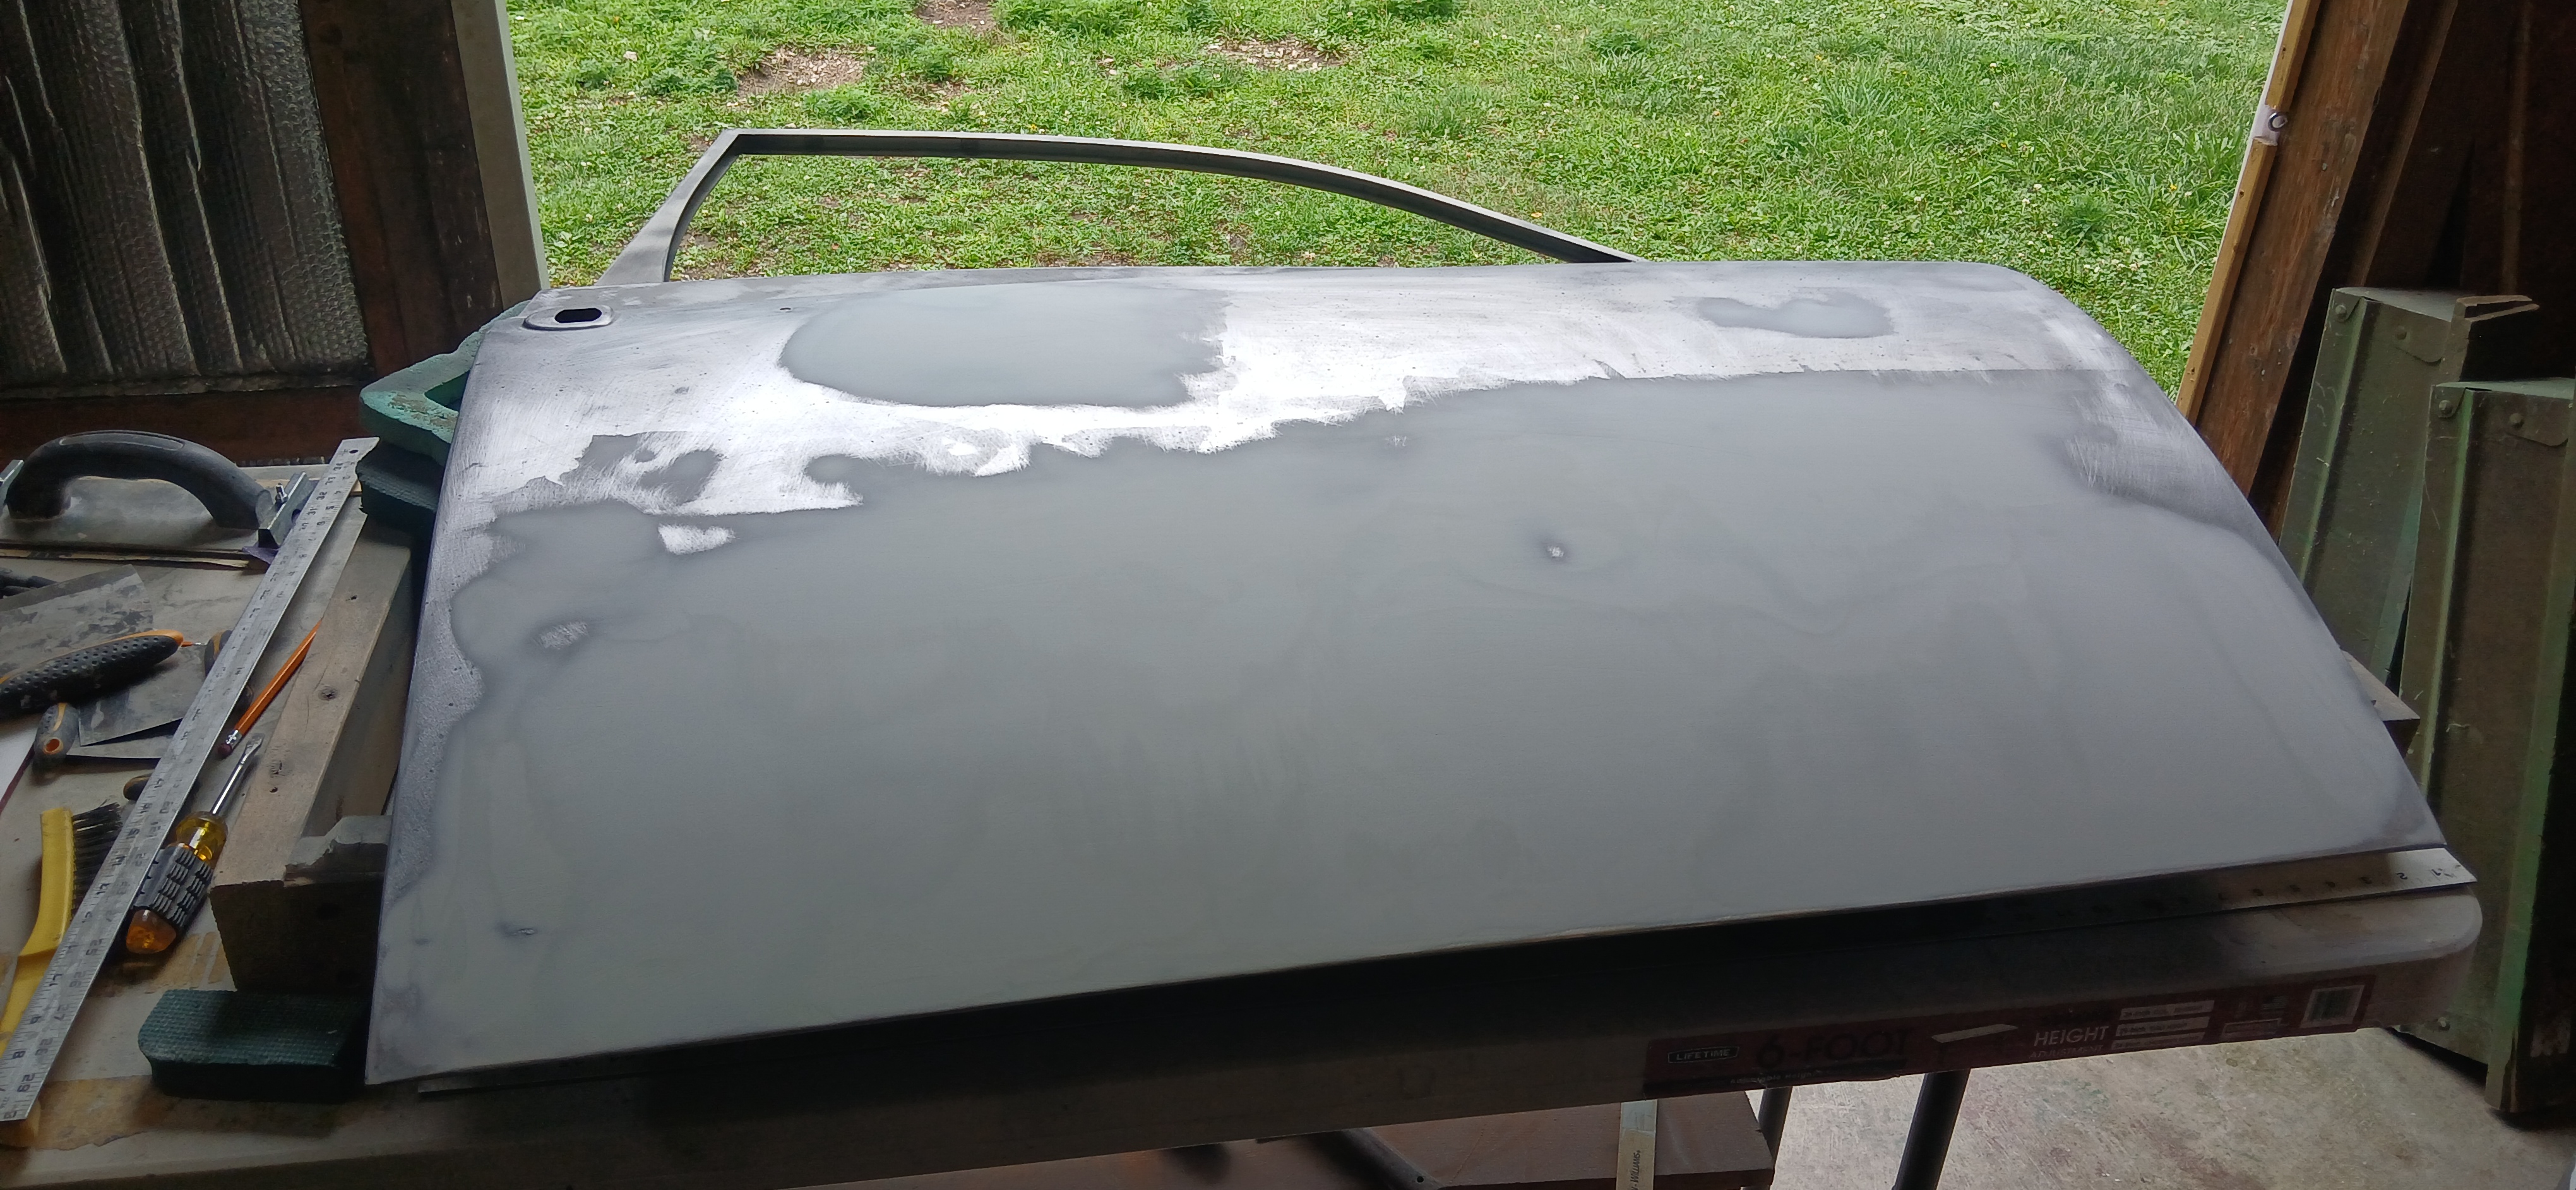
Figures 29-31 show the result of priming with Rust-Oleum Primer Sealer (249321). I hope it really is a sealer because it will be awhile before real painting. Just for a clean look, I sprayed some Rust-Oleum 2X Ultra Cover Spray Paint, Satin Moss Green (334075) on the inside surfaces to make the doors look a little more original
Next up will be some hood work.
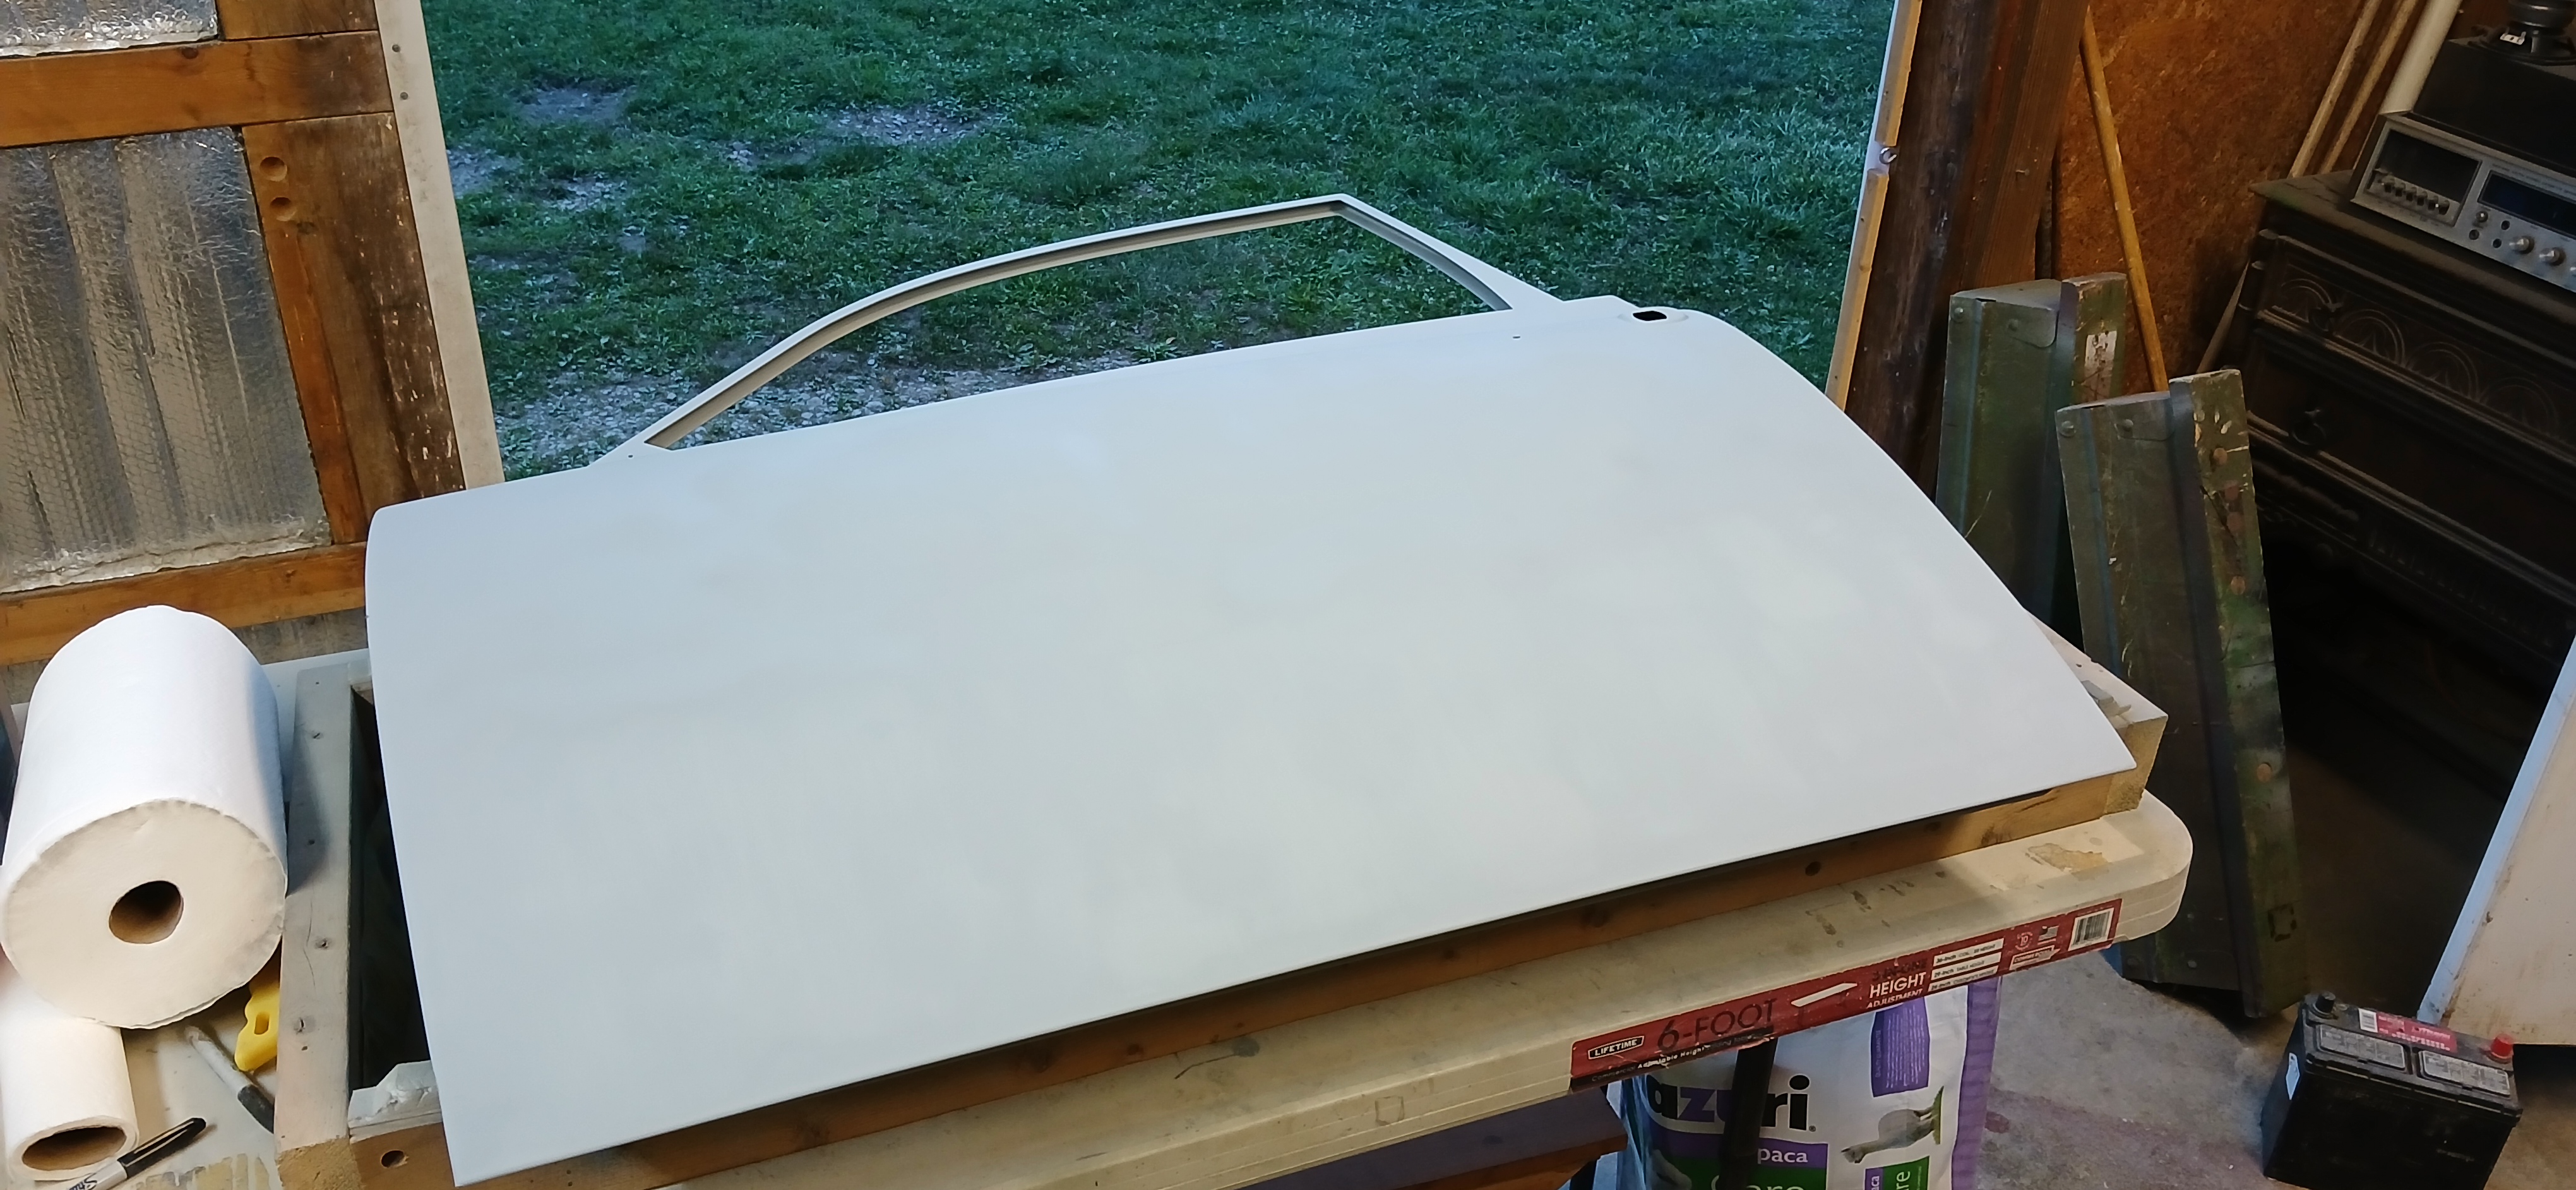
29. Driver Door Primed
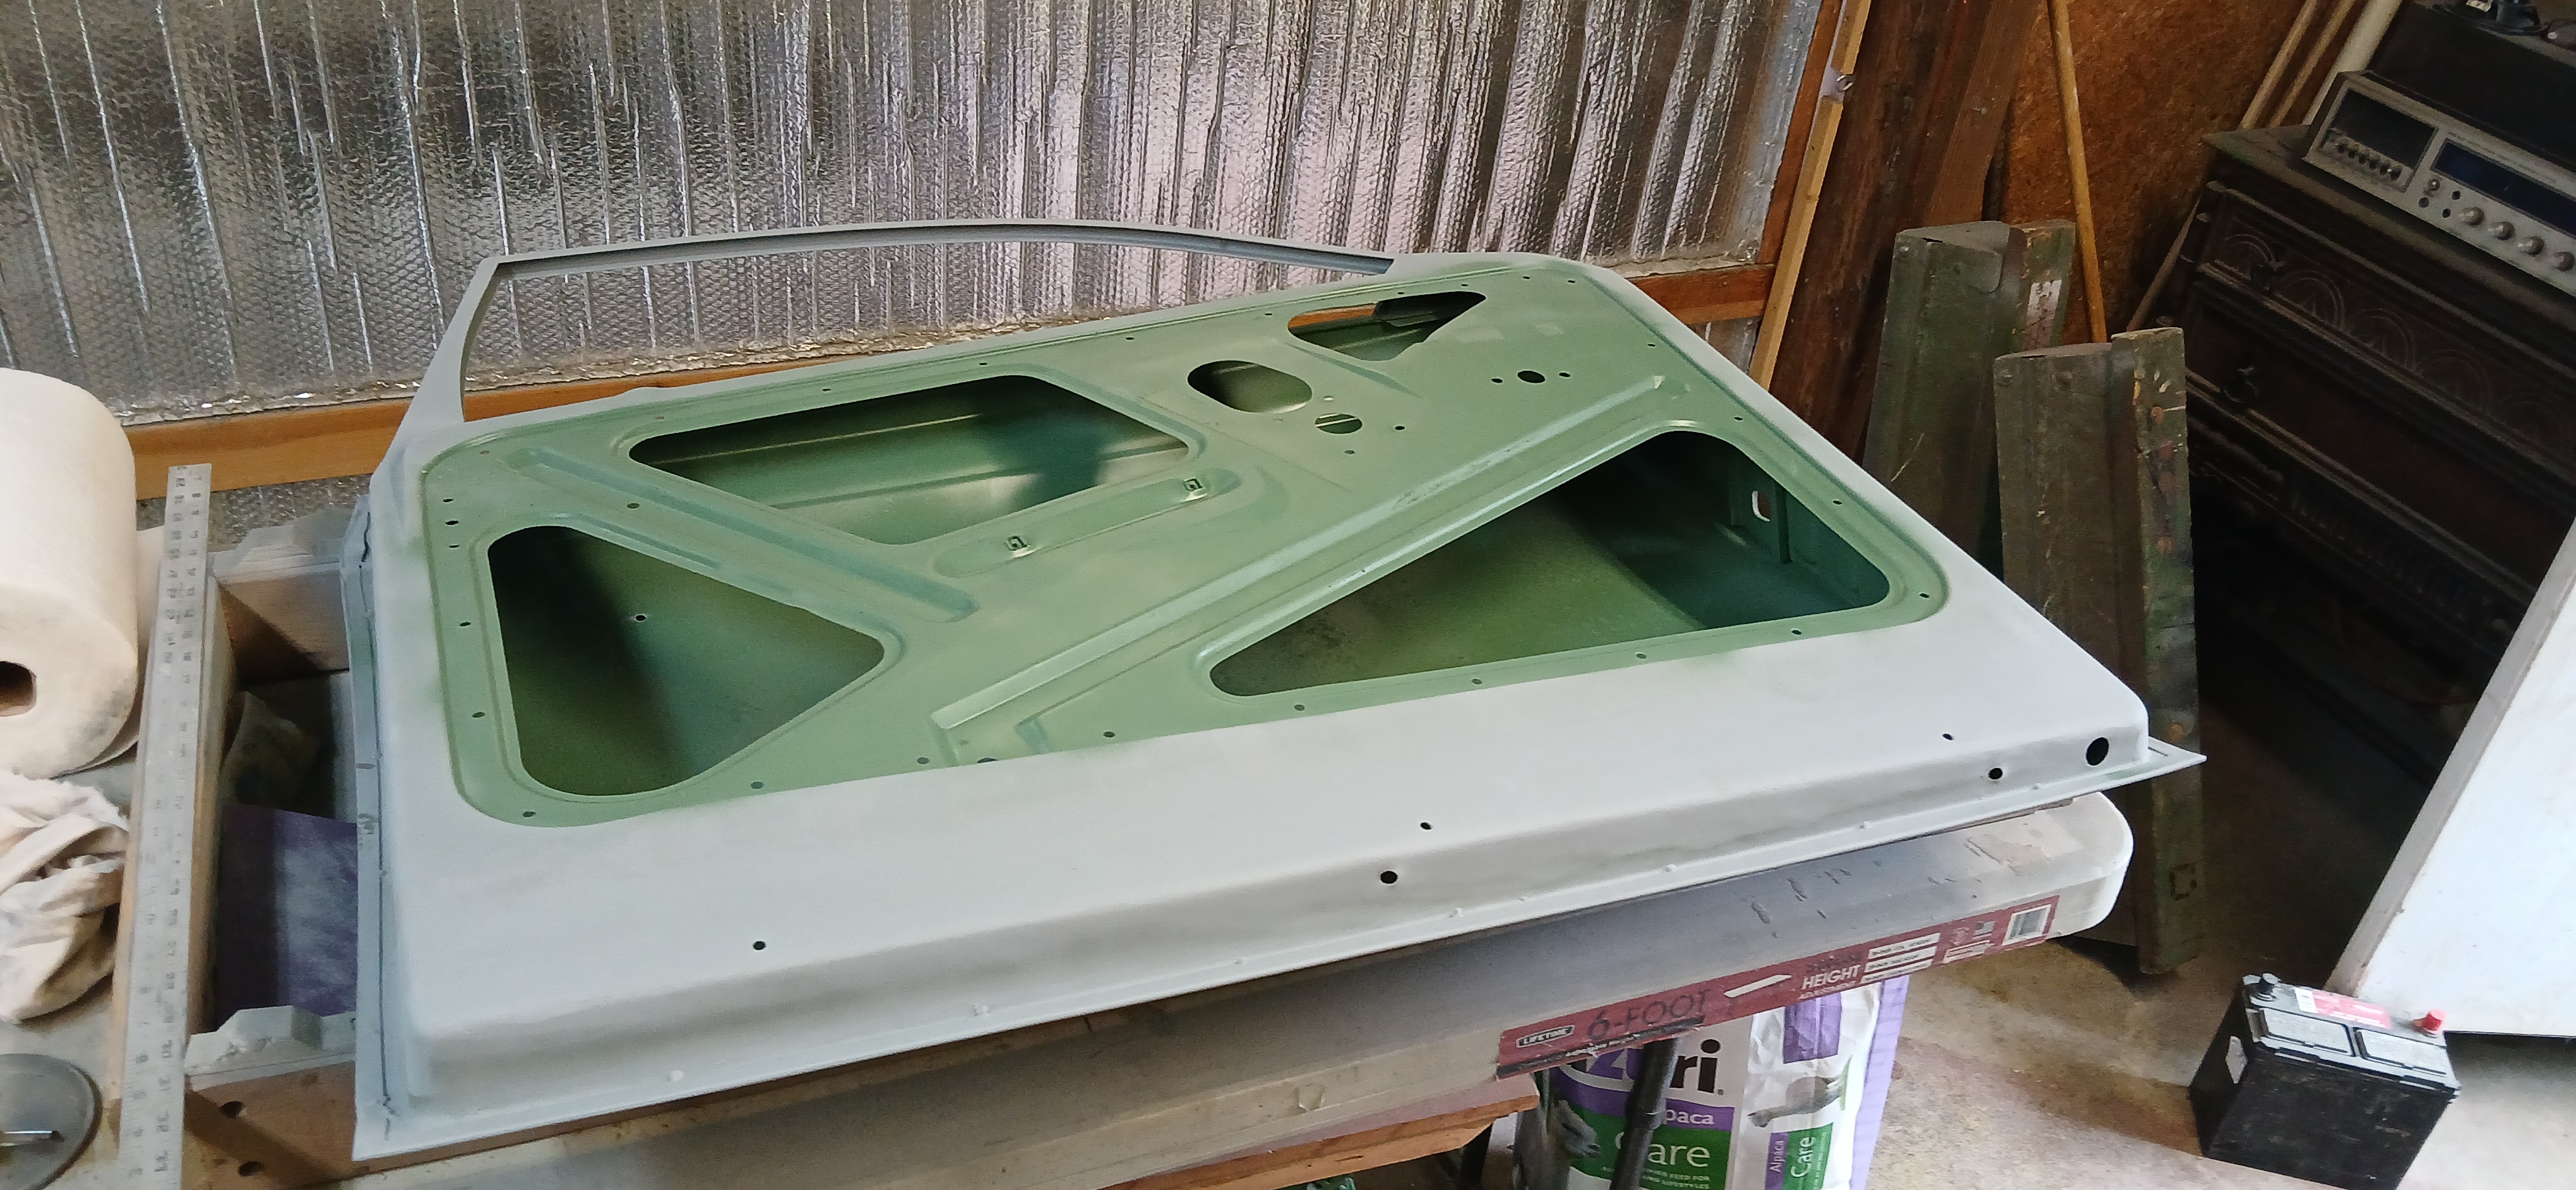
30. Driver Door Interior Primed
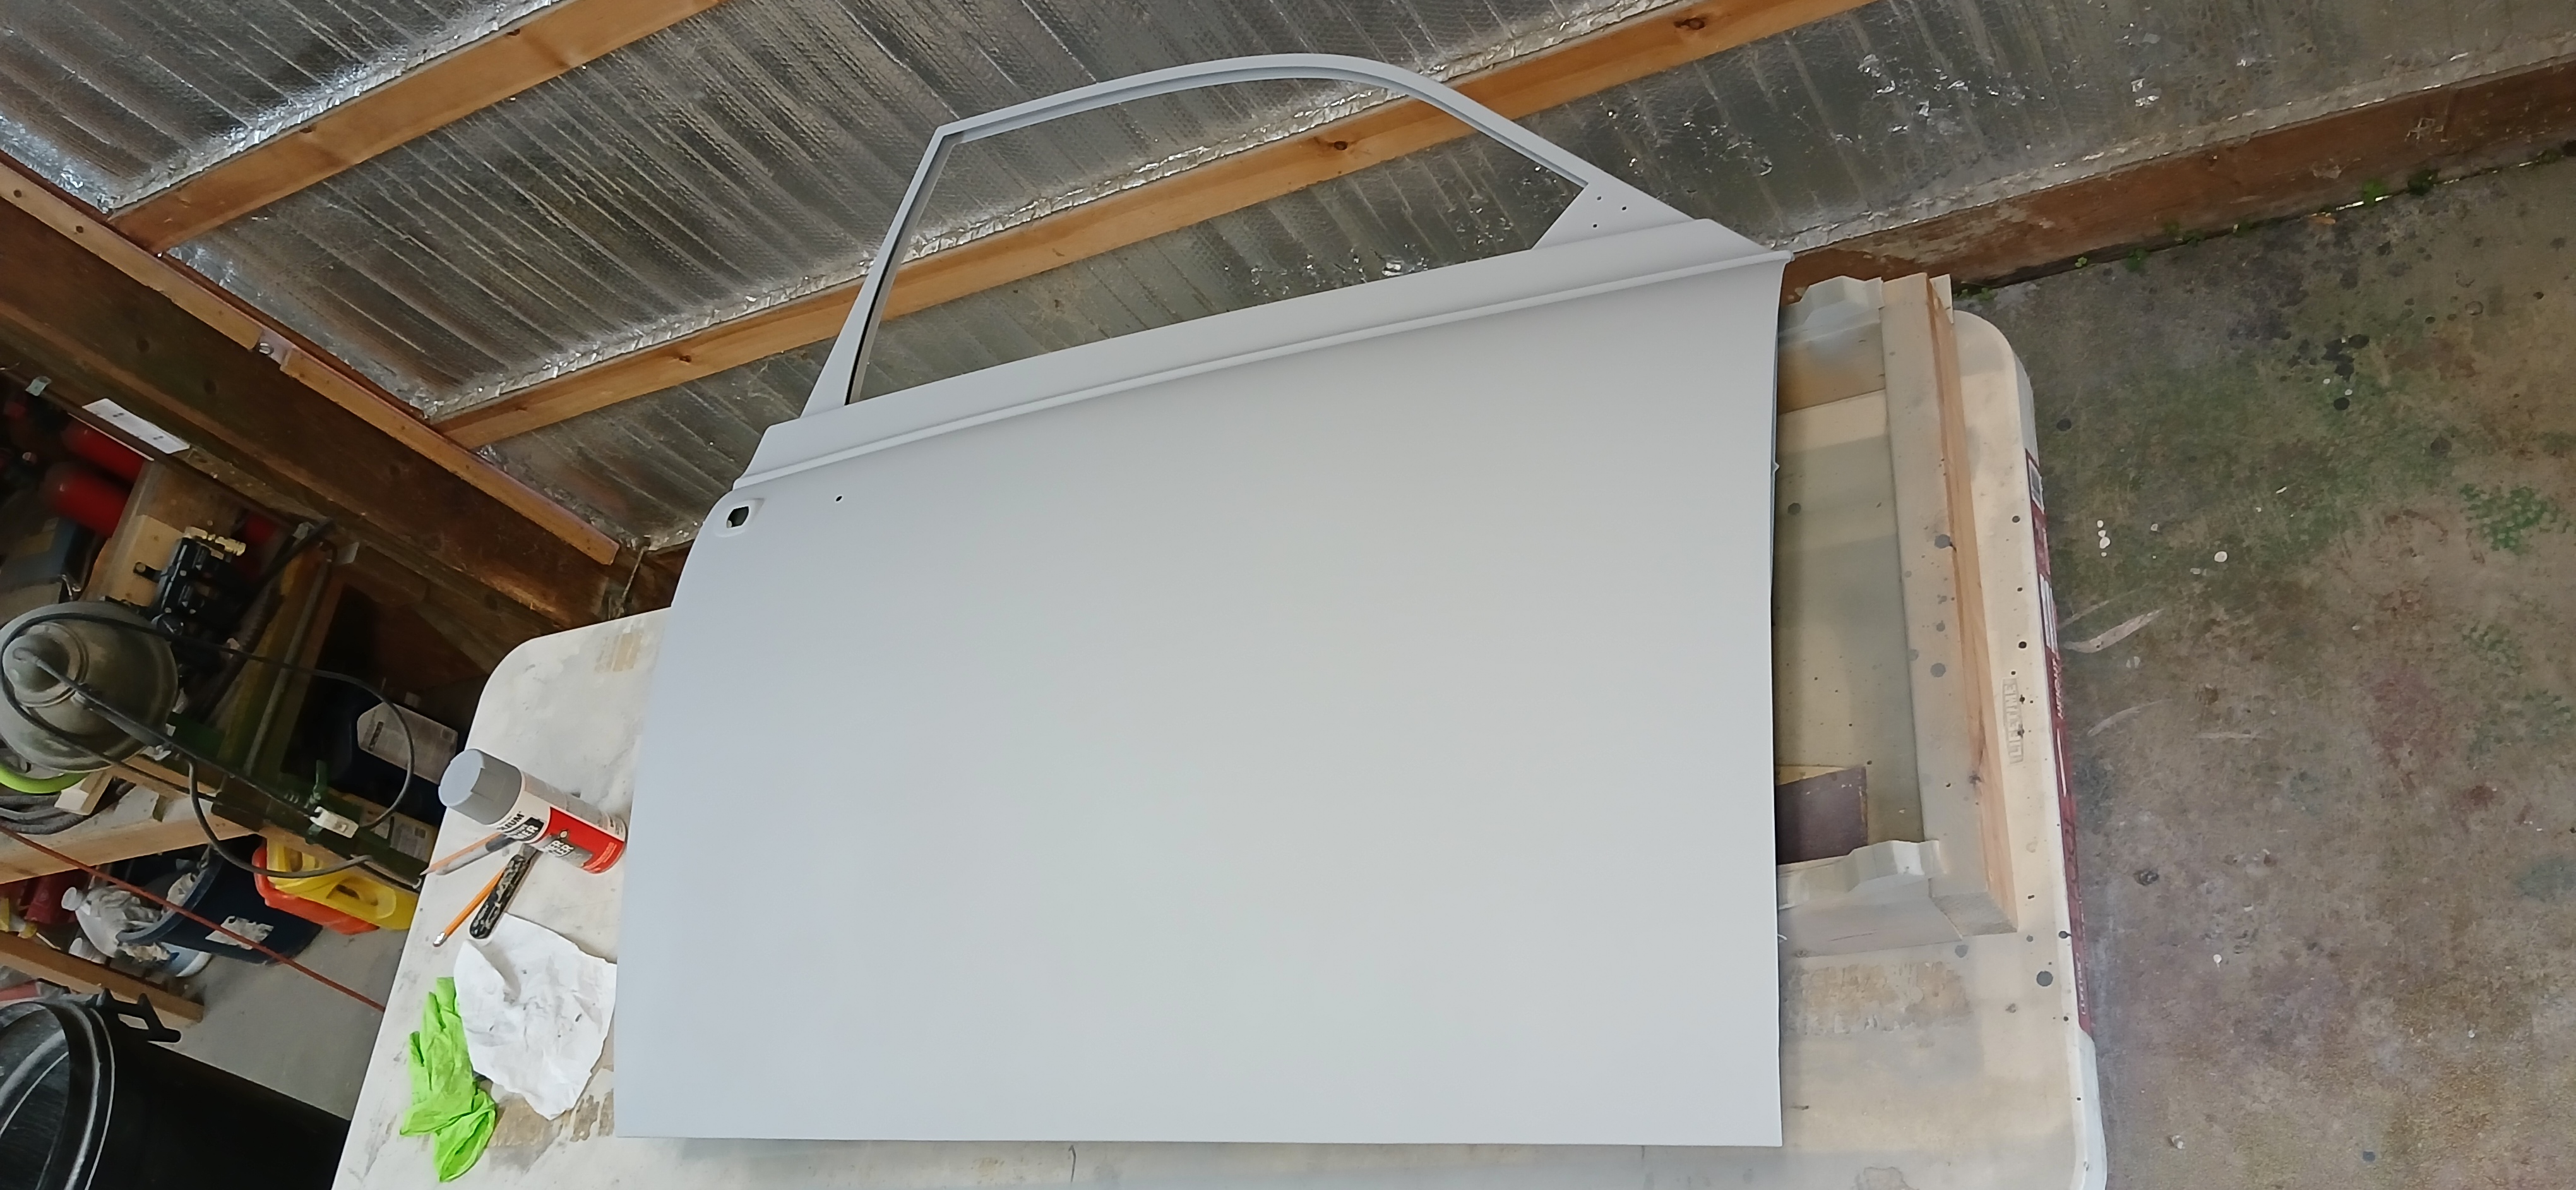
31. Passenger Door Primed
Since my friend and I have been through this door repair project recently, I can tell that your work is absolutely top-notch. As perfect as one can get in my opinion. Well done!