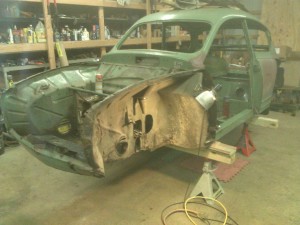
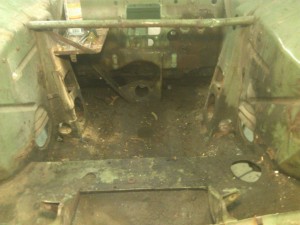
Bare Bones Body
An Odd Hole in the Trunk Sidewall
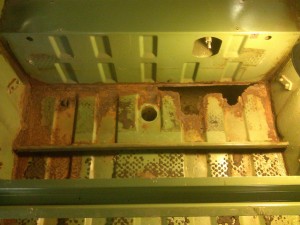
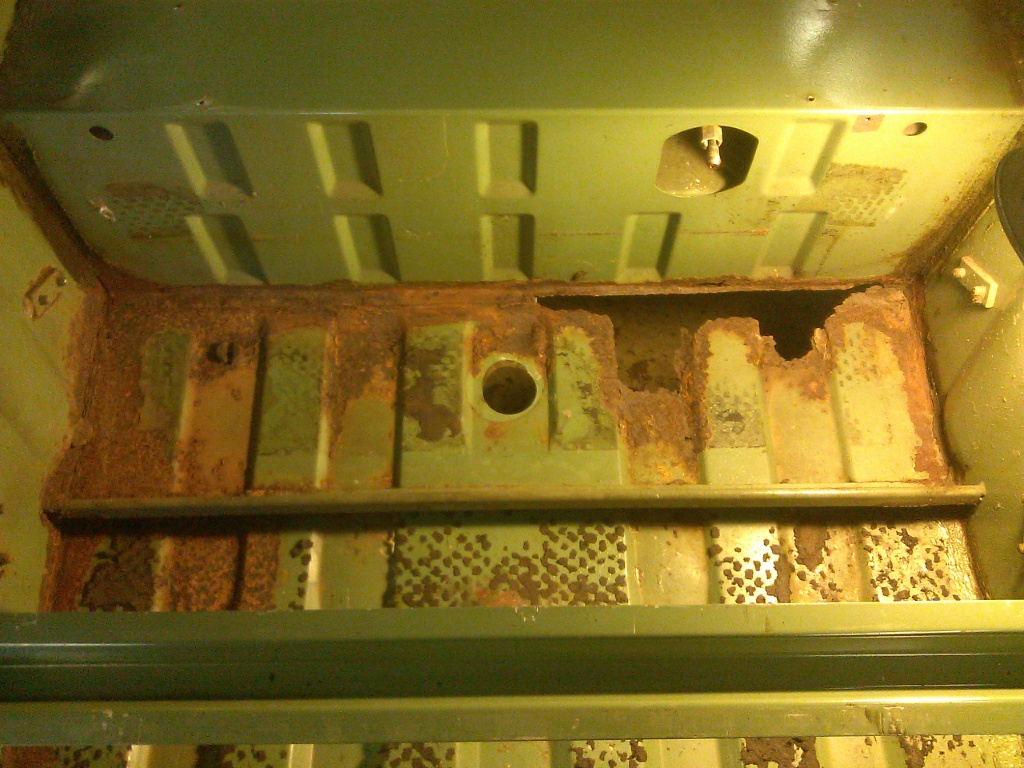
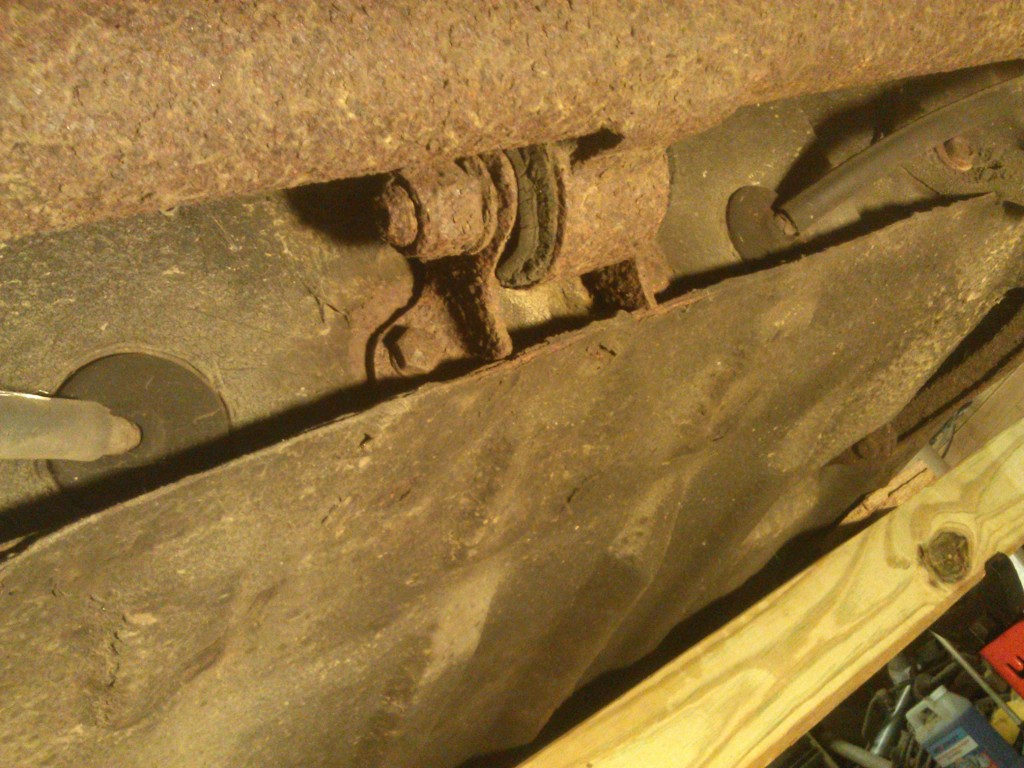
Rust Under Gas Tank
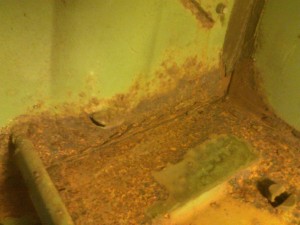
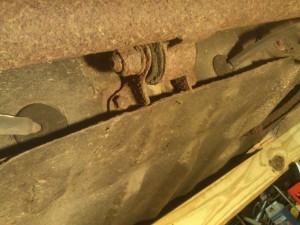
Strange Hole with Upturned Flap
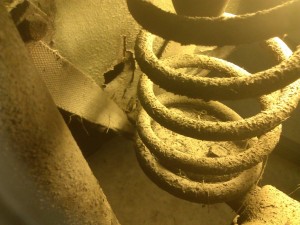
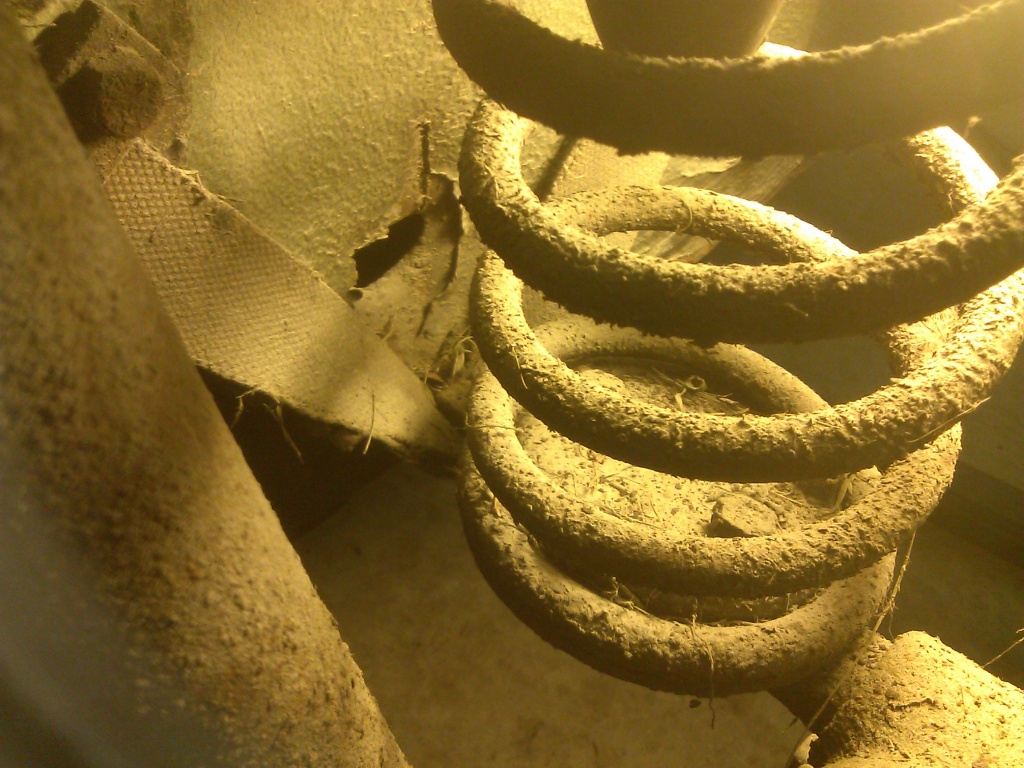
Hole Matching Spring Support Post
Rear Axle Center Bearing
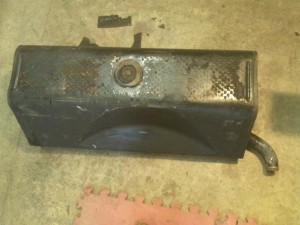
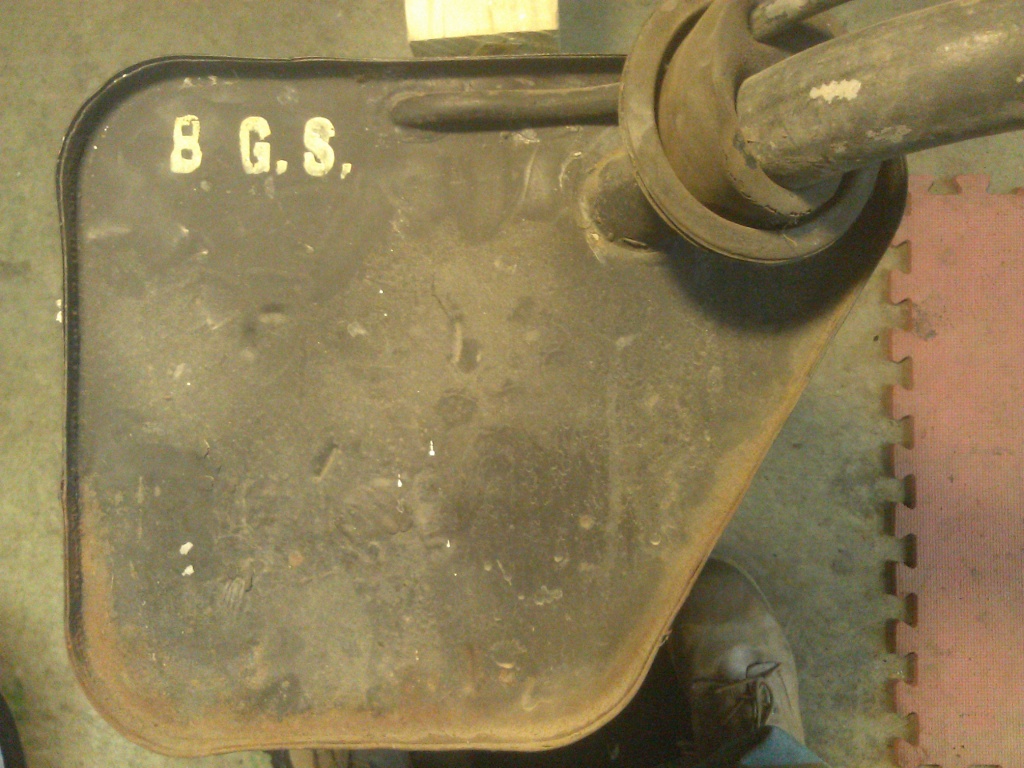
Gas Tank Bottom View

Gas Tank End View
Fortunately, the rust caused by incoming water splash didn’t extend to the gas tank itself as shown in the bottom and end view photos.
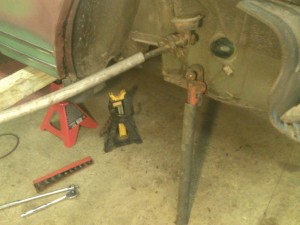
Removing the Rear Suspension
Rear Axle Stop Straps Removed, Shocks Detached
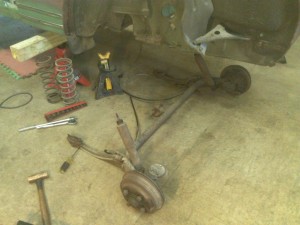
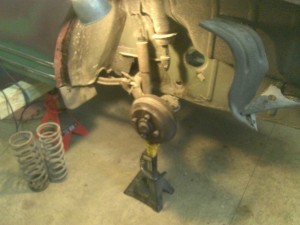
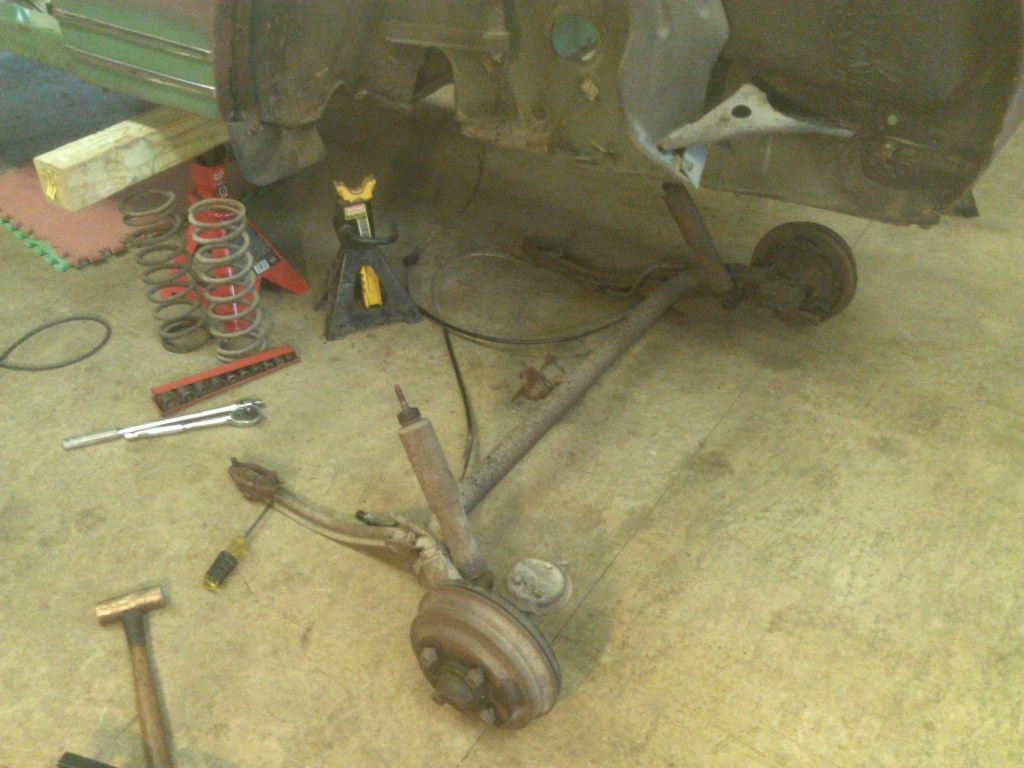
Rear Axle Assembly Dropped
Removing the Front Suspension

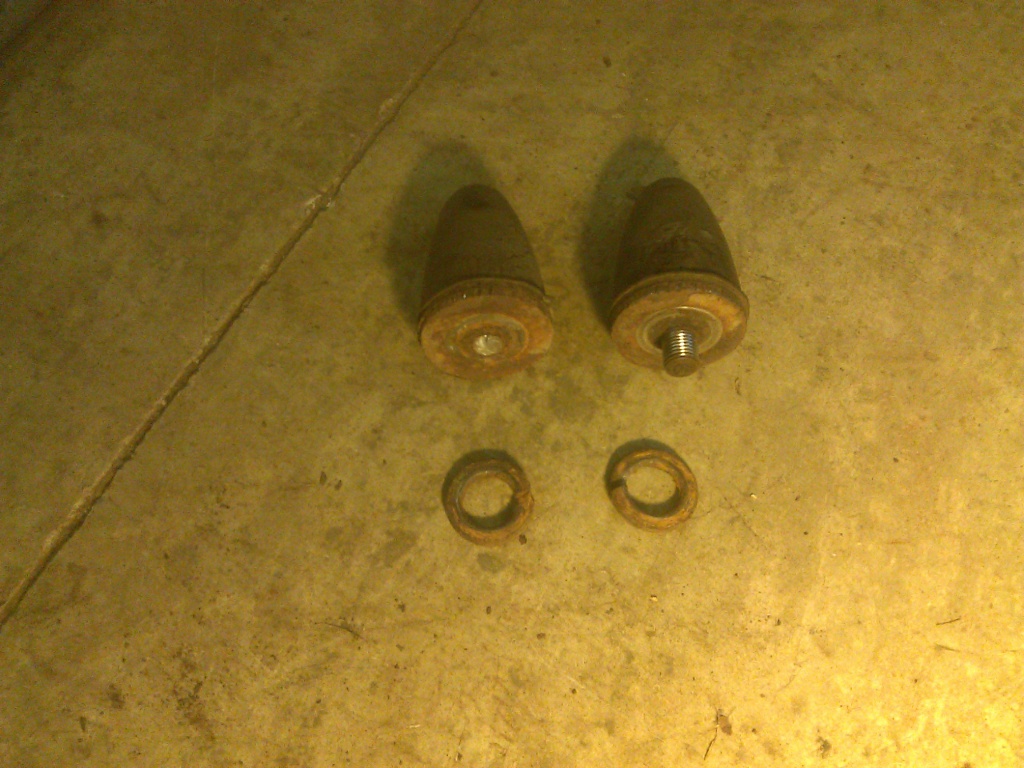
Removing Front Upper Rubber Bumper

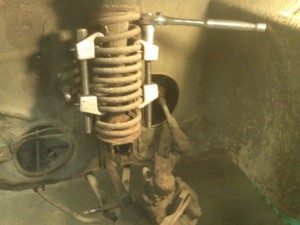
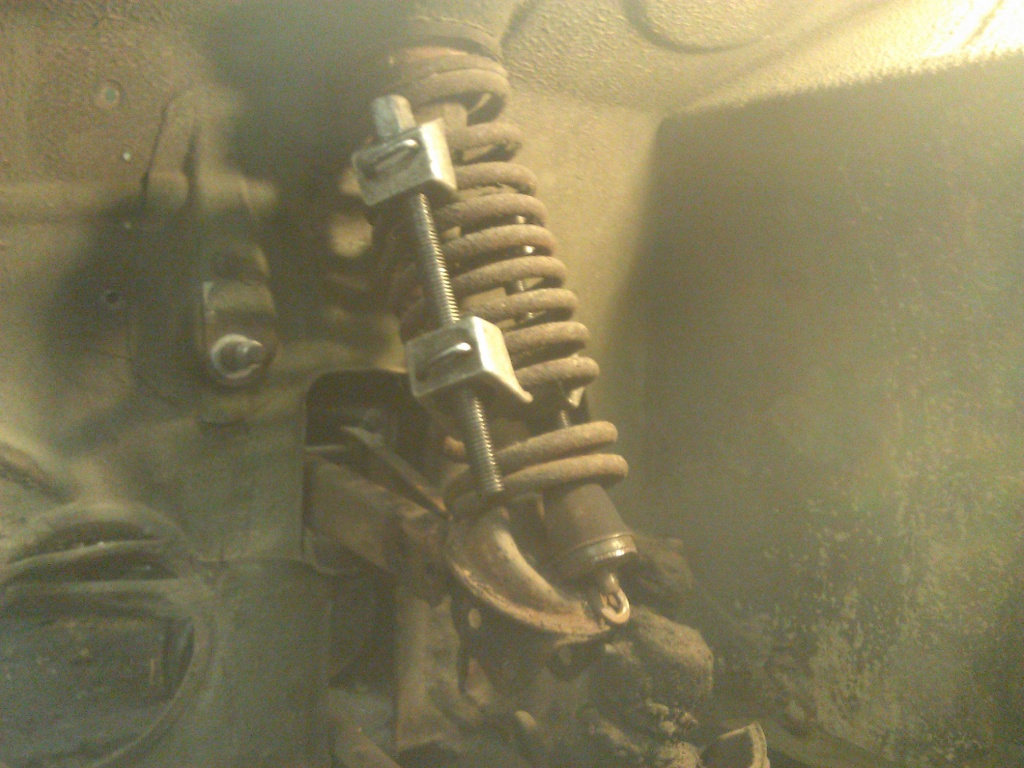
Spring Compressors Installed

Spring Fully Compressed
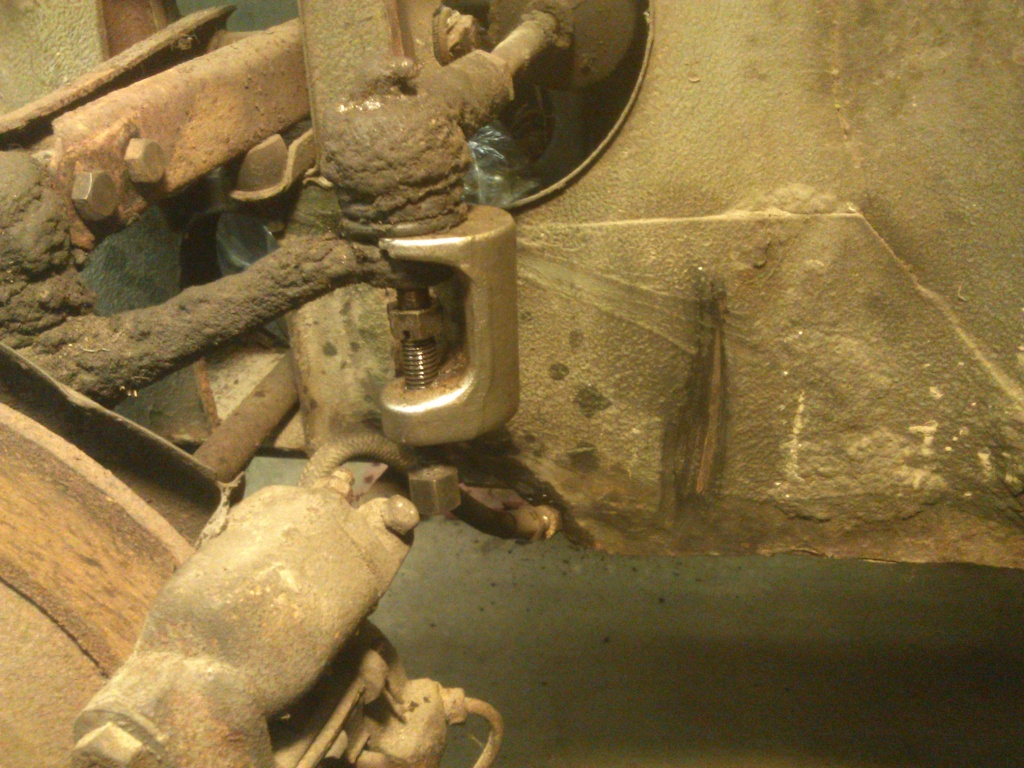
Ball Joint Removed and Moved Out of the Way

Removing the Spring
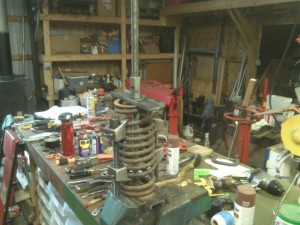
Compressed Spring Mounted for Uncompressing
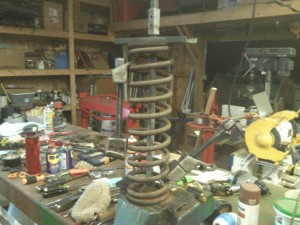
Uncompressed Spring, Time to Breathe Easy

Popping the Tie-Rpd End Loose
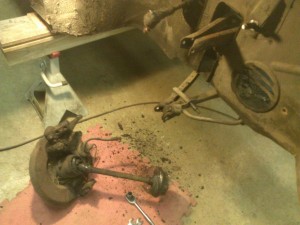
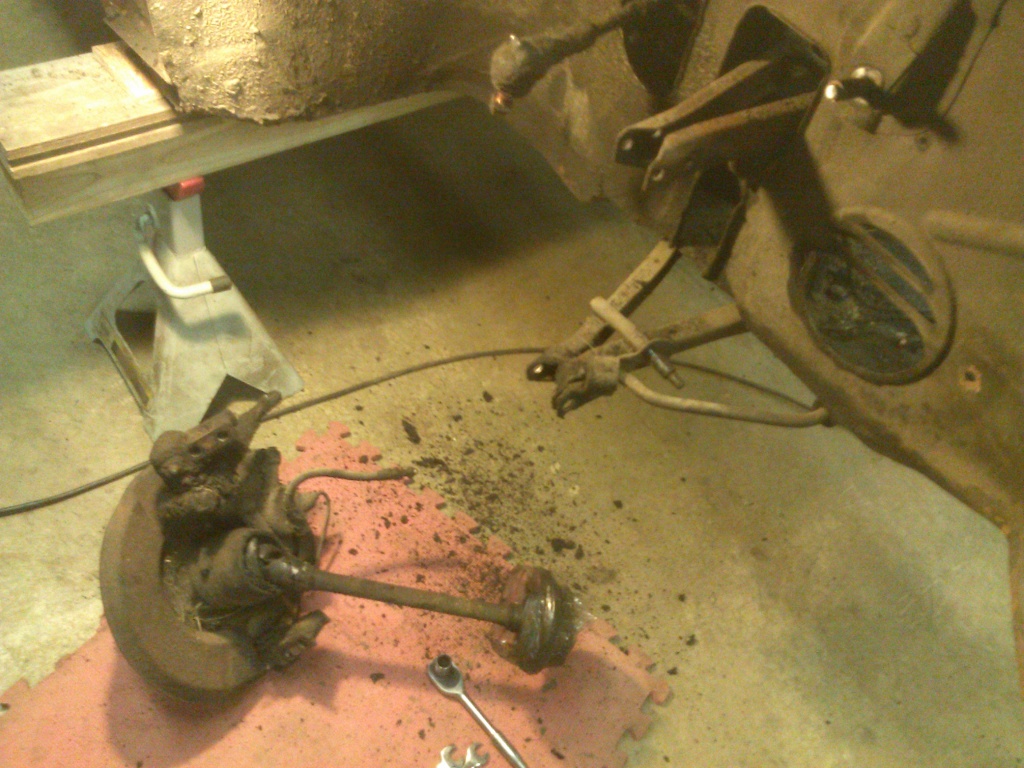
Hub Assembly Removed
After parting the tie-rod end and unbolting both ball joints, I was able to remove the hub assembly which you can seen in the photos, on the floor. You may notice that I slipped zip-lock bags over the inner universal boots. This keeps the caps on the drive shaft in place which then keeps the needle bearings from falling out. Sandwich bags were a nice snug fit.
Empty, Grease-Filled Engine Compartment

A Week’s Harvest
Haste and Cheater Bars Create Problems
Cheater Bars – Bad Idea

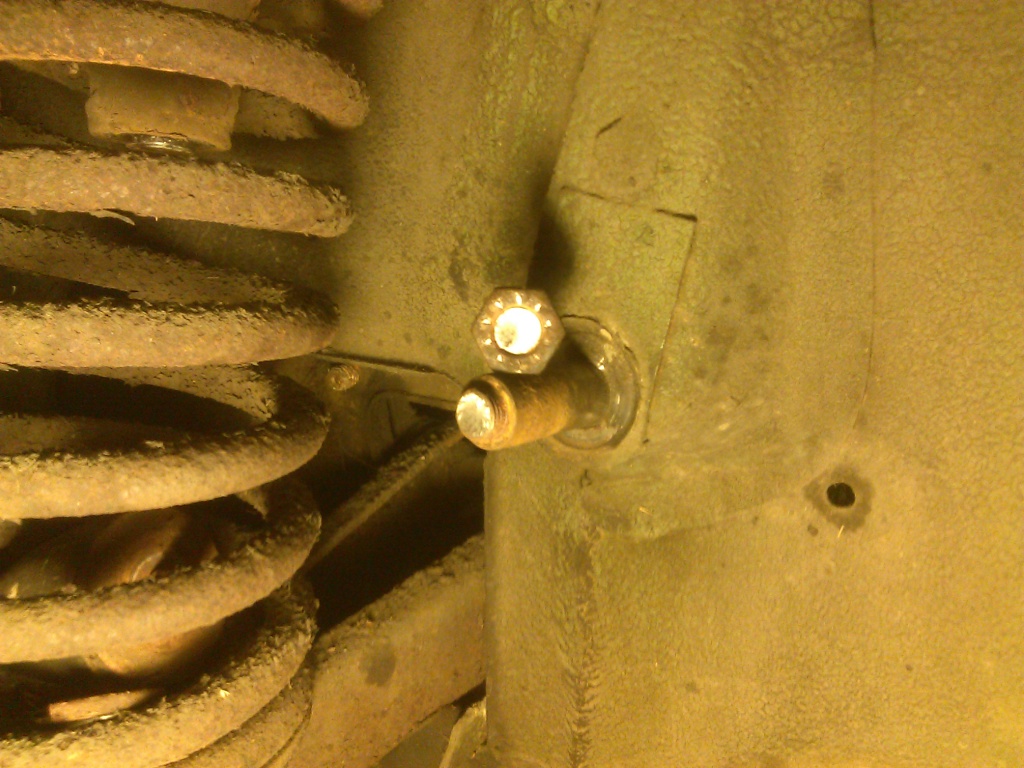
Broken Stud on Rear Rubber Bumper

Broken Right Front Shock Absorber Mount
Next Up
I will be drilling spot welds and removing the driver-side front wheel housing and the trunk floor. It may take awhile, but I will post again when that is finished.


Love the blog. Very neat and lots of detail. Can’t wait for the next updates. I read it like an interactive adventure. Thank you for a proper blog.