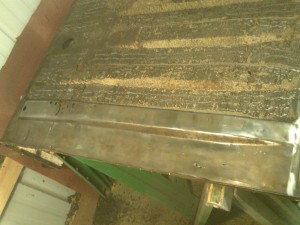
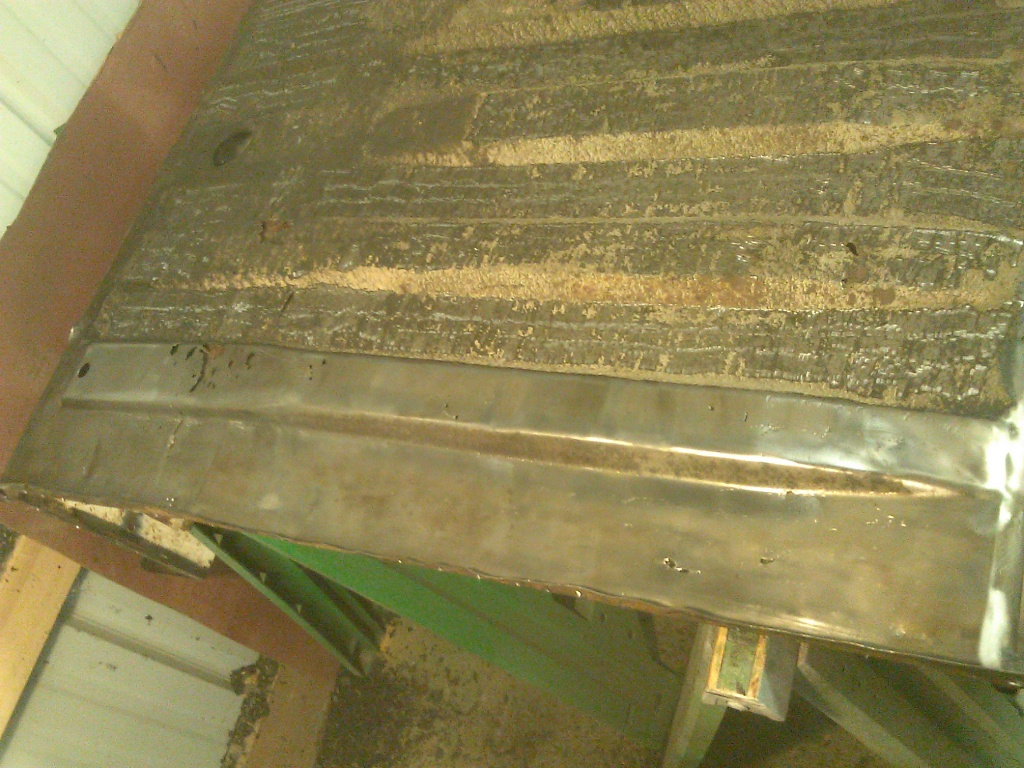
Porous Donor Car Trunk Floor
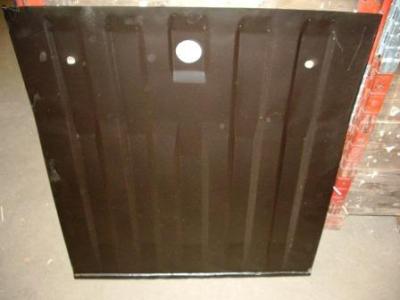
Good News from Saabklubben in Sweden

Saabklubben Trunk Floor
About My Welding Skills

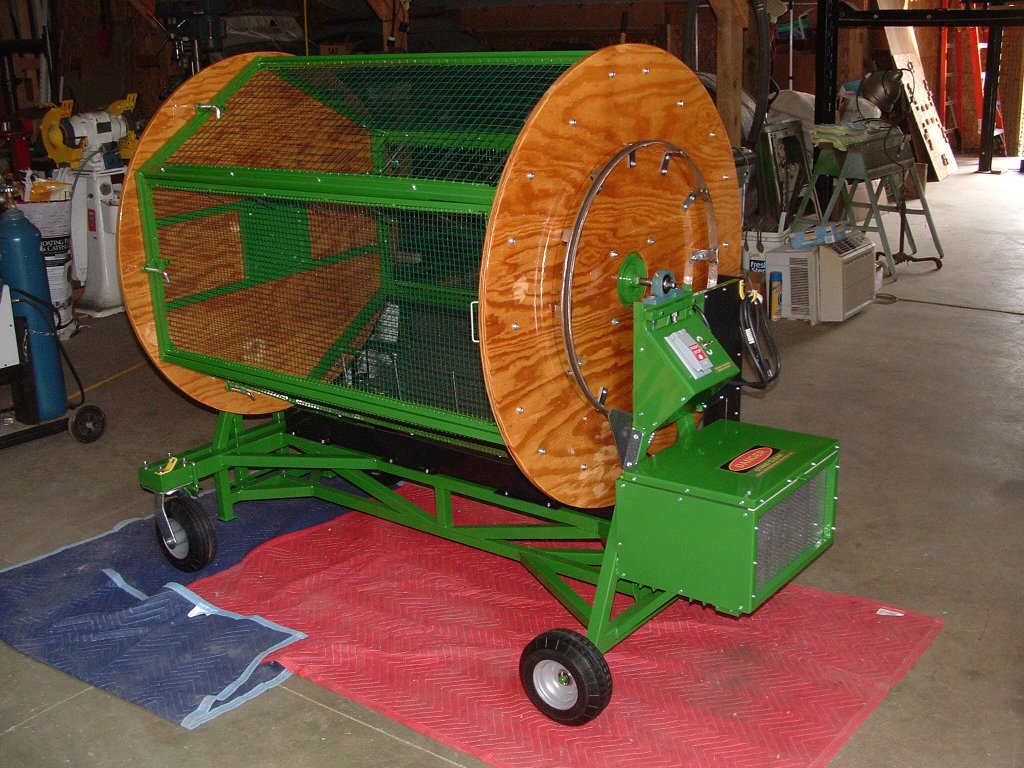
My Alpaca Fiber Tumbler
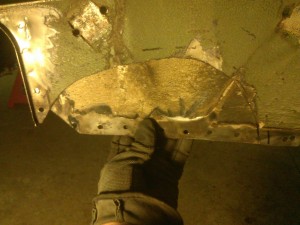
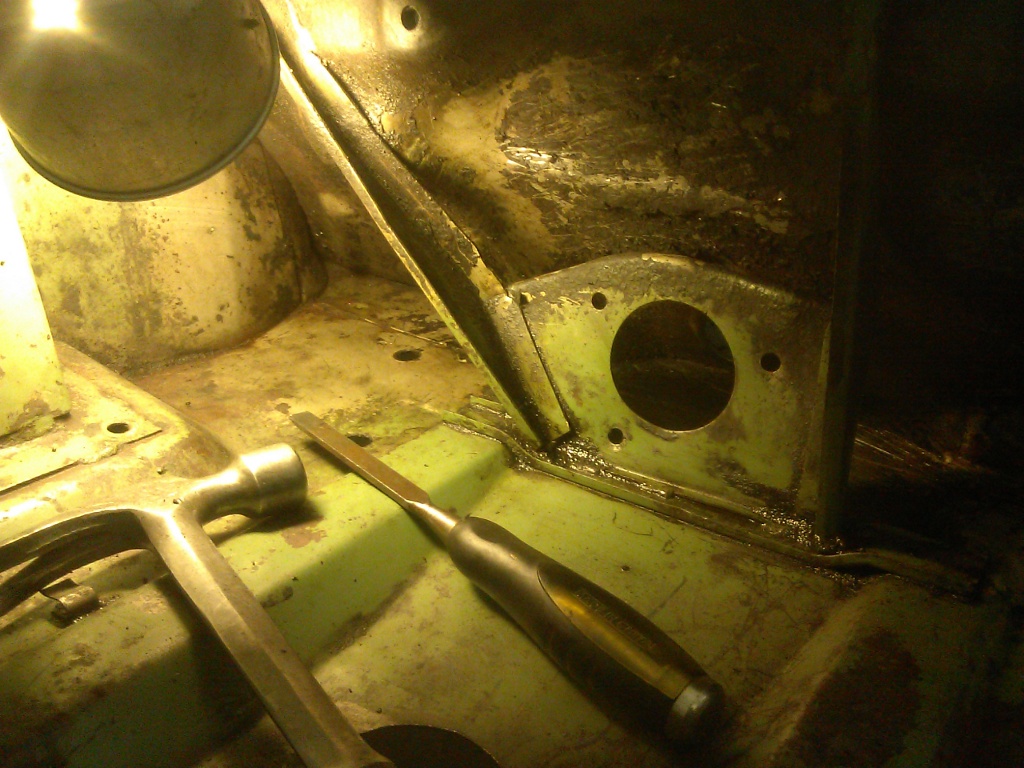
Engine Floor at Firewall
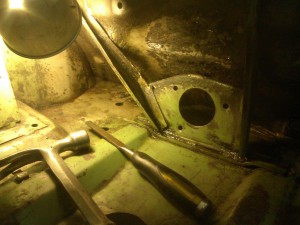
Passenger Side Engine Floor at Firewall
Driver Side Engine Bay Floor at Firewall
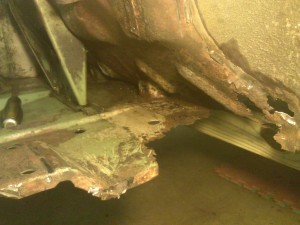
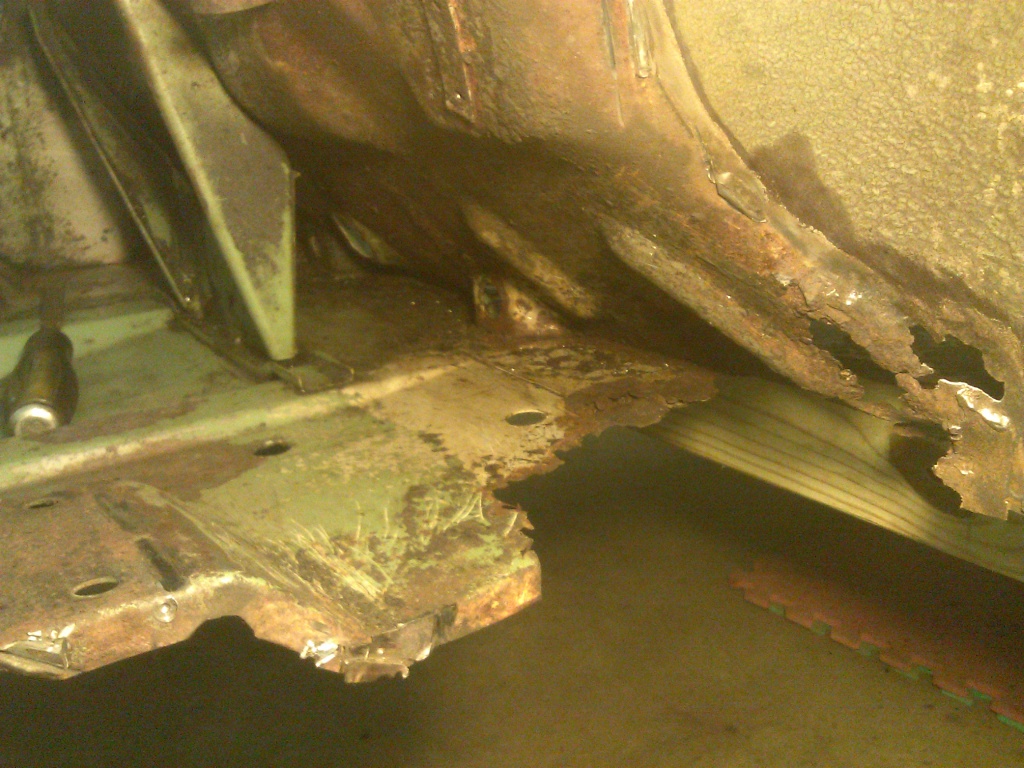
A Patch for the Rear Wheel Housing
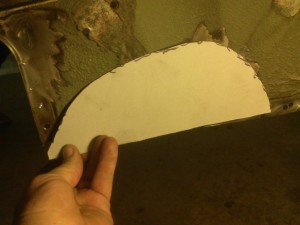
Template for Wheel Housing Patch
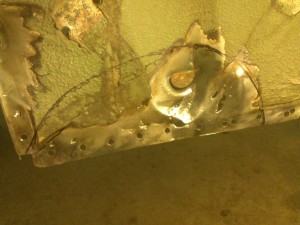
Cut Line on Rear Wheel Housing
Checking Wheel Housing Patch Fit
Sorry I don’t have more progress to show, but I guess that’s the way this project will go, in fits and starts. Hope I haven’t bored anyone with this post.


Thanks for sharing & best of luck!
I’m doing a ’65 MC & have ordered parts from the Swede Klub. It is not easy but it’s good to know they are there.
Have you found a source for an interior?
Hi Jim. Sorry for the approval delay. I wish I didn’t have to approve first-time comments like this but the spam exceeds real comments 2 to 1. Anyway, no I don’t have a source for interior needs. I’m holding off until I have a good body just in case I give up on the project. I have a 63 Studebaker Daytona Lark hardtop I was all anxious to restore, but when I got it down to the bare body, I was so dismayed by the rust I set it aside in another barn and switched to the Saab. It’s much better. I do watch eBay and such, but not much else. If you have any tips/advice, I’m all ears.
Nice read. Hope you get the tumbler done quickly, and best of wishes for NOT receiving more tumbler orders….