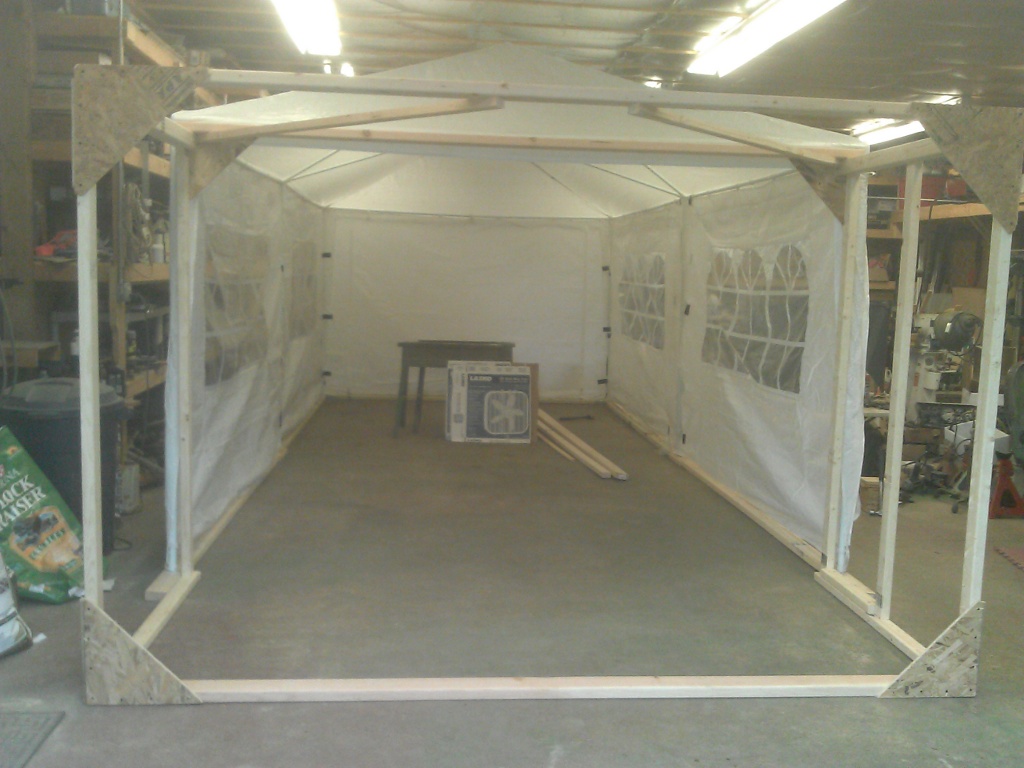
Adding 4-ft Extension to Party Tent
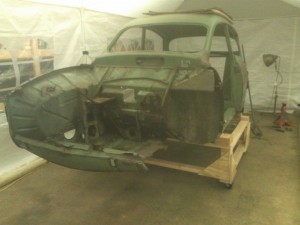
Monte Carlo 850 on Cart
Air Flow
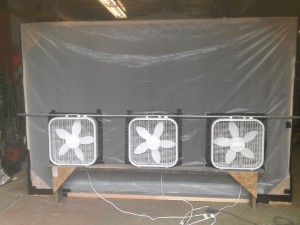
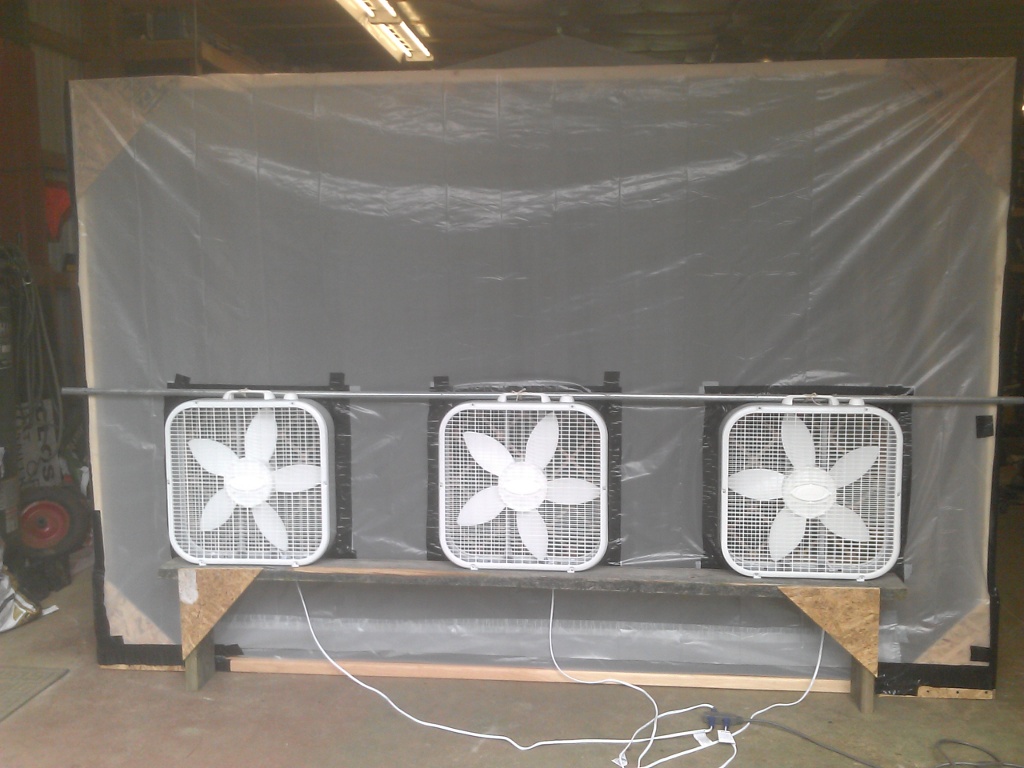
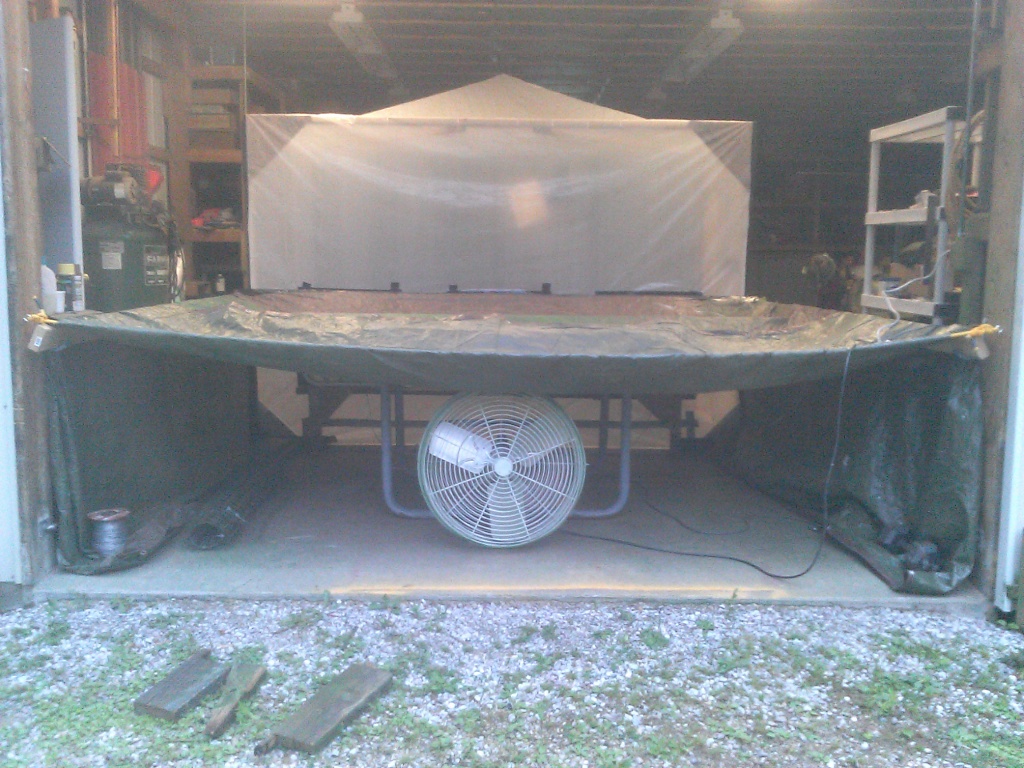
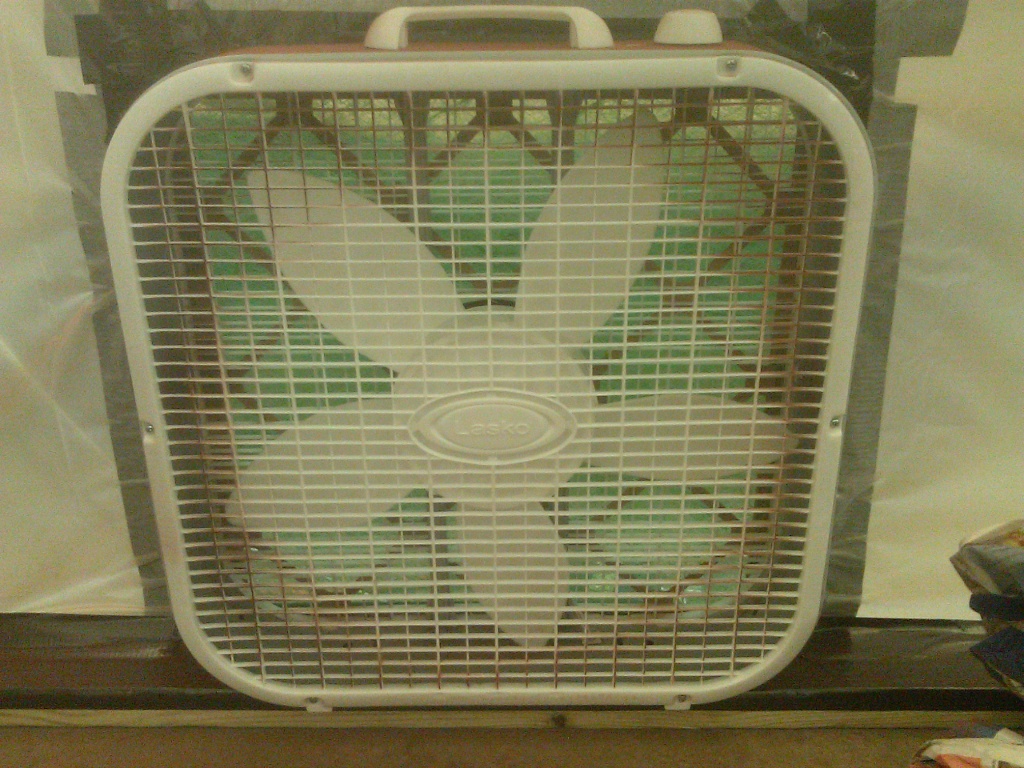
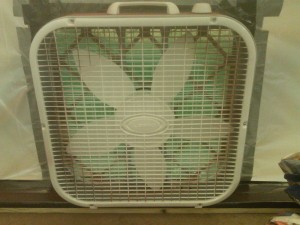
Exhaust 20×20 Box Fans

Sides Sucked in by Running Exhaust Fans
Poor Airflow with Pleated Filters

Airflow Without Filter and Door Open
Airflow with EZ-Flow Filters, Fans Both Ends
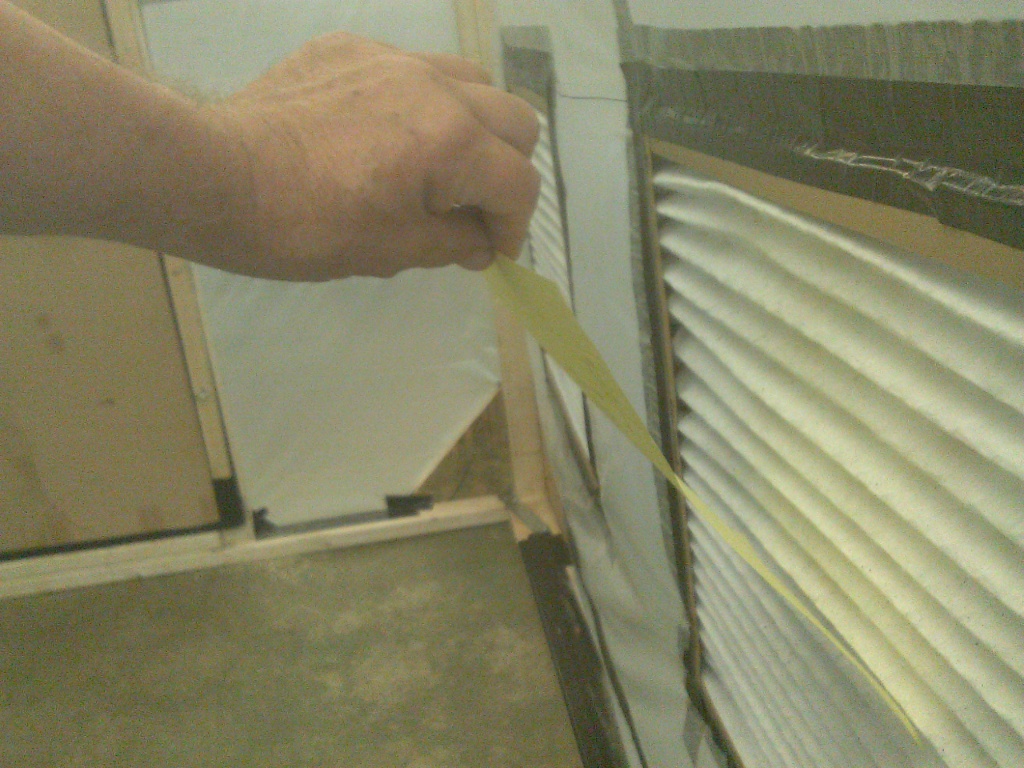
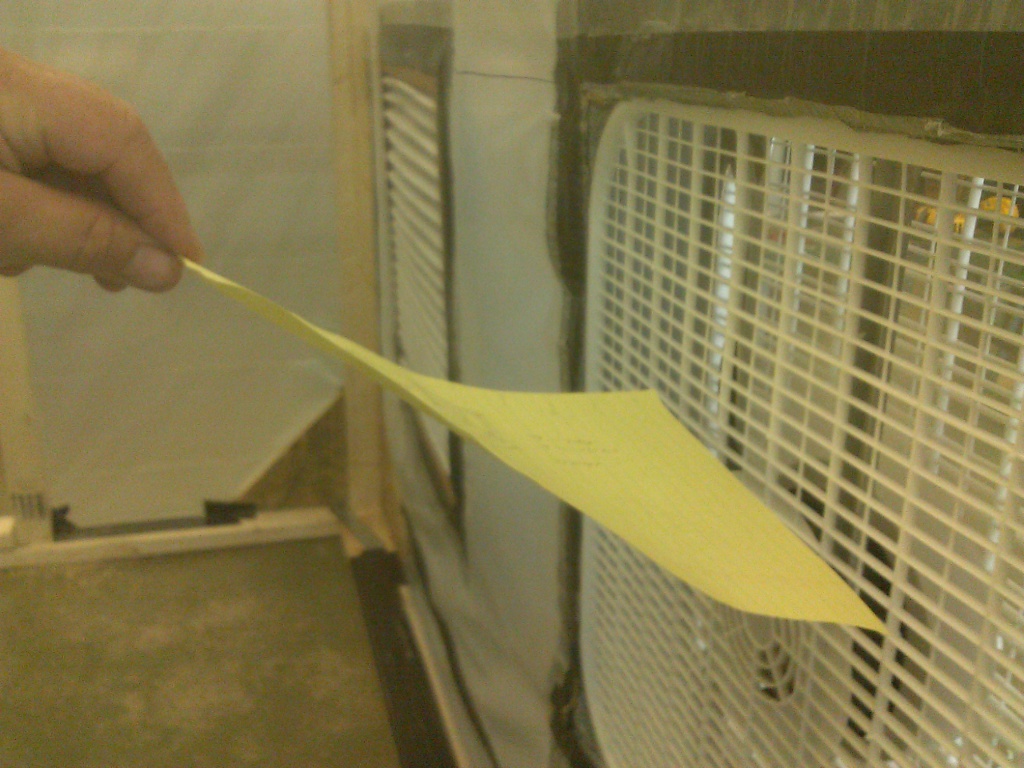
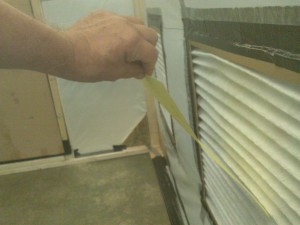
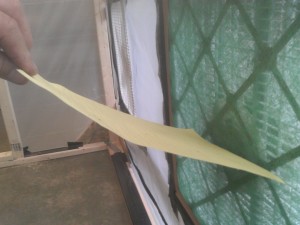
I closed my cardboard door and ran a test. You can see the effects of the negative pressure on the tent walls but the airflow didn’t feel right. I did a simple test with a sheet of paper, first with the door closed and filters in place. Then, I tested with the door open and filter removed to see what I could get at maximum flow. Quite a lot more!
Back to the big orange box to get some EZ-Flow fiberglass filters, cheap at 4 for $2.67, and I bought 3 more fans for the inlet wall so I could run at neutral pressure so the walls would hang straight. I know the pleated filters are much better but you just can’t push air through them with cheap box fans. You can see in my final test that airflow was close to max, helped along by the additional inlet fans.
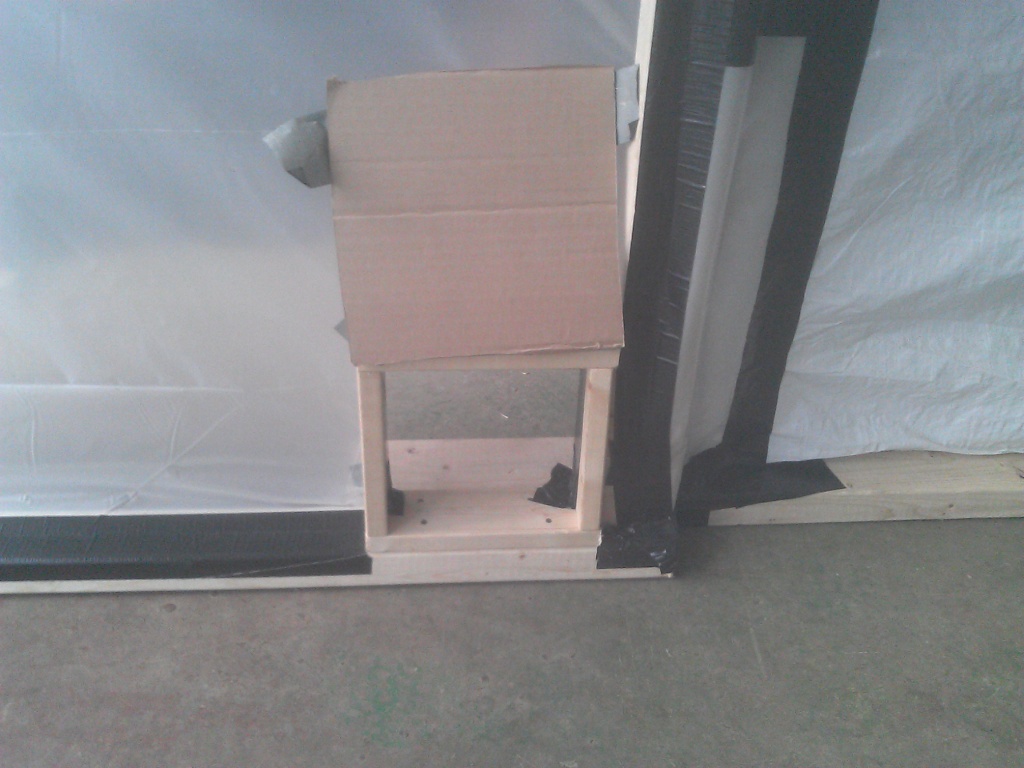
Cardboard Access Doors
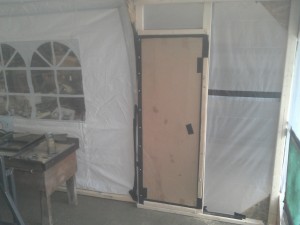
Cardboard Access Door

Small Hose Access Door
Painting and Some Other Issues Resolved
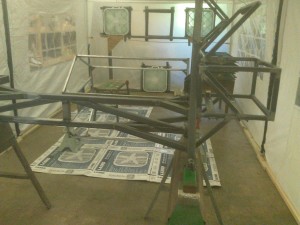
Ready for Painting, Facing Rear
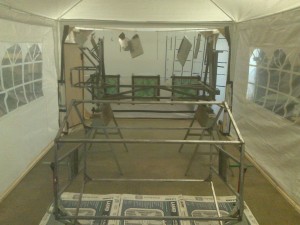
Ready for Painting, Facing Front
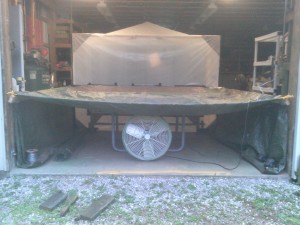
Temporary Exhaust Tunnel and Fan
Reverse Air Flow into Inlet Fans
Cardboard Fan Baffles
Overall, a very good first test.
You might be wondering how I’ll get the tumbler out and the MC850 back in. I wish the booth had a door but it doesn’t. I plan on un-taping the 4 ft extension and sliding it to the side. Not very convenient, but it will get the job done. The bench supporting the front fans will be a bit of a problem. I think I’ll just build the fan support into the extension.
My next post will be strictly MC850 work. I promise.