
How time flies! This post covers work done two years ago. I am back at it now and I will be posting followups soon on door, hood, trunk lid and grill work in the near future.
Cleaning and Sanding to Prep Interior for Painting
The first image below shows final sanding and prep prior to applying primer. The second image below shows the trunk area with black, 3M urethane, seam sealer being applied. The seam sealer was allowed to cure before primer was applied.
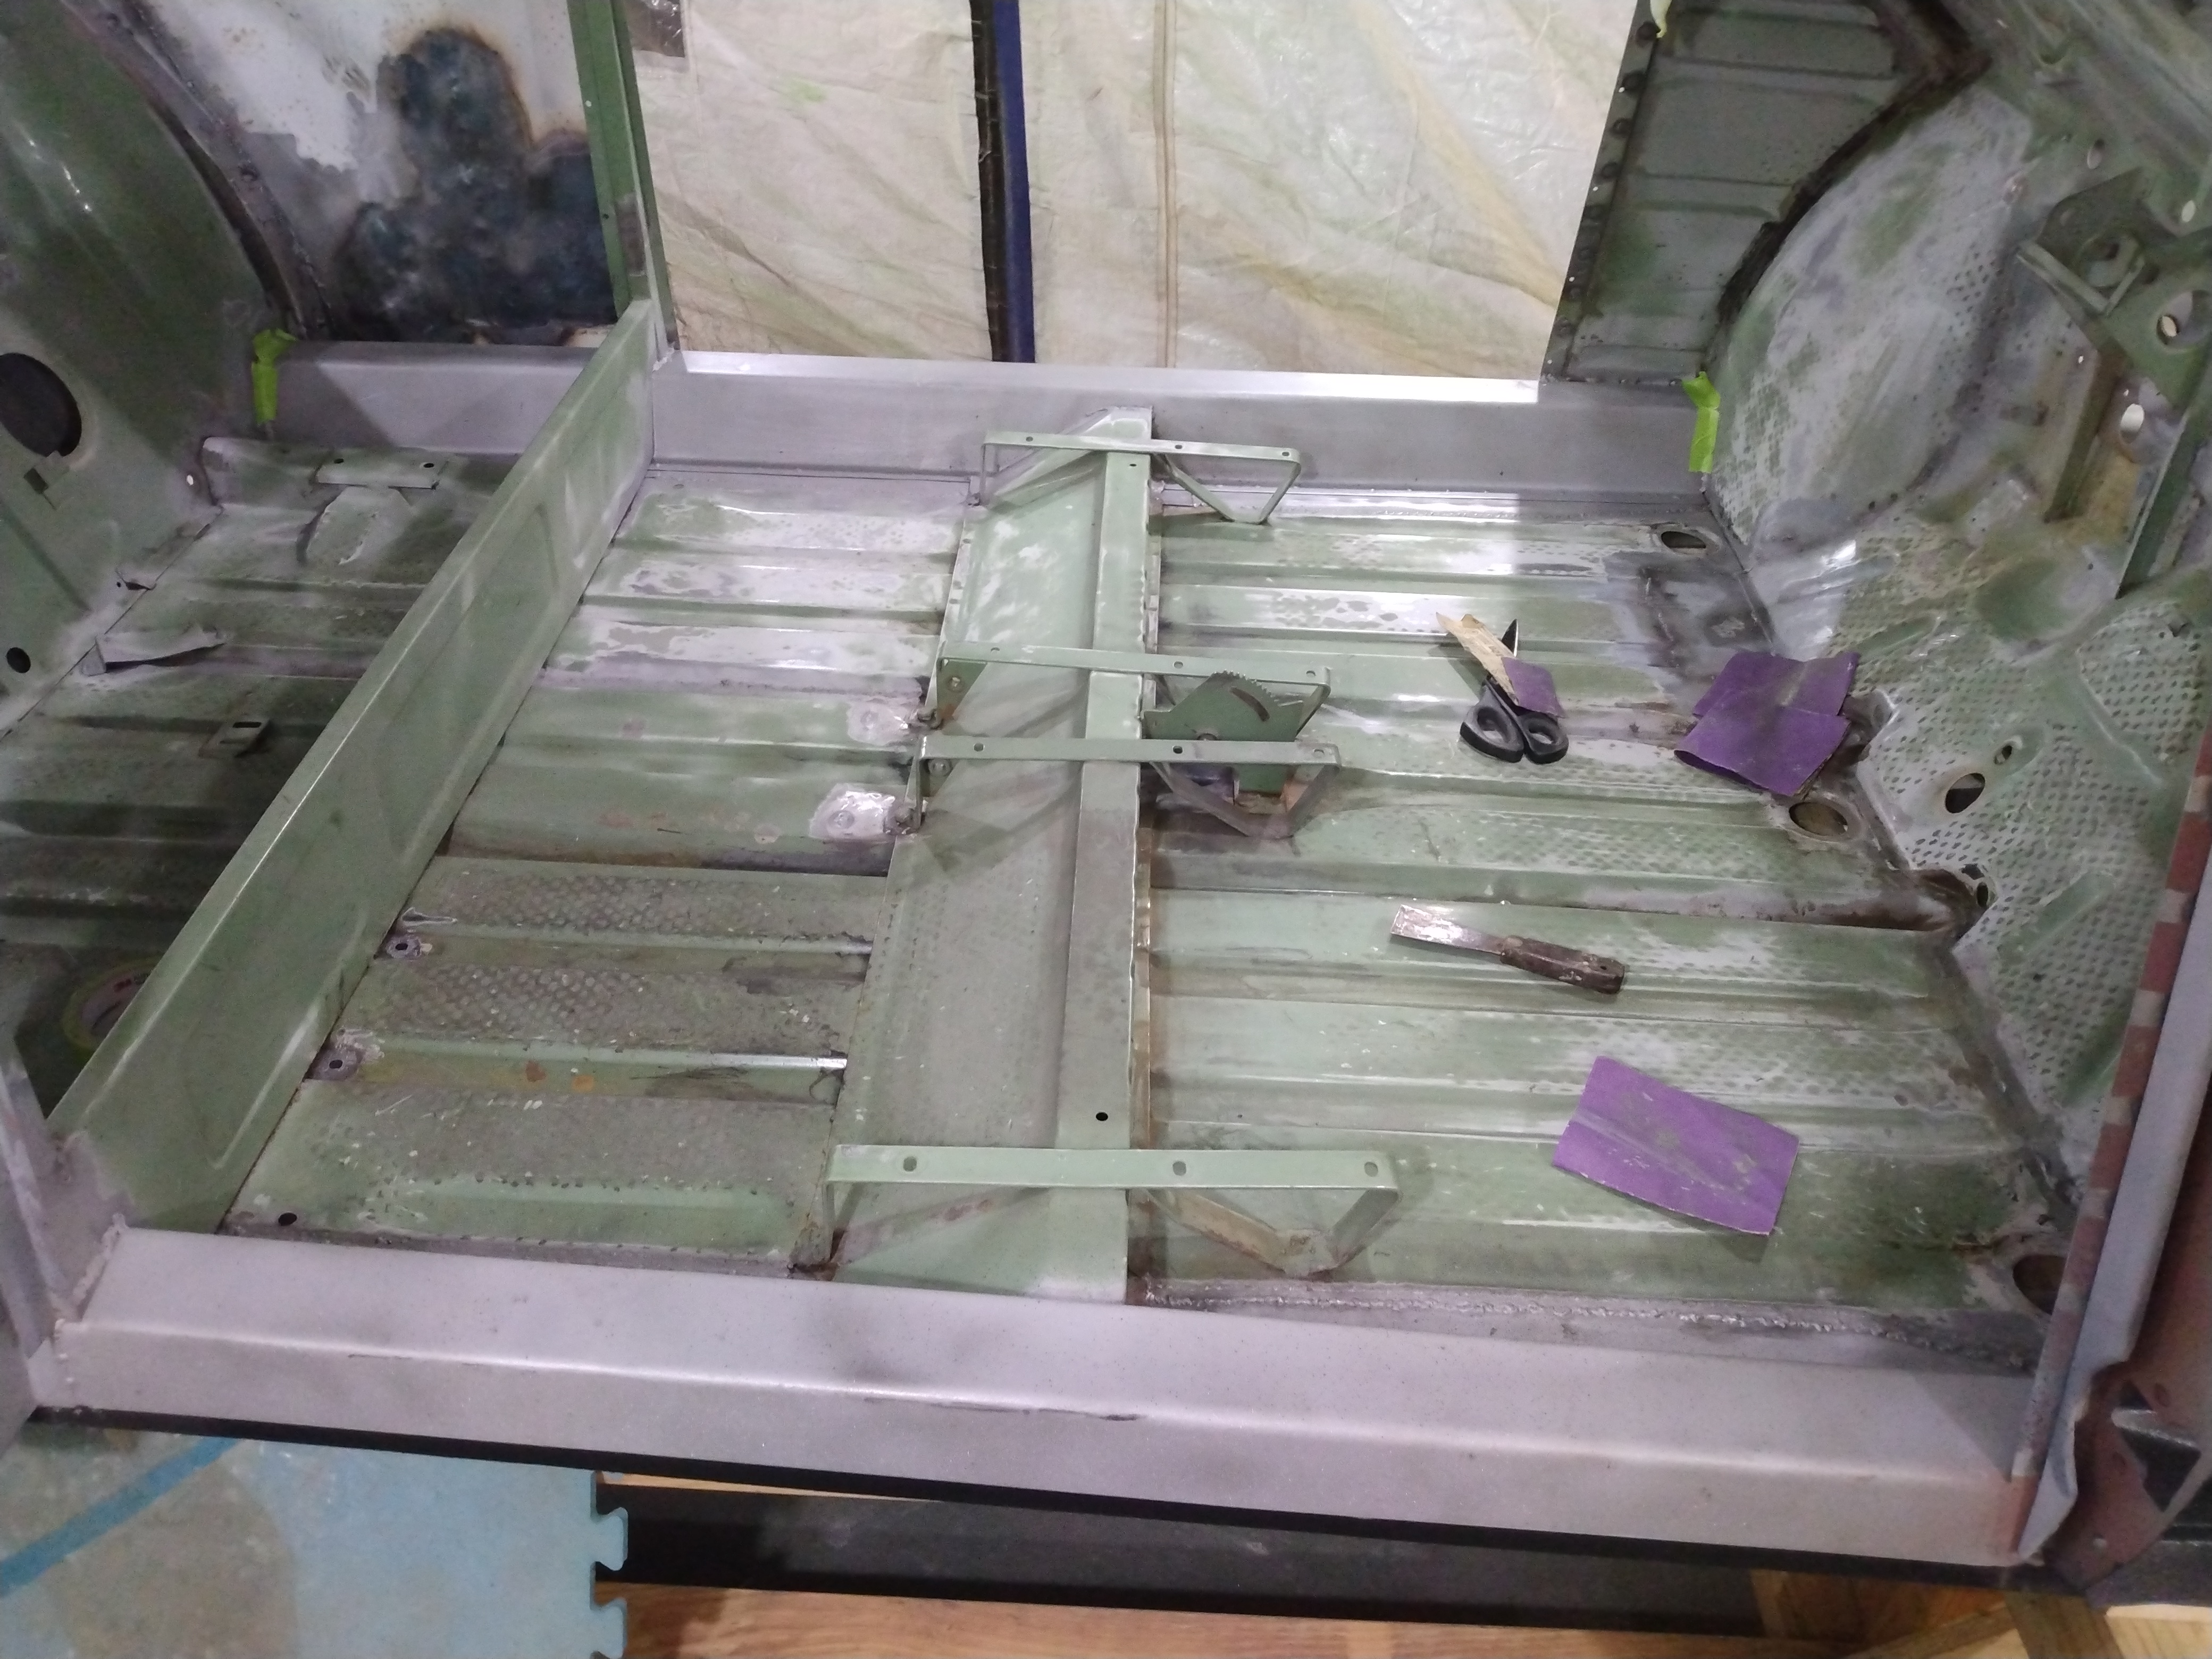
Floor Prep Work
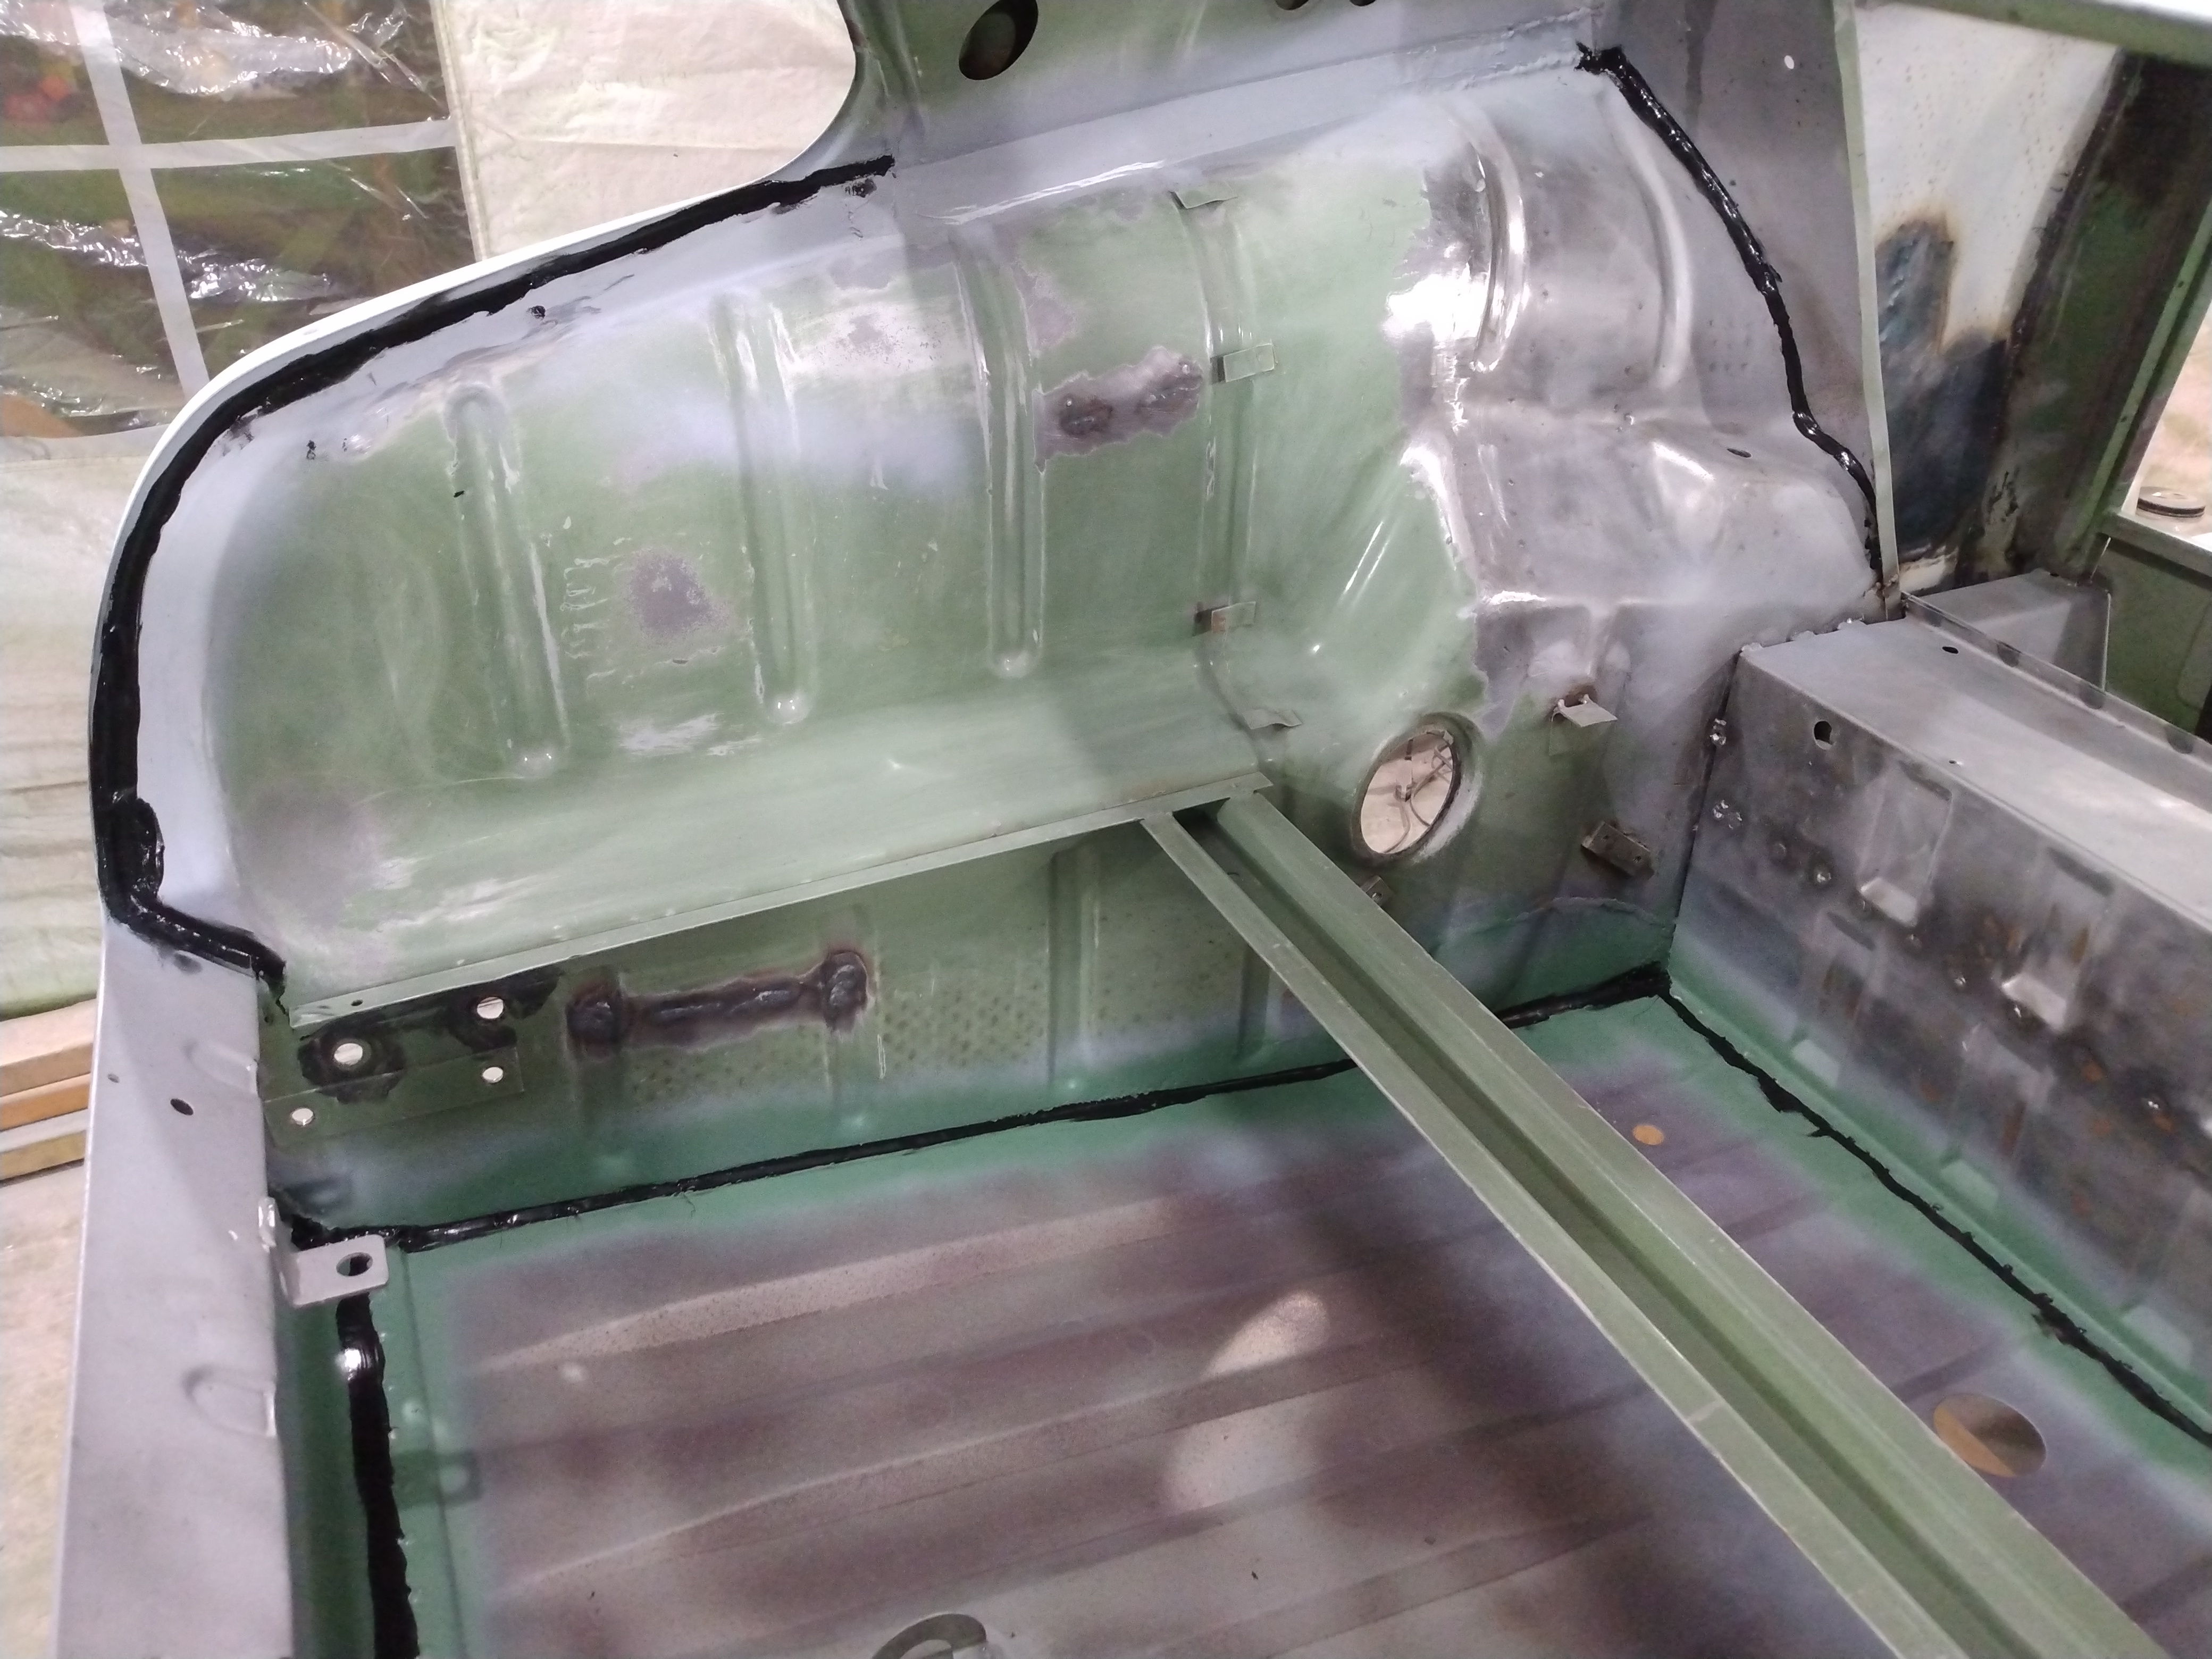
Trunk Prep Work
After prep and cleaning, the entire topside body, inside and out, was coated with a black epoxy primer/sealer. The product used was Speedokote Epoxy, Fast Dry, low voc, DTM Primer and Sealer, Black, SMR-260B/261. I masked off the stainless steel battery tray. I chose black based on advice found in automotive forums. When sanding the gray primer, seeing black is a signal to stop sanding.
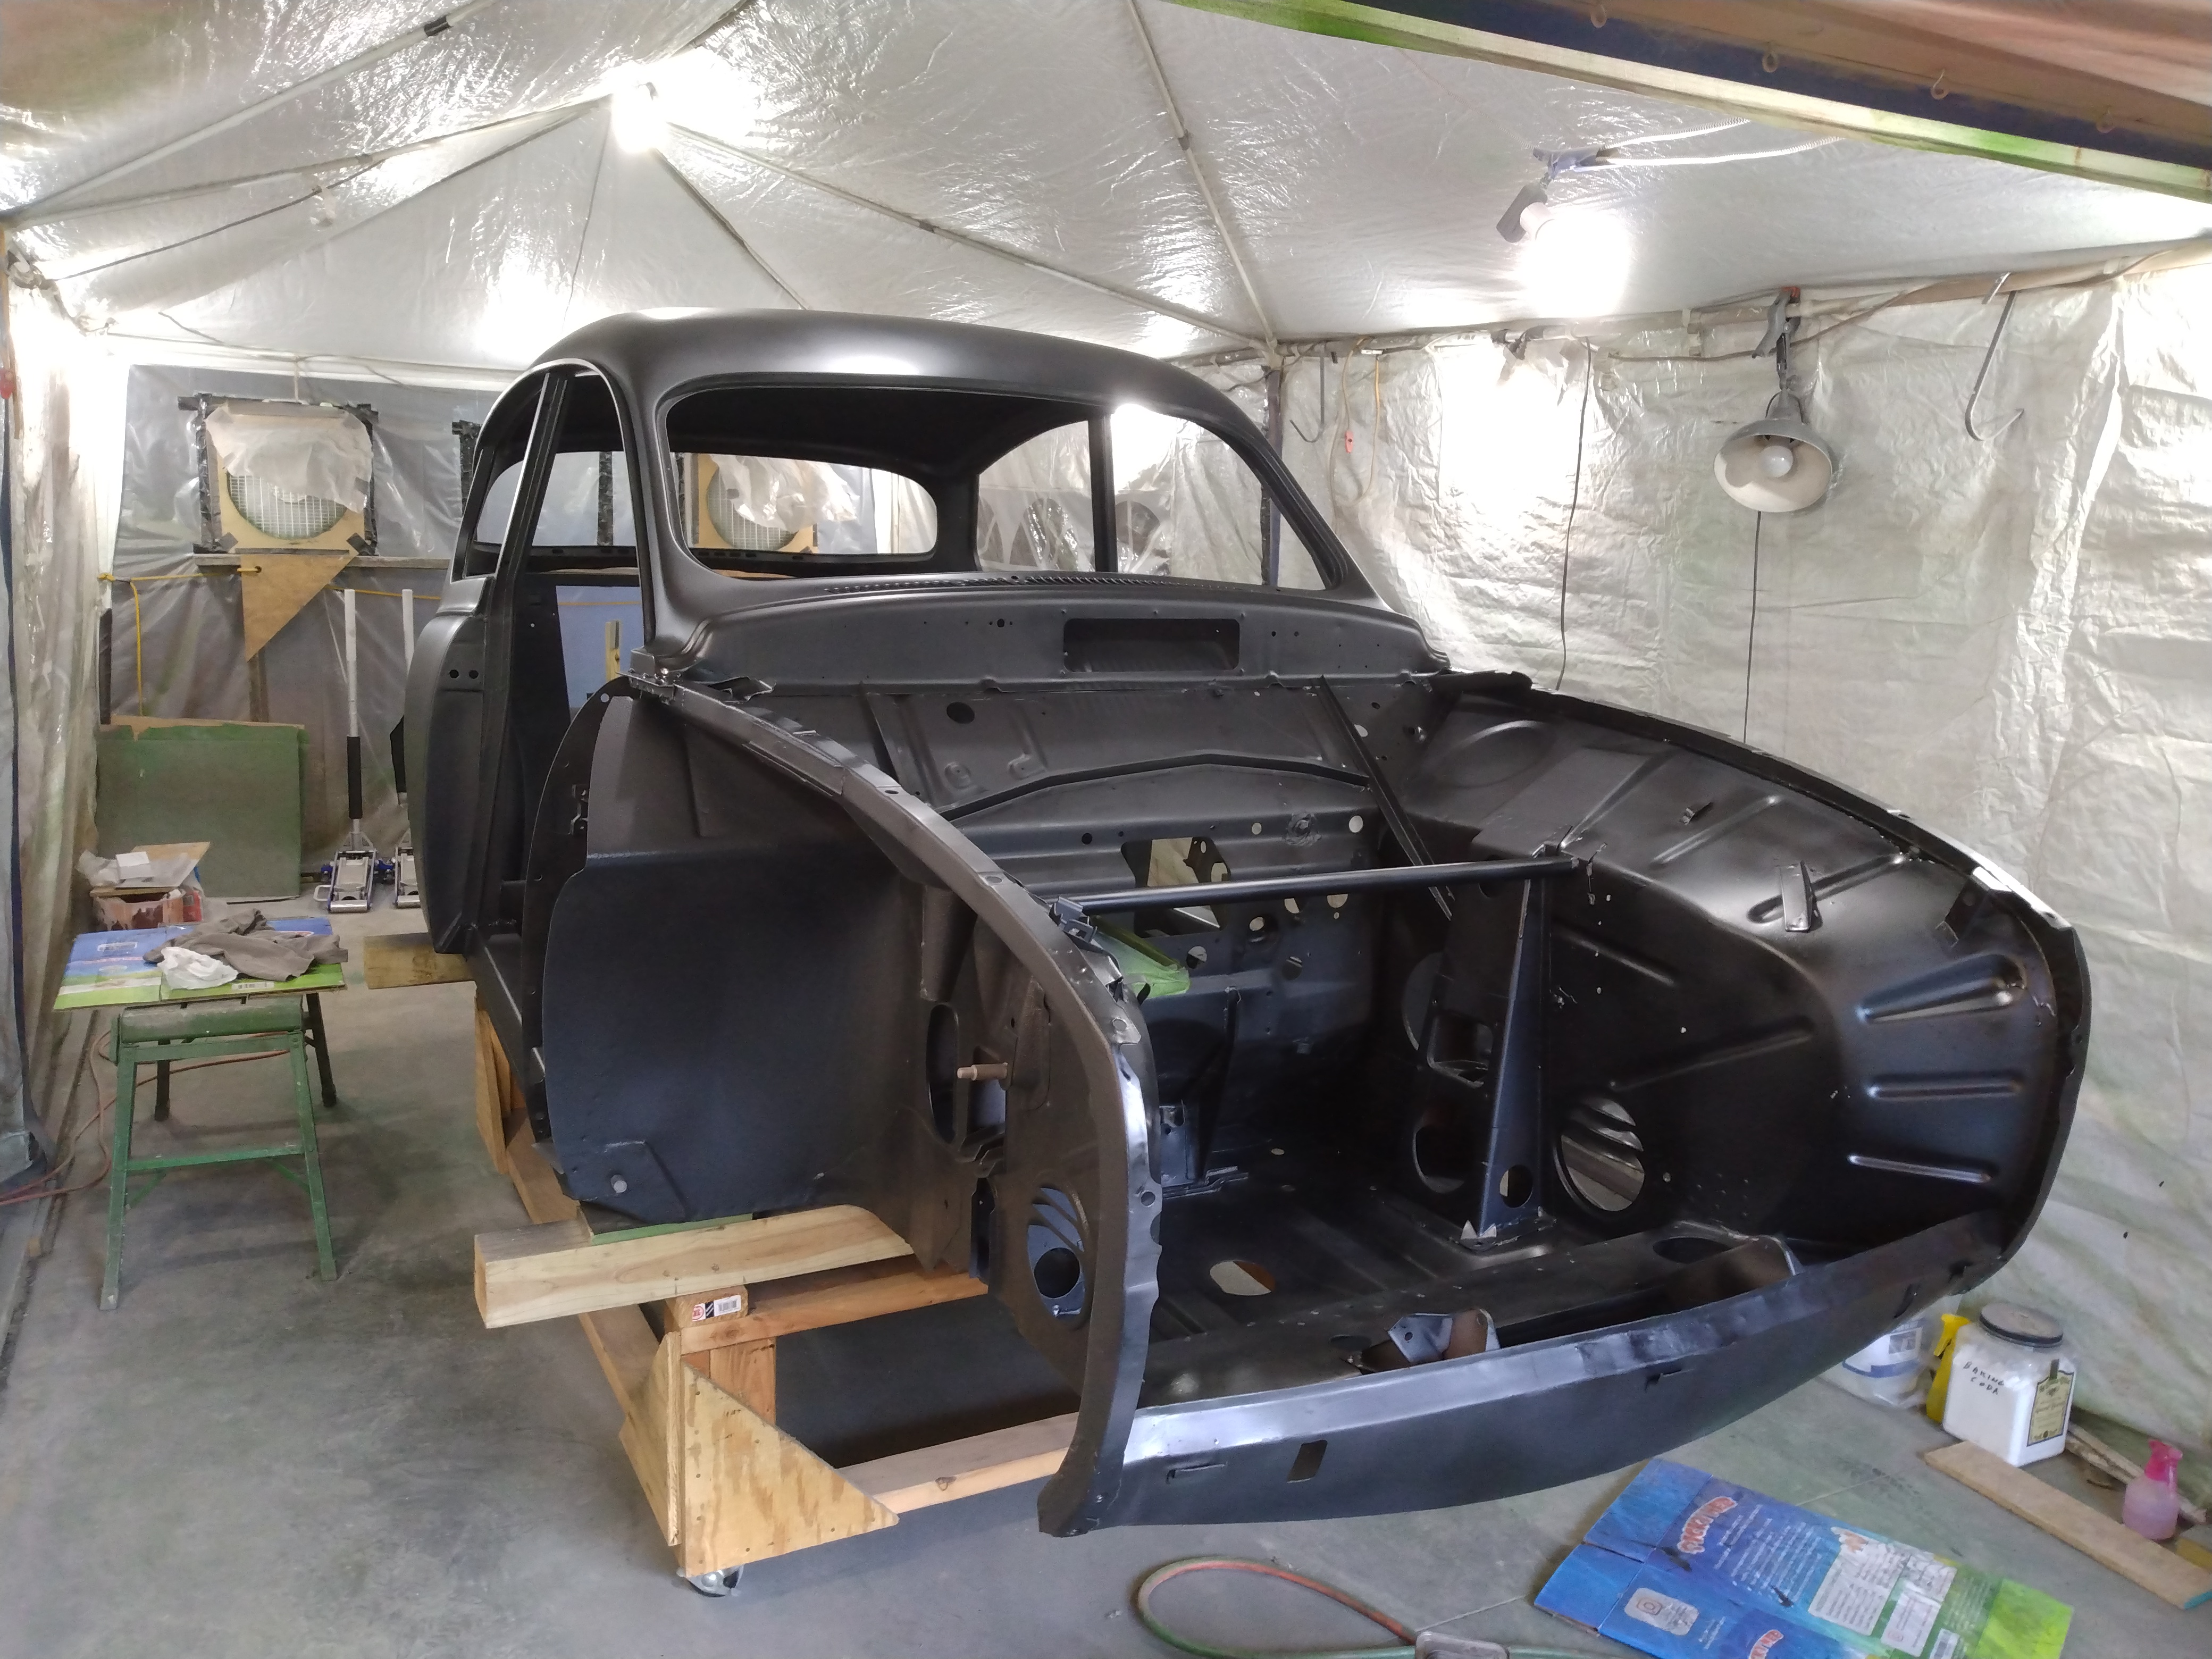
Black Epoxy Primer Sealer
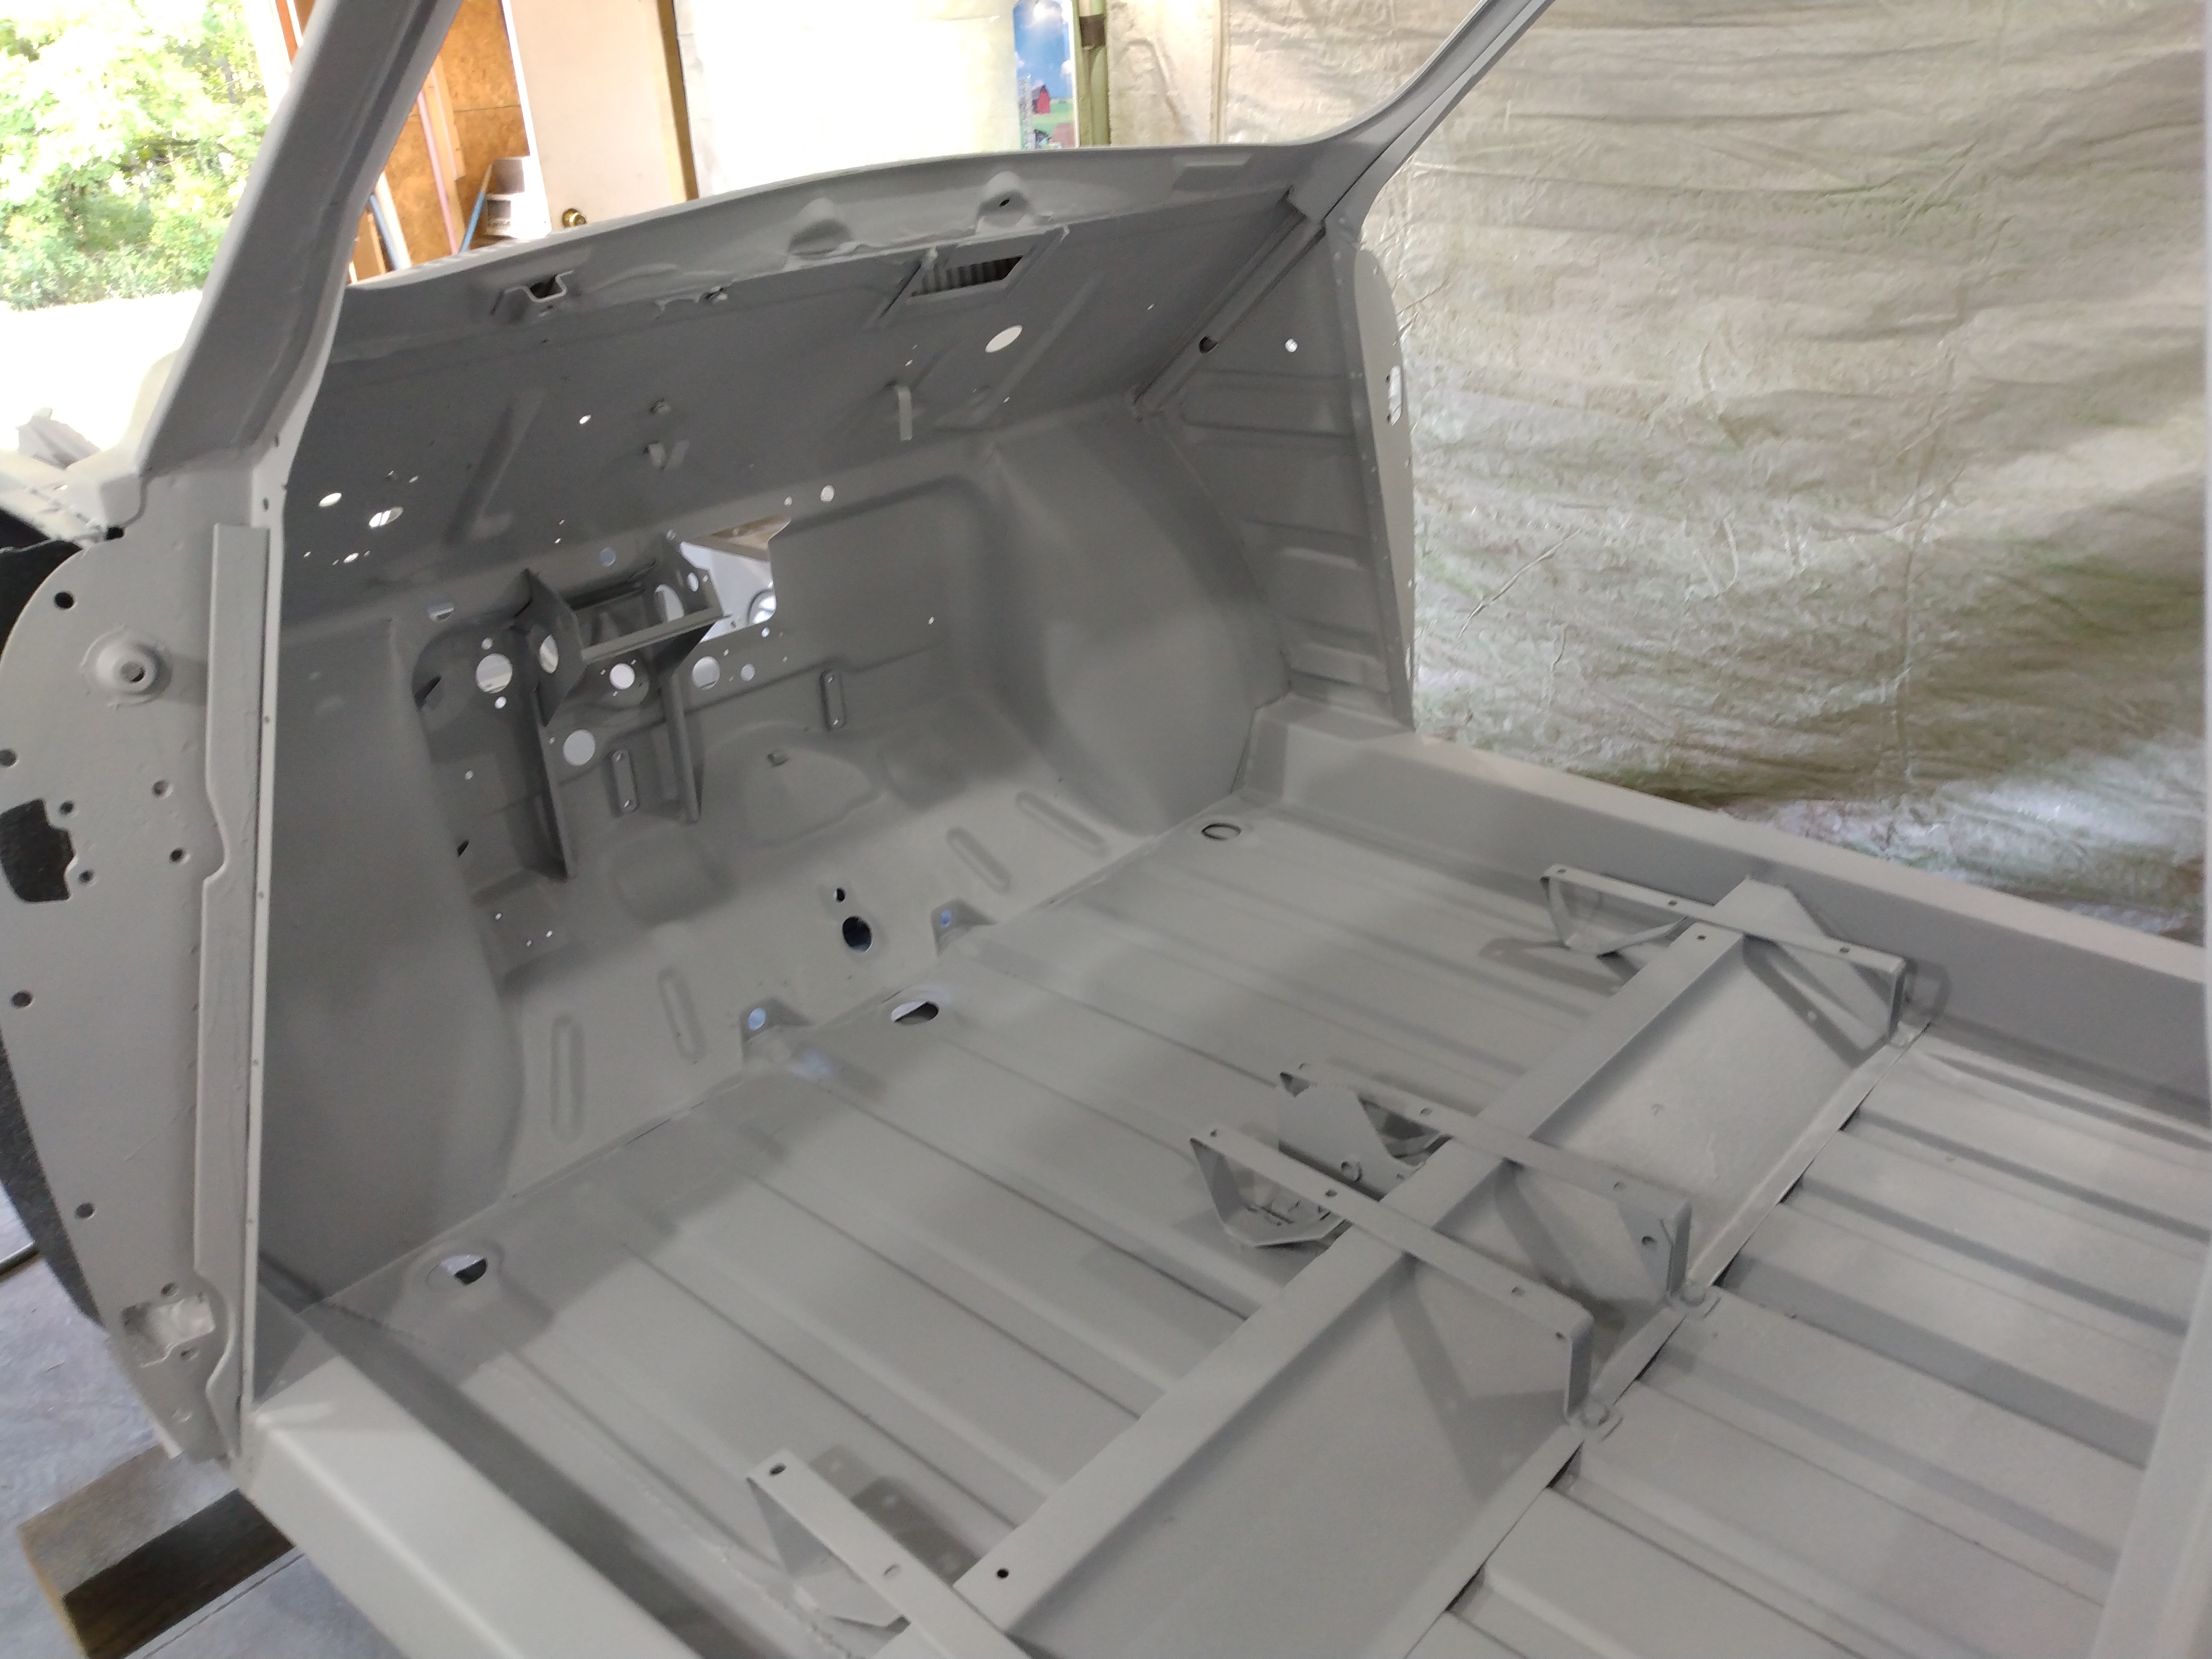
The following four images show the results of applying high build 2K urethane primer over the epoxy primer/sealer. This coat was applied on the day following application of the primer/sealer. The product used was Speedokote Automotive High Build 2K Urethane Primer, Gray, SMR-210/211. It looks cool but will require a lot of hand sanding.

Gray Urethane Primer from Front
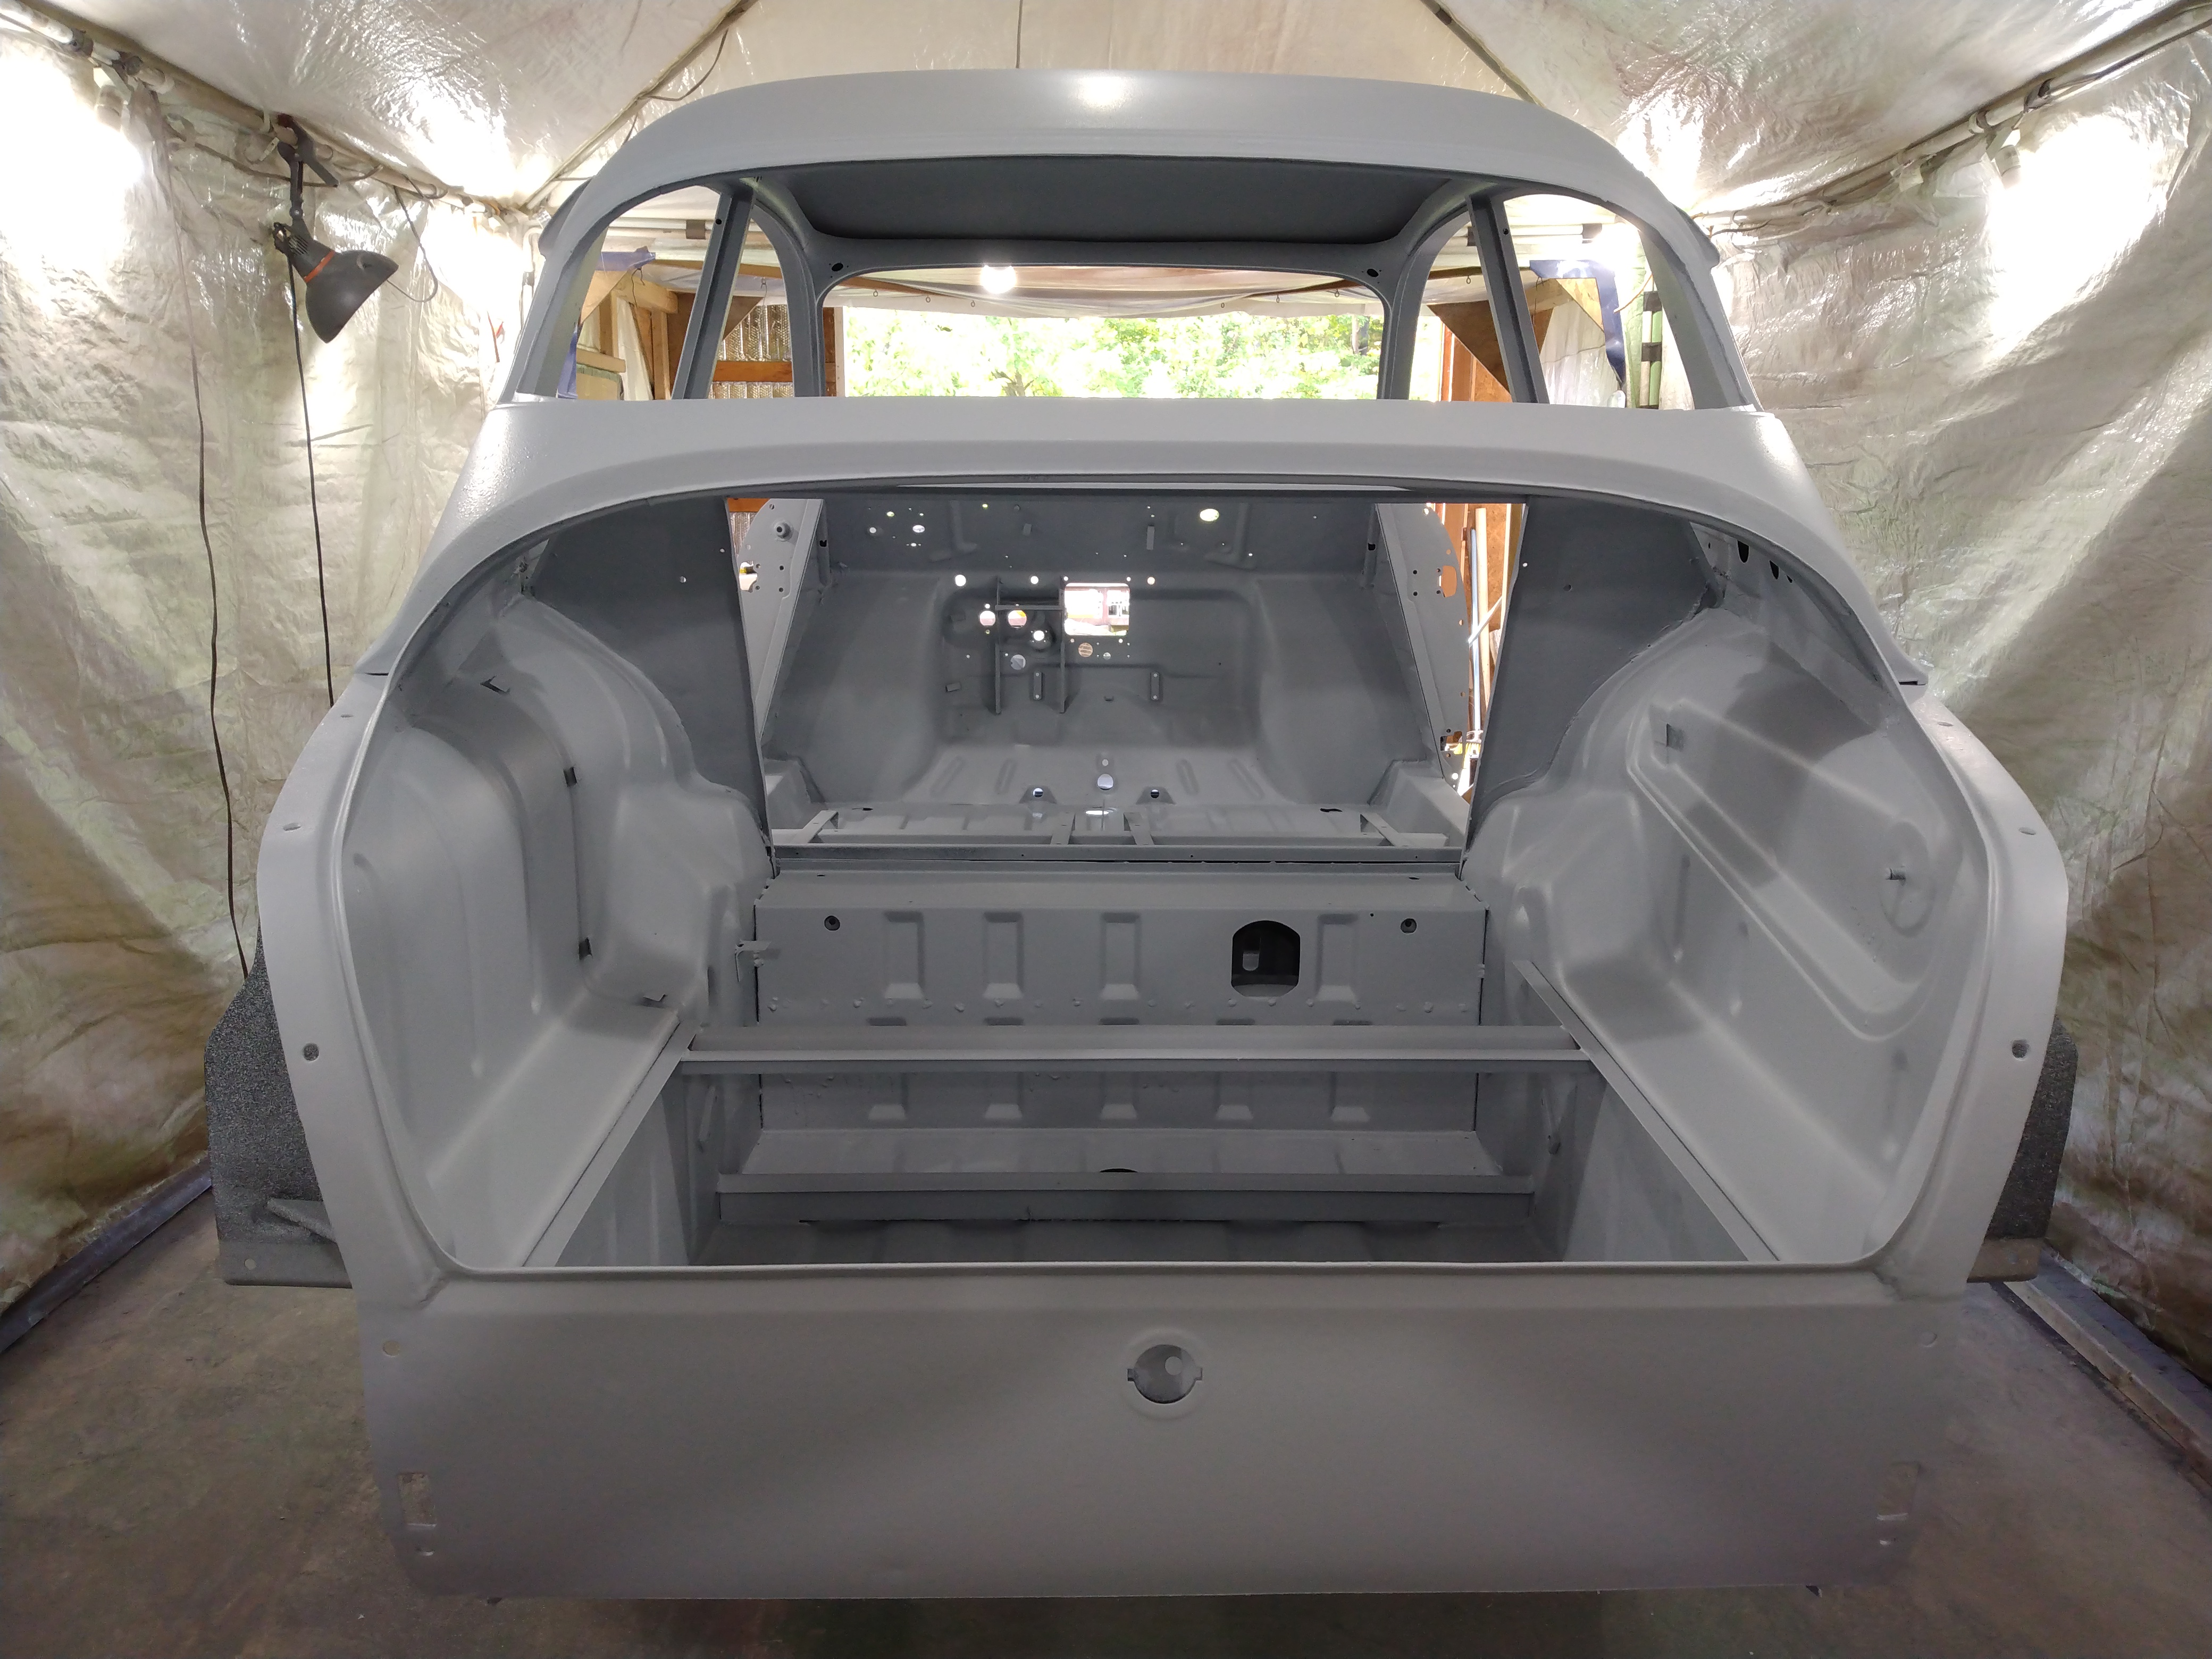
Gray Urethane Primer from Rear
Gray Urethane Primer Floor
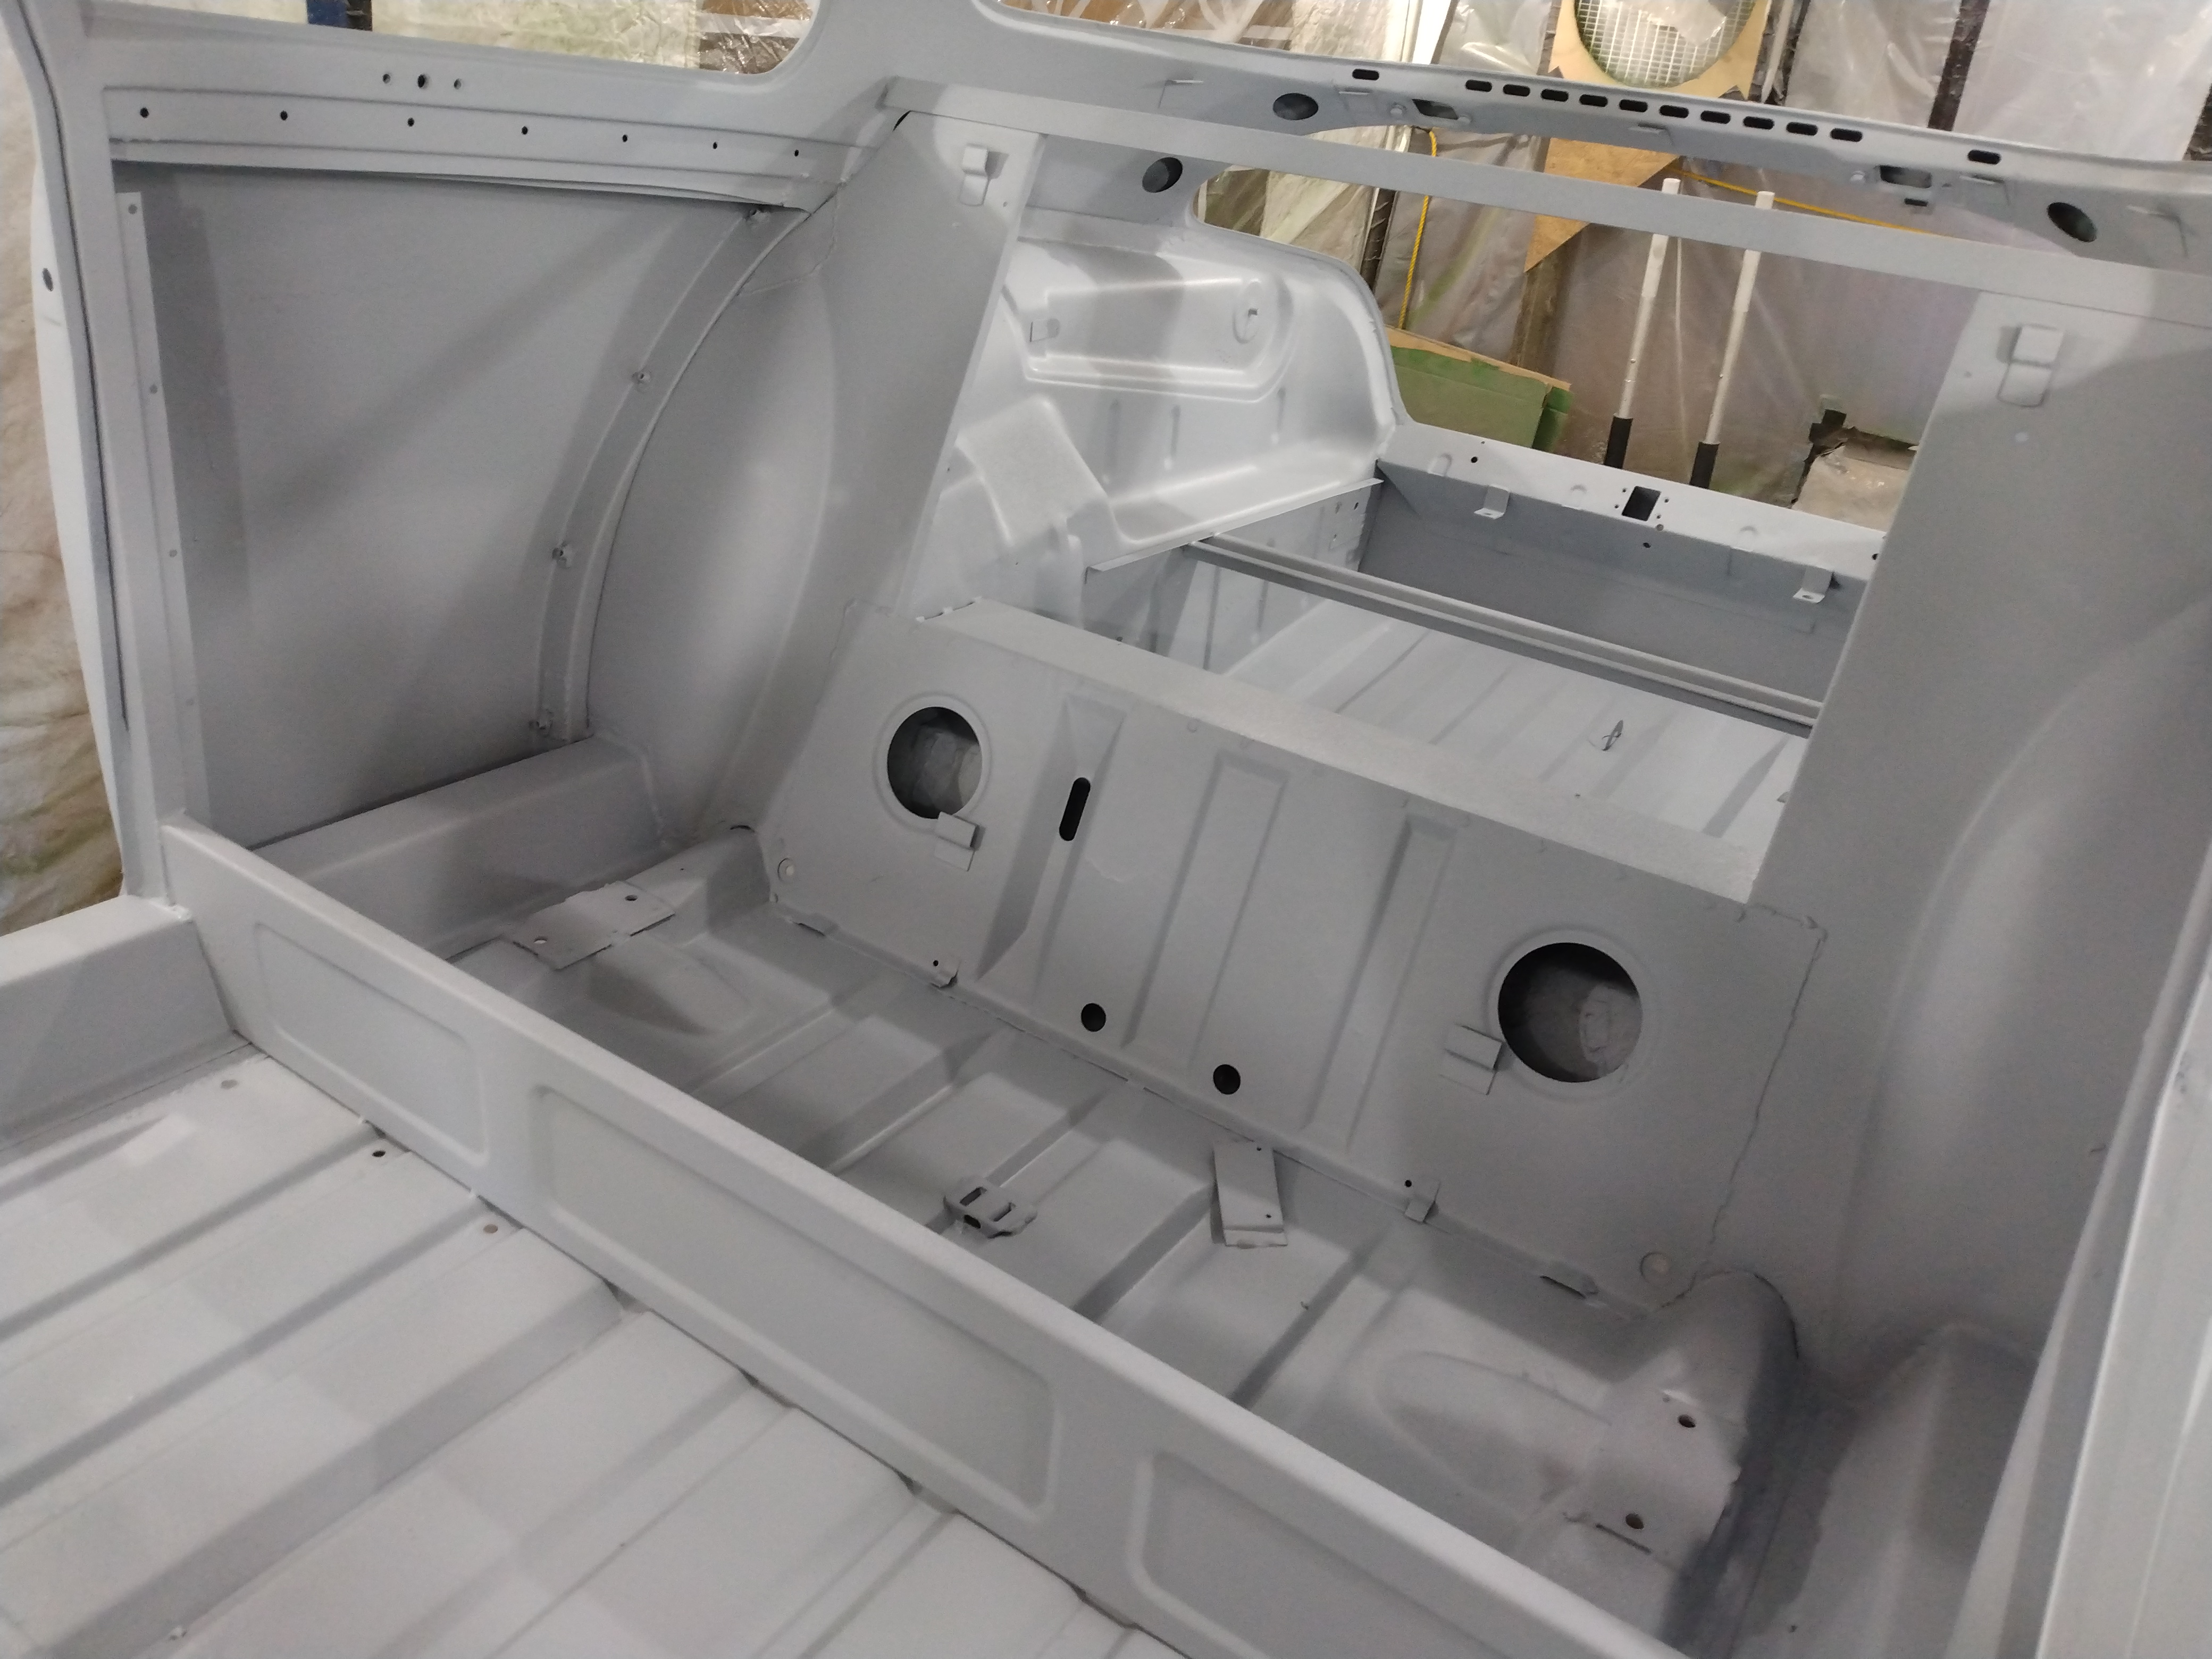
Gray Urethane Primer Trunk
I will be posting shortly on door restoration.
It is great to see you posting your progress, again!
Carl
Thanks!
It is such a pleasure for me to see you back at work on your MC! Your superb work has been an inspiration to me over the years. I finally finished my ’67 V-4 MC this July, after 6 1/2 years. Best wishes to you!
Congrats on your 67 V-4!