
Painting the Body Parts
Figure 1 shows the assemblage of parts ready for a trip into the paint booth. The body will be moved out temporarily. Figure 2 shows the parts moved into the paint booth for painting. The fenders were temporarily masked as shown in Figure 3 so that a Raptor protective coating could be applied prior to painting. For undercoating, the Raptor product shown in Figure 4 seems to be a really tough product. Time will tell.


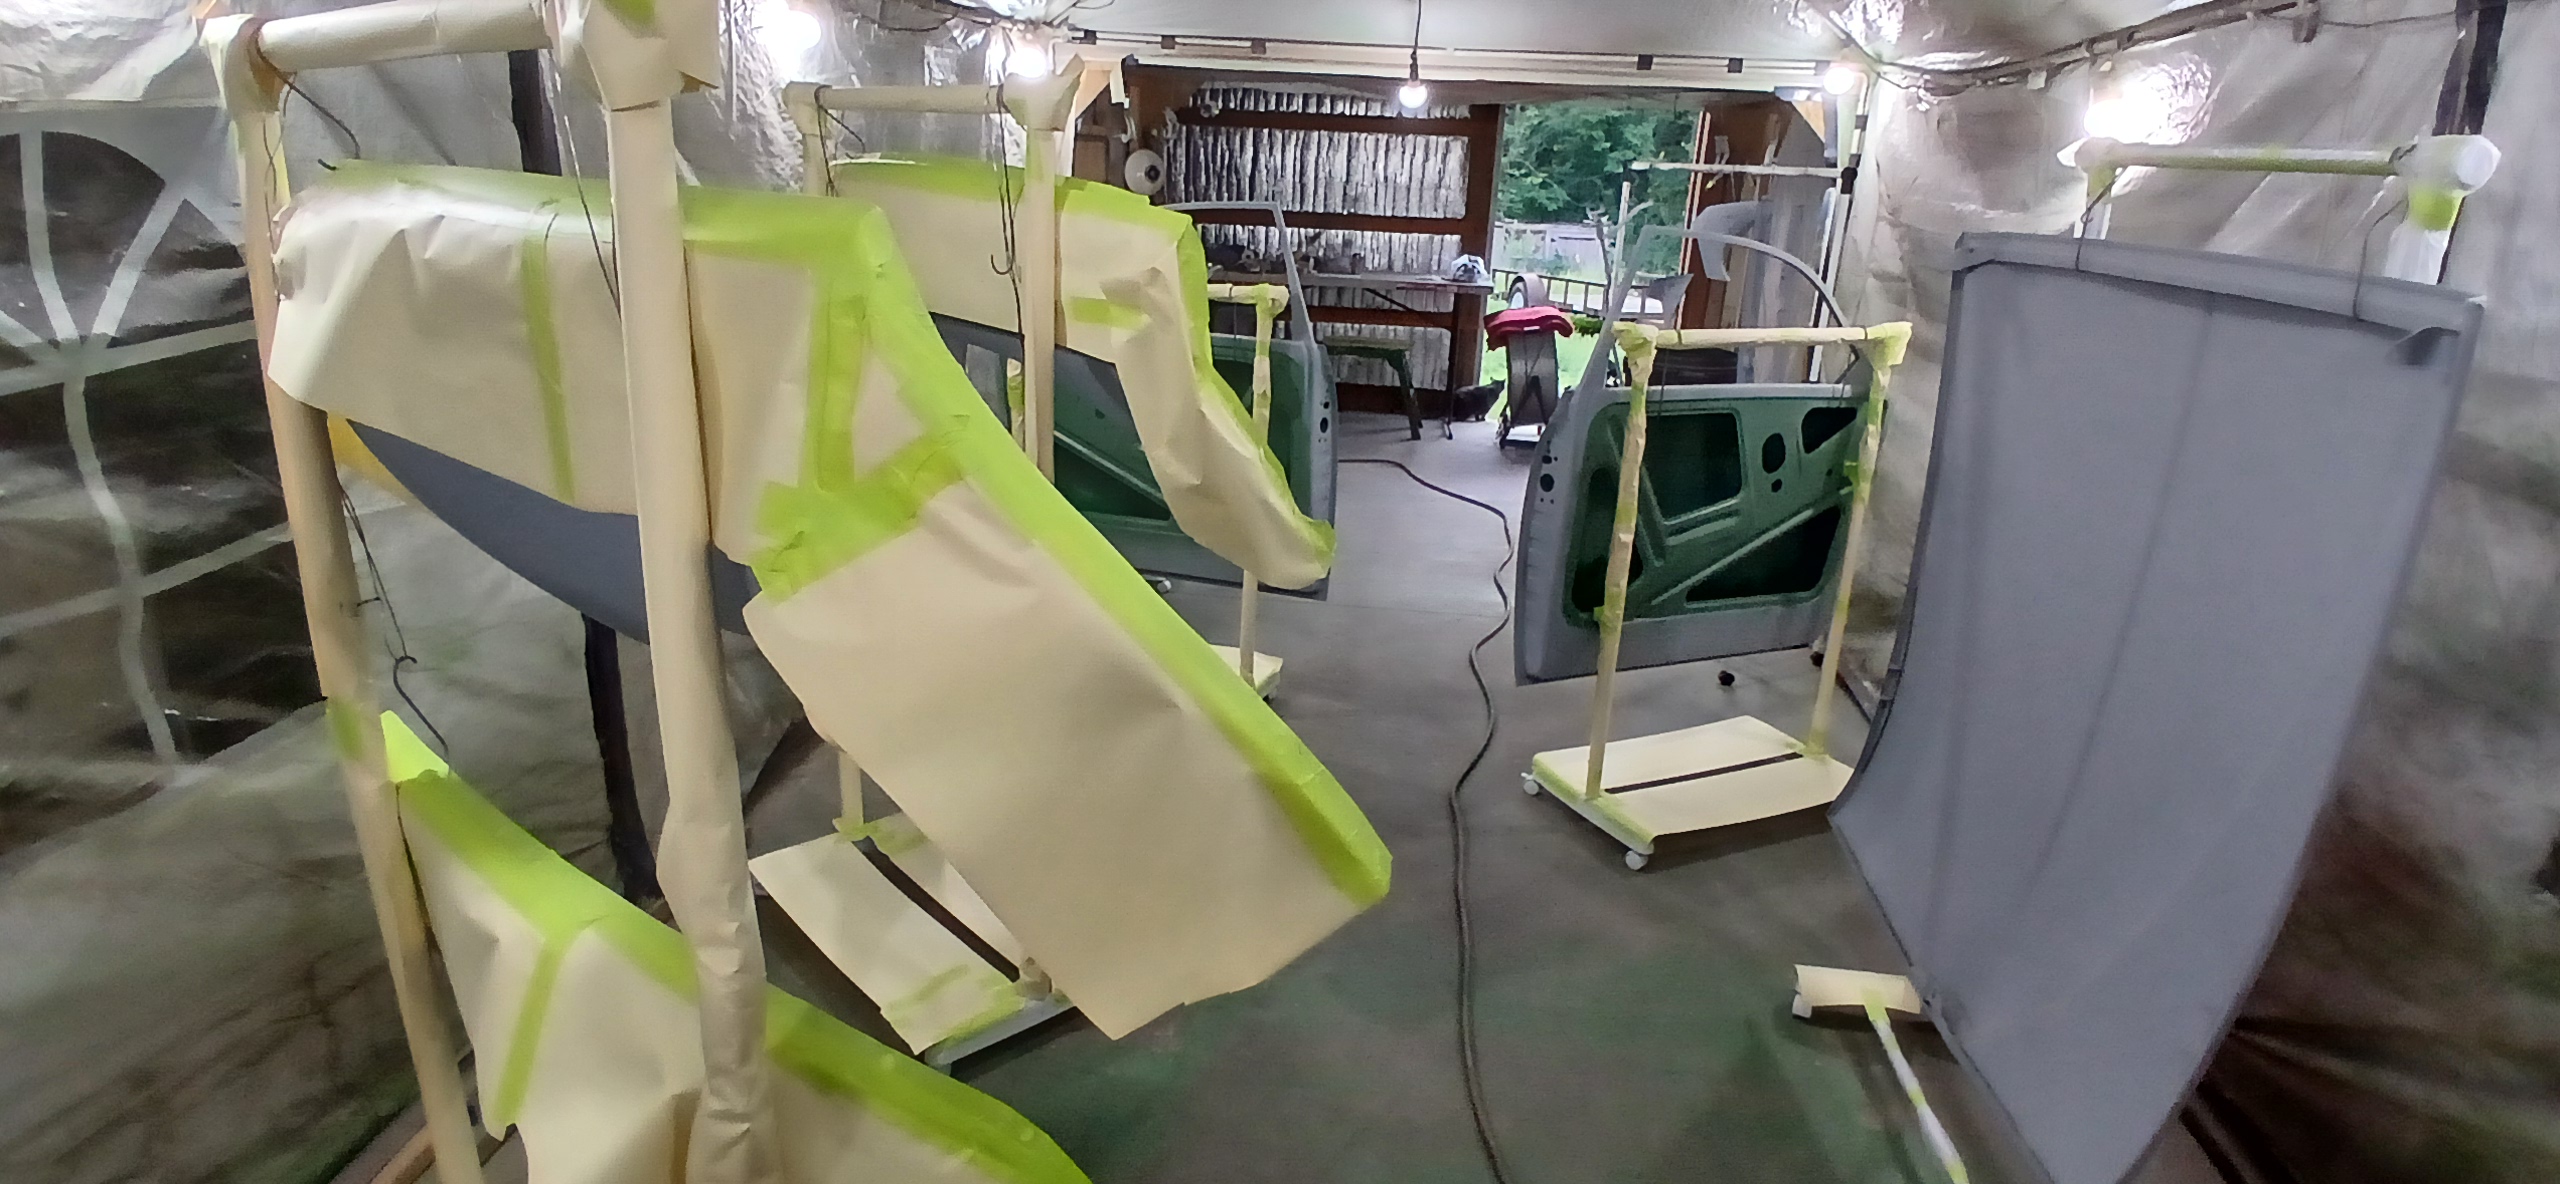
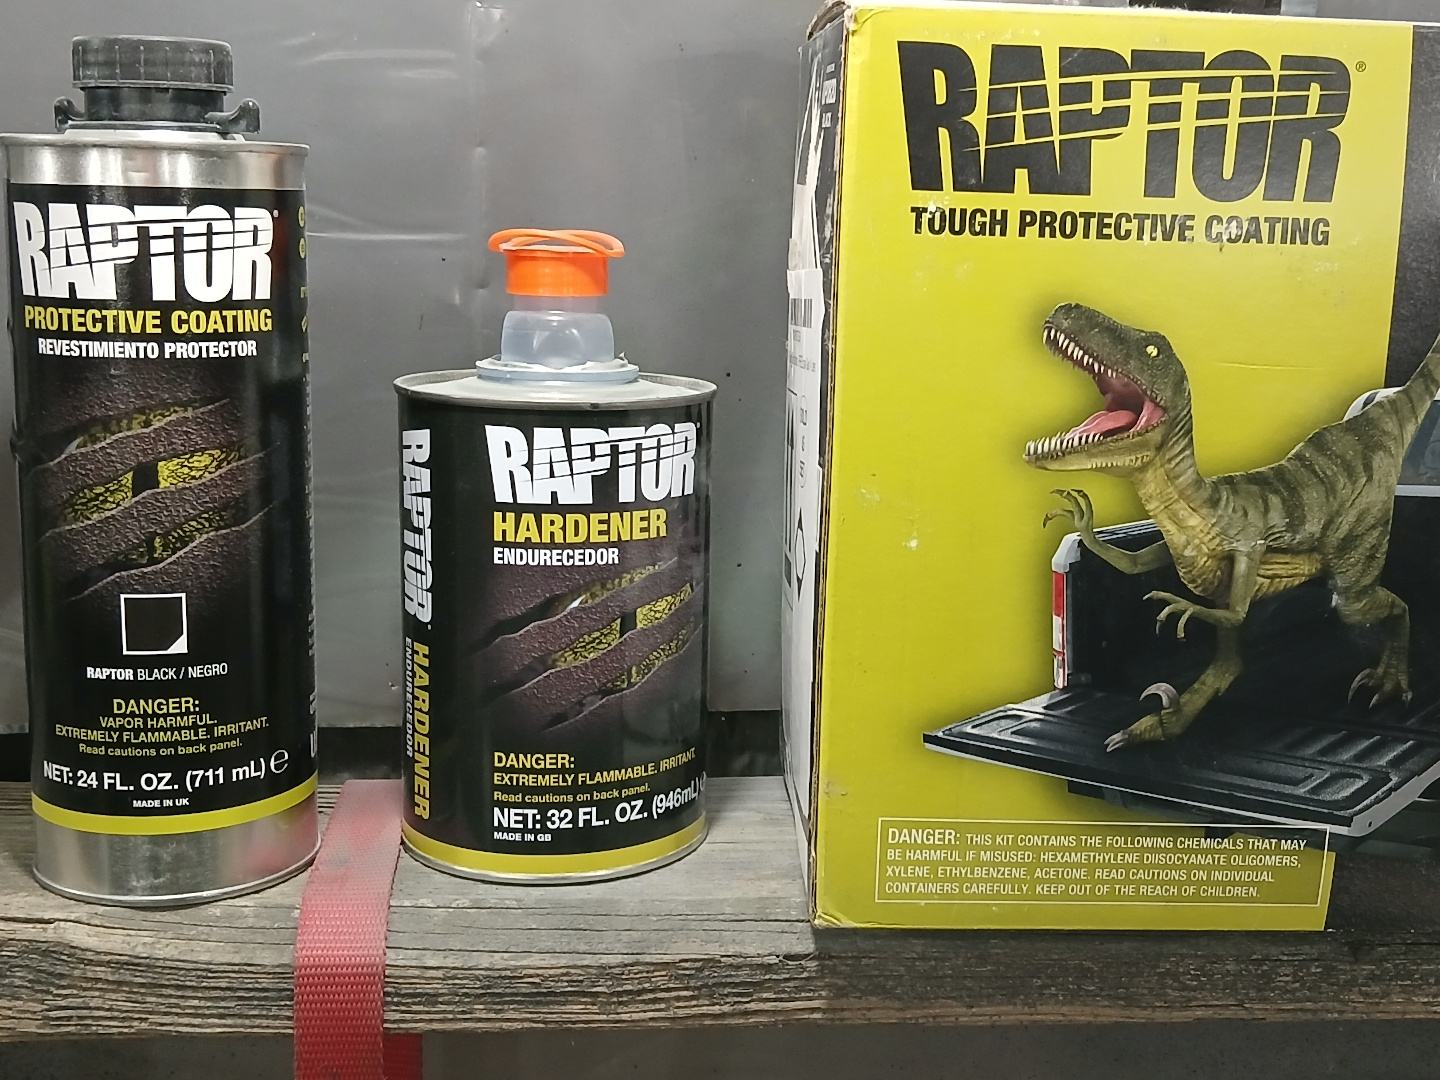
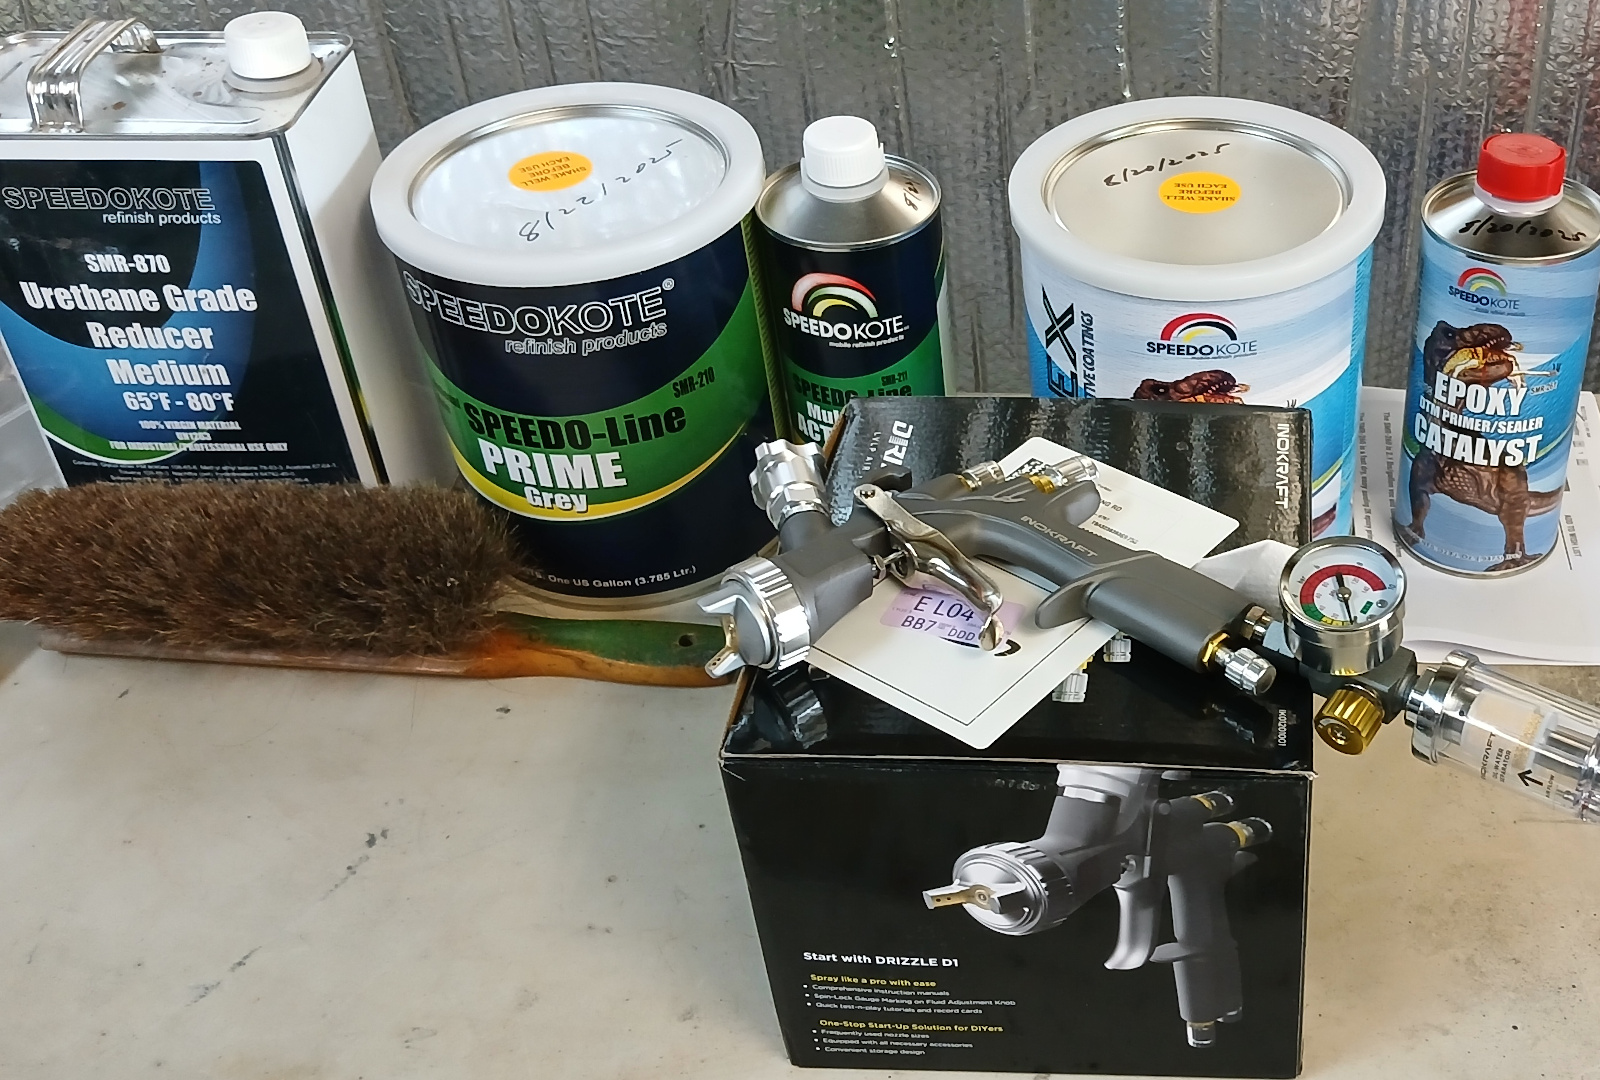
Figure 5 shows the products I used for painting the primer coats. First coat was a black epoxy primer, Speedokote Epoxy Fast Dry 2.1 Black Primer and Sealer. The second coat was a gray, high build 2K urethane primer, Speedokote High Build 2K Urethane Primer, Gray. The paint spray gun used for all painting, including the top coat, was the InoKraft D1 LVLP Air Spray Gun.
Figures 6 and 7 show the results of applying the Speedokote black epoxy primer. Figue 8 shows the subsequent result of applying the Speedokote 2K urethane primer.


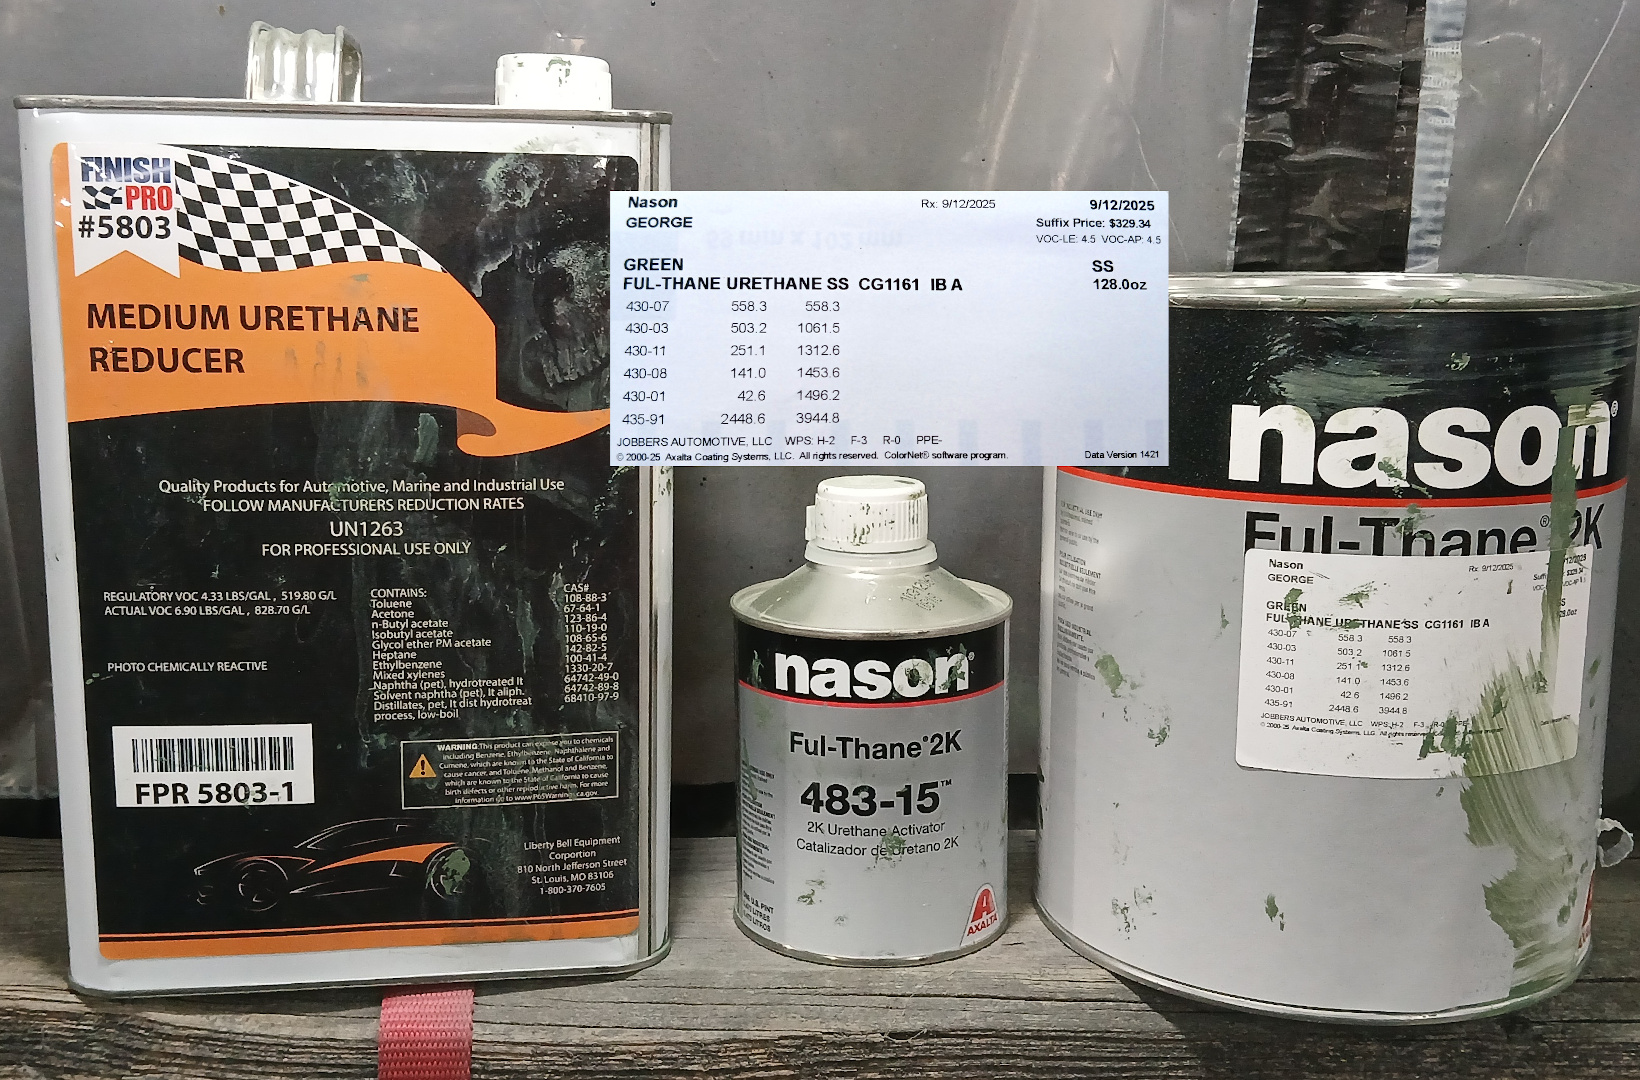
It was now time for the top coats, after days of hand sanding to 600 grit. I found that the 1966 SAAB GN5 color code is not exactly an off-the-shelf item, or even an on-the-web item. Fortunately, Premier Paint Technologies in Eastlake, Ohio was of great help to me. I took a setion of the original side beams (rocker panels untouched by the sun) to them and they scanned that to come up with the correct mix of pigments. Figure 9 shows the single stage, 2K urethane that they mixed for me. I think the color match was near perfect. I included the pigment scan results in the image in case you would like the same paint.
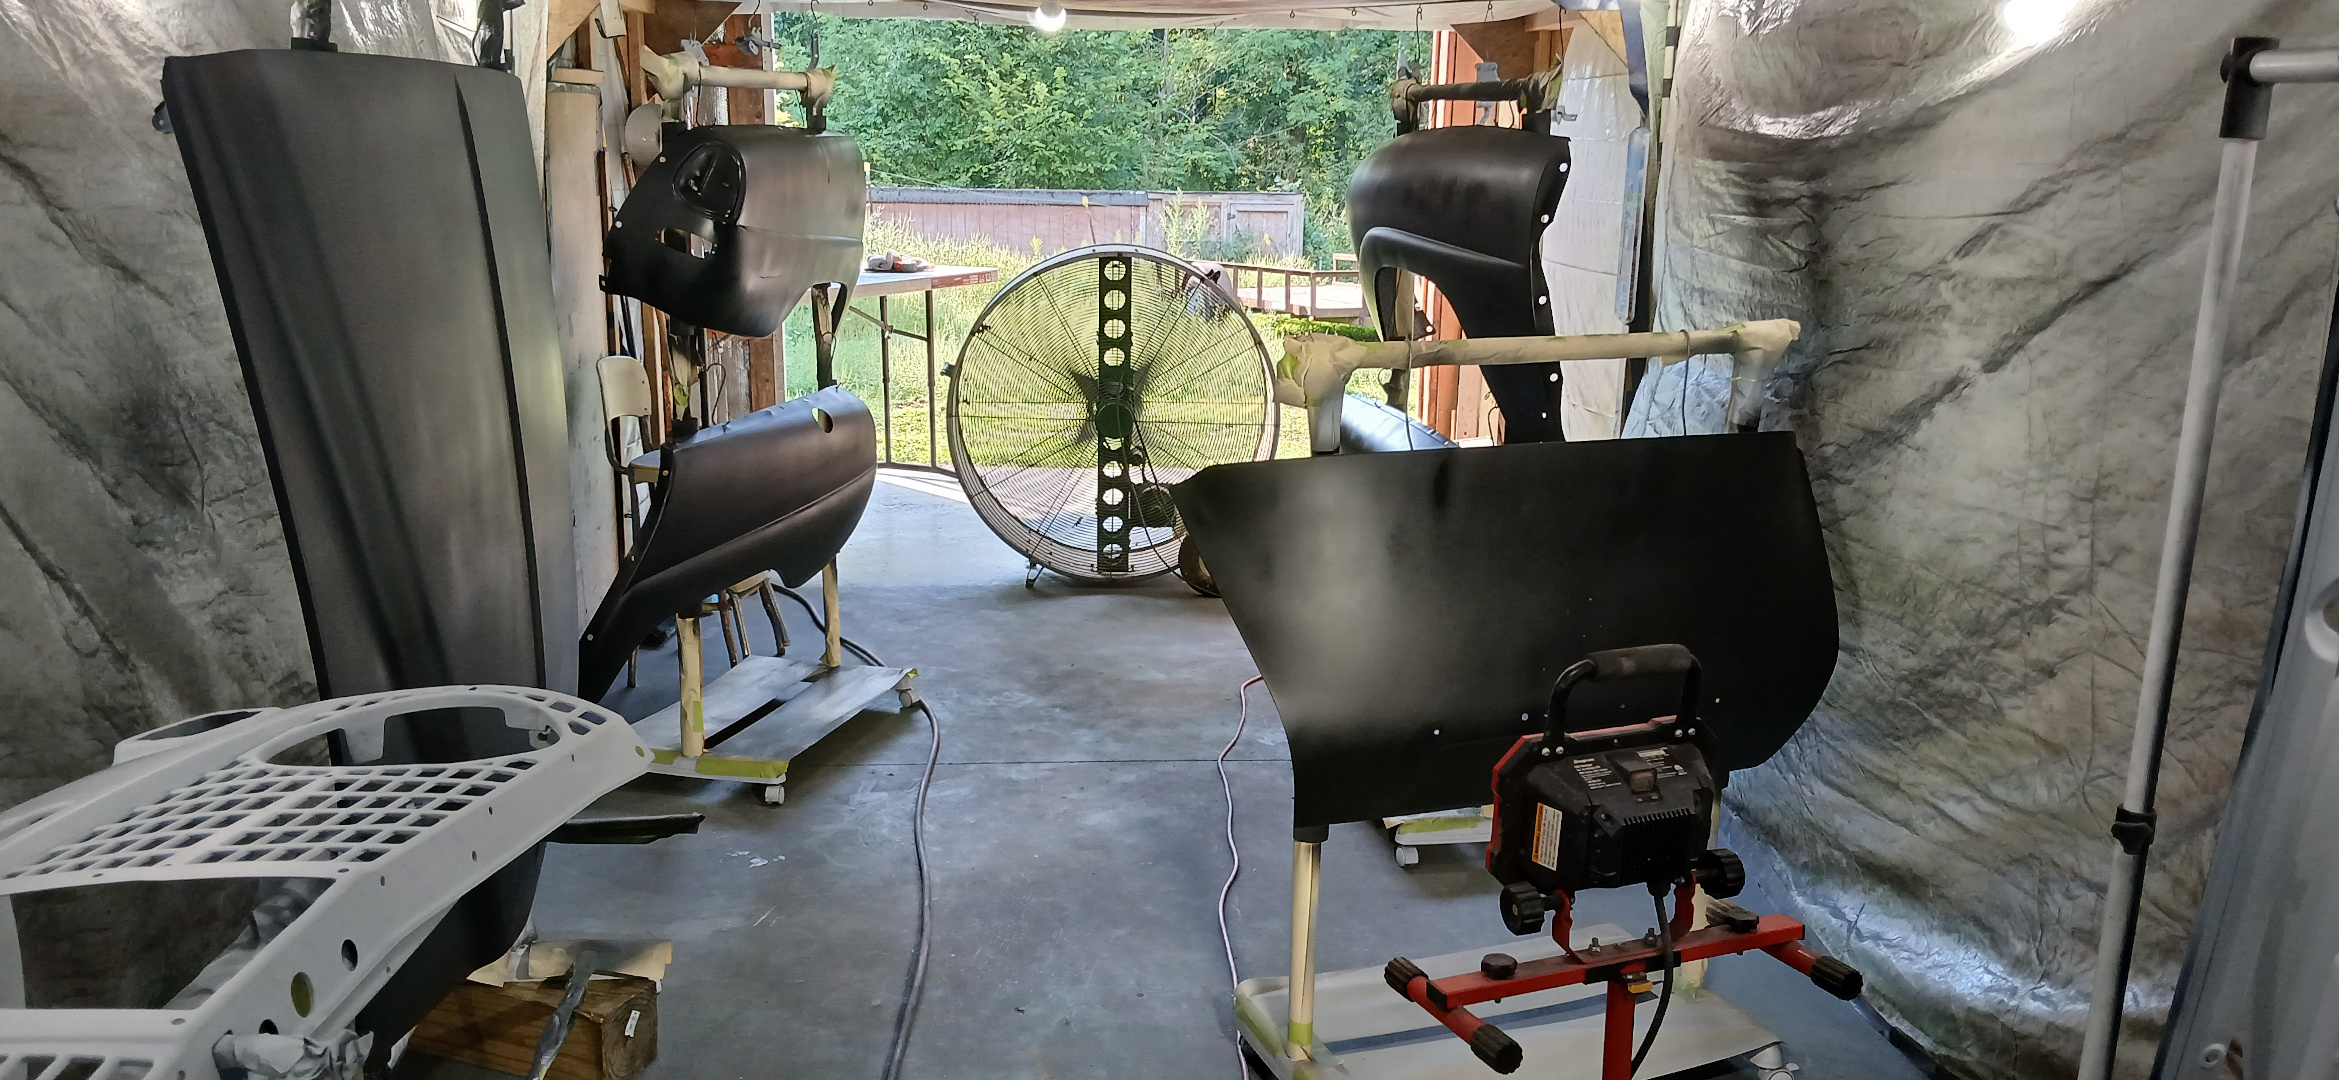
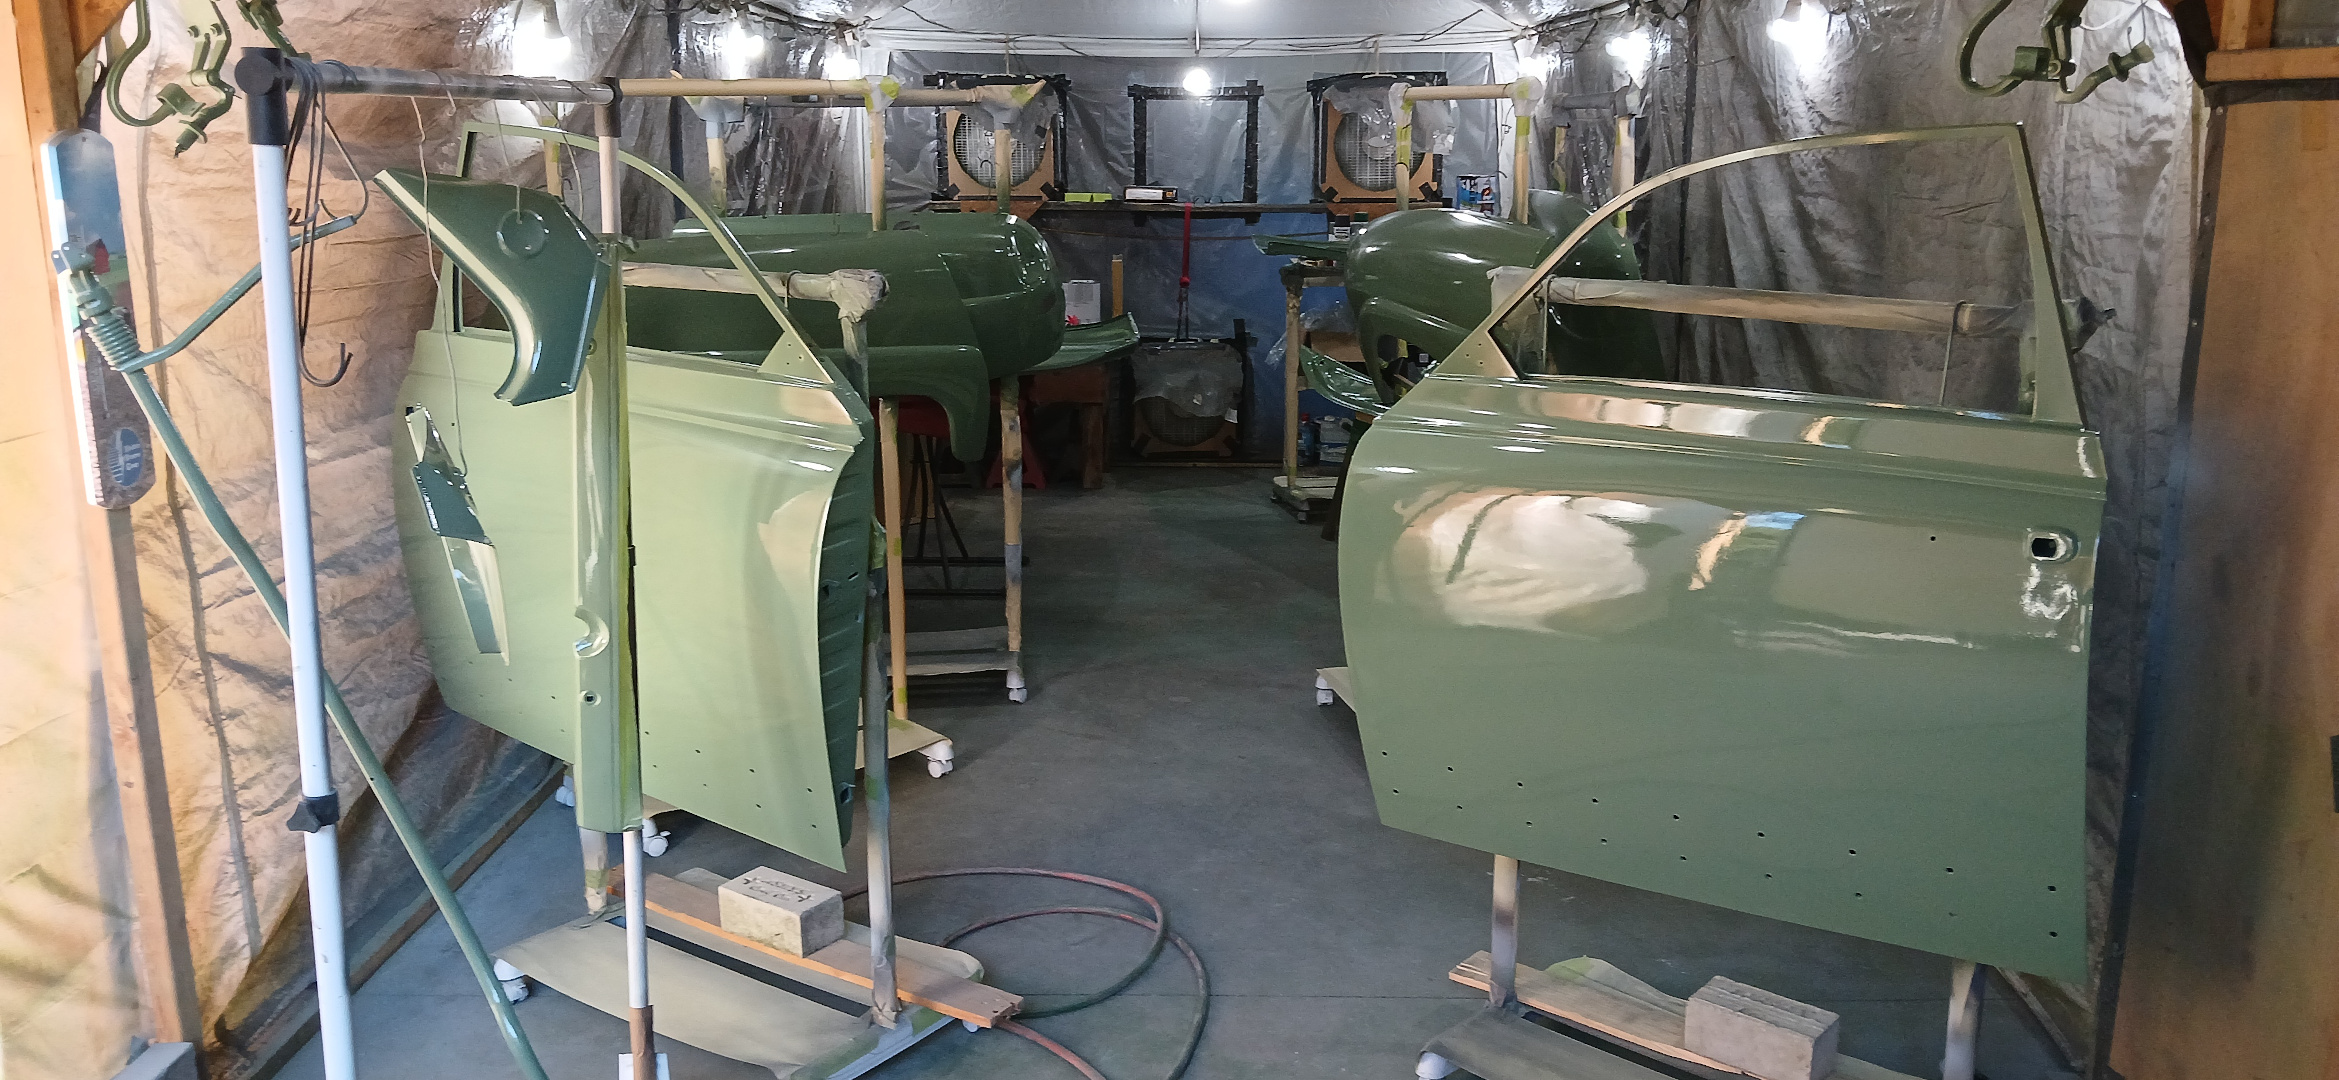
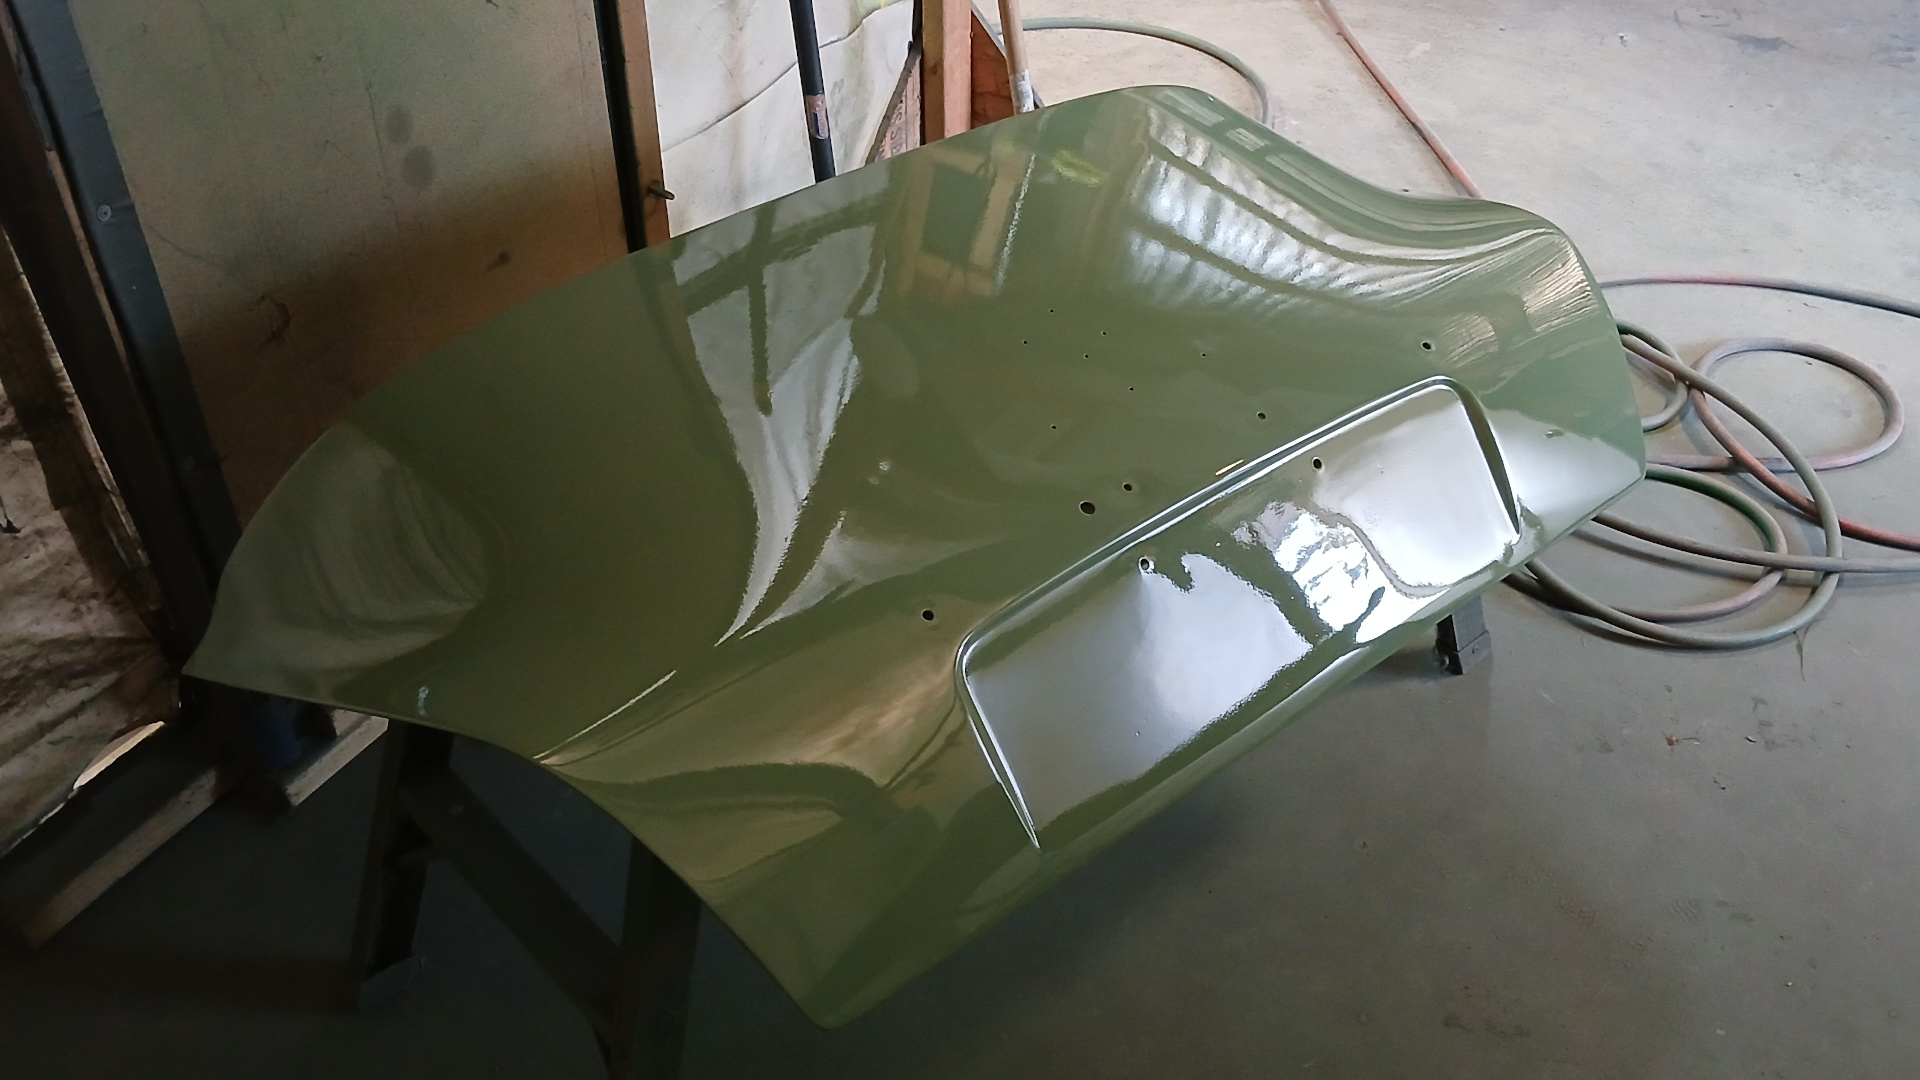
Figures 10-13 show the results of the top coat application to the body parts.


The body was moved back into the paint booth, and the exterior roof, quarter panels, and front and rear panels were top coated. See Figures 14 and 15.

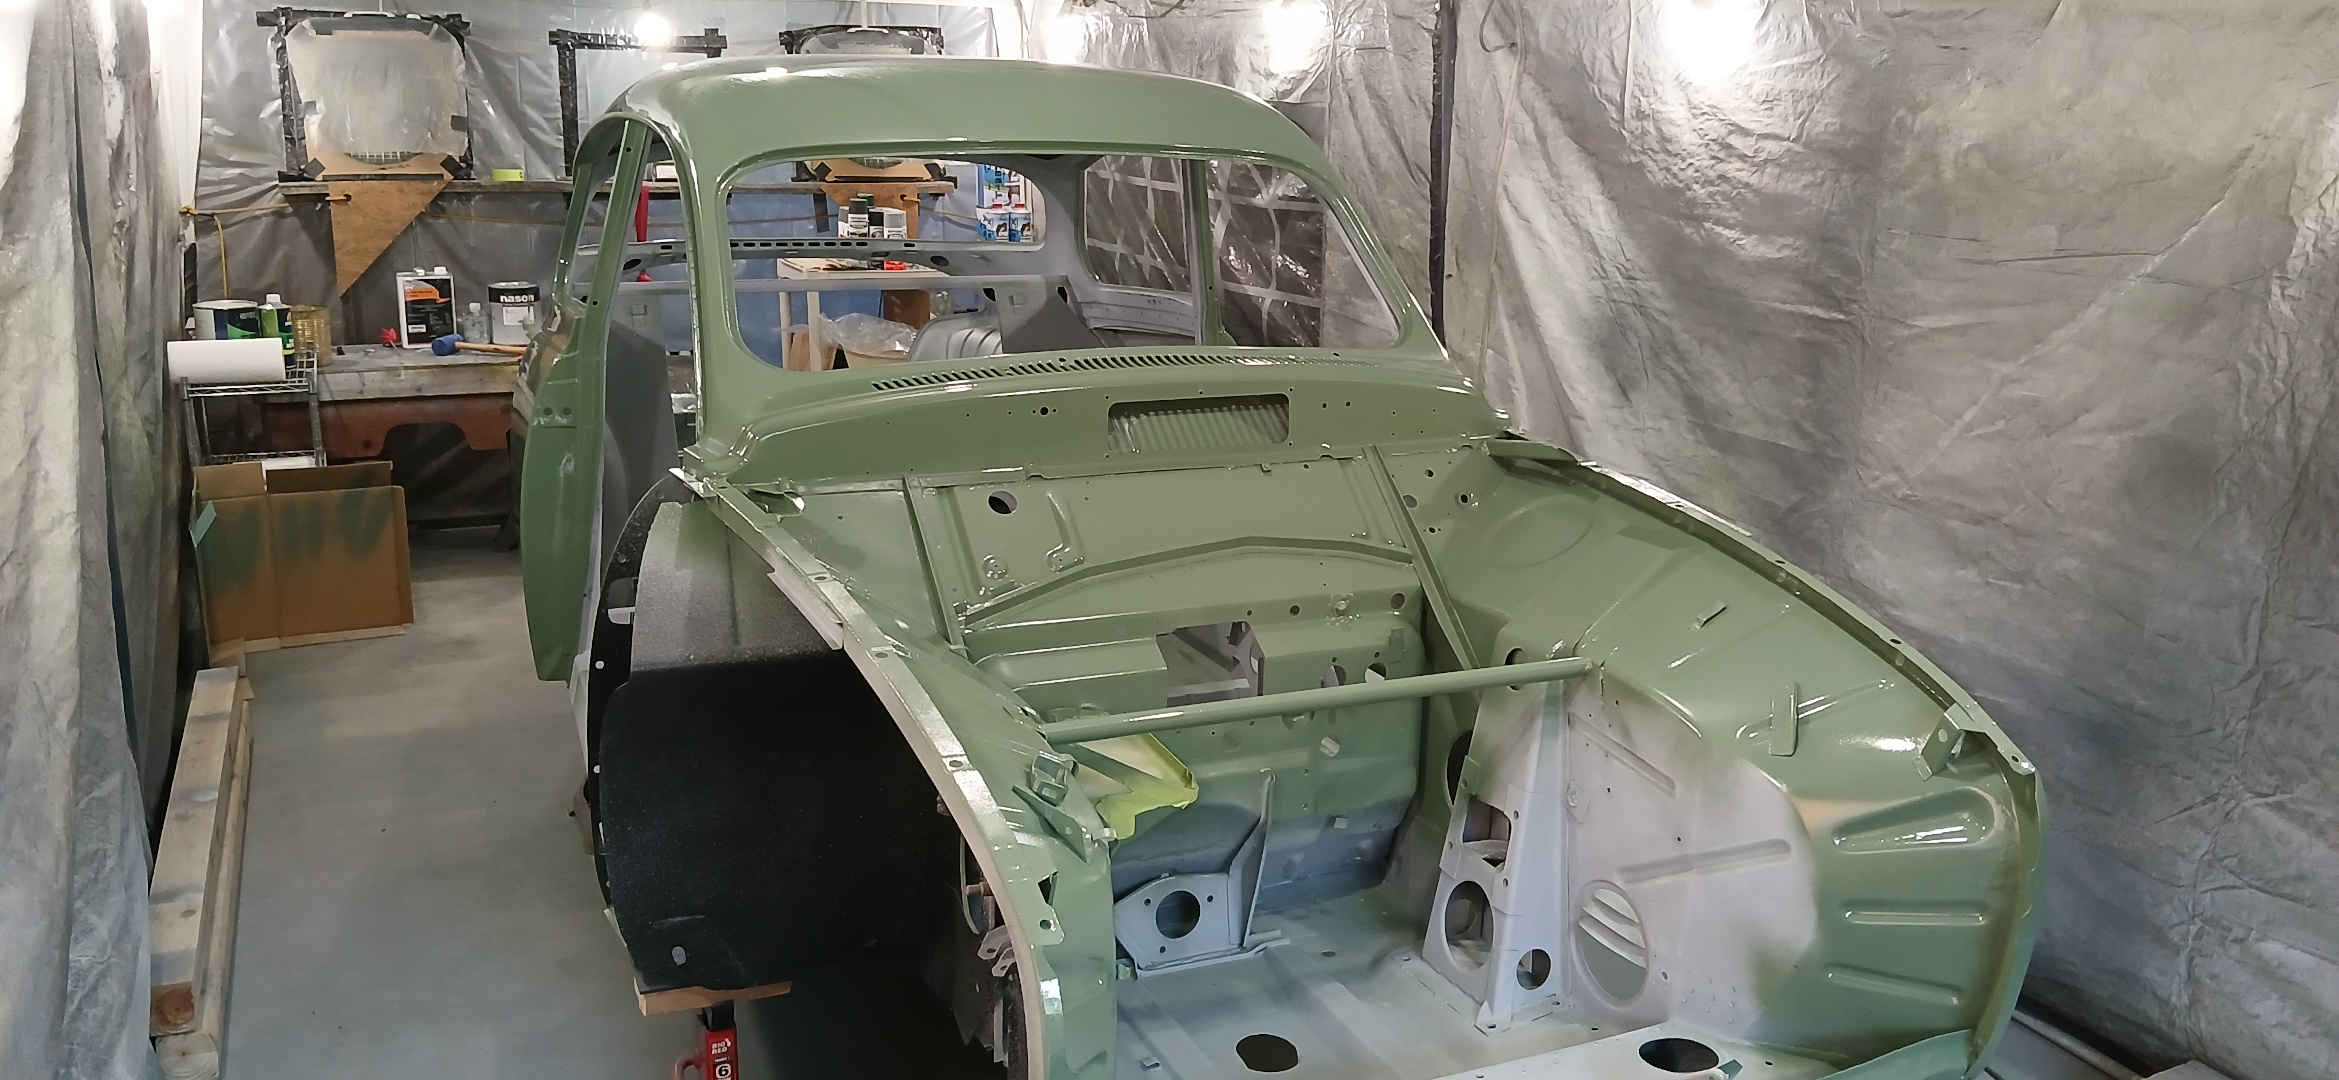
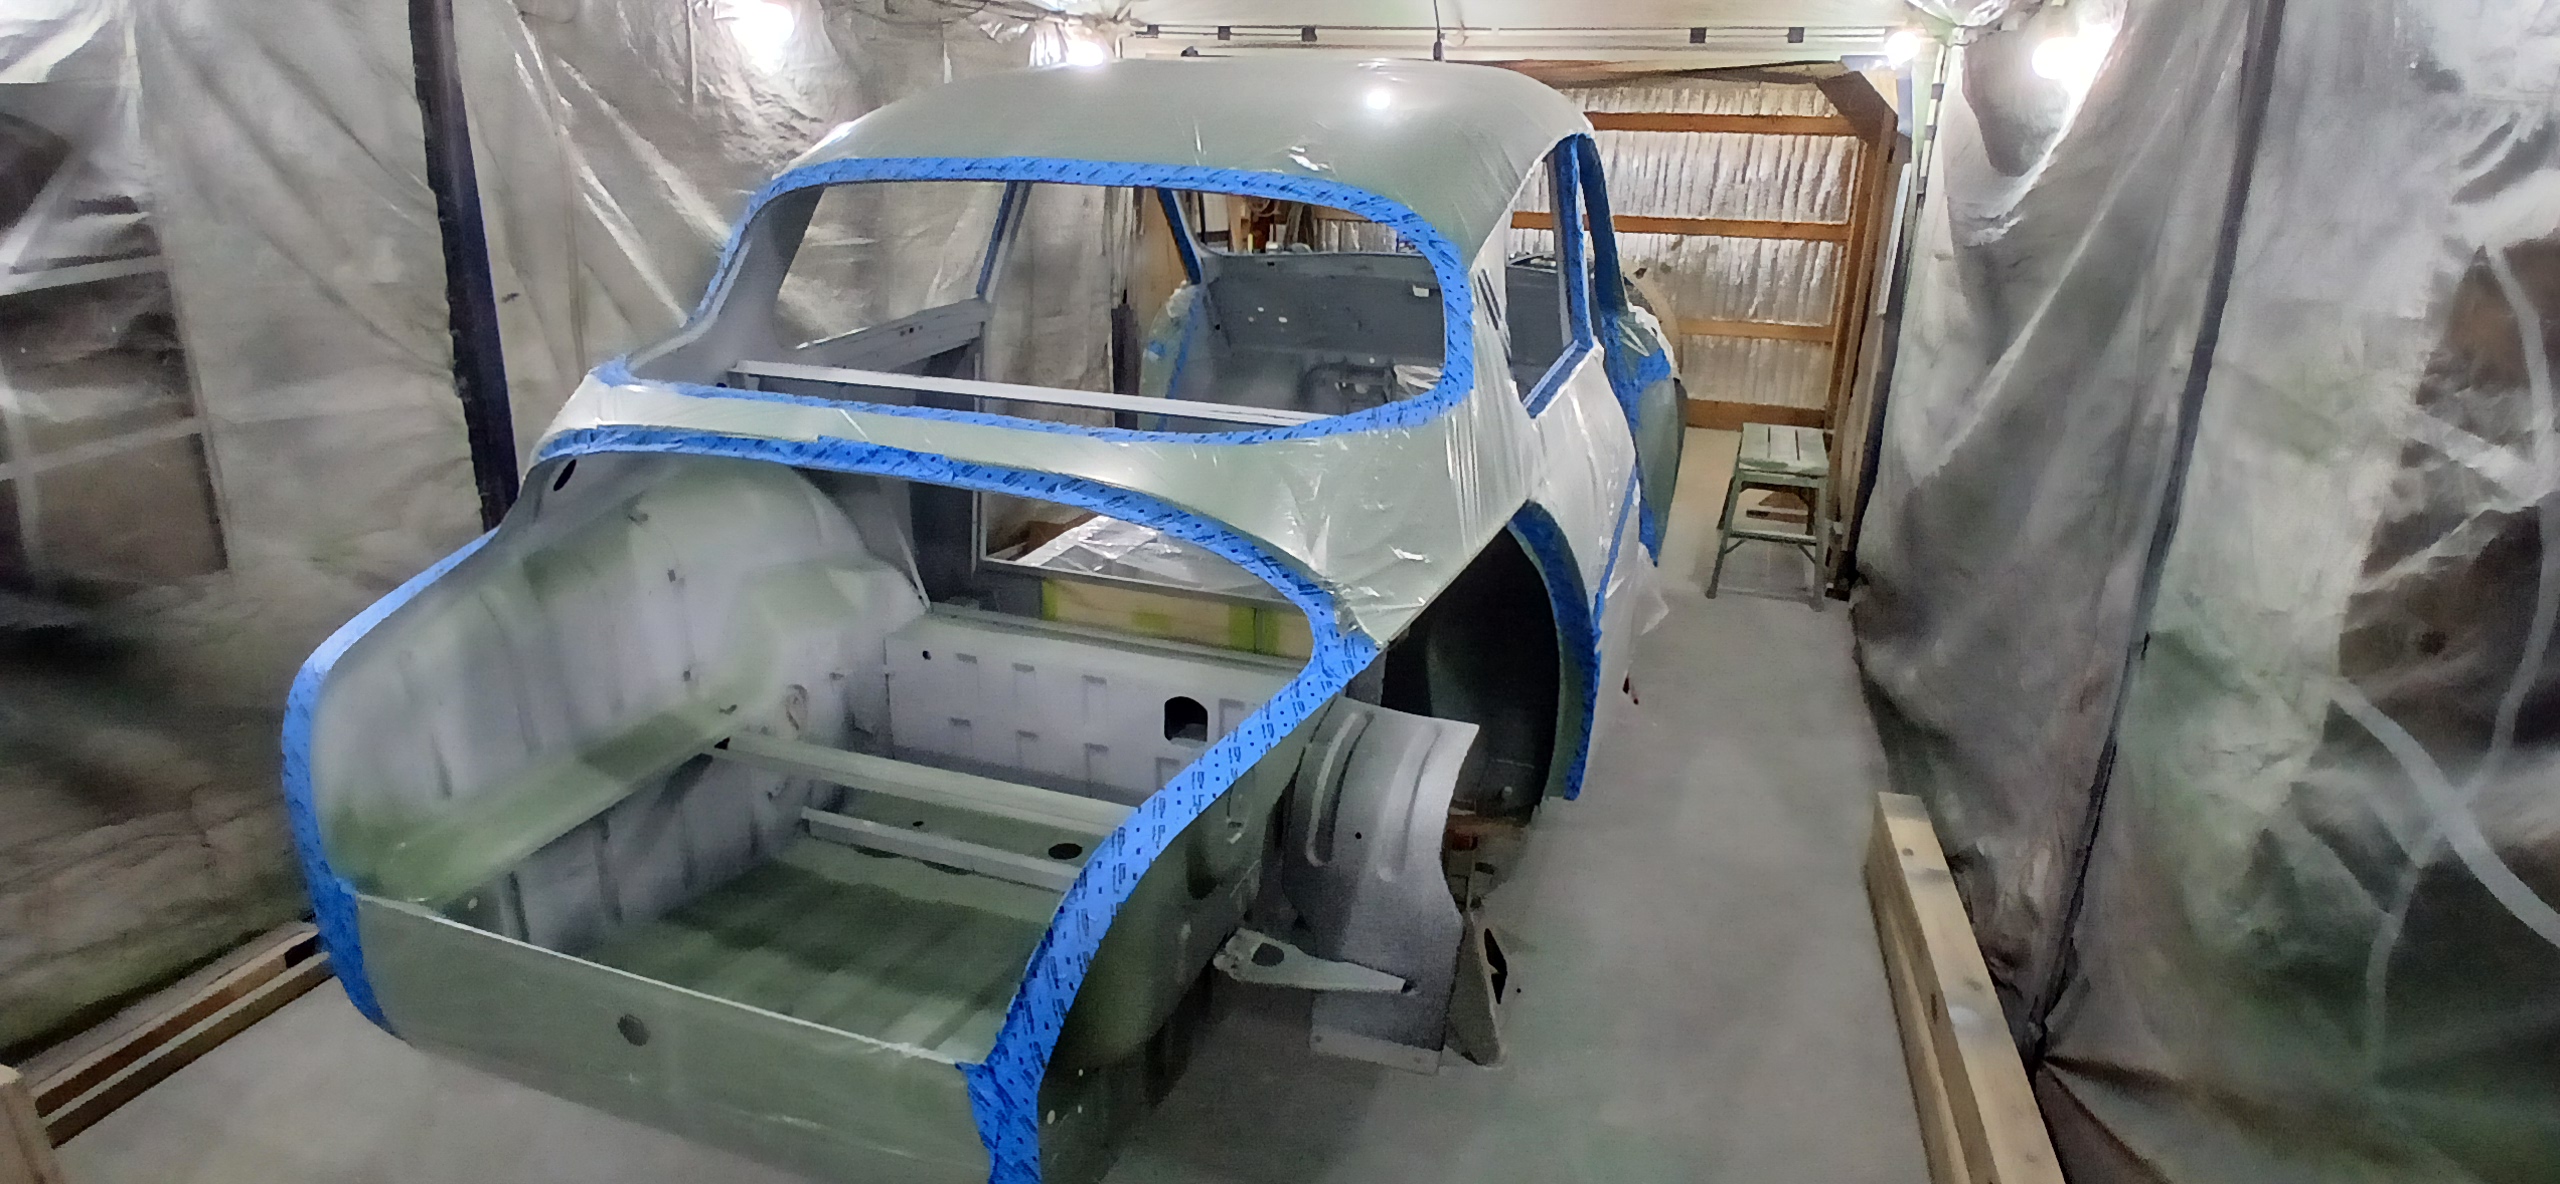
Figure 16 shows protective masking being applied to the finished exterior so that overyspray from interior painting would not ruin the finish.
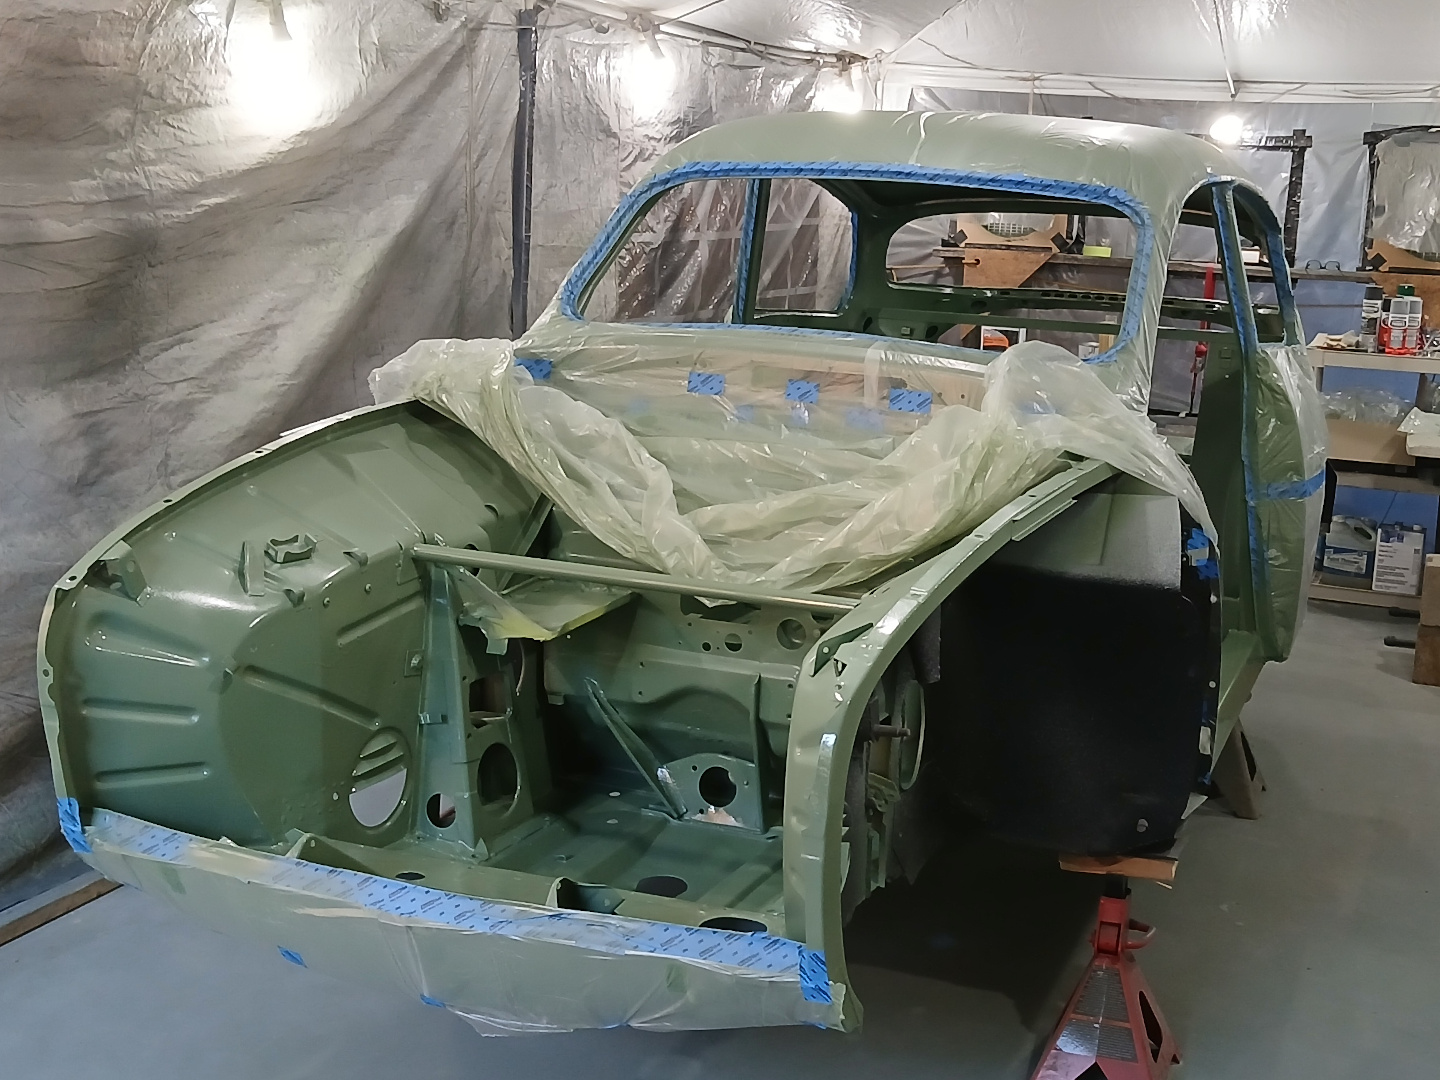
Figures 17-19 show some of the results of interior painting.


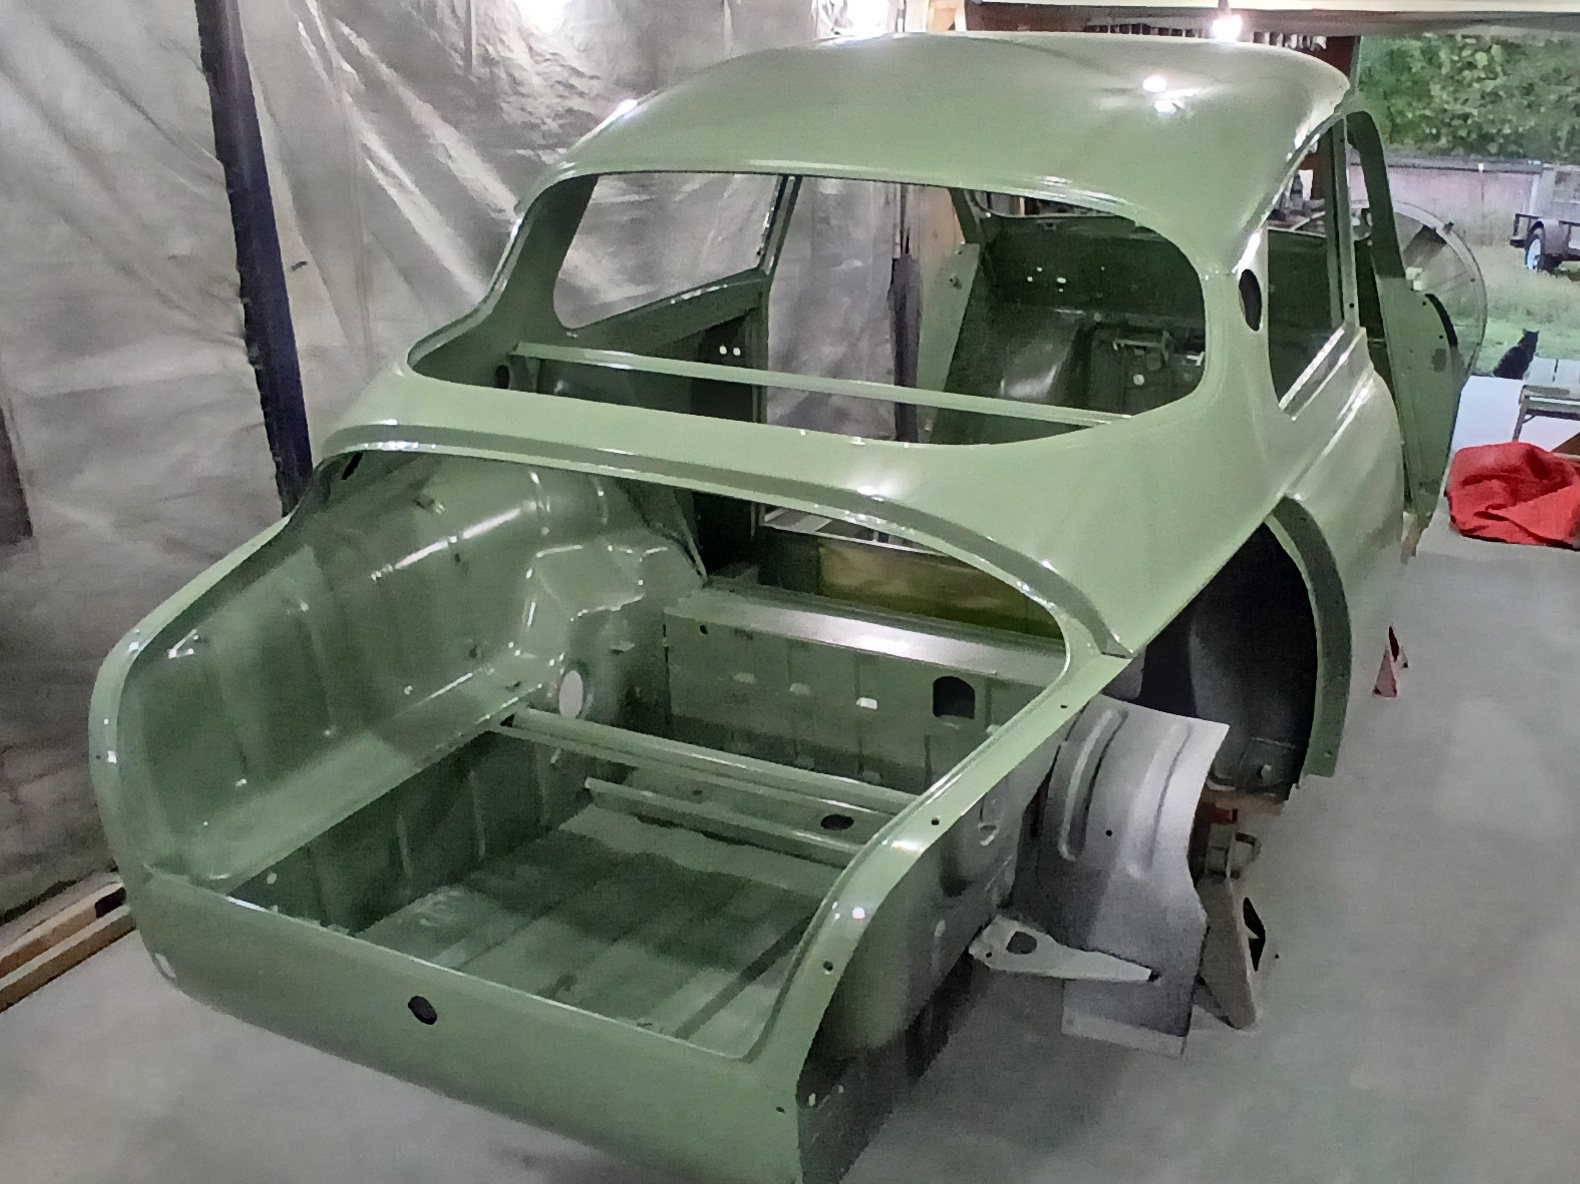
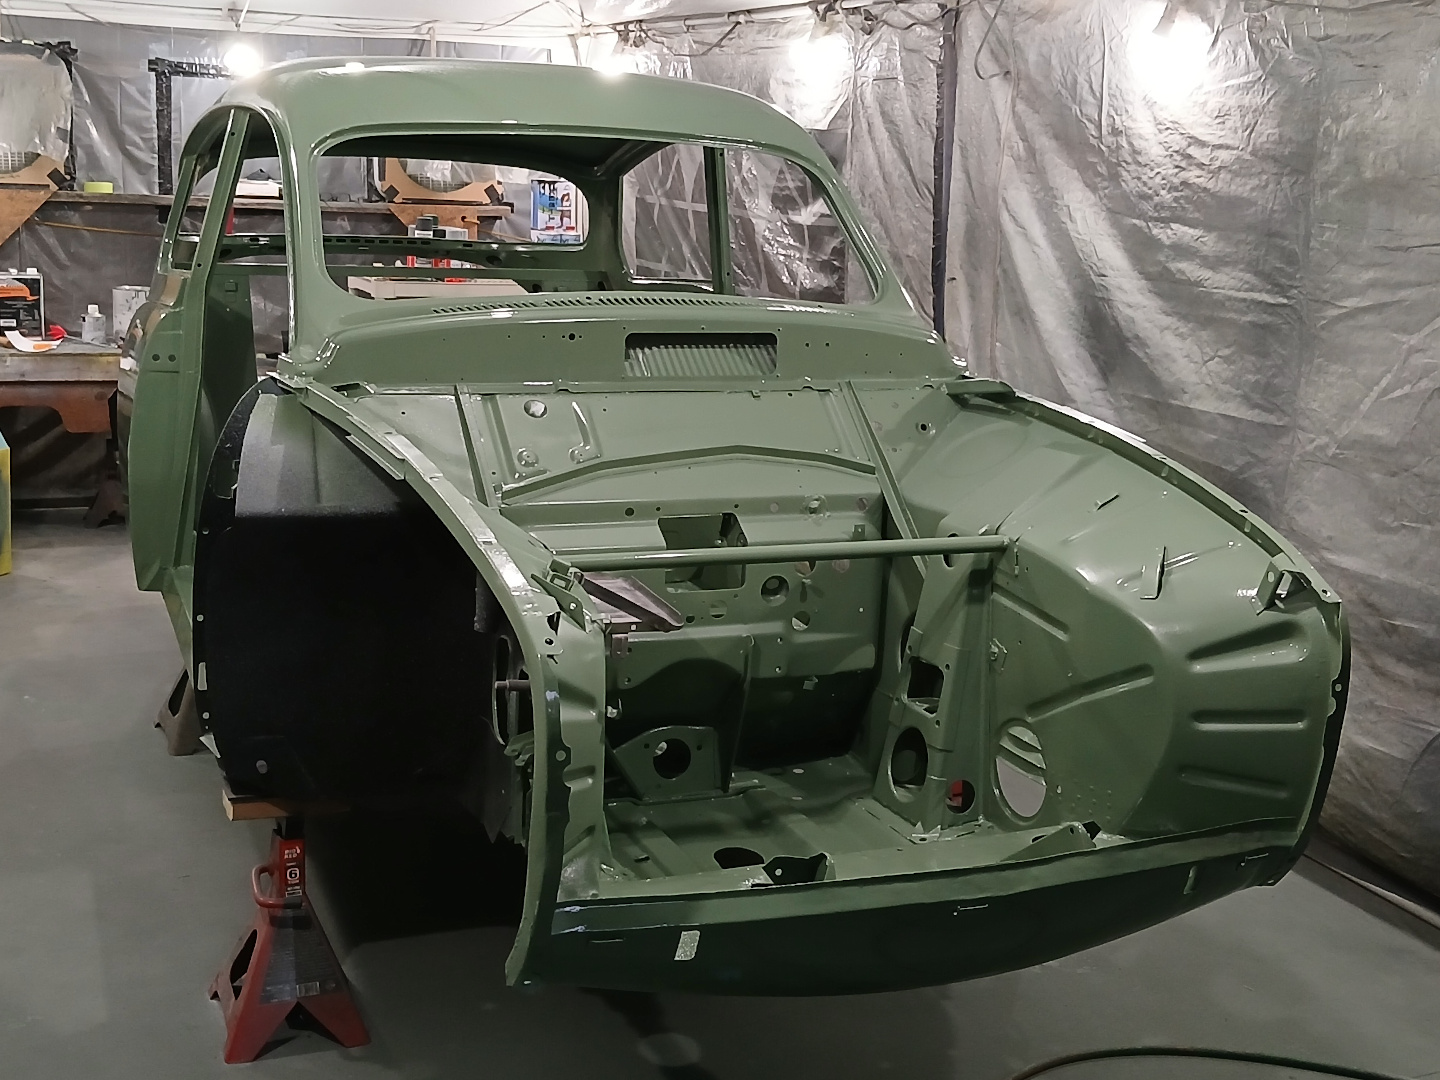
Figures 20-23 show different angles of the final result. I was very happy with the result. The paint is very hard and glossy, was easy to apply, and looks great in the photos. The only downside is that, due to my own lack of skill and patience, minor flaws here and there dictate that I will have to buff and polish. I bought a buffer/polisher, but I will wait until other work is done before doing that. I now want to get suspension components restored so that I can get the car on wheels so it can roll again.


Stunning! The color is just right thanks to you paint company. We did the same thing to get the right shade of W1, Polar White. Be sure to leave a few runs on the firewall if you have any. The factory did!
Cheers!!!
That’s what I say to myself when I leave a run anywhere under the hood or trunk lid, “Looks factory!”
Nice job! Love the green!
It looks AMAZING Ted!