
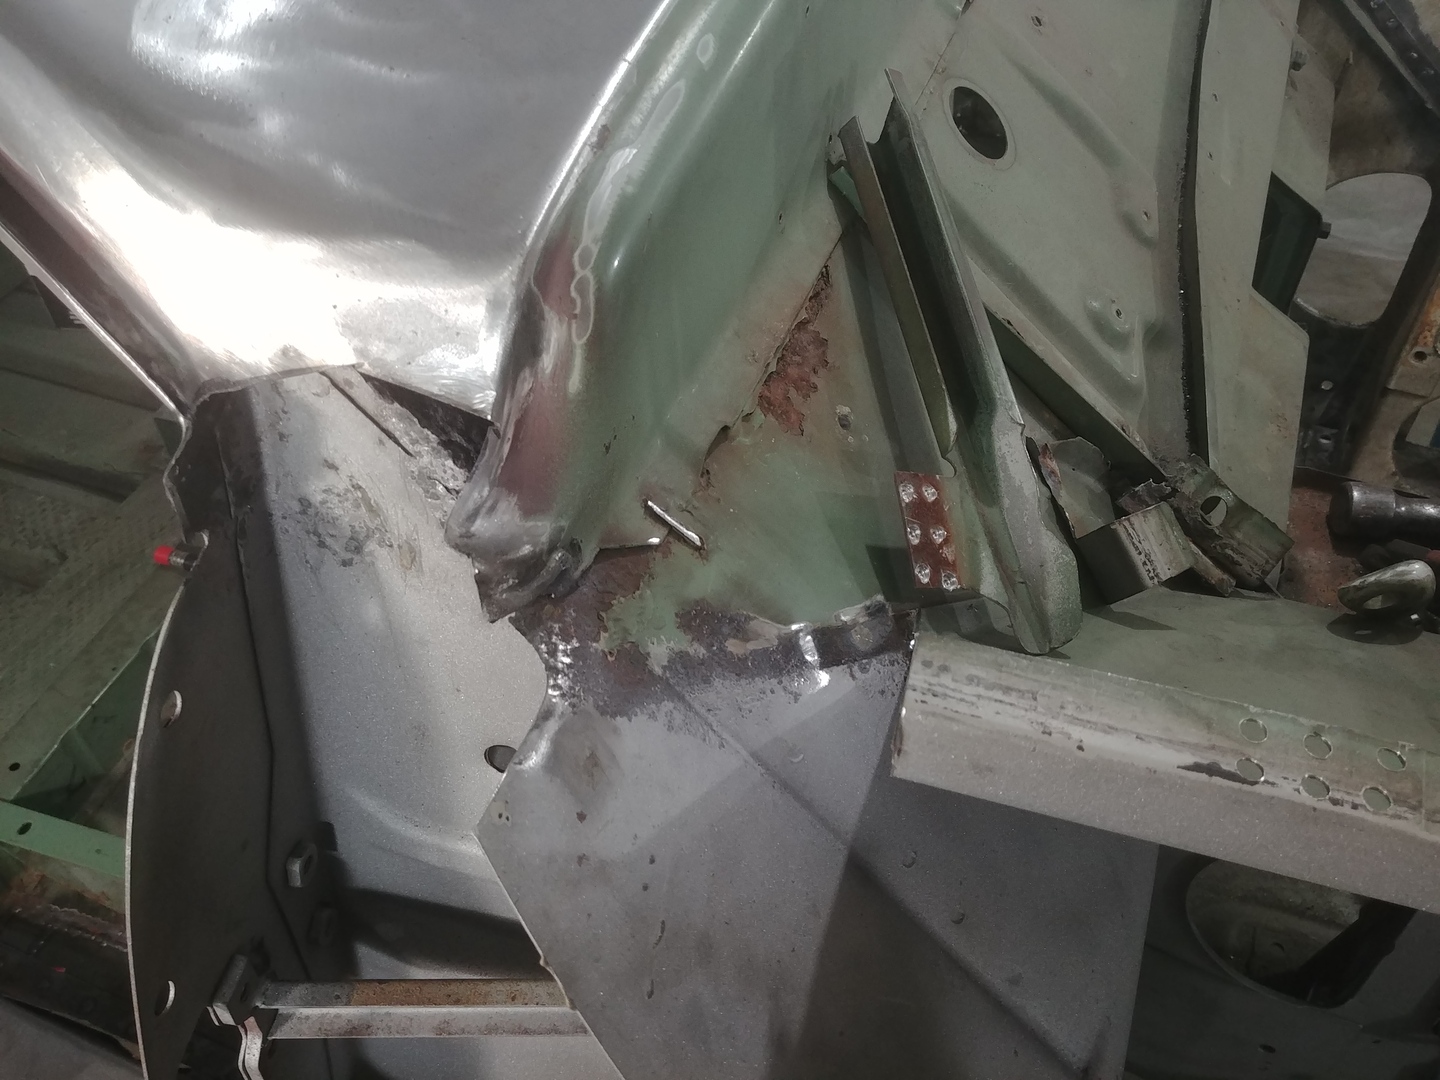
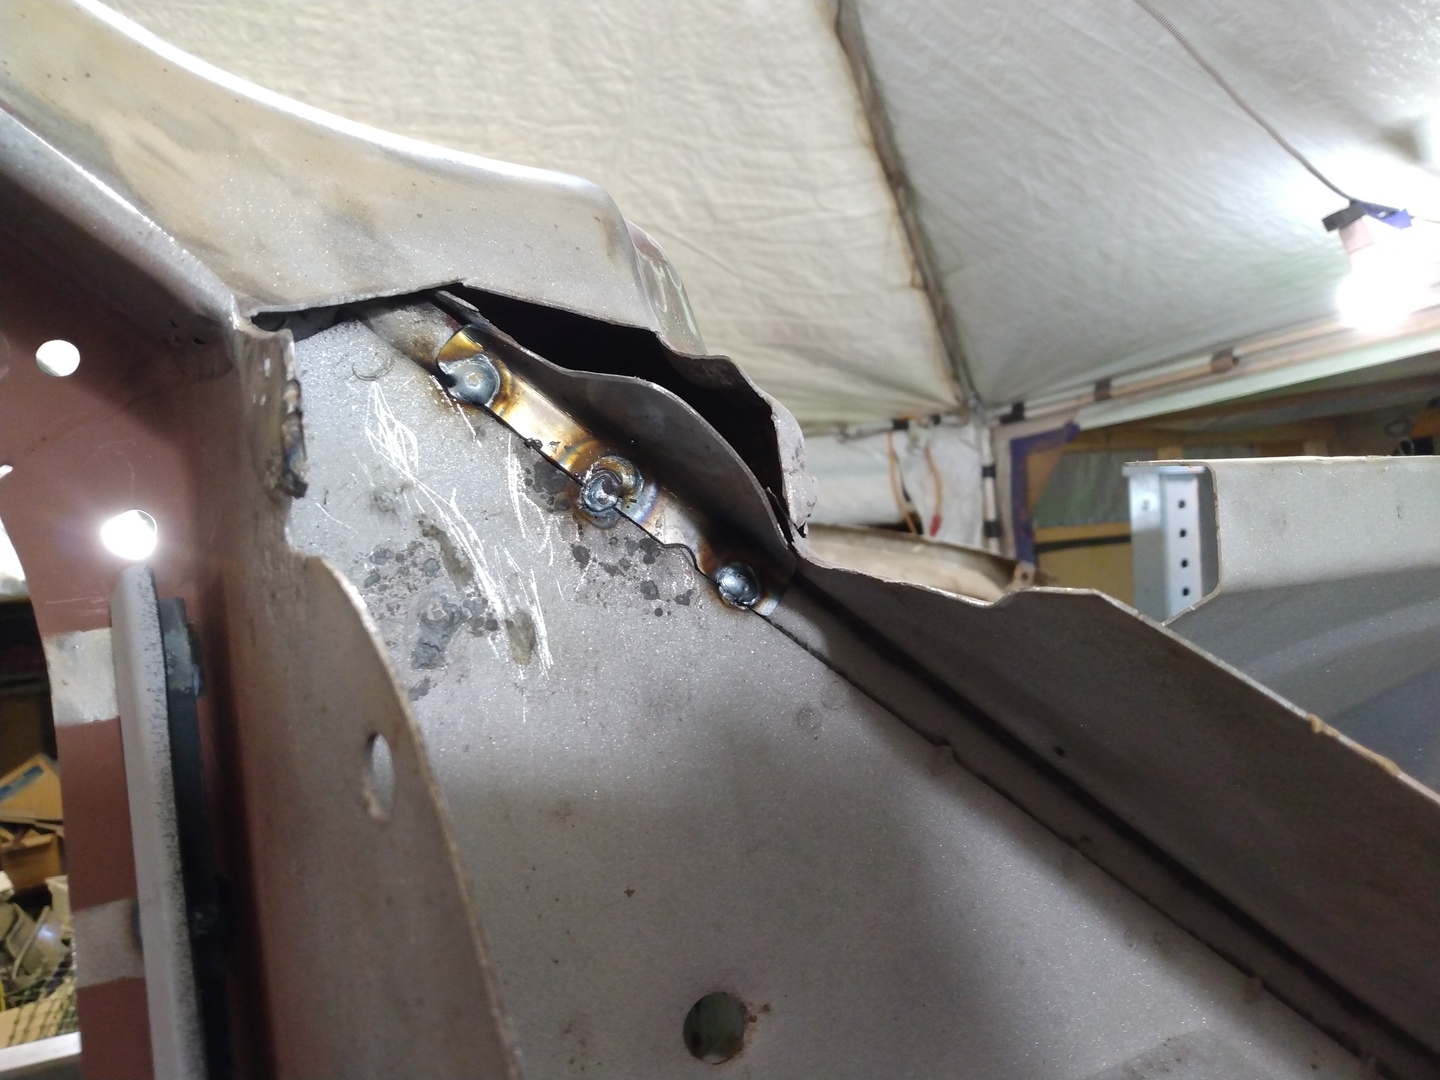
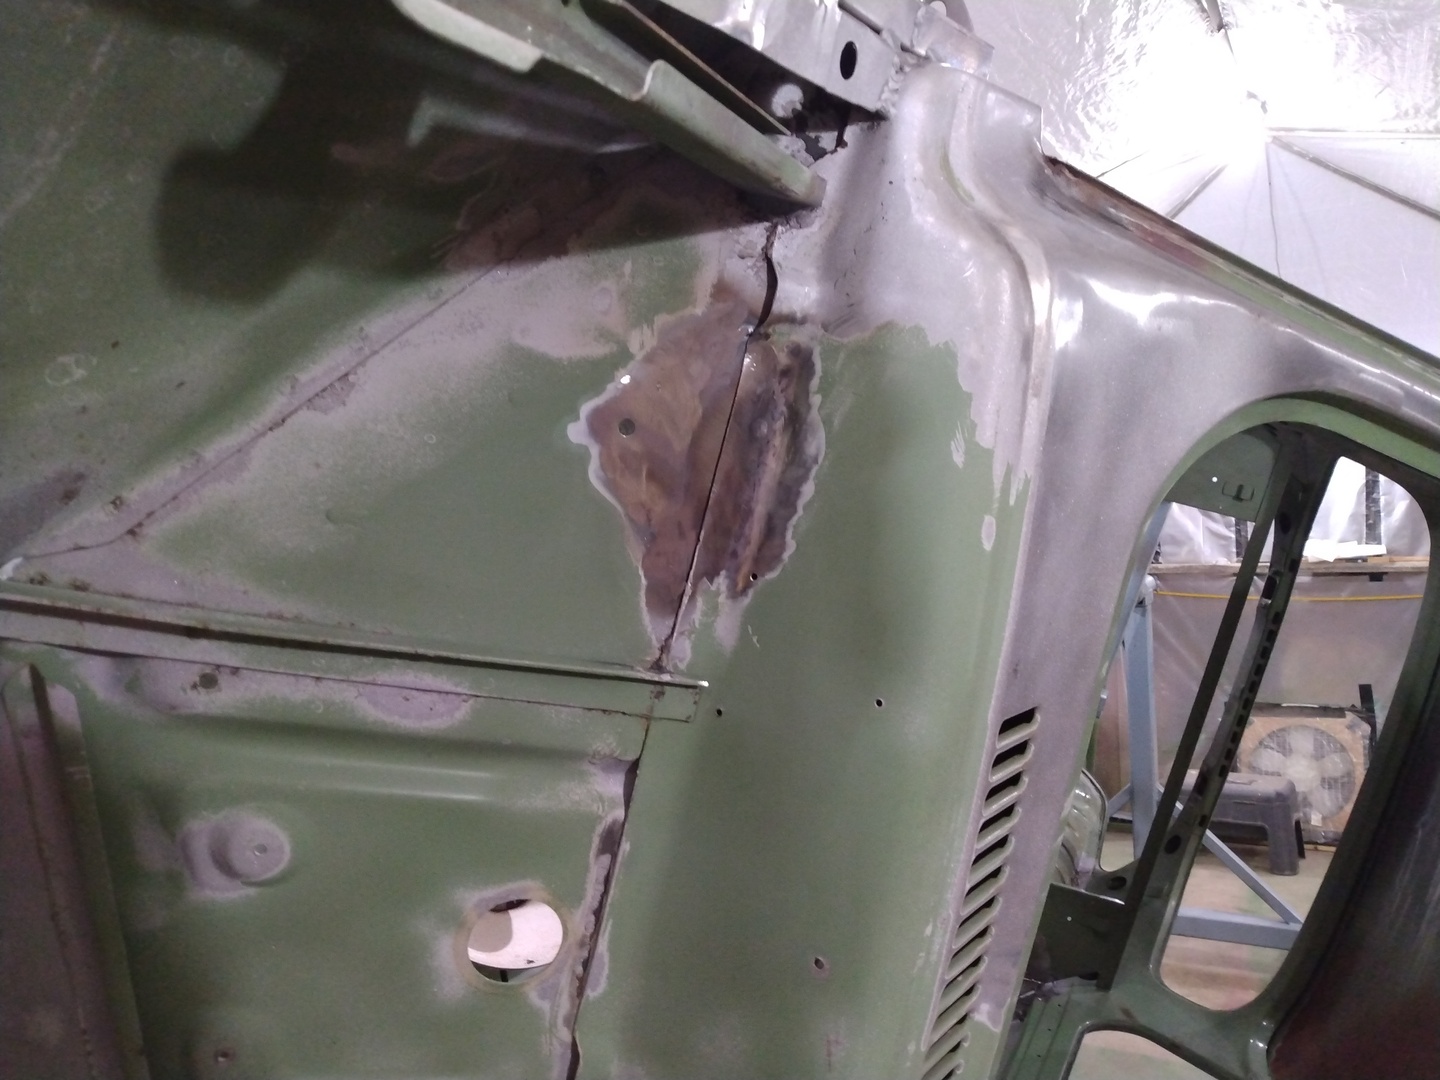
In the portion of the cowl near the bottom corners of the windshield at the A-pillars, it appears that Saab stuffed some open cell foam under the cowl, perhaps as an air stop. It was, however, very effective at holding water and rusting out the cowl from the inside. Figure 1 shows a cheap patch a previous owner tack welded over the area and then covered with a generous quantity of plastic filler. In Figure 2, I’m just figuring how much of the wheel housing I’ll have to remove due to rust there. But Figure 3 shows the ugliness underneath the tacked-on patch. Well, nothing to do but cobble up a replacement section.
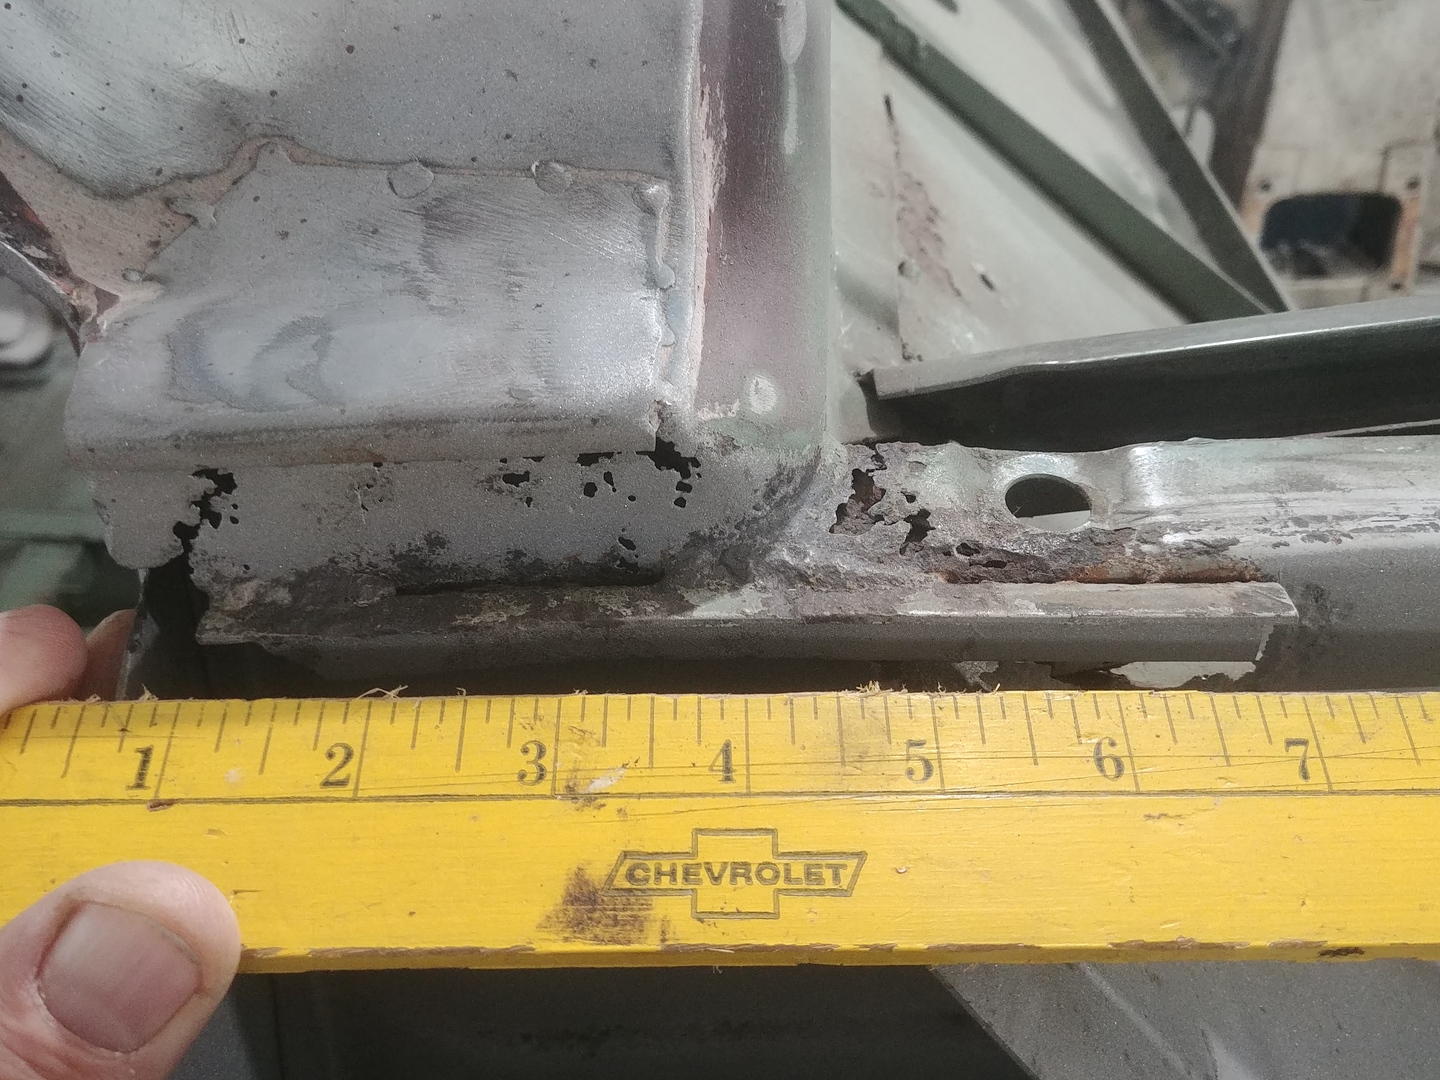
1. Examining Passenger Cowl Rust at A-Pillar
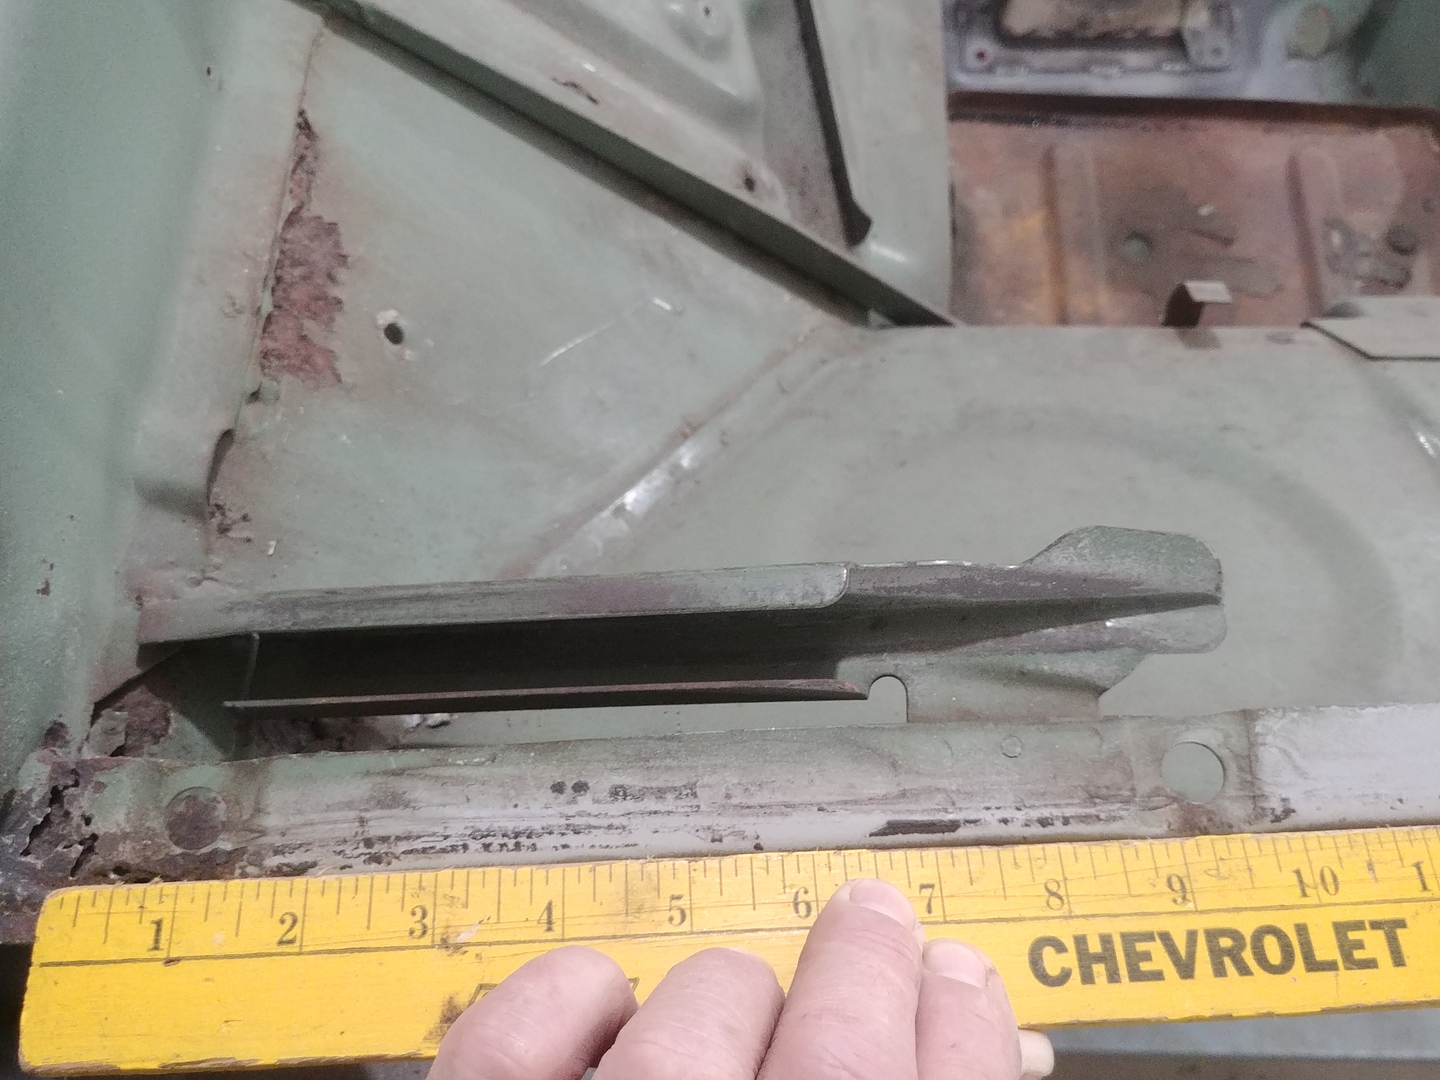
2. Measuring Passenger Wheel Housing Rust at A-Pillar
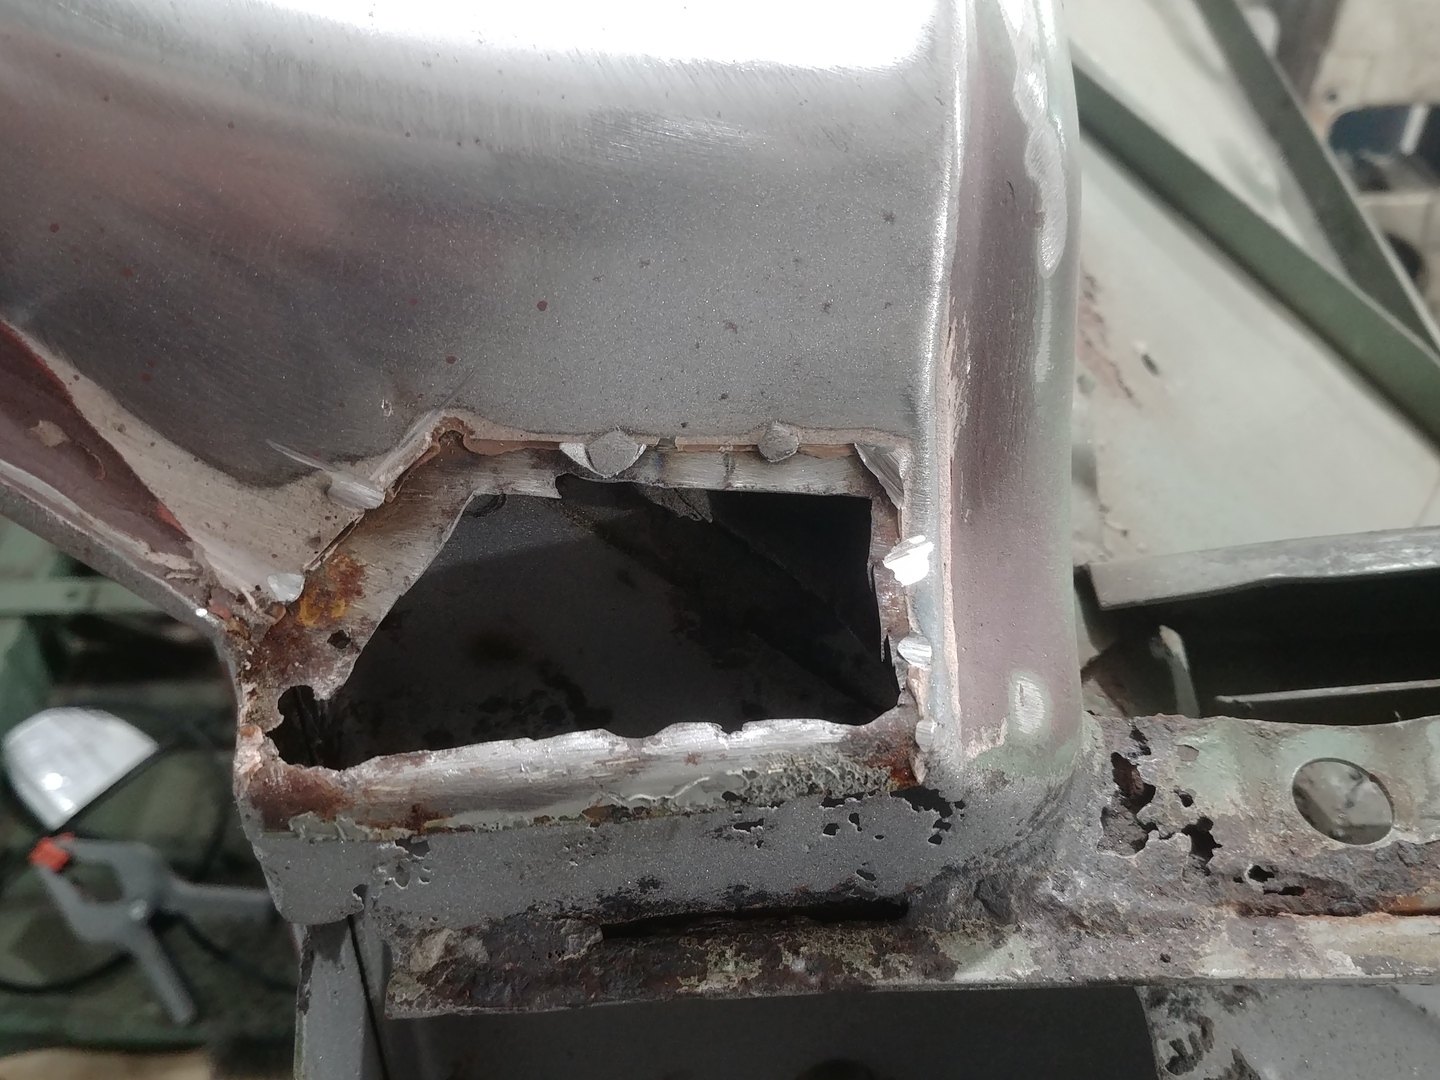
3. Cowl after Cutting Old Patch
Forming Cowl Patches
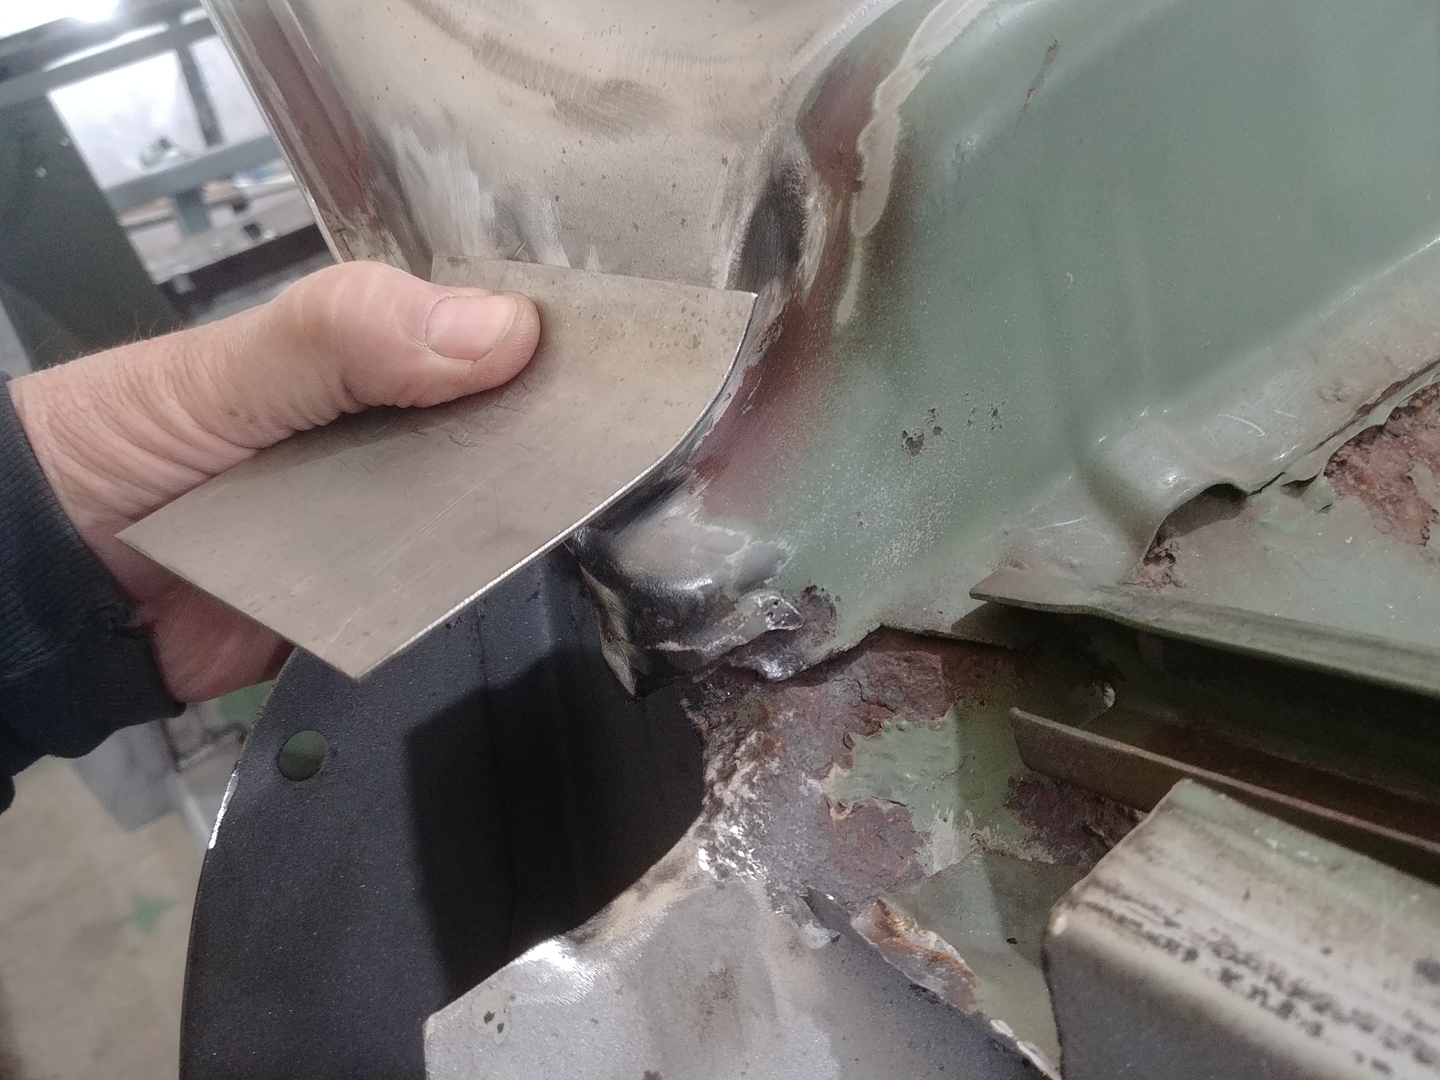
I selected some dies from my Harbor Freight metal bender and shaped some 18 ga metal for the curved section as shown in Figure 4. A little tougher than I thought because it’s a bit of a compound curve (bent in both directions) but I was able to get a pretty close match. See Figure 5. In Figure 6, I’m adding the right-angle bend and checking fit in Figures 7-8. Figure 9 simply shows all of the metal I removed before proceeding. The hood mount was in the way and had to be temporarily removed.

4. Forming Cowl Patch by Hand
5. Checking Cowl Patch Curvature
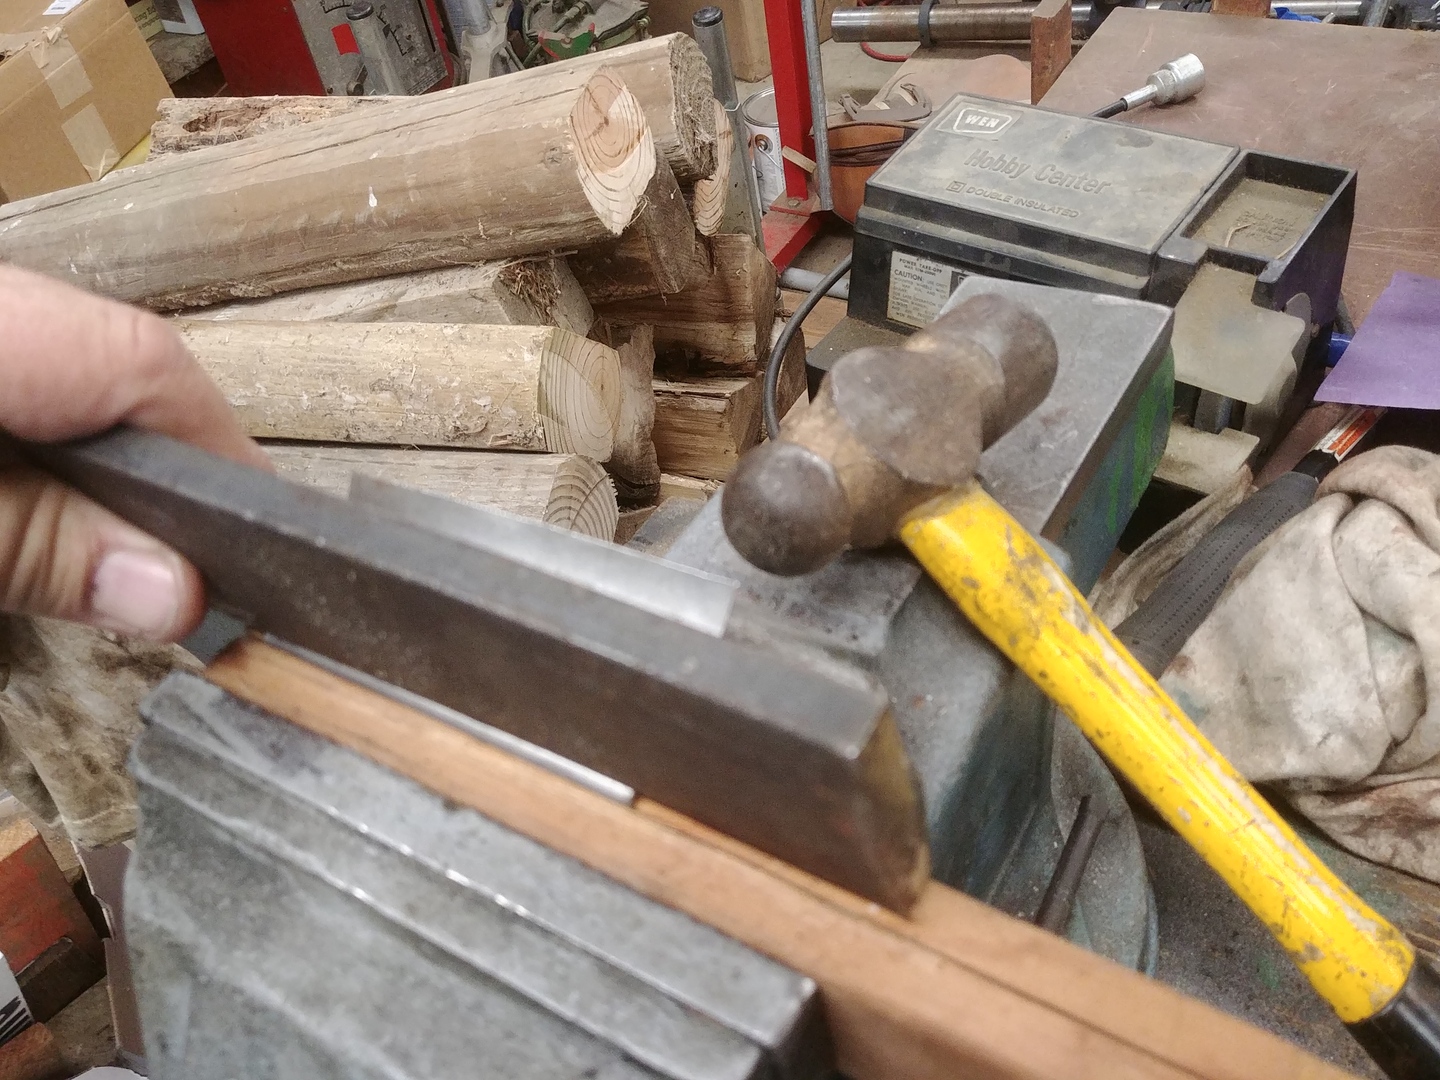
6. Forming Sharp Bend on Cowl Patch
7. Double Checking Cowl Patch Curvature
8. Super Magnets Holding Cowl Patch in Place
9. Passenger Wheel Housing Trimmed and Hood Mount Removed
Fitting the Cowl Patches
Figure 10 shows a small patch welded in to replace a rusted extension of the firewall. Figures 11-12 show how effective small, neodymium super magnets can be for holding a patch in place for tack welding. Just don’t weld too close to them unless you like to see flying molten metal. Figure 13 shows a similar patch being readied for the driver’s side.
10. Replacing Rusted-Off Section of Firewall

11. Passenger Cowl Patch Ready to Weld
12. Passenger Side Cowl Patch Tack Welds
13. Driver Side Cowl Patch Fitment Check
Welding and Finishing the Cowl Patches
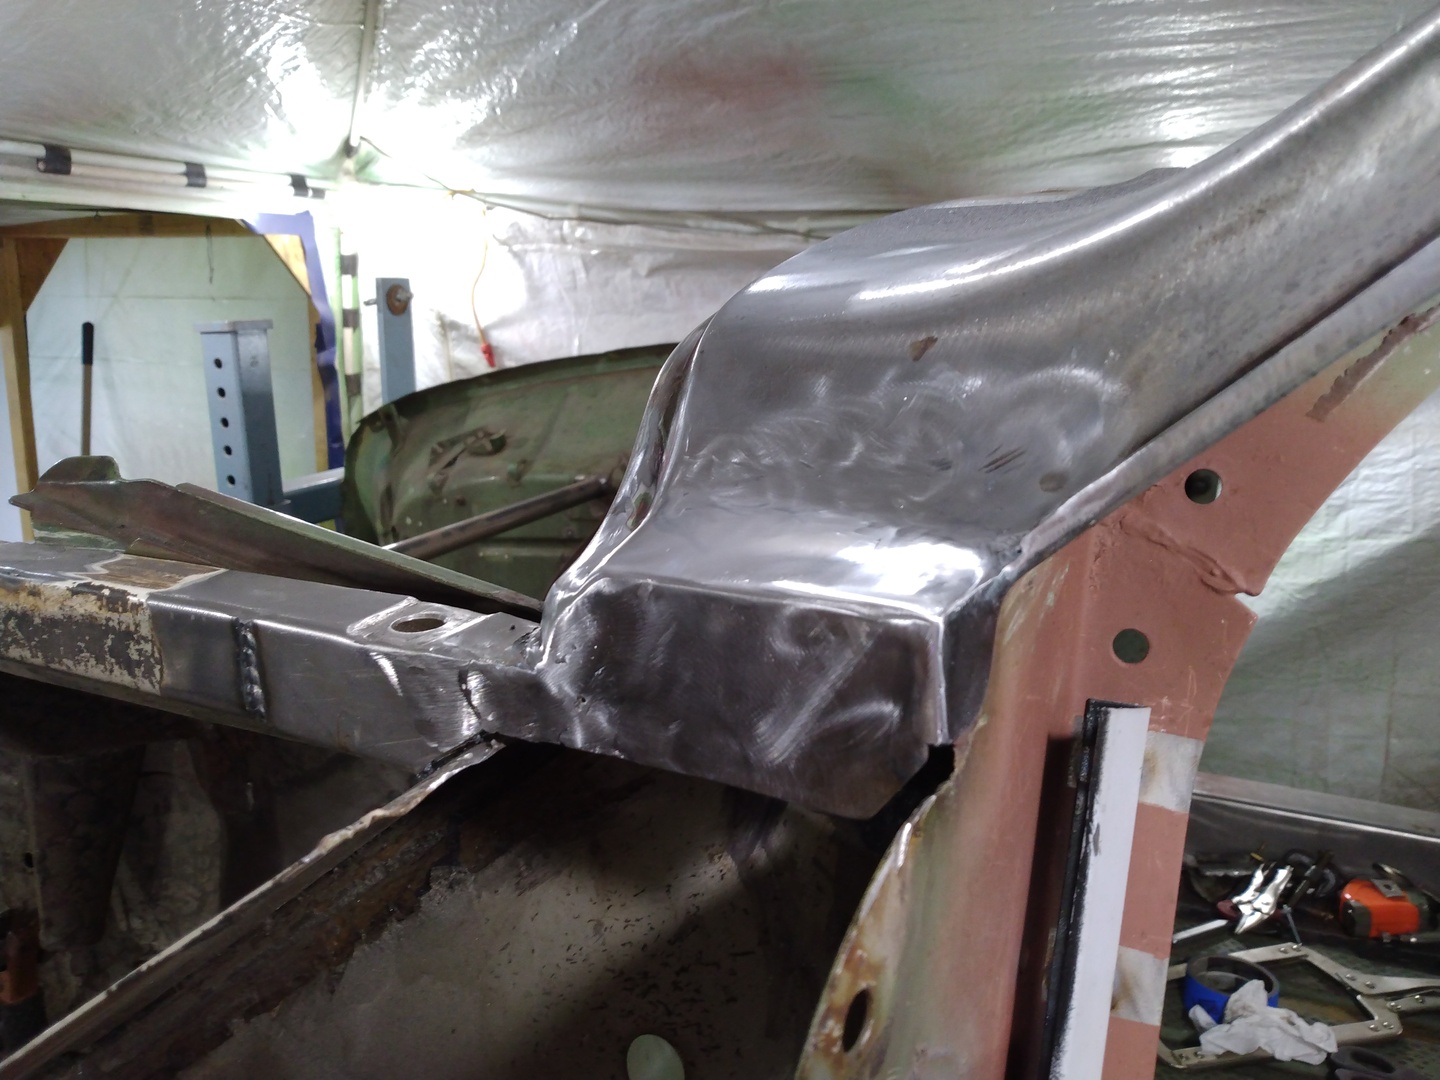
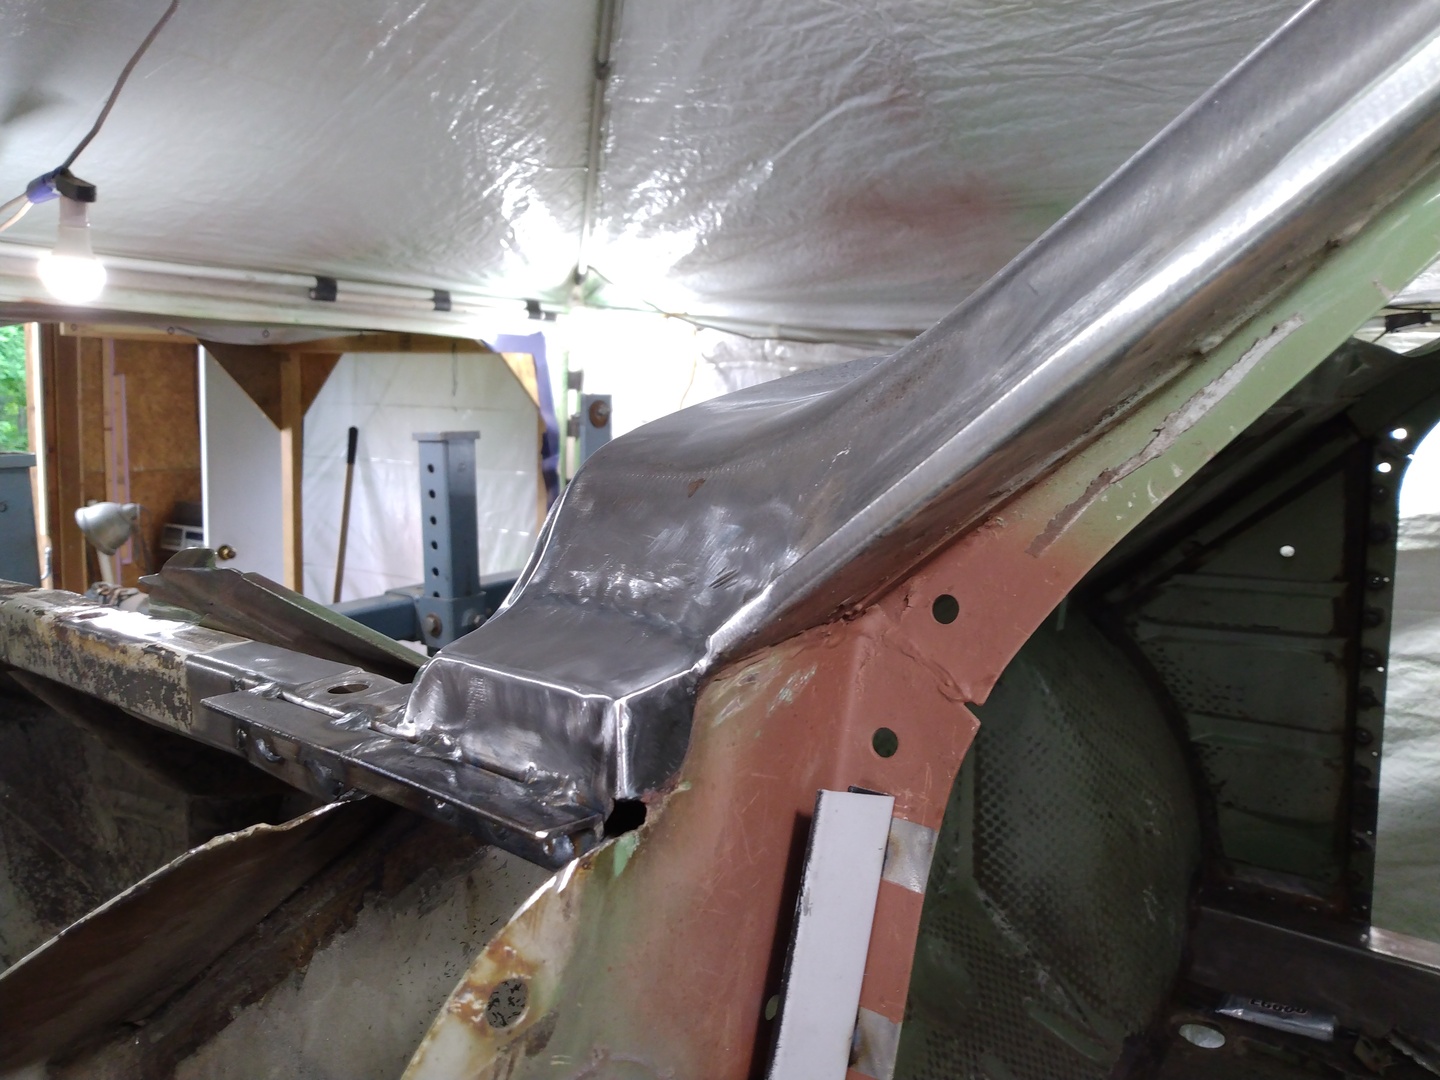
Figures 14-15 show the passenger side cowl patch after welding and finishing.
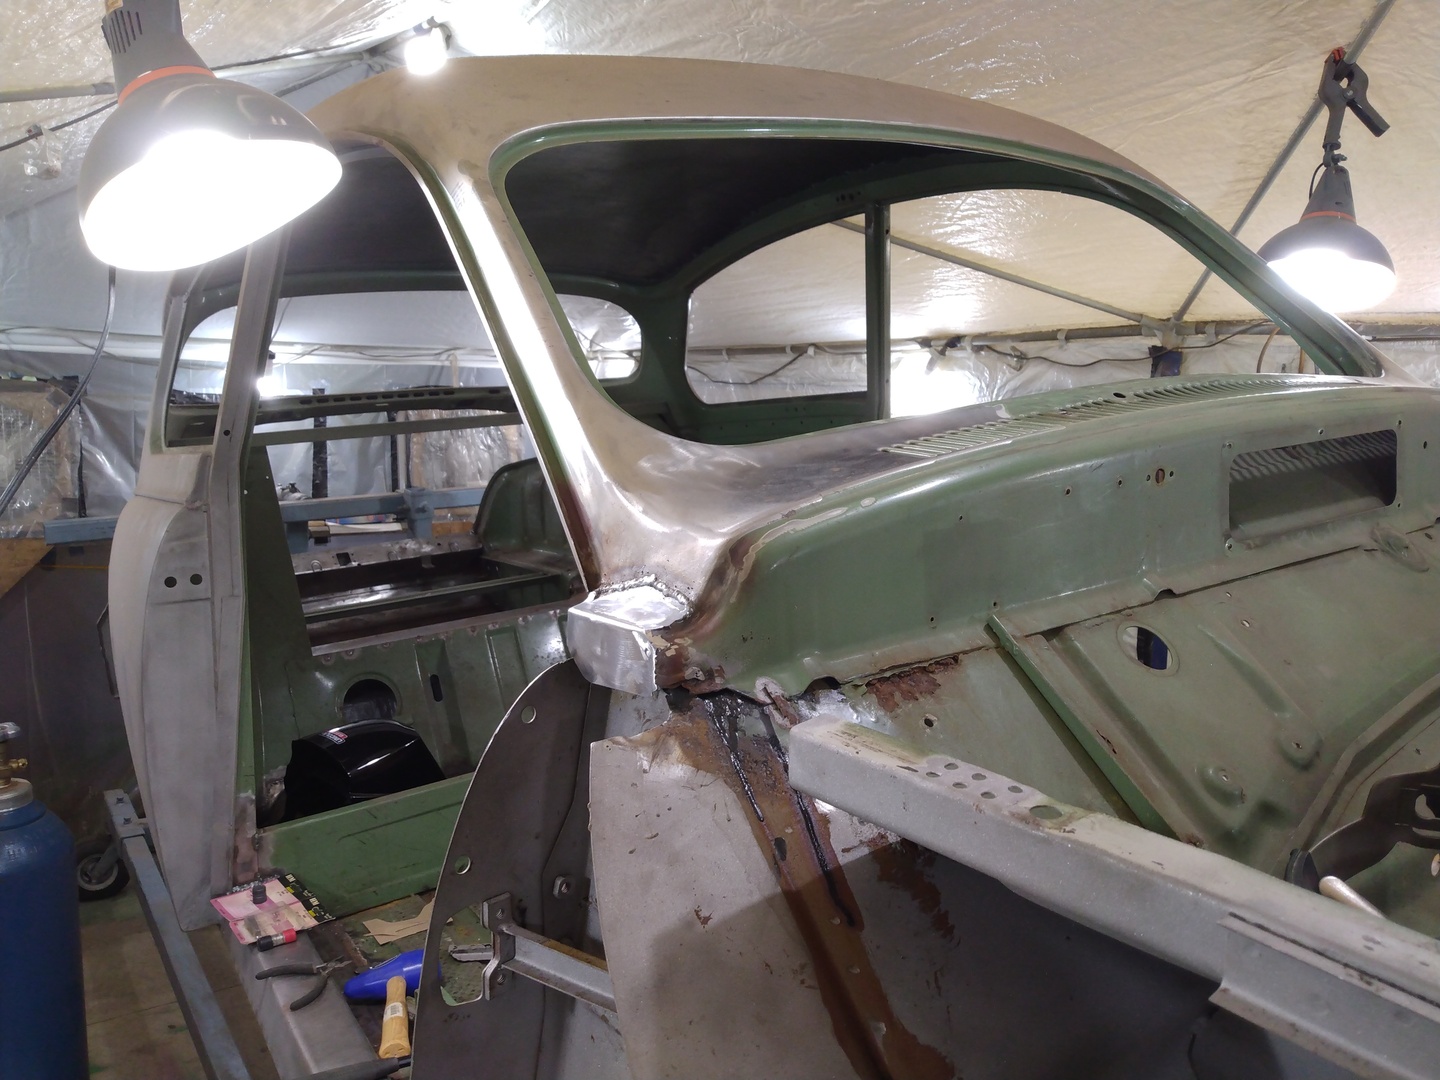
14. Passenger Side Cowl Patch Welded
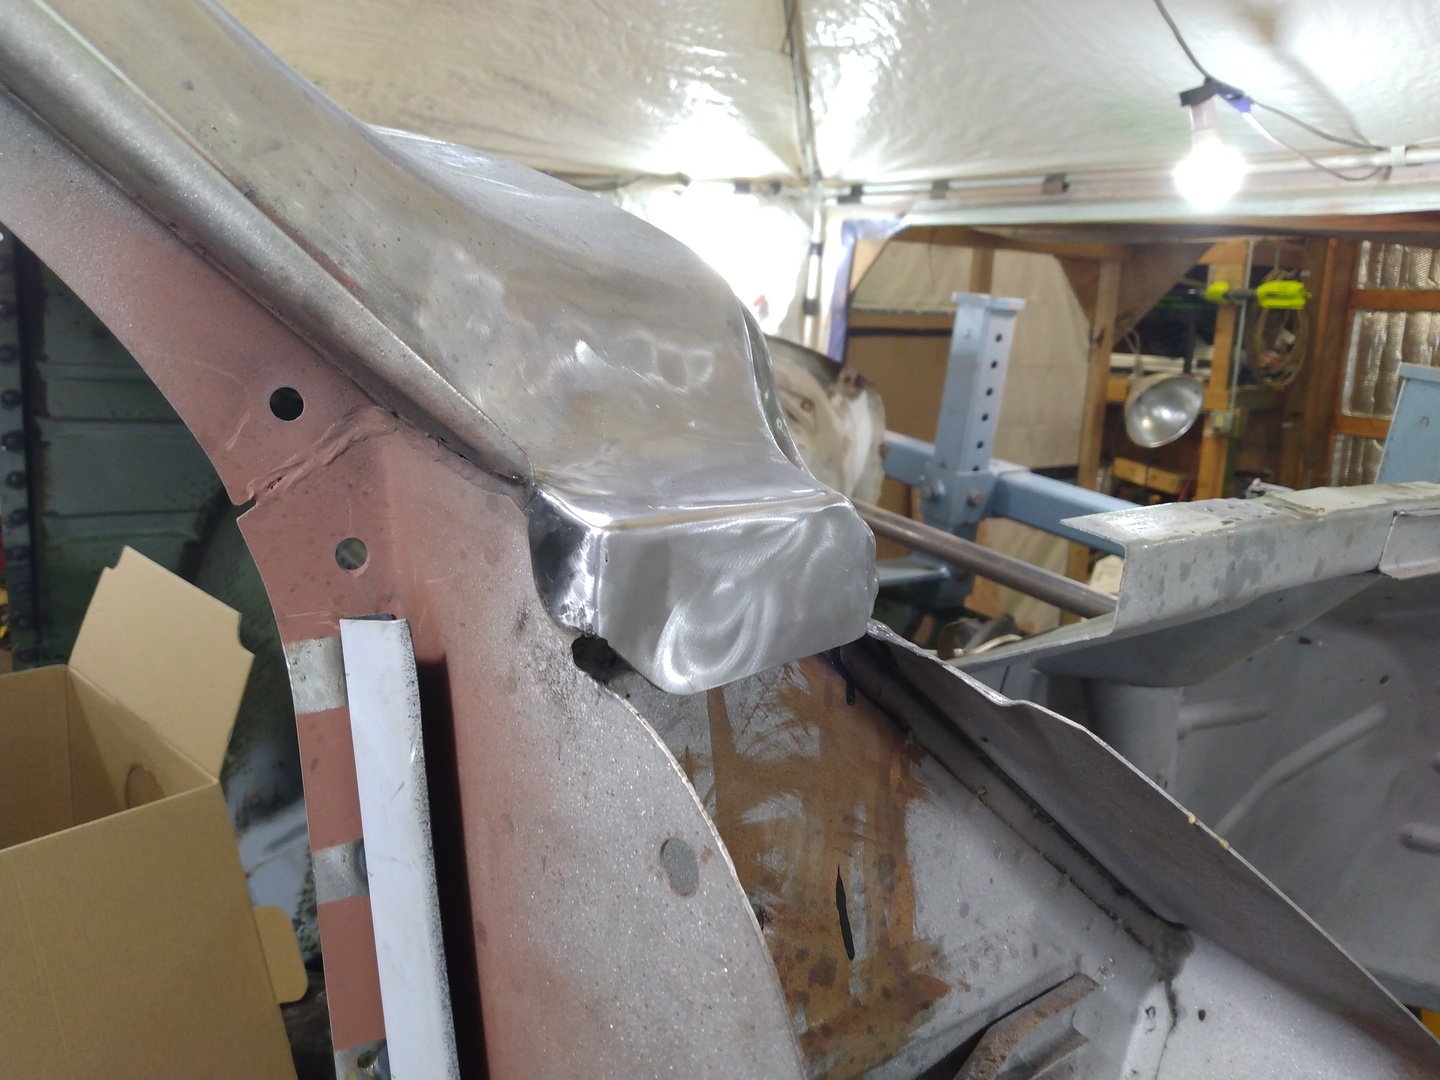
15. Passenger Side Cowl Patch Finished
Passenger Side Wheel Housing
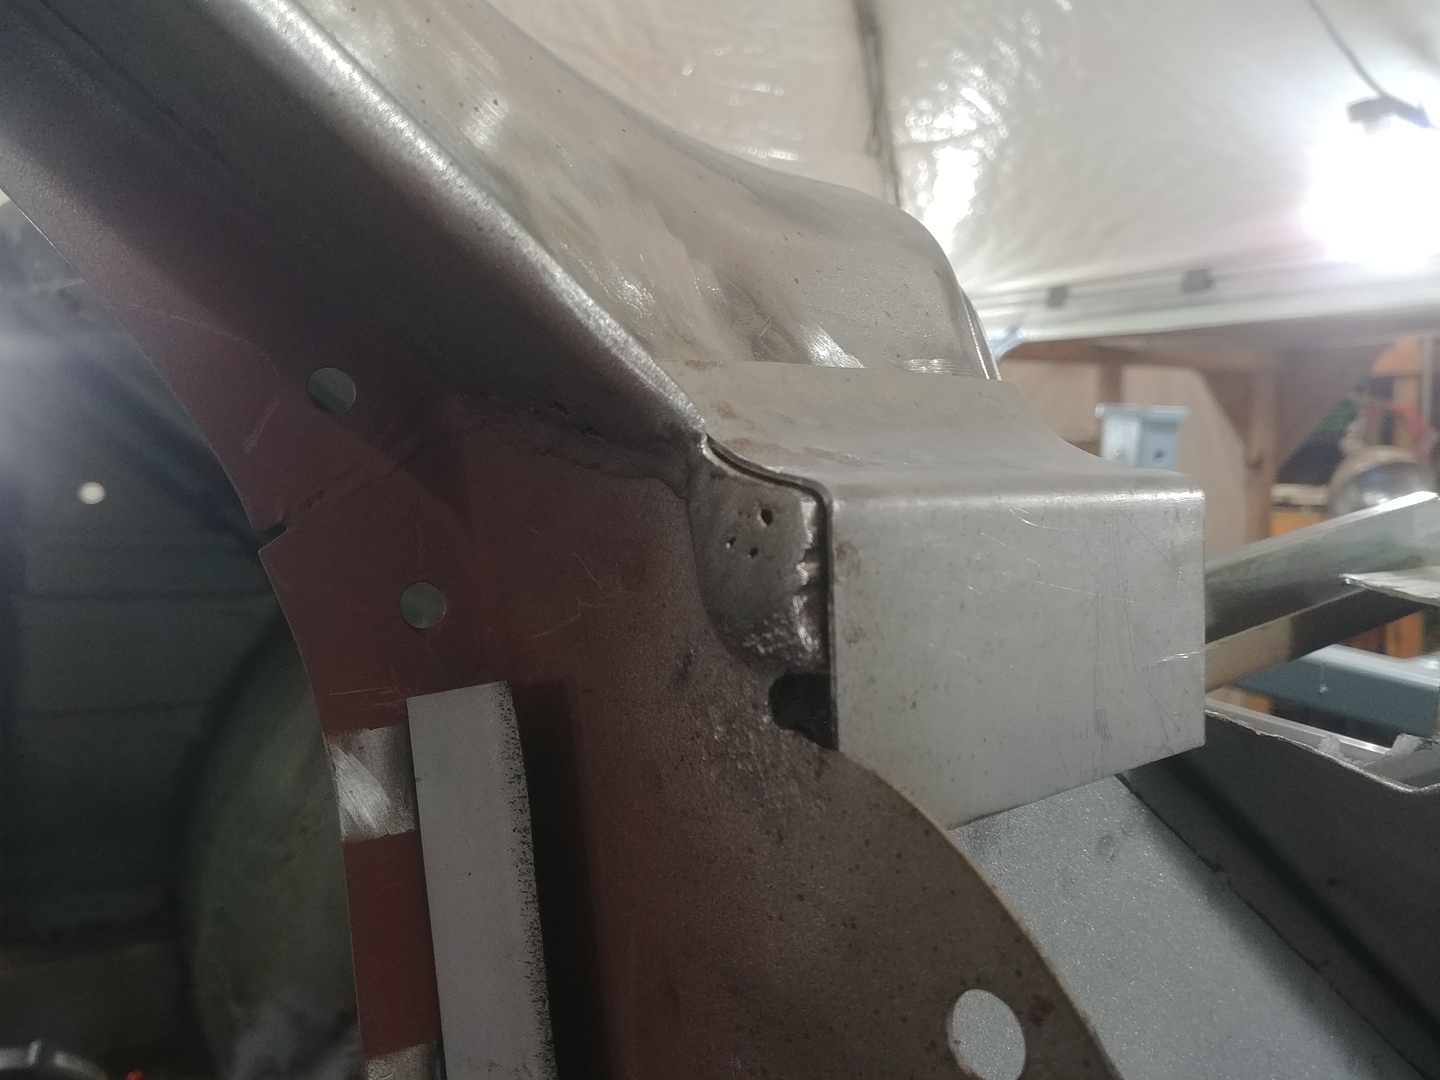
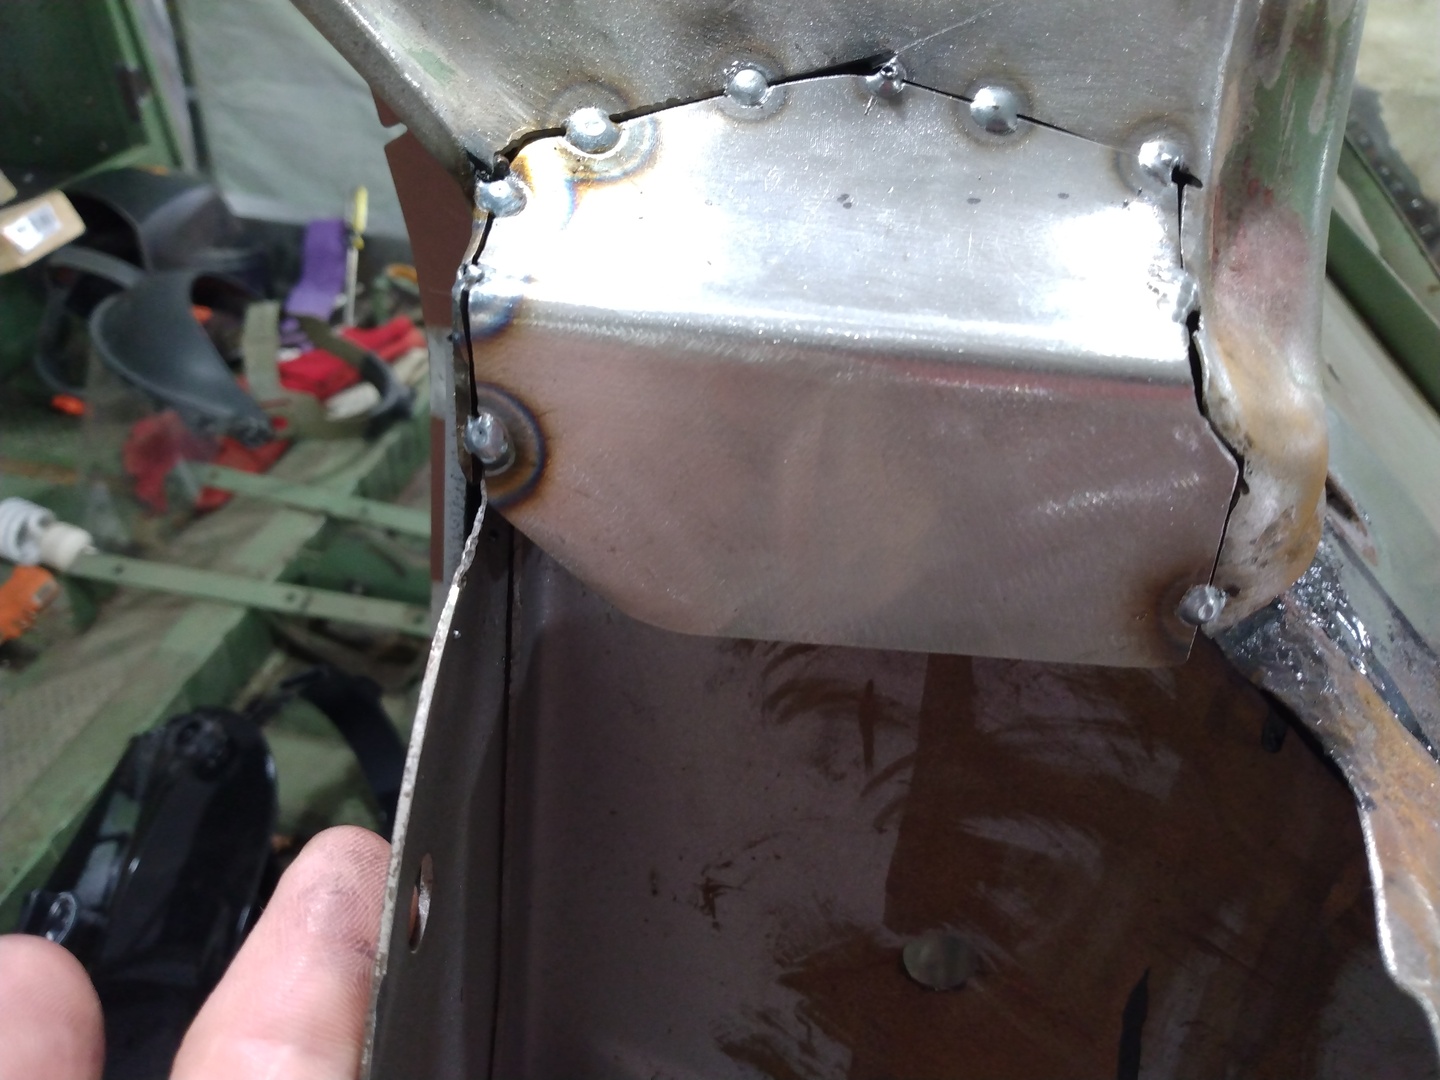
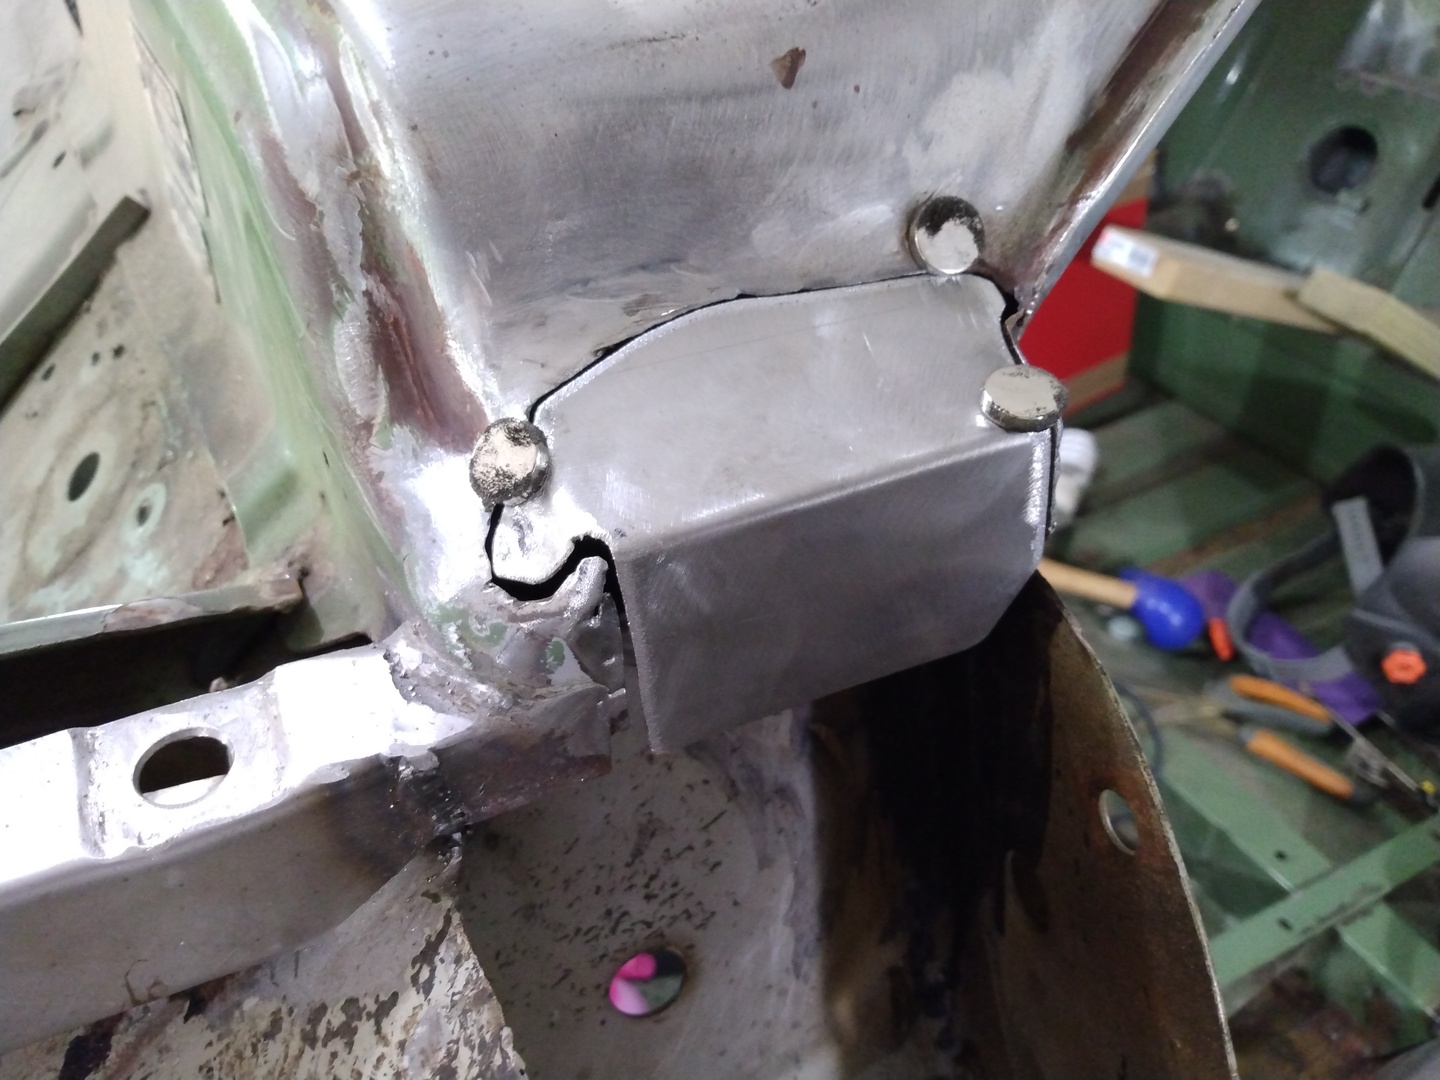
Figures 16 and 17 show the wheel housing patch after being tack welded into place. The circled section in Figure 17 shows a spot where the cowl and firewall rusted clear through the firewall. This section is discussed again below. Figure 18 shows the completed passenger side work.
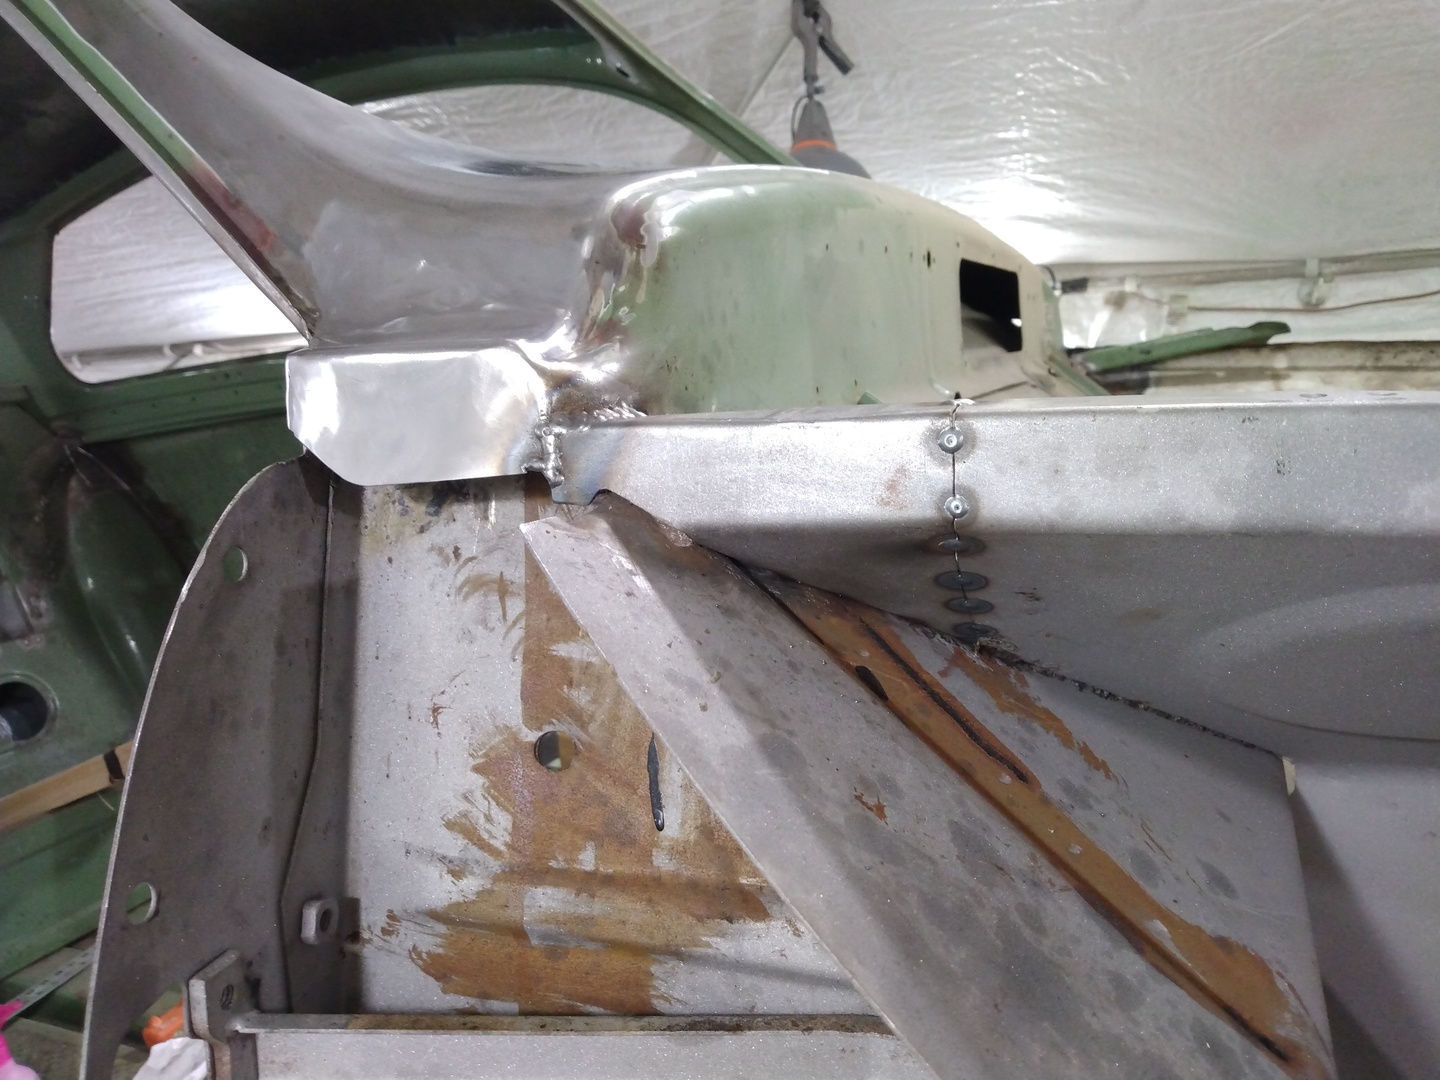
16. Passenger Side Wheel Housing Patch Tack Welds
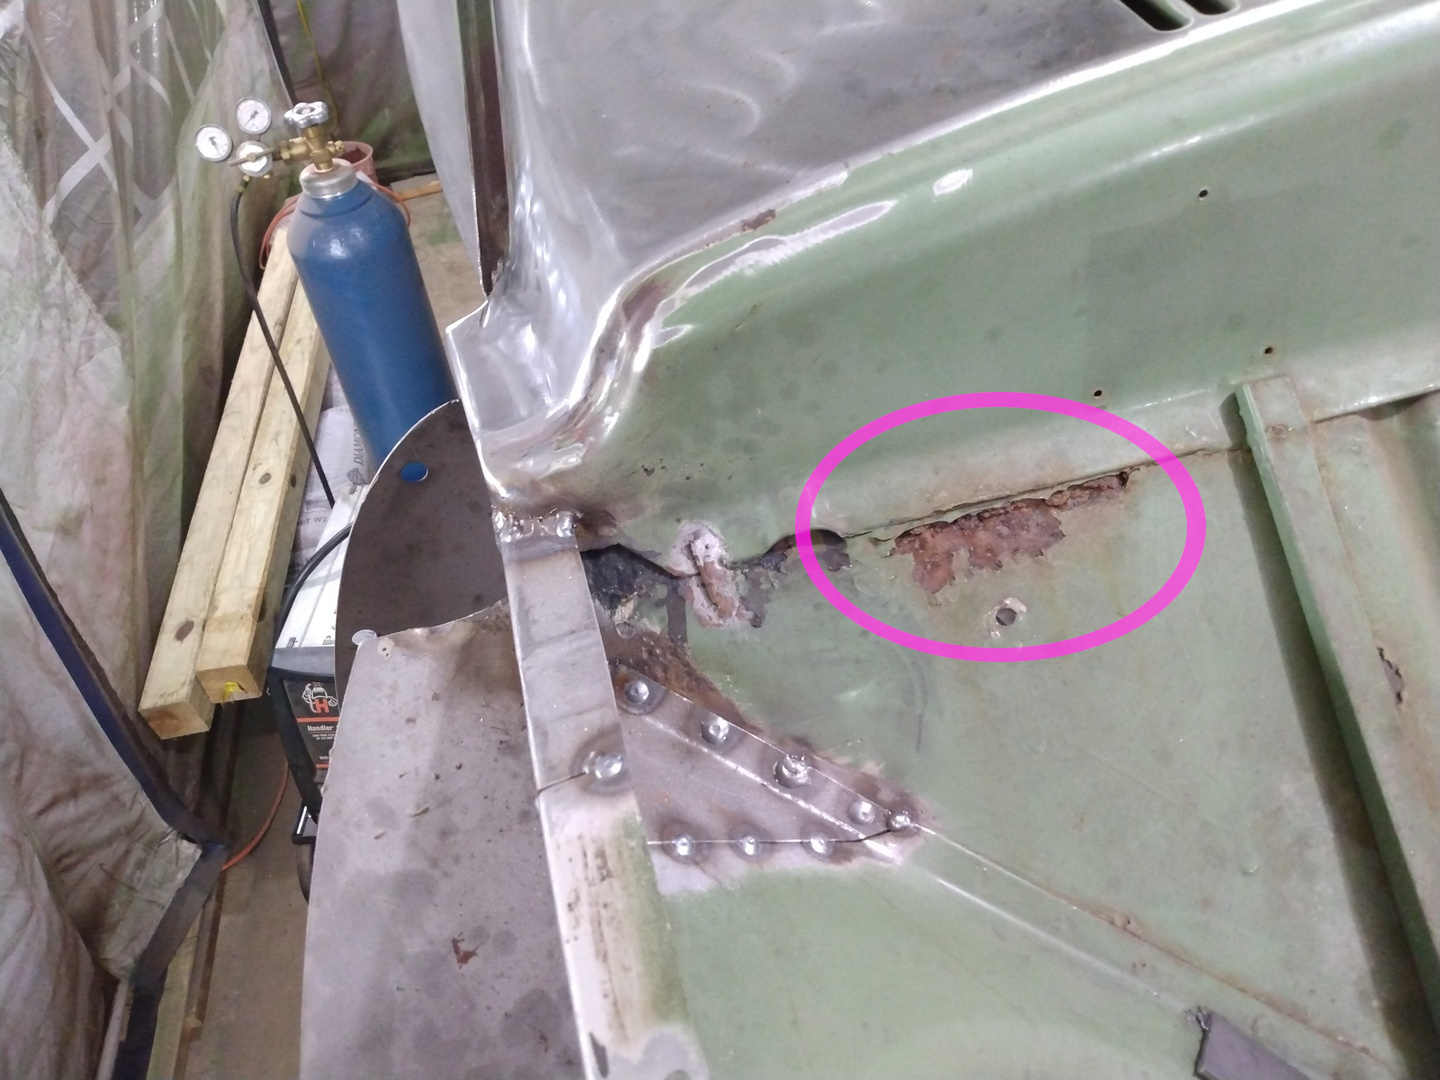
17. Rusted Section of Cowl and Firewall
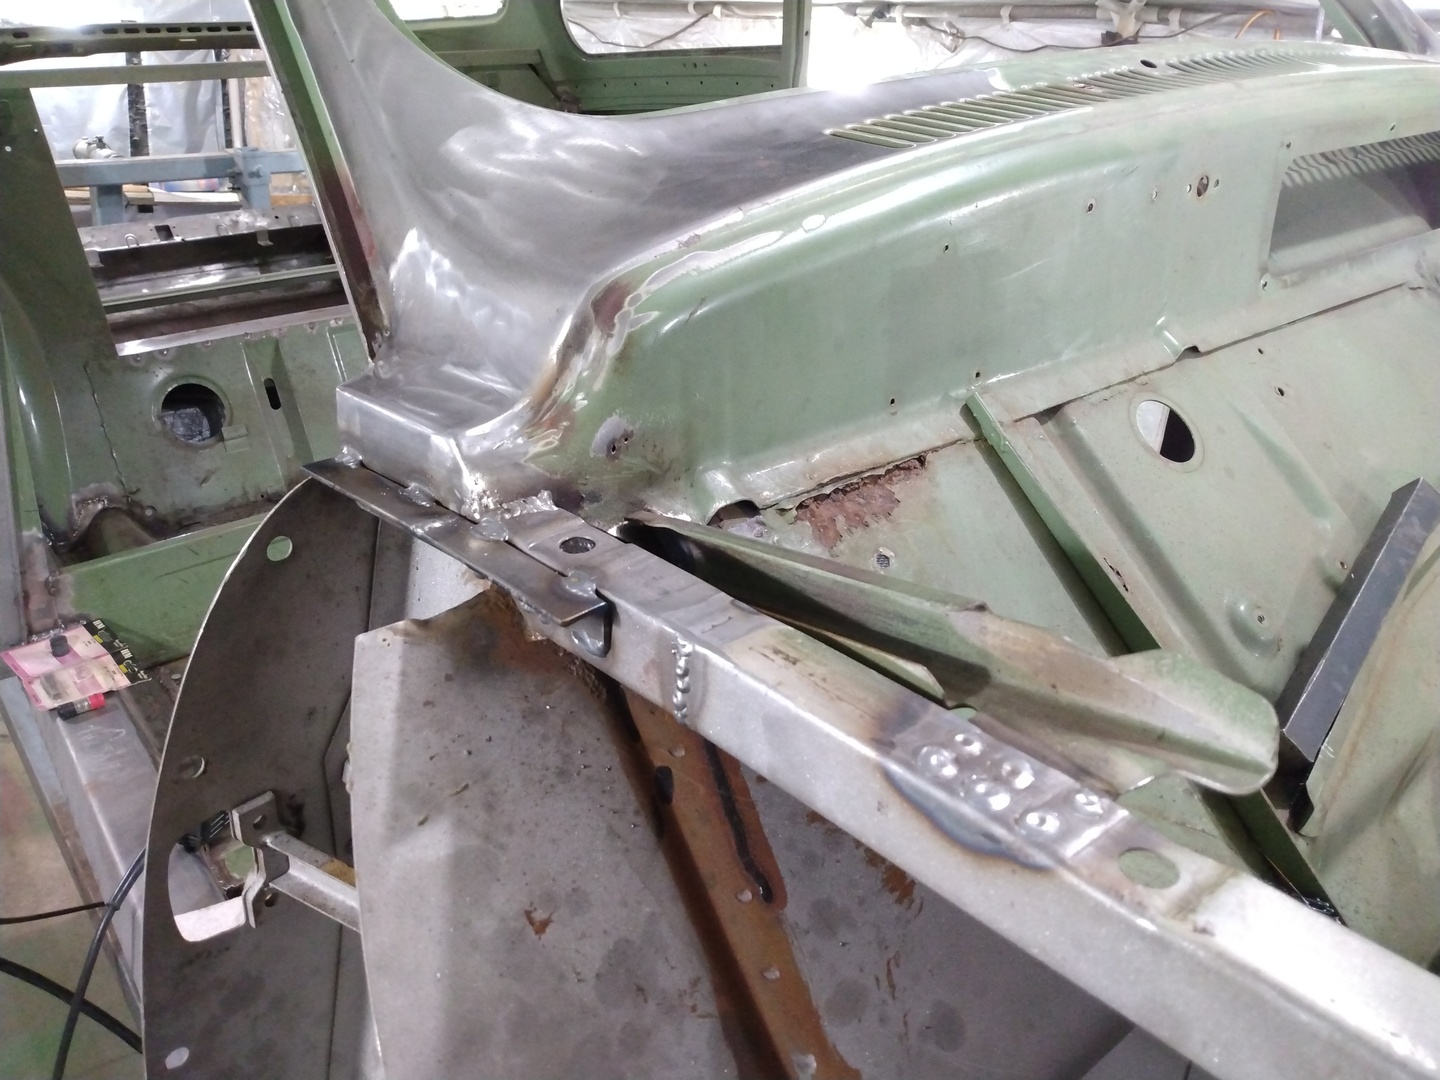
18. Passenger Side Cowl and Wheel Housing Finished
Driver’s Side
Figures 19-21 show similar cowl work performed on the driver’s side.
19. Driver Side Cowl Patch Ready to Weld
20. Driver Side Cowl Patch Almost Finished
21. Driver Side Cowl Patch Finished
Fixing Rusted Cowl/Firewall Section
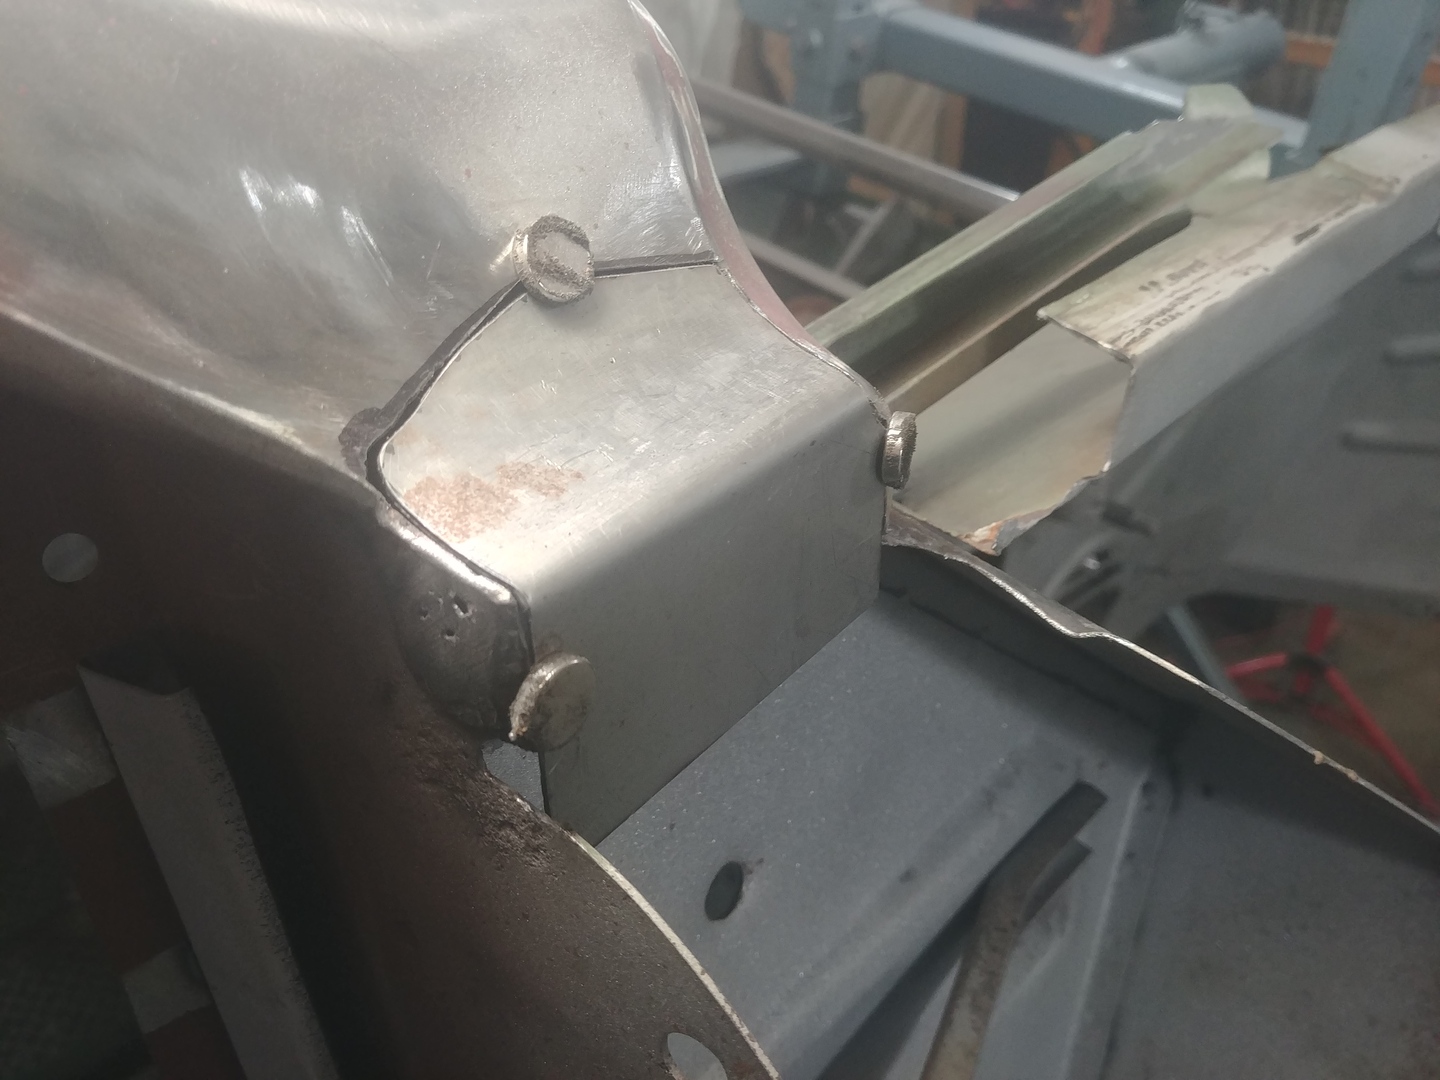
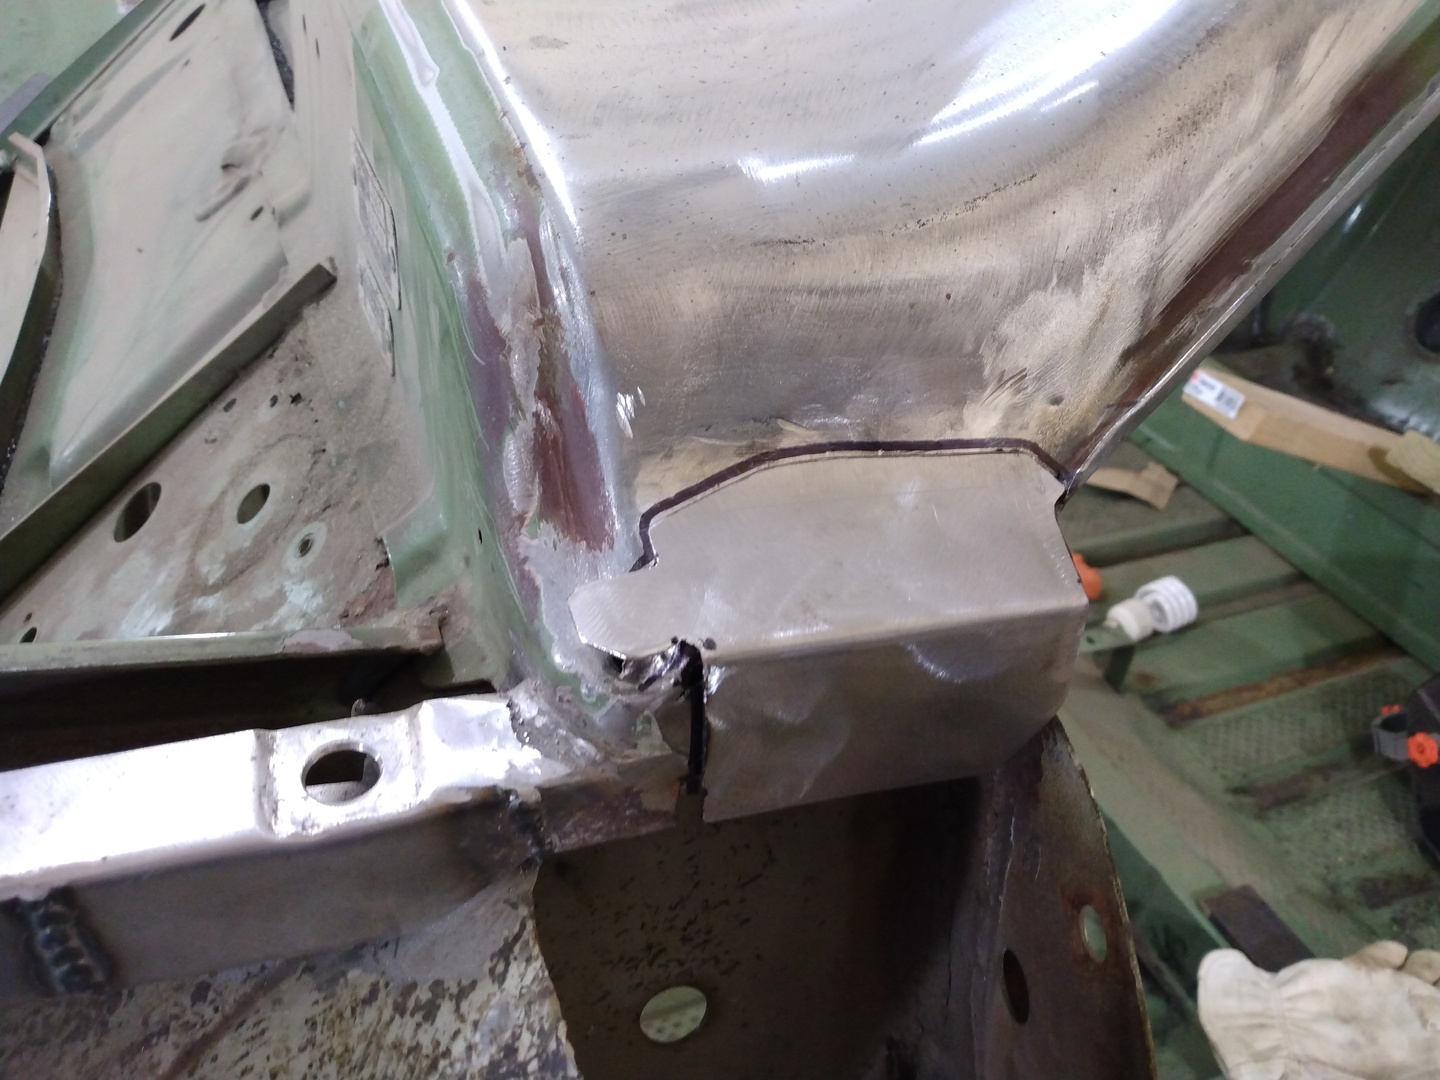
Returning to the circled section in Figure 17, I carefully cut a large section of the firewall which gave me an opening big enough to replace a small section of the lip of the cowl. After repairing the cowl lip, I welded a patch into the firewall as shown in Figure 22. I love those super magnets. And finally, in Figure 23, you can hardly tell the cowl and firewall had been repaired.
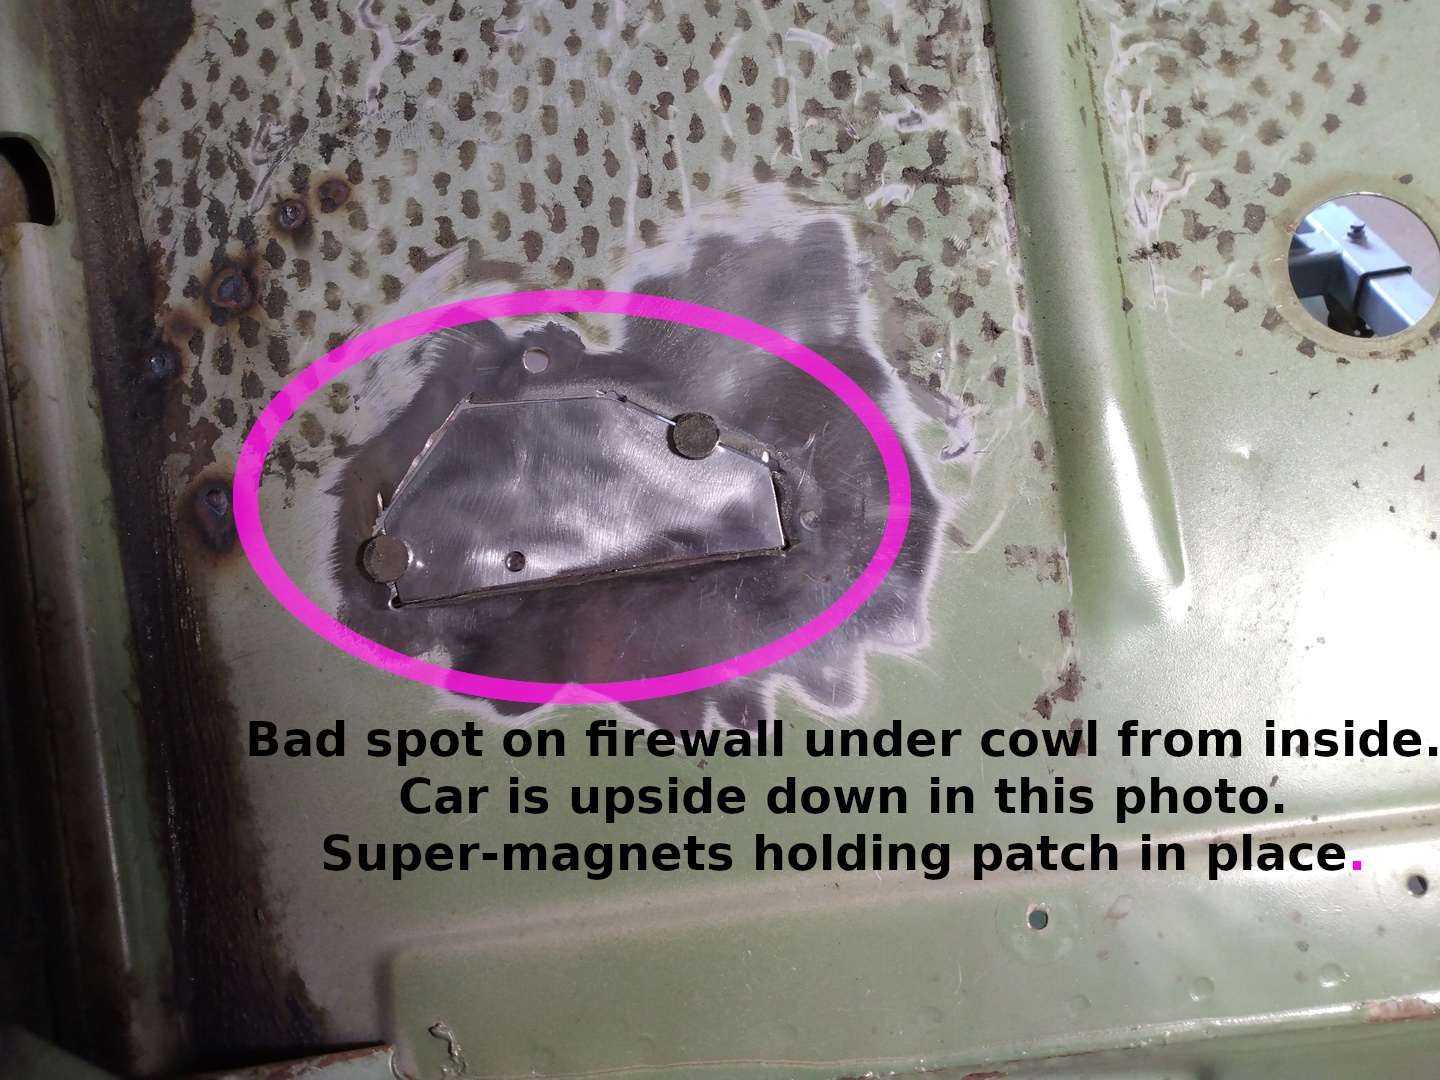
22. Firewall/Cowl Rust Repair
23. Firewall/Cowl Rust Repair Finished
I am converting a ’66 96 into a ’67 V-4. The ’67 had rust issues similar to your ’66, but worse. The ’66 donor body also had rust but much less. I studied your work and you have given me the confidence to continue with my project. Thank you!!
I hope my posts are of benefit to you. Bear in mind though that I am a rank amateur. But of course that means if I can do it, so can anyone else.