
Driver’s Side Reinforcement Plate
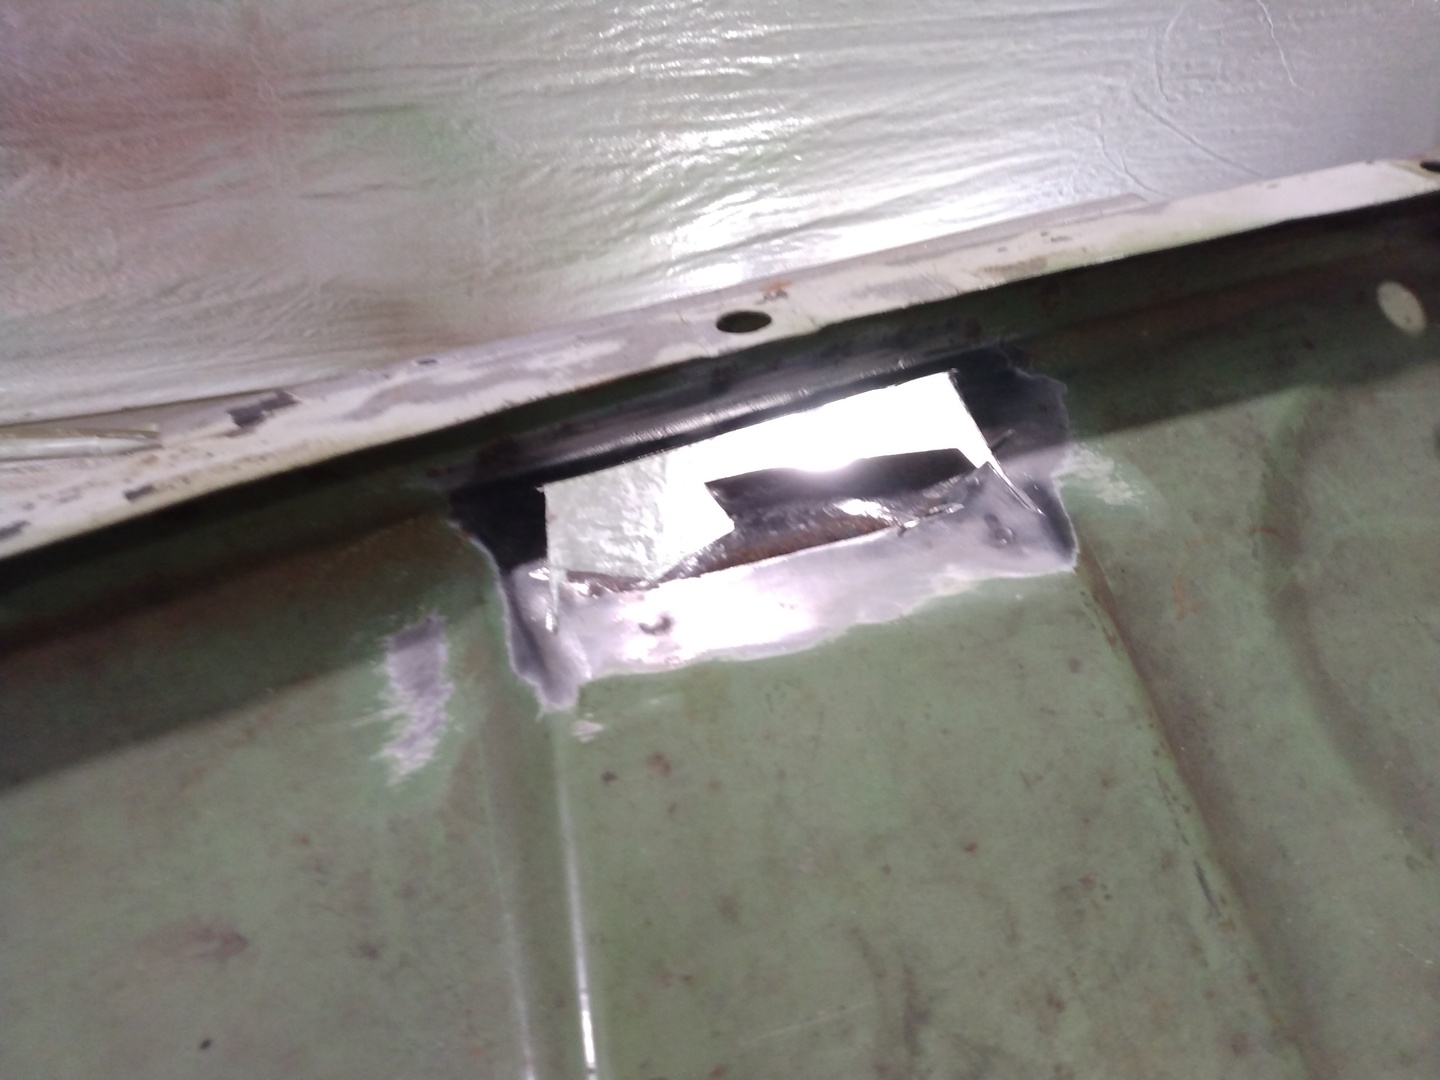
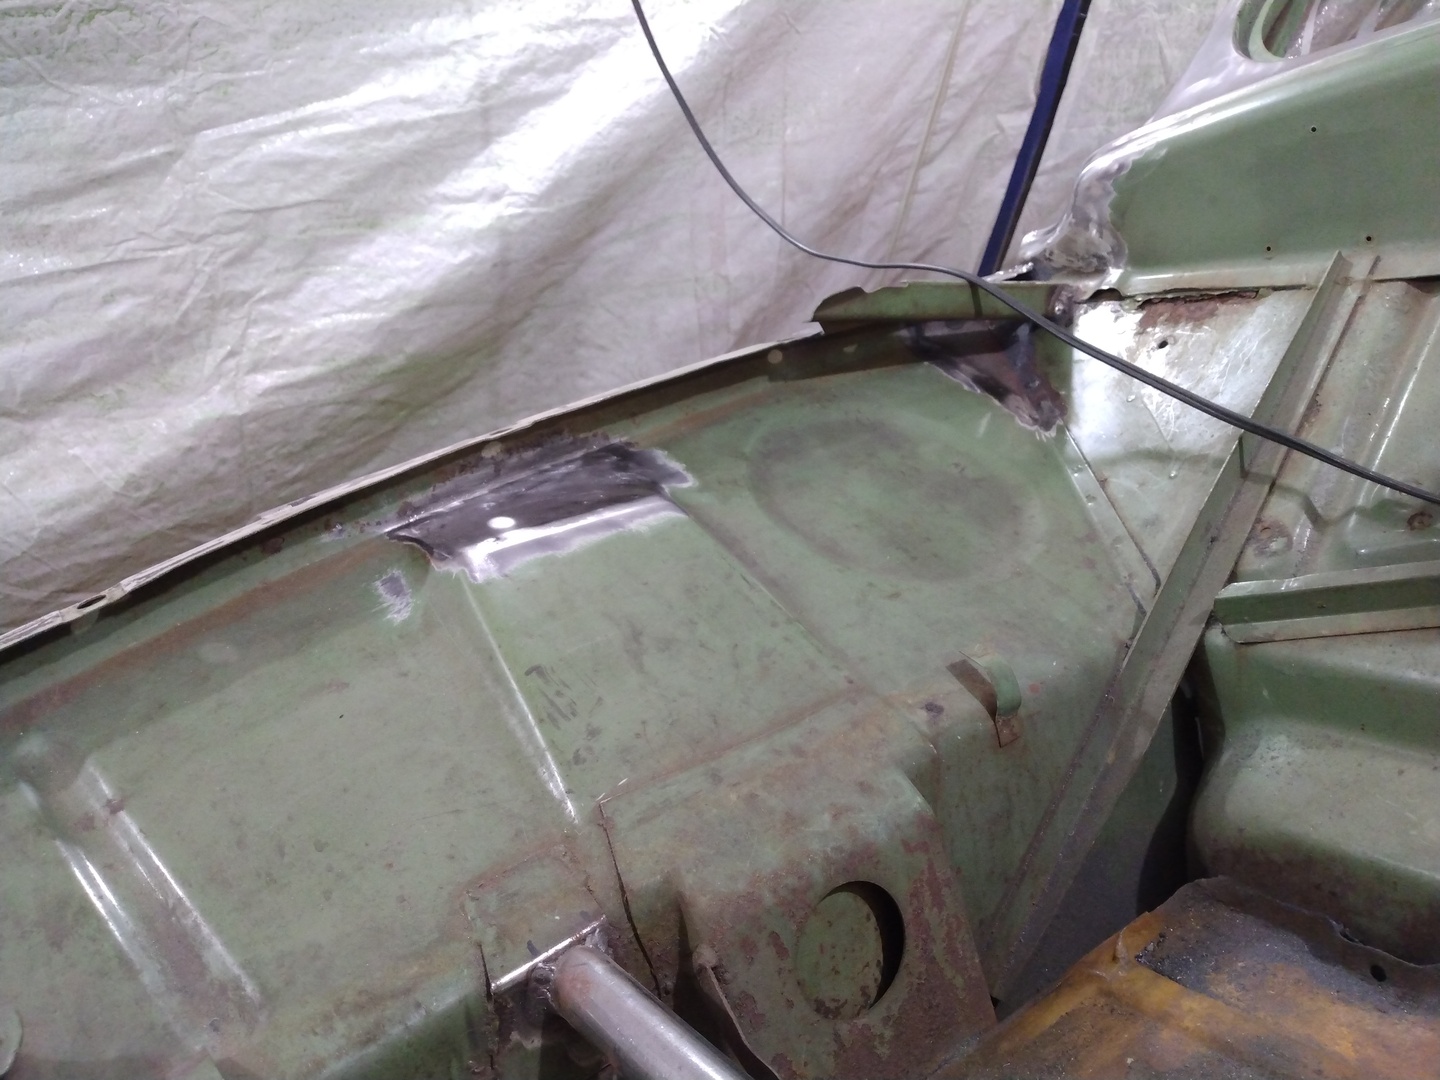
Factory Saabs had a pair of 16 ga reinforcement plates/straps welded from the engine bay floor to the cabin floor, one on each side. One of mine was removed to repair a rusted section of floor. Figures 1-2 show the installation of the driver’s side replacement.
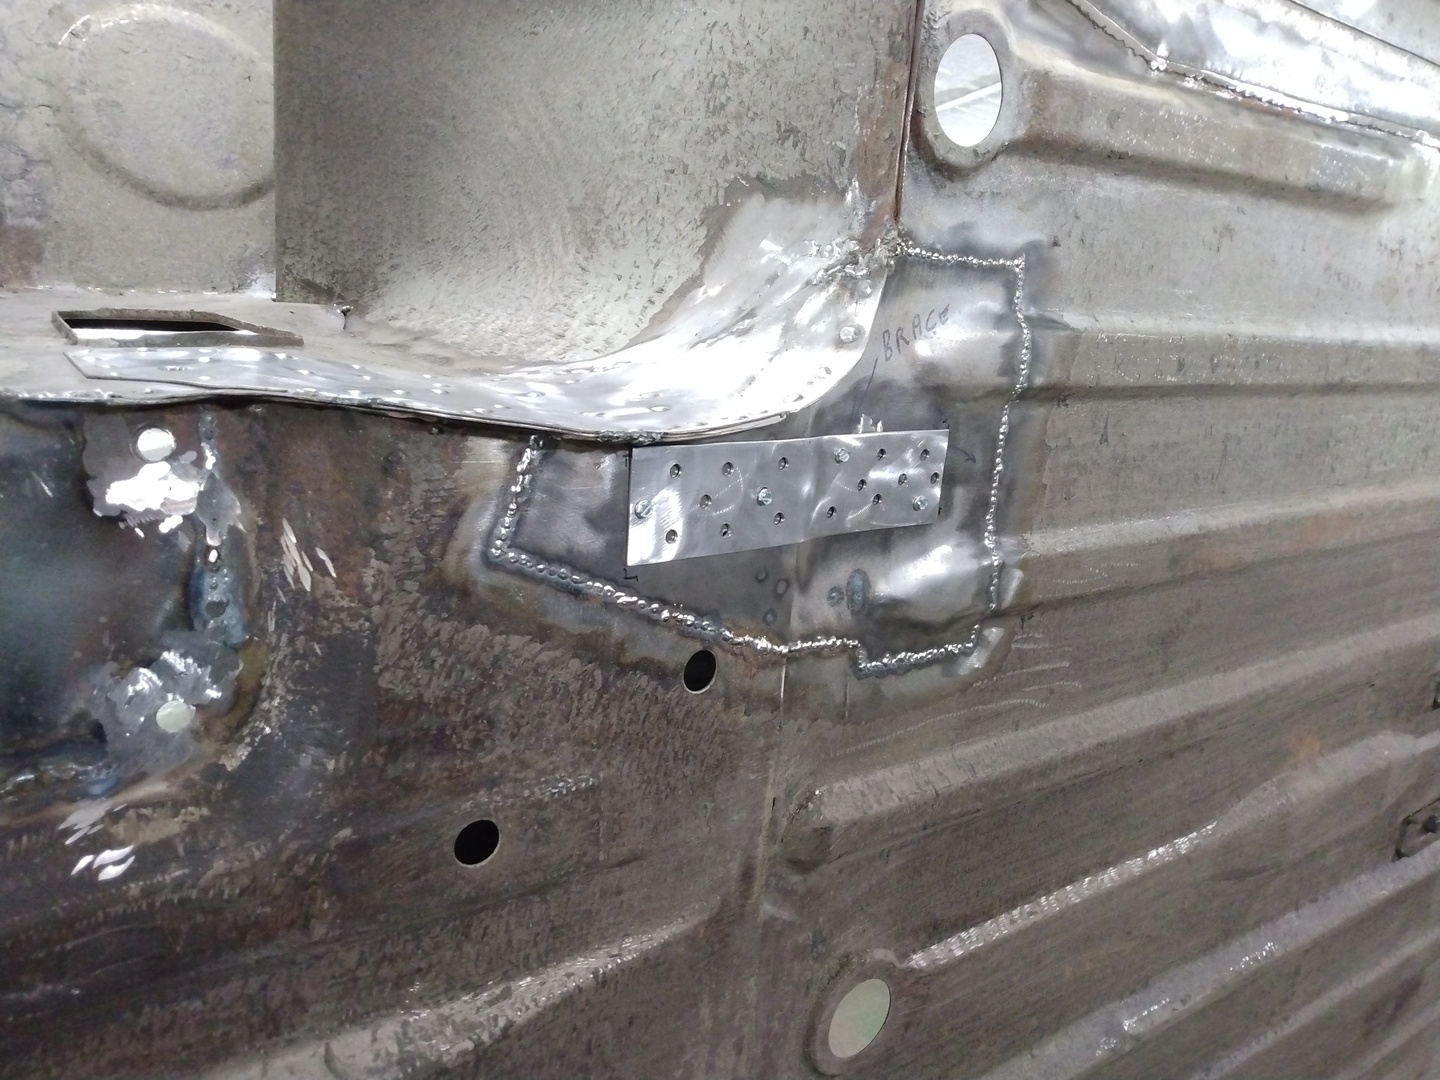
1. Engine Bay Floor to Cabin Floor Reinforcement
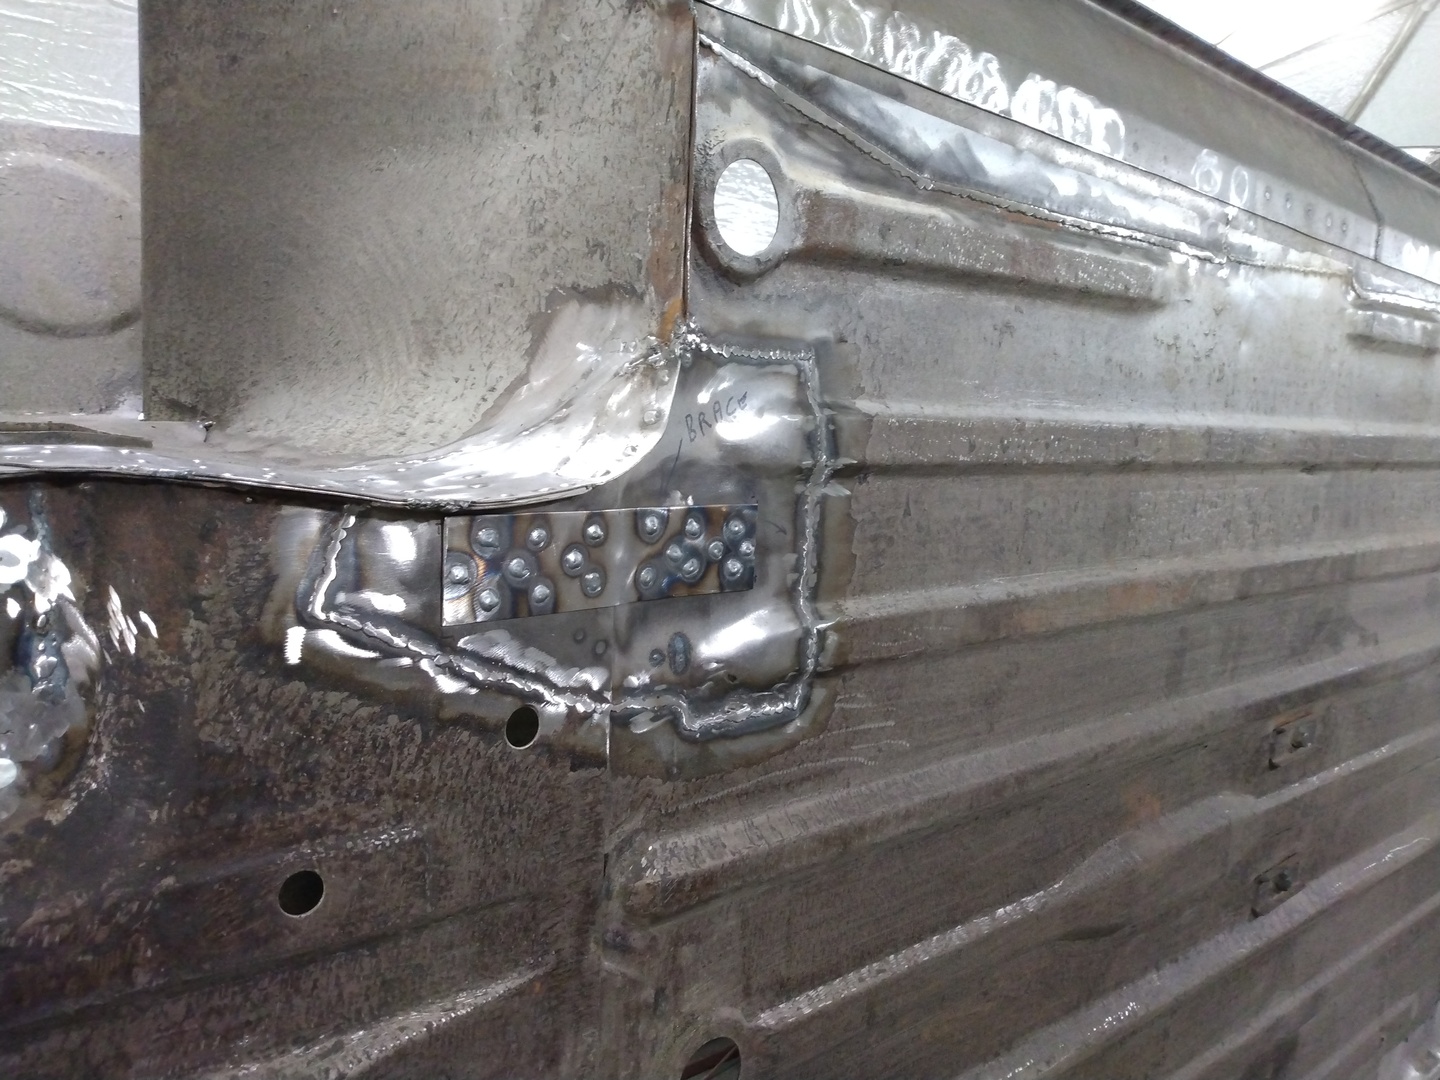
2. Engine Bay Floor to Cabin Floor Reinforcement
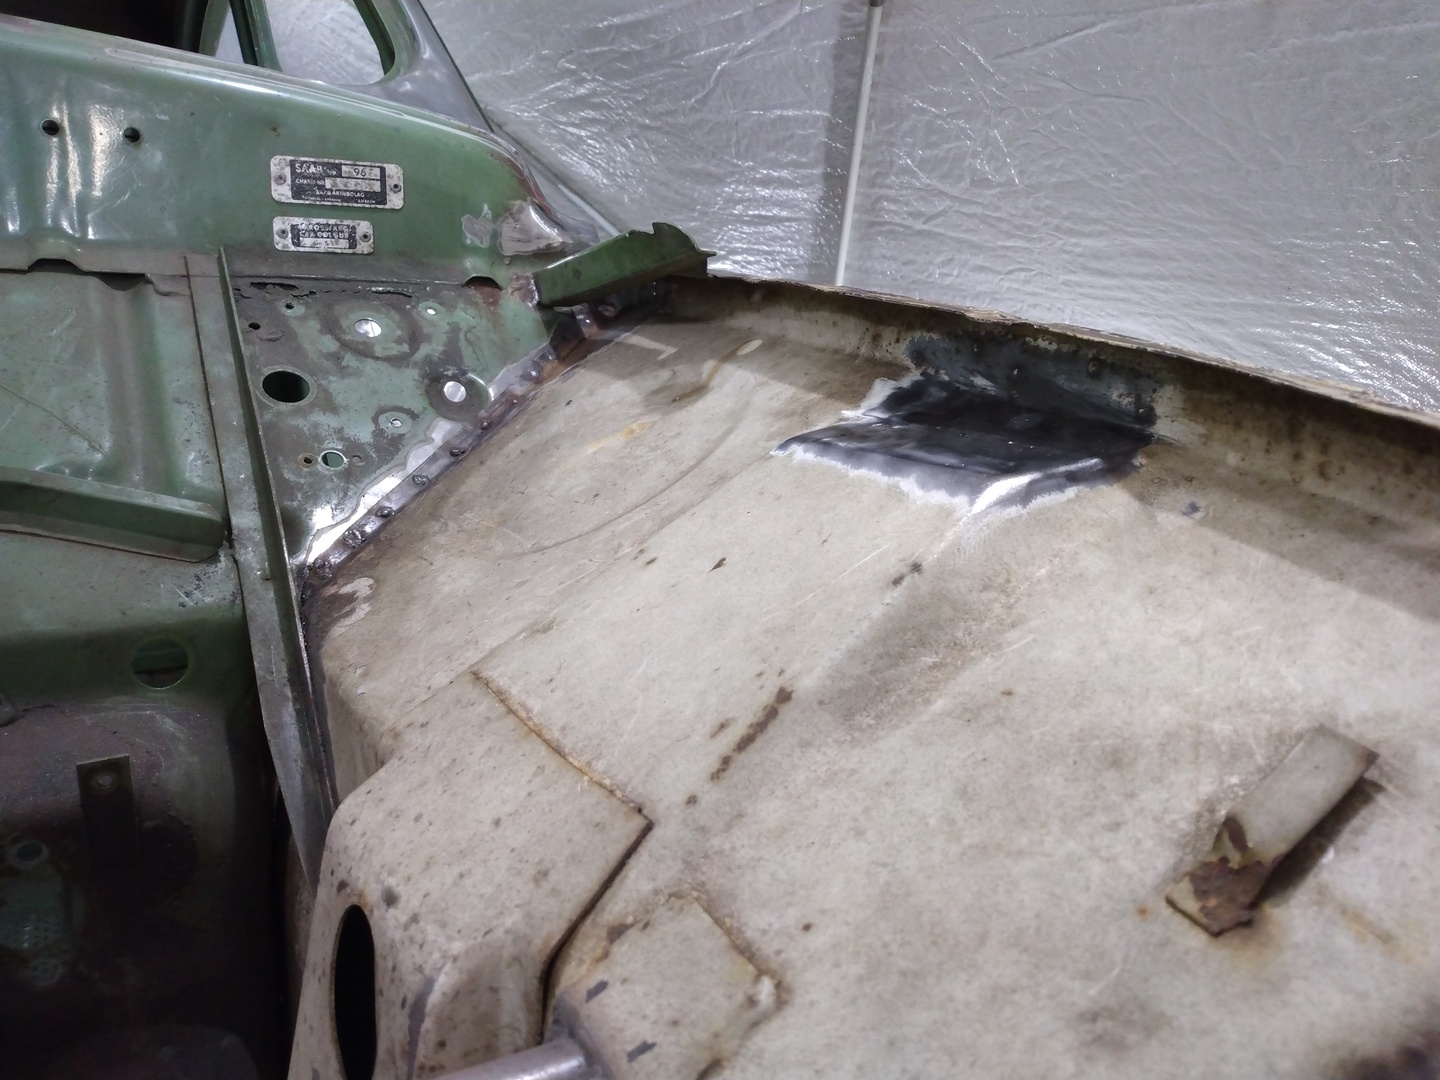
Back Edge of Cabin Floor
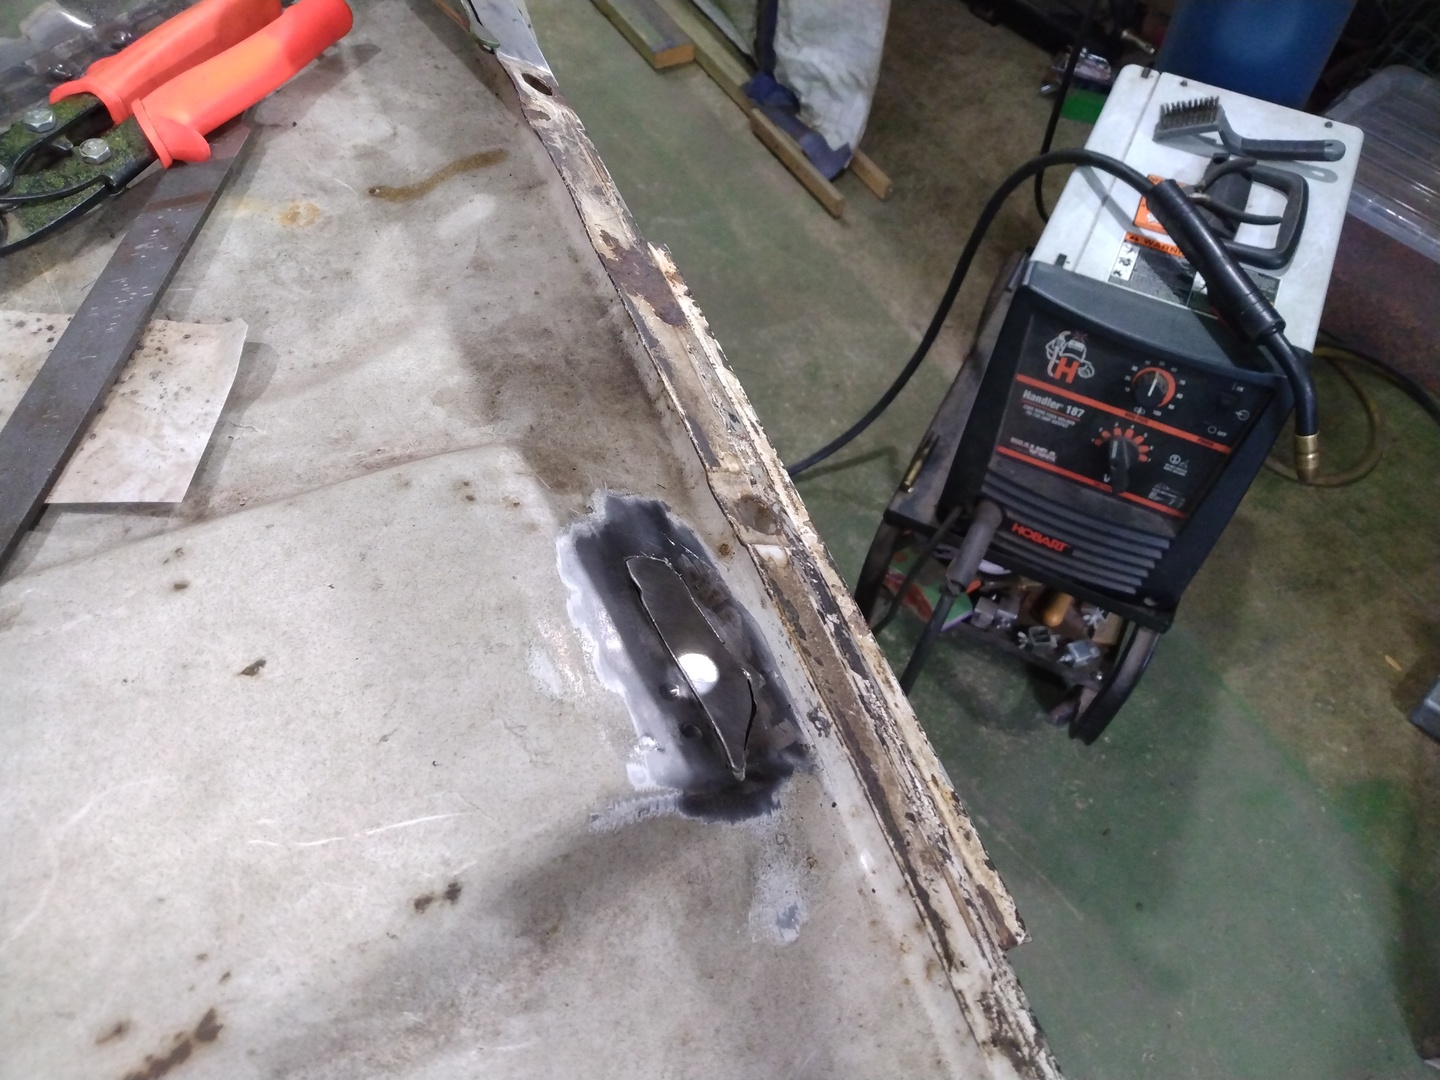
Figure 3 shows a deteriorated section at the rear of the cabin floor. An easy fix as shown in Figure 4.
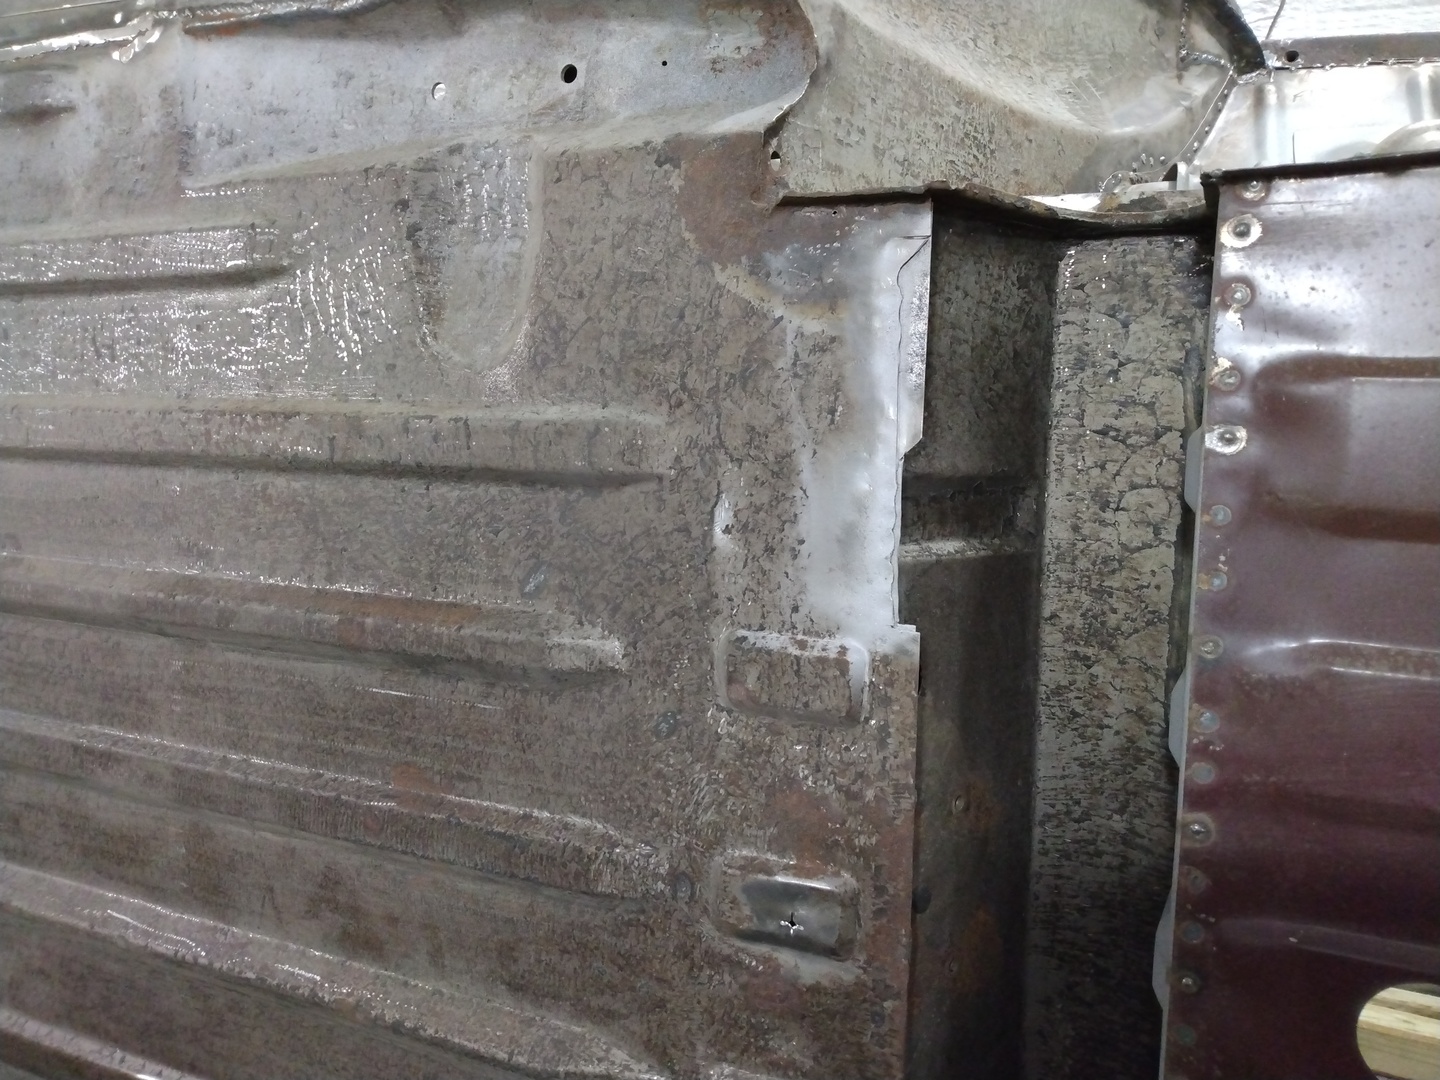
3. Tail End of Cabin Floor Patch

4. Tail End of Cabin Floor Patch
Wheel Housing Repairs Above Spring Mounts
Figures 5-6 show cutouts of rusted areas of the wheel housings where water apparently was trapped between the spring mounts and the wheel housings. Like the above, this was a fairly simple repair as shown in Figures 7-8.
5. Driver Side Wheel Housing Patch
6. Passenger Side Wheel Housing Patch
7. Passenger Side Wheel Housing Patch
8. Driver Side Wheel Housing Patch
Stainless Steel Battery Tray – Forming Edges
Because my original tray was badly rusted, I decided to buy some 18 ga 304 stainless steel sheet and make my own replacement. I thought perhaps that I could make some wood dies (shown in Figure 9) and press a new one with my 10-ton screw press. First, I clamped a flat plate between the dies as shown in Figure 10 just to serve as a holder while I manually hammered the edges down using a sheet metal hammer. That worked pretty well as shown in Figure 11.
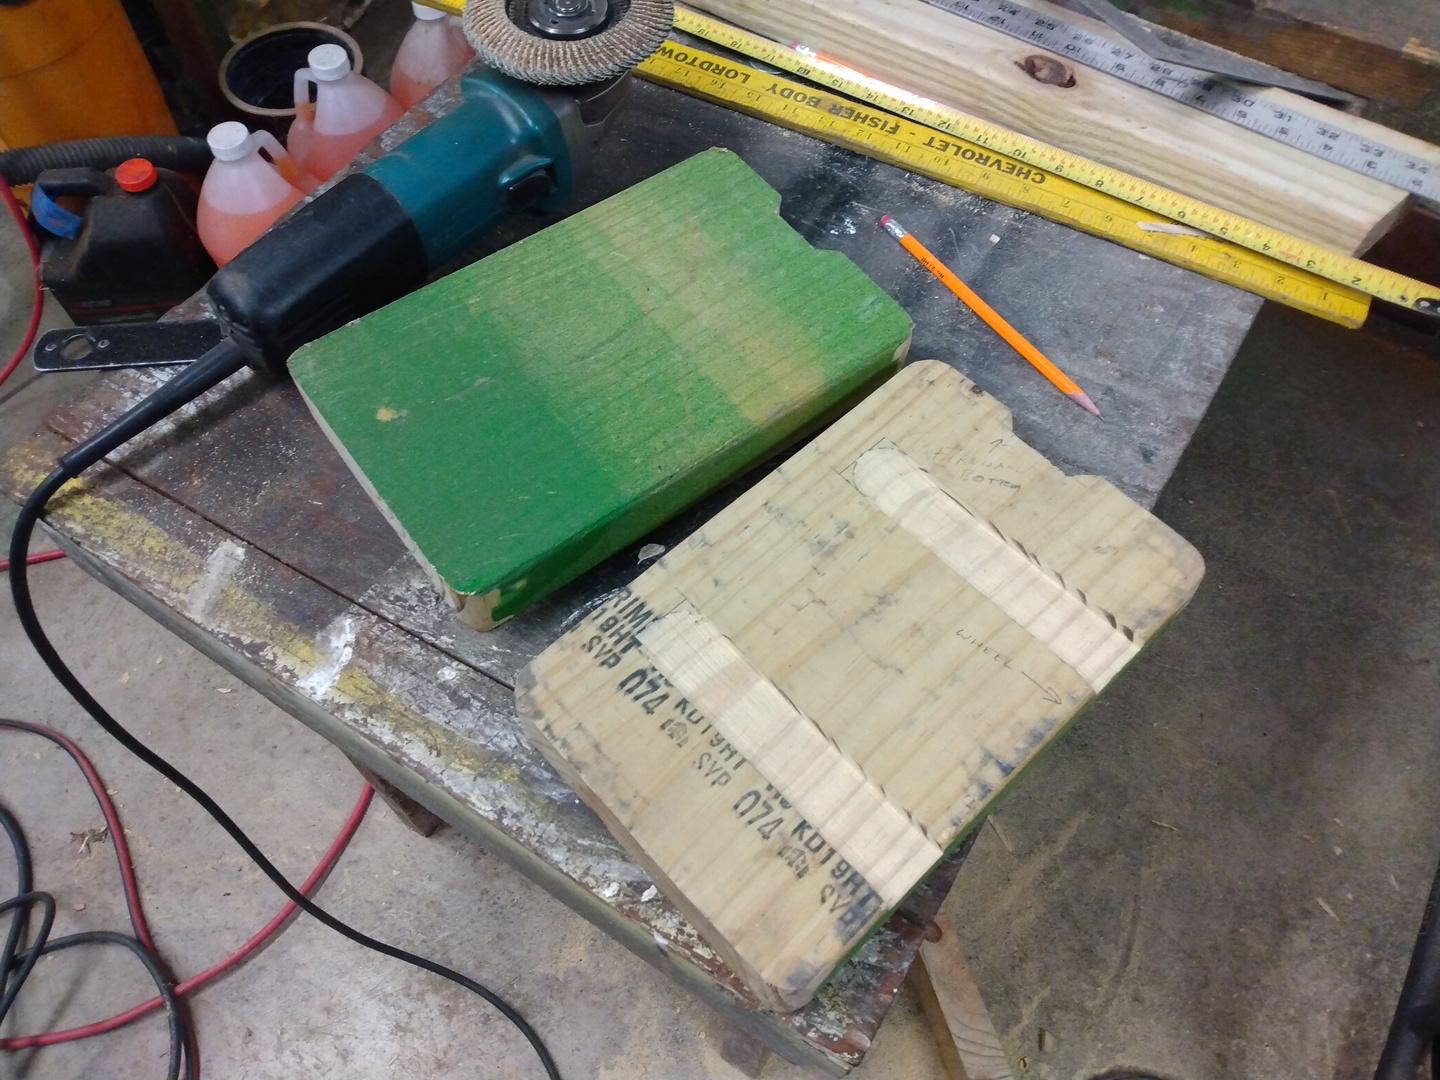
9. Battery Tray Wood Die
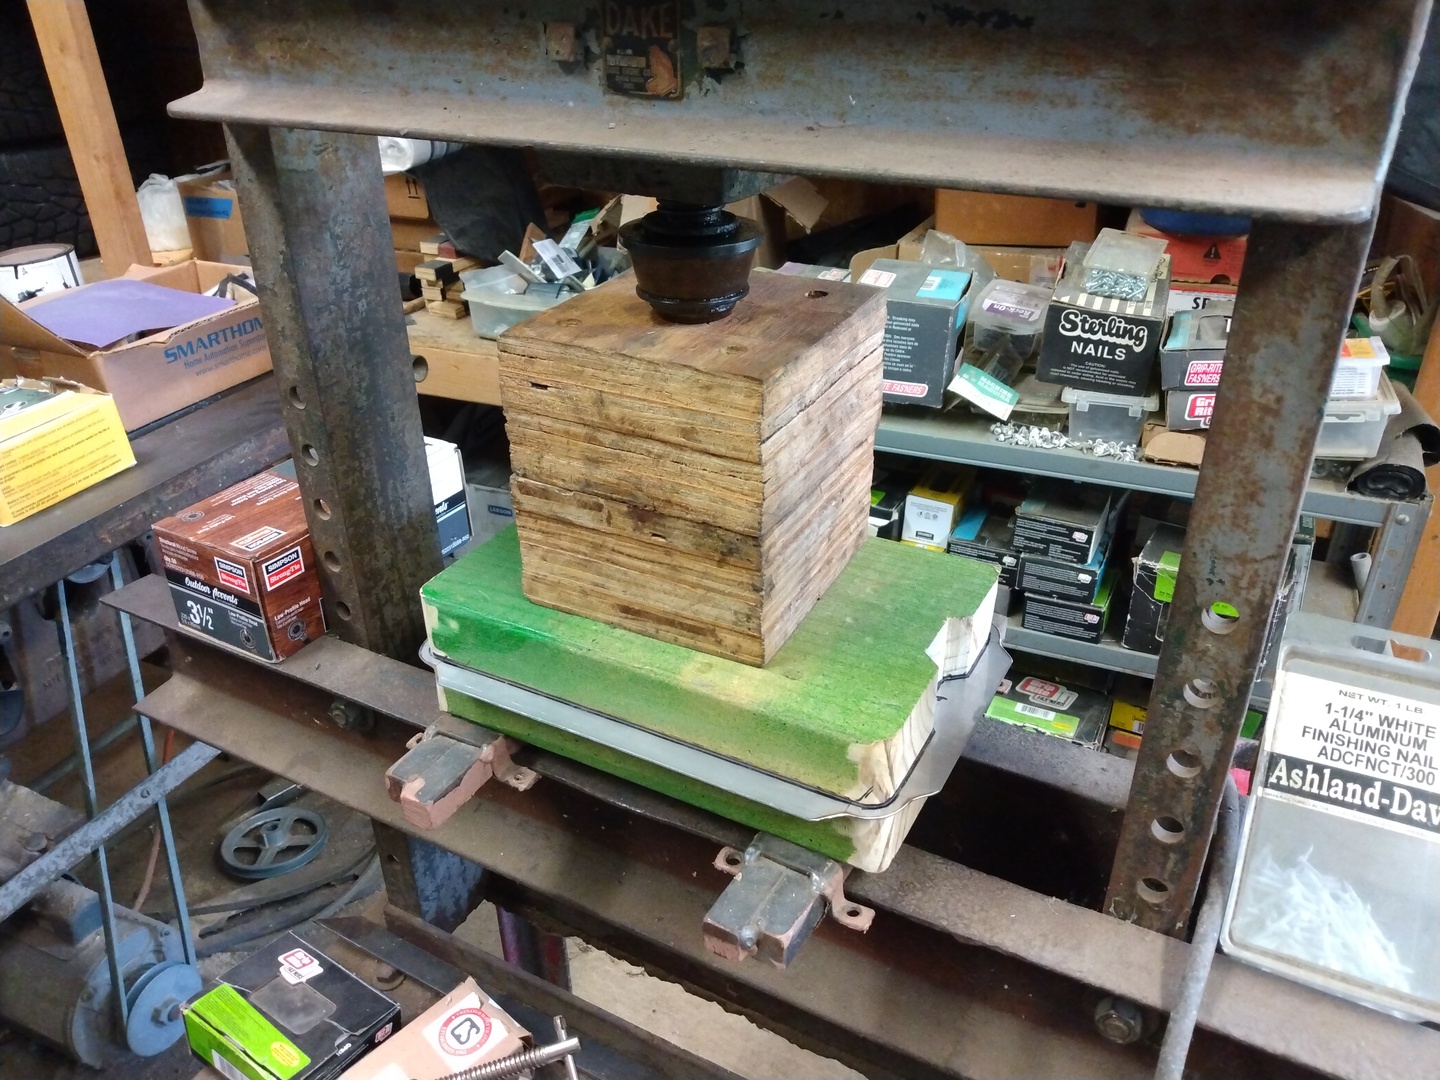
10. Forming Stainless Battery Tray Edges
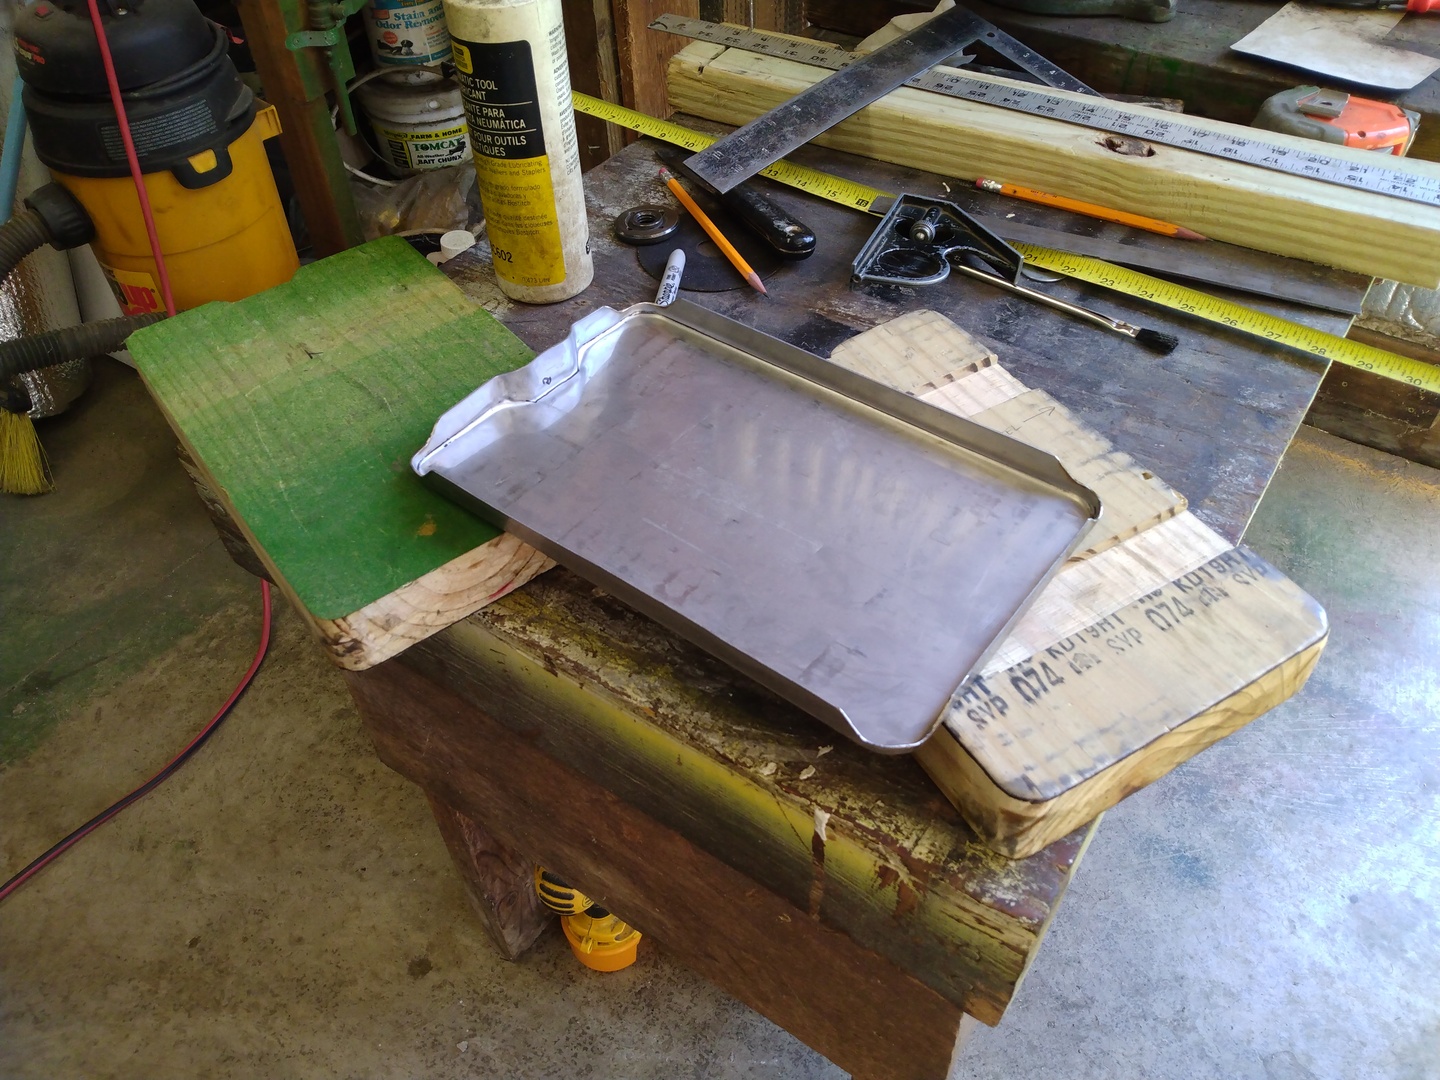
11. Stainless Battery Tray with Formed Edges
Stainless Steel Battery Tray – Forming the Battery Risers
I took a piece of square bar and rounded one end, thinking that I could simply cobble an arrangement in the press (see Figure 12) to form each of the two battery support risers. It was totally delusional to think that my small press could do that. It seems that 18 ga 304 stainless is really tough stuff. I think 20 ga would have been a better choice. Well, at least the press made some impressions where the battery risers should be and I was able to resort to a cave-man style method as shown in Figure 13. I was a little worried about damaging my concrete floor but it survived. Figure 14 shows the square bar and the rather satisfactory result.
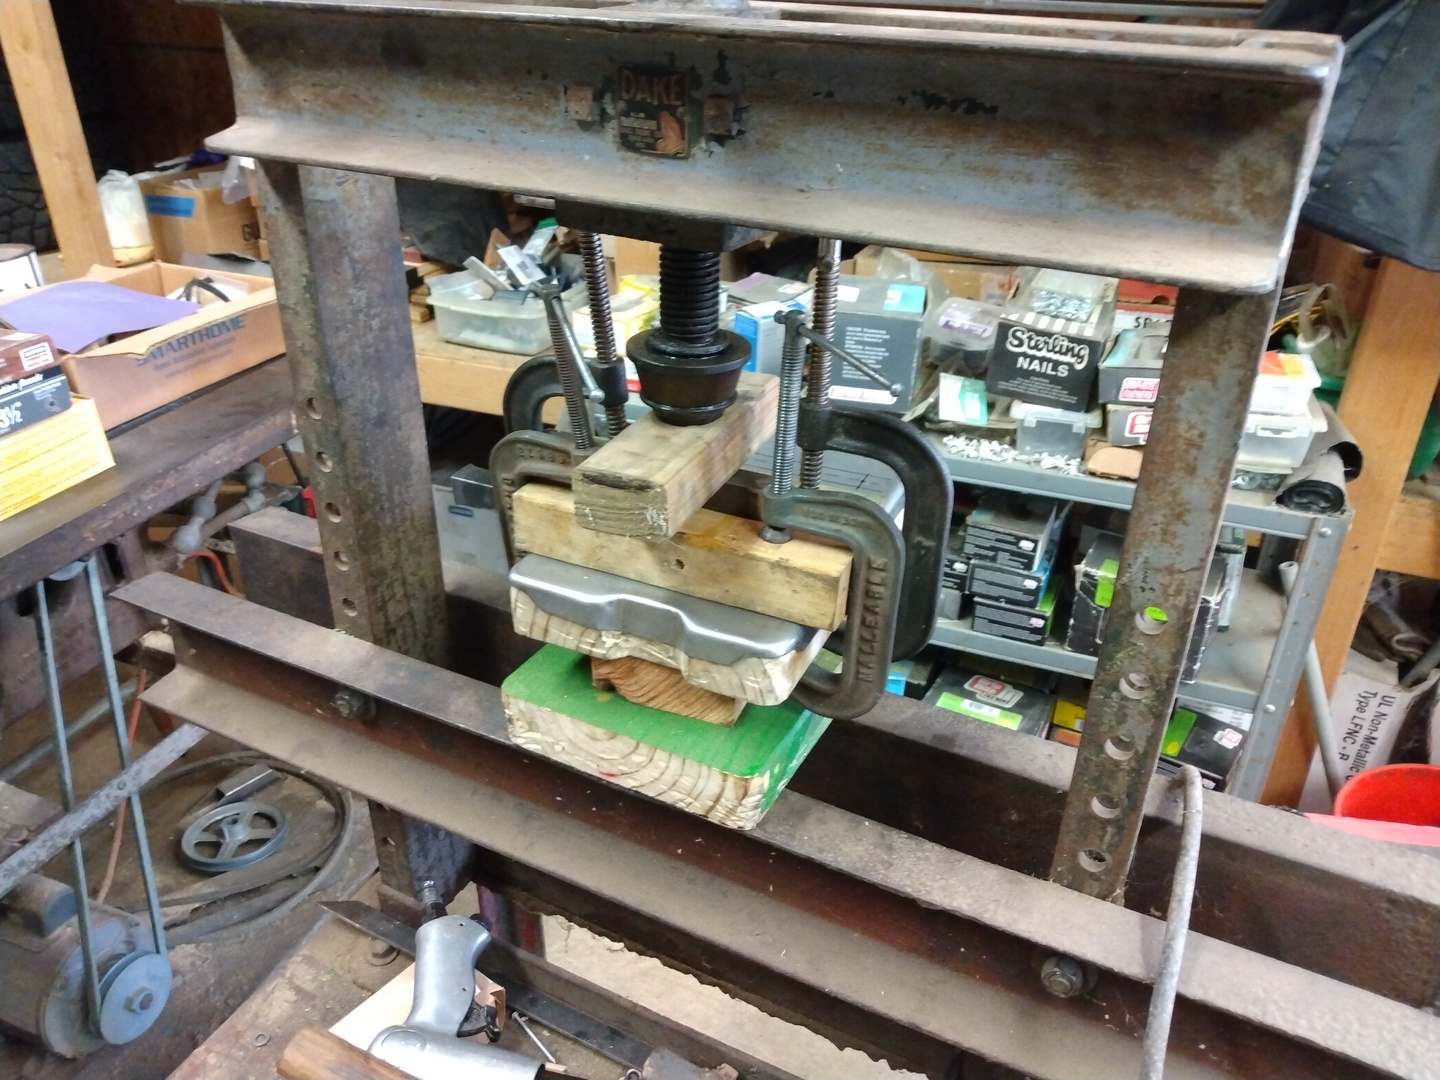
12. Pressing Battery Supports into Battery Tray
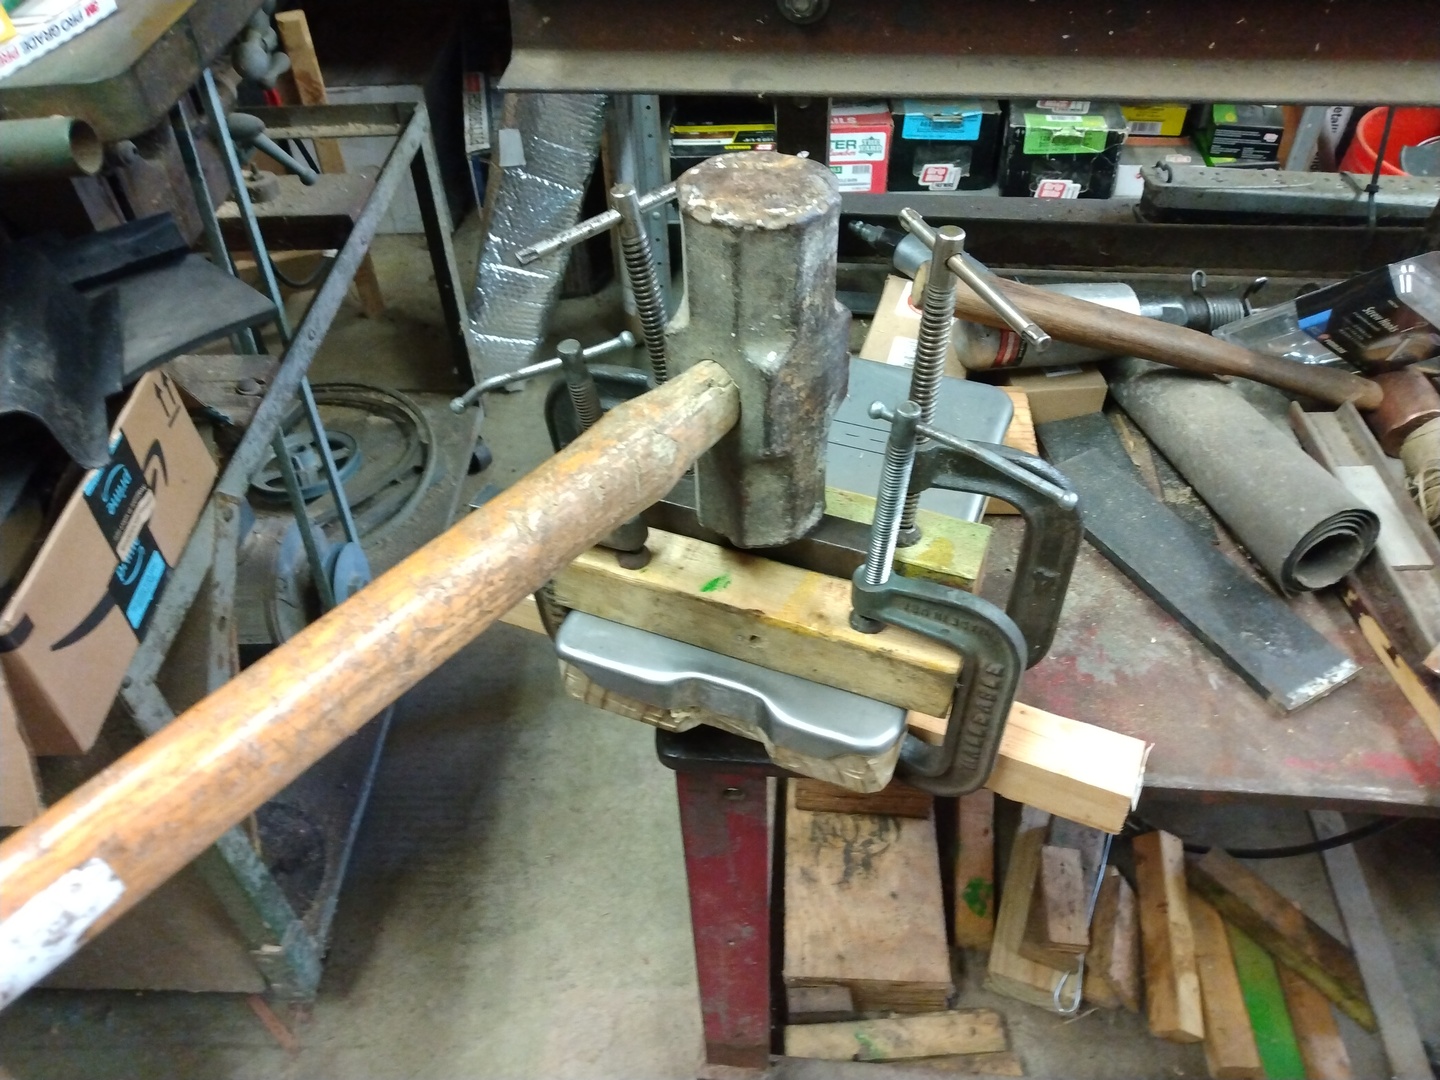
13. Pounding Battery Supports into Battery Tray
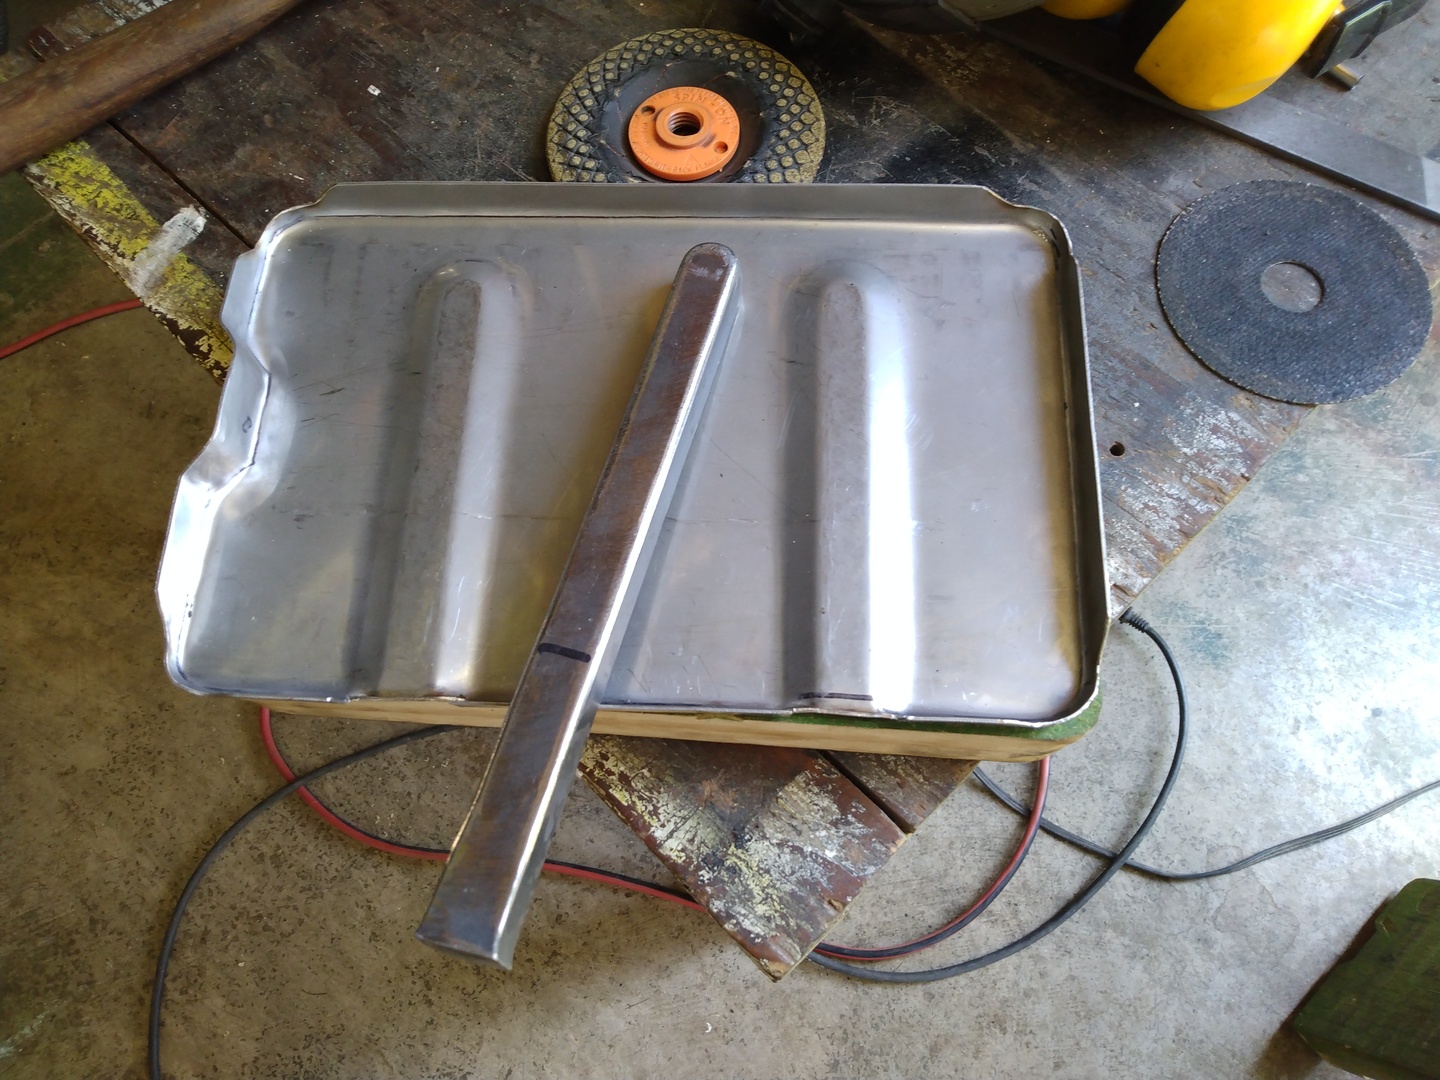
14. Formed Battery Tray with Tool
Stainless Steel Battery Tray – Finishing the Battery Tray
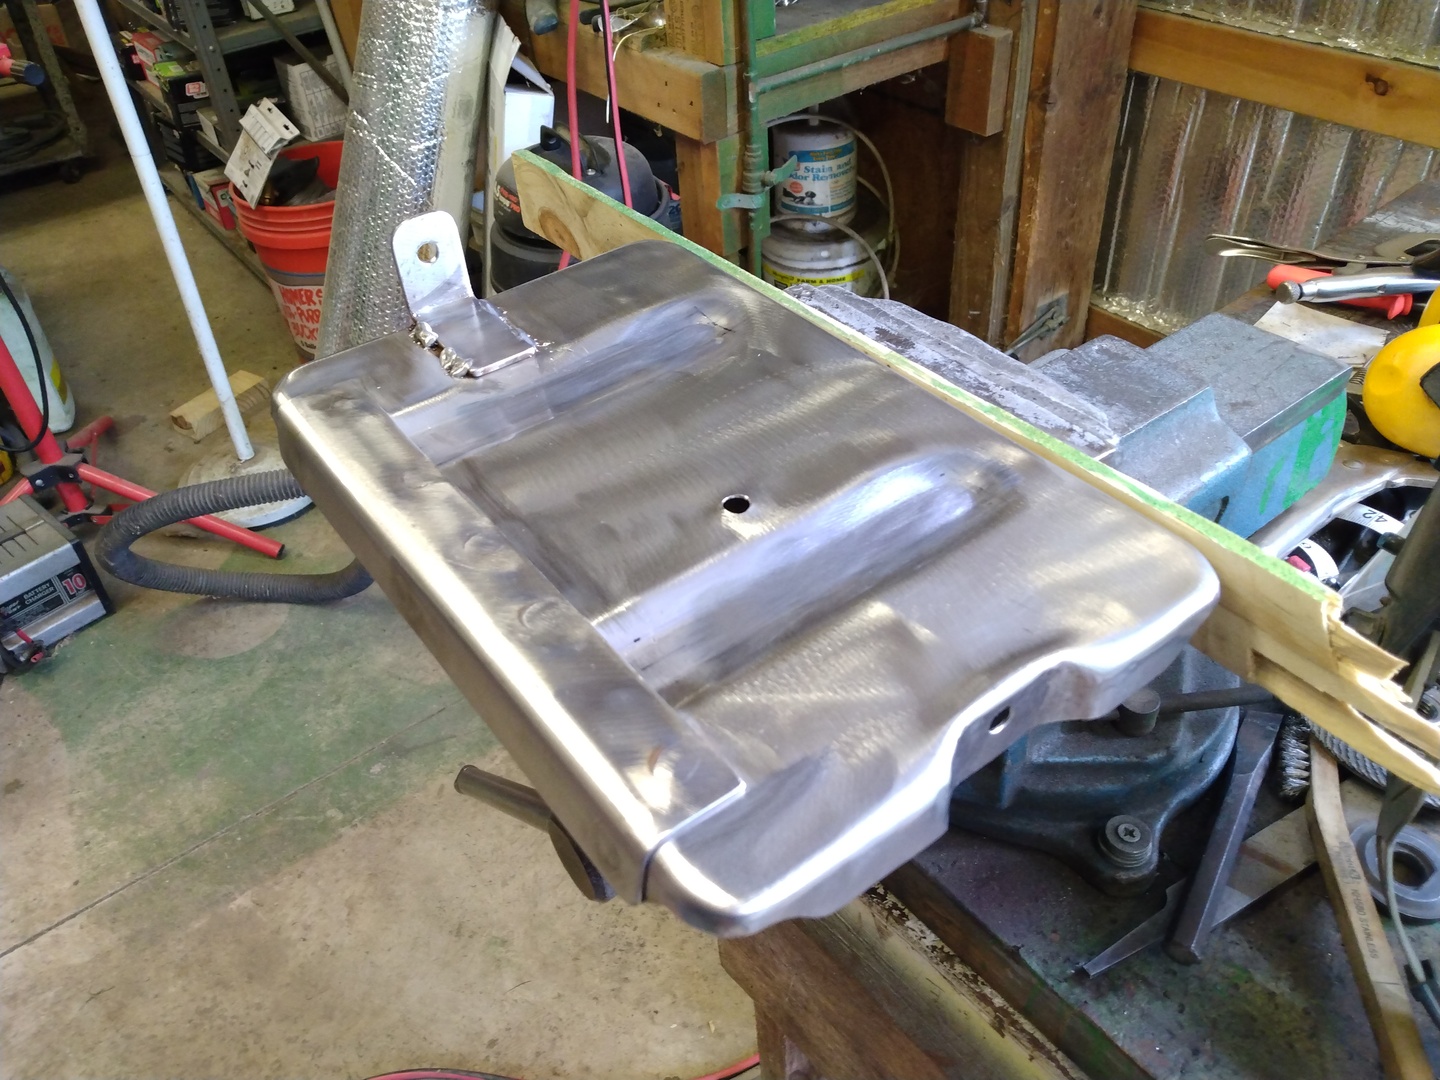
Figure 15 shows the underside of the tray while I welded on a stainless ground cable connector and a support angle. The support angle is a near exact replication of the original support, and I used 16 ga 304 stainless for that. The angle of the bend isn’t 90 degrees because the wishbone support tower isn’t exactly vertical. I was very careful to get the angle correct. Figure 16 shows the finished battery tray in the upright position.
15. Welding Mount and Connector to Battery Tray

16. Finished 304 Stainless Battery Tray
Stainless Steel Battery Tray – Welding in Place
Figure 17 shows the new battery tray clamped in place for welding. Figure 18 shows the final result. The front, inside corner is supported by a 16 ga 304 stainless strap. I was very careful to make sure the tray was perfectly flat, not twisted, before completing the strap weld. A very satisfactory result in my opinion.
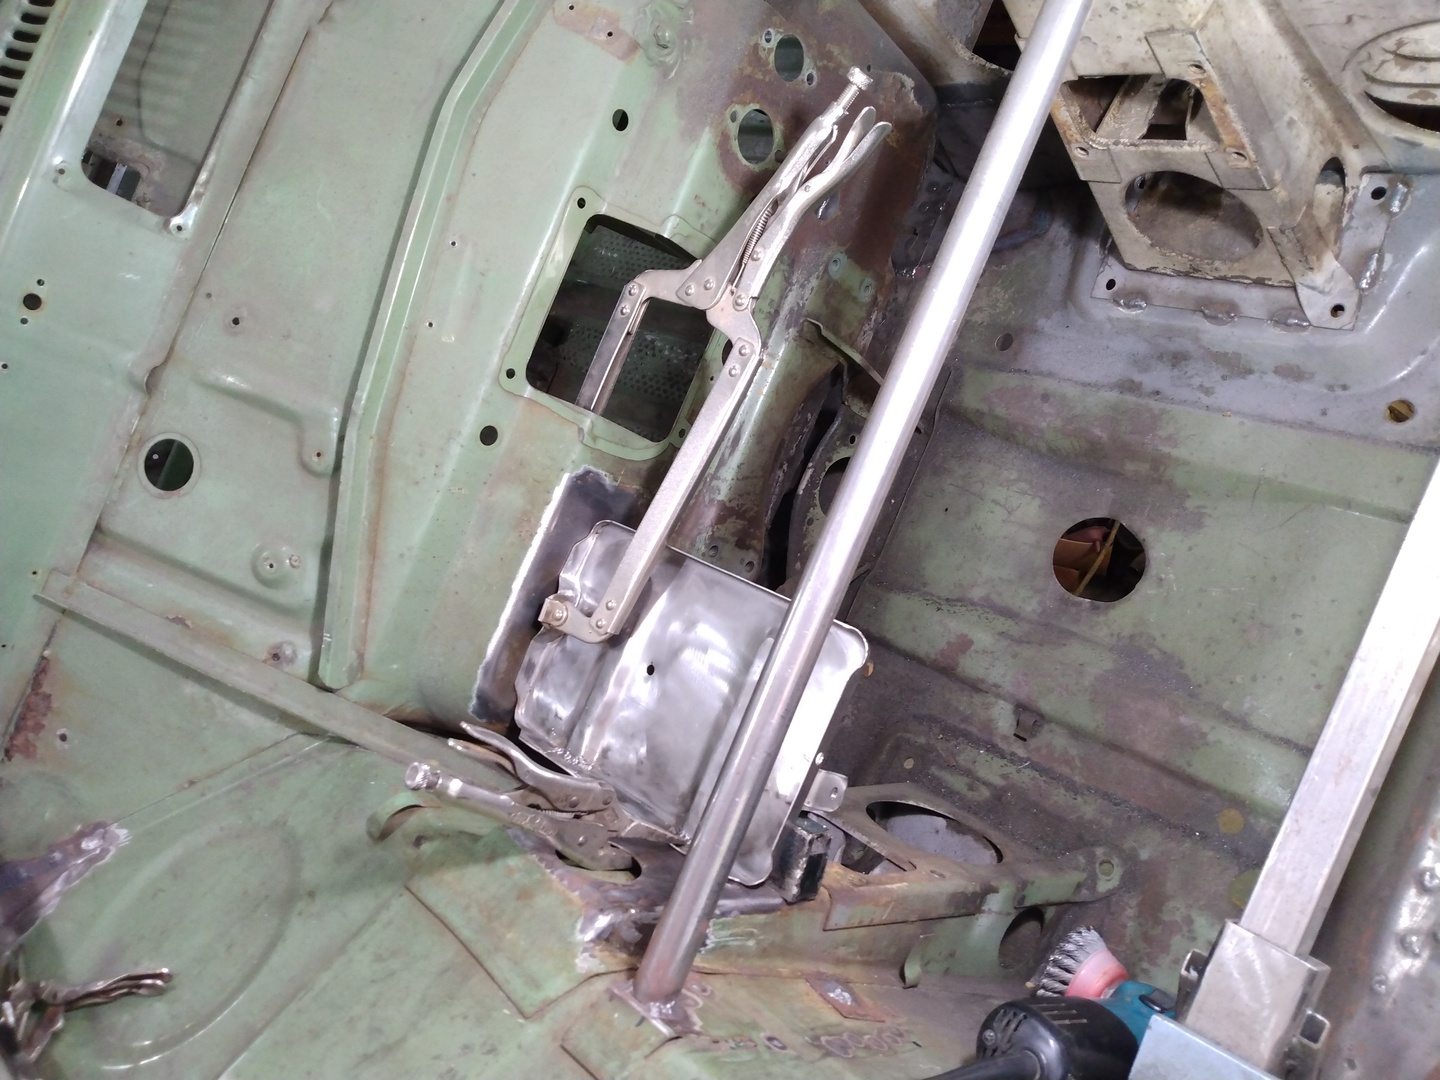
17. Clamping 304 Stainless Battery Tray
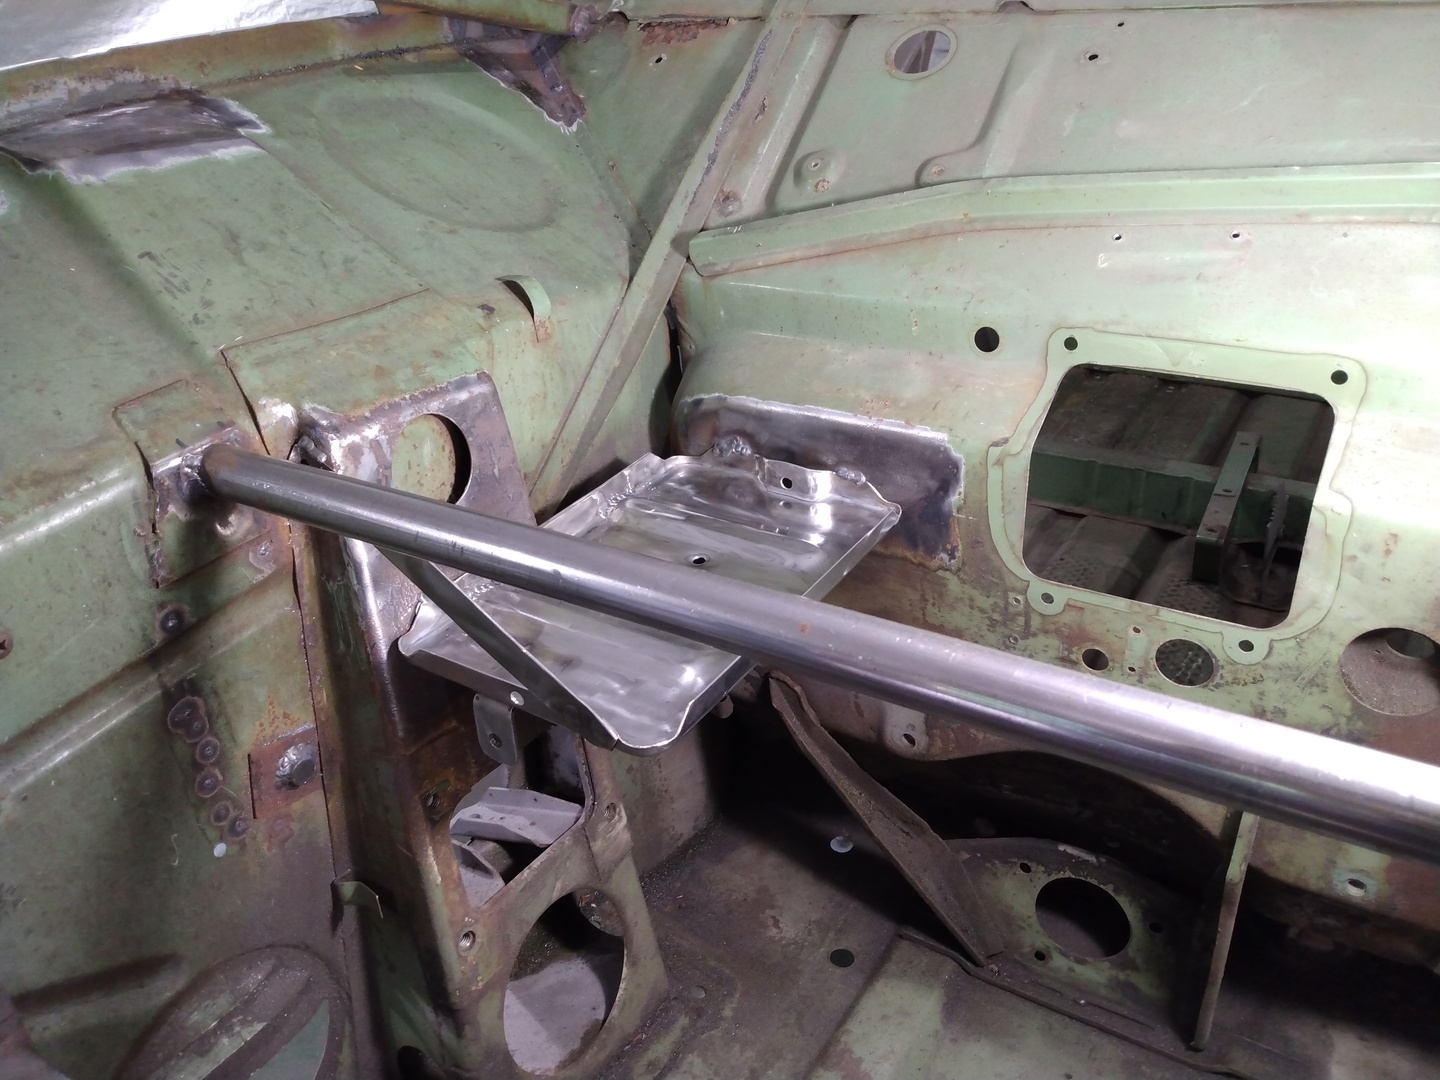
18. 304 Stainless Battery Tray Installed
More problems taken care of!