
Replacing Shock Absorber Mount
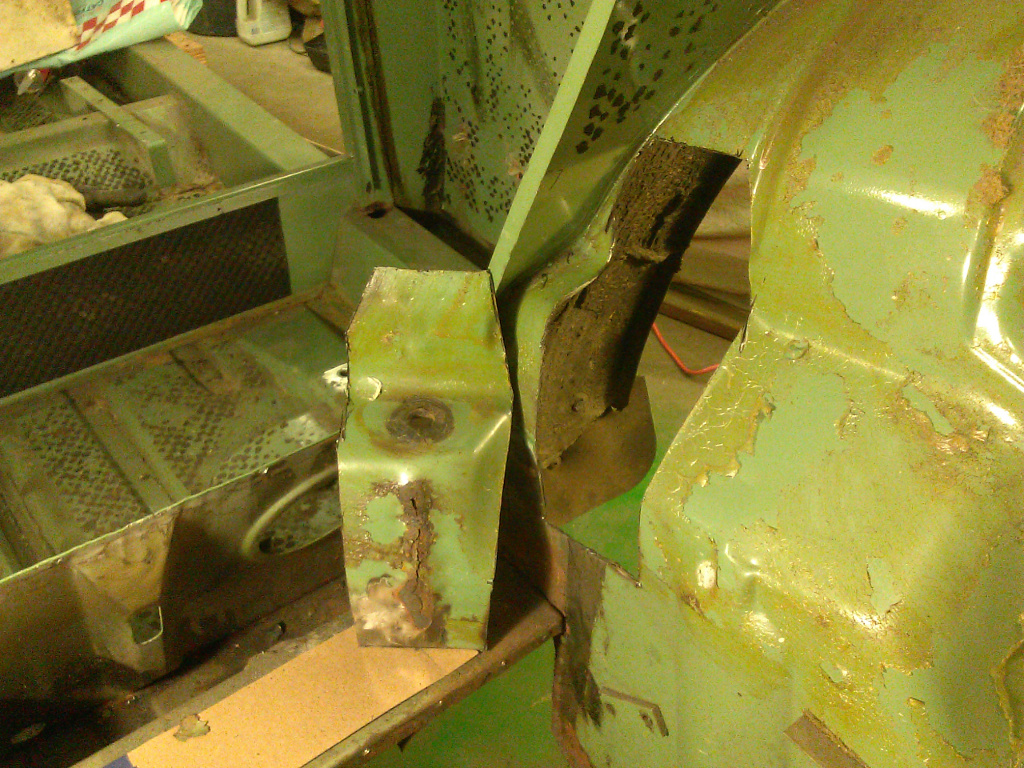
Cutting Rusted Shock Absorber Section
The right-side wheel housing was in much better shape than the left side. The shock absorber mount had rust and was best replaced. Additionally, the top, front corner of the wheel house was rusted and needed work. I first turned my attention to the shock absorber mount and cut out the appropriate section as shown.
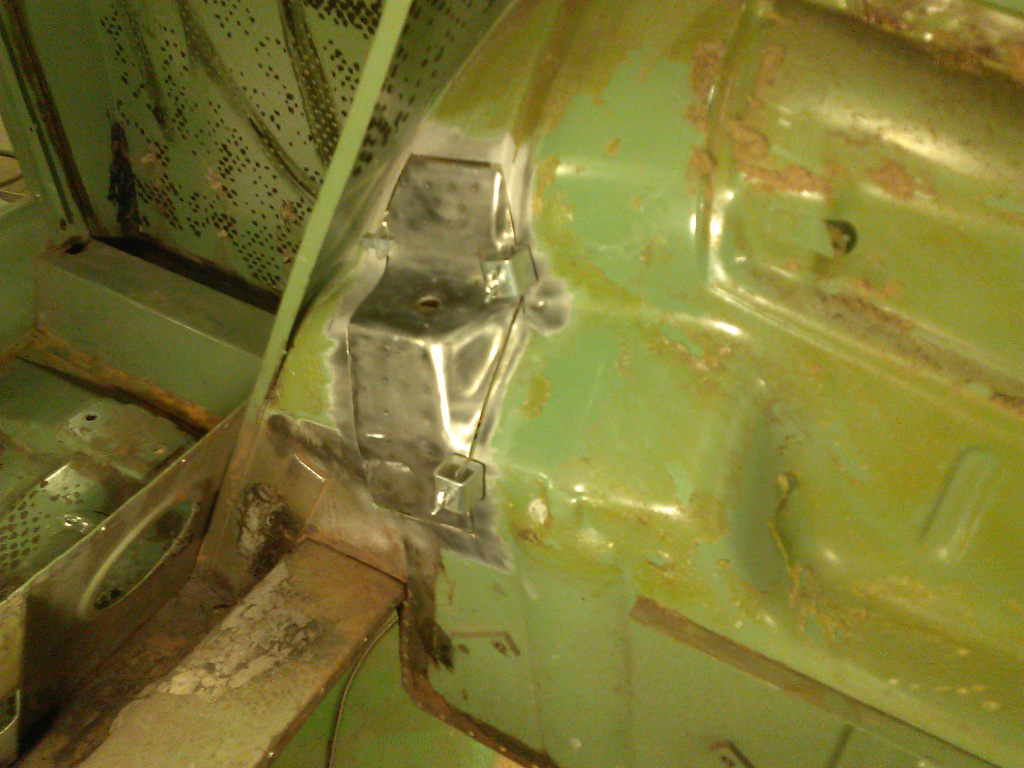
Donor Shock Mount Clamped in PLace
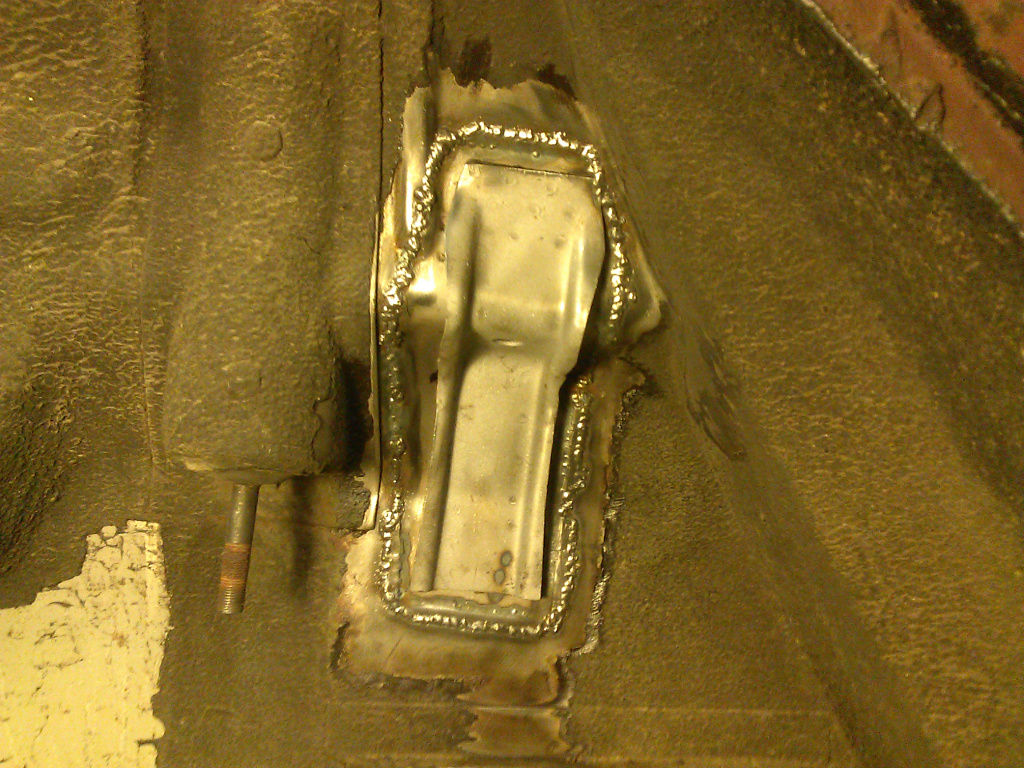
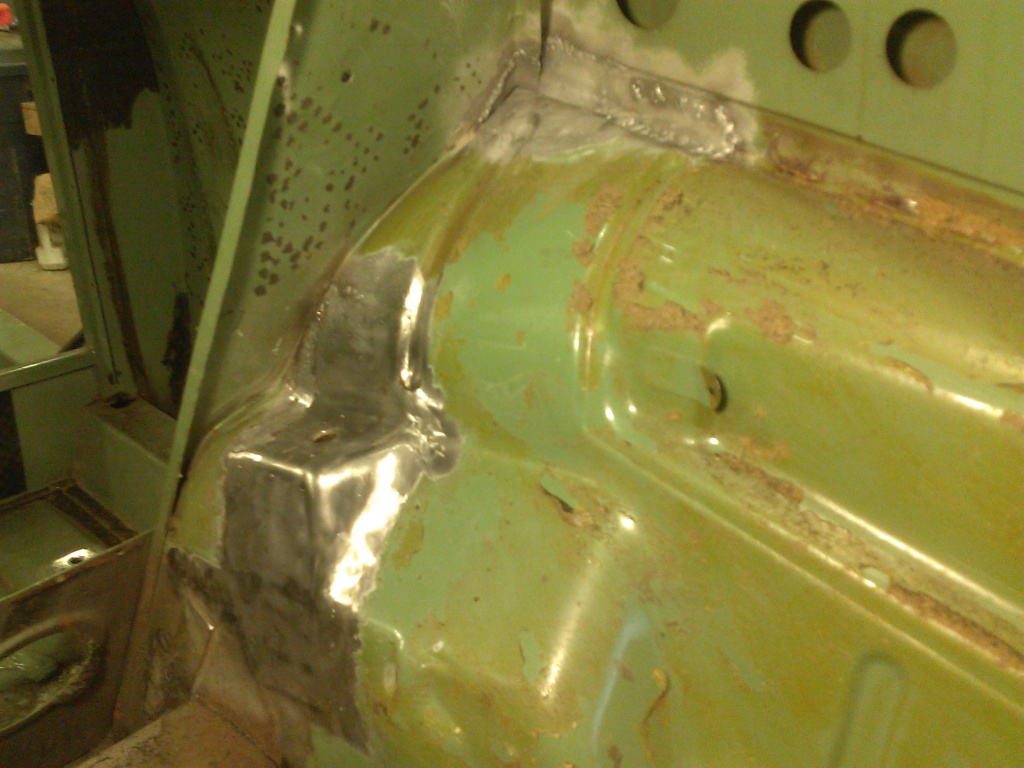
The procedure used for replacing the right-side shock mount section was similar to the way I replaced the left-side spring and shock mount section so I have omitted some detail here. After clamping the section in place as shown, I tack welded the donor section and checked alignment. I then extended each tack weld with small tack welds (approximately 1/2 second per tack), and cooled each tack with a blast of air. This seems to be a very commonly recommended procedure for reducing distortion. I welded from the outside so the bead would be in the wheel well, as opposed to being inside the trunk. The finished section is shown in the following photo. It looks rough and not very consistent because of the gap being somewhat variable, and due to may lack of skill. However, the weld is very strong. It looks much better from the inside as seen in the next photo. I will improve the appearance after the body is on the rotisserie.
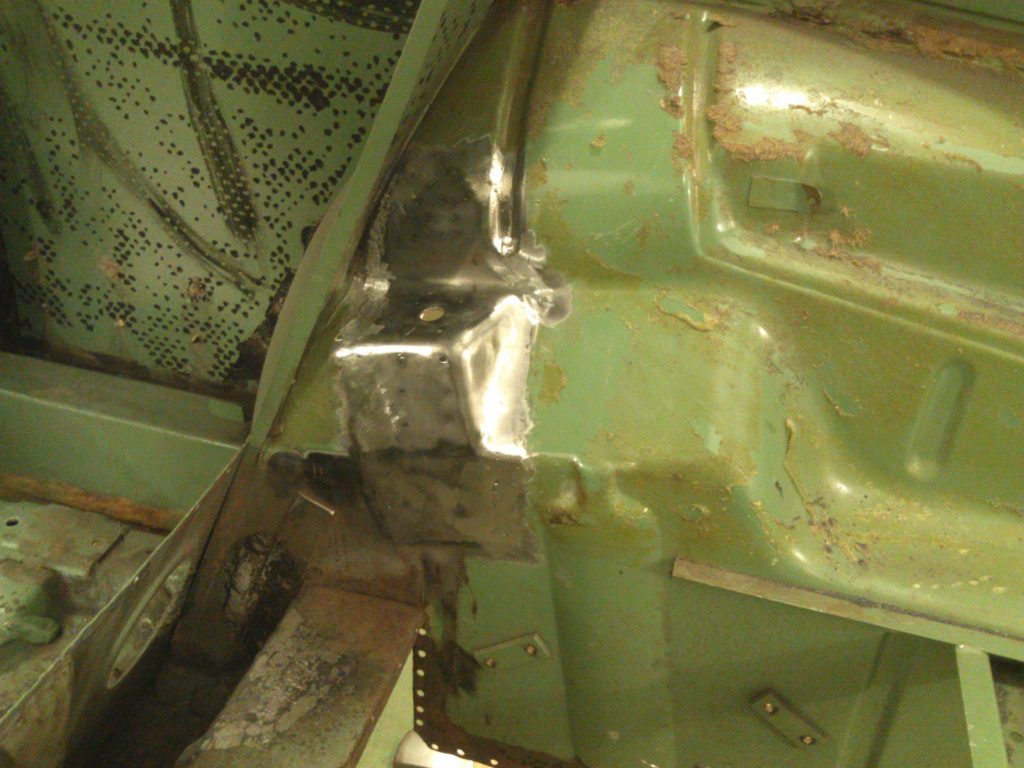
Welded Donor Shock Mount
Finished Shock Mount, Inside
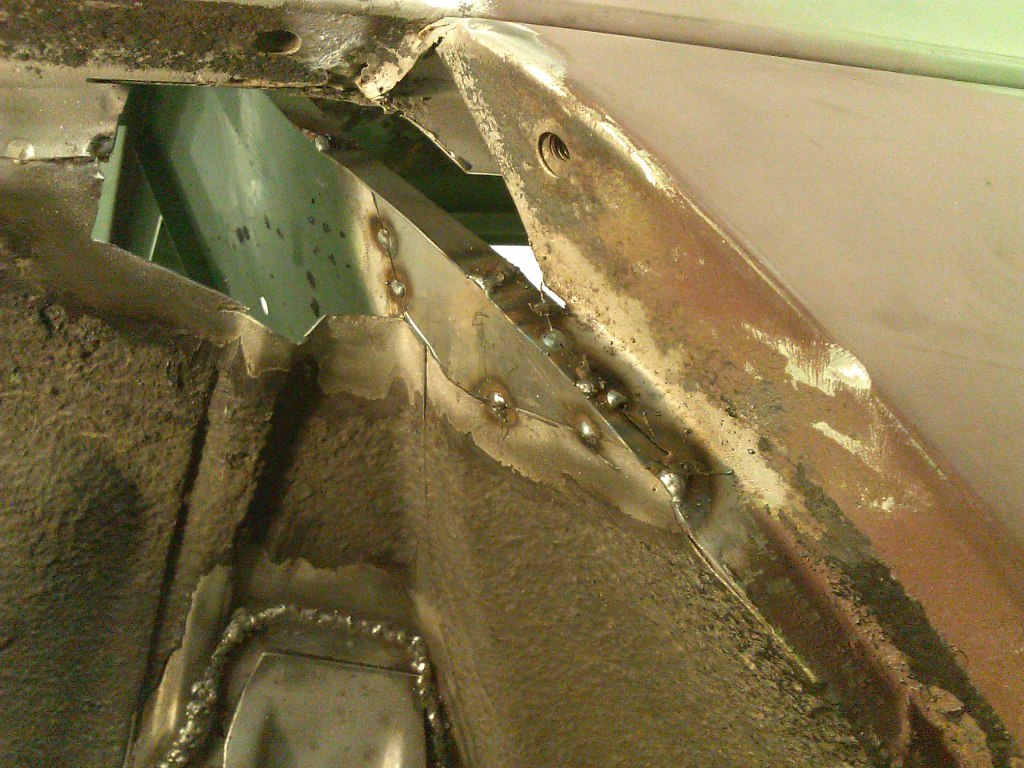
Repairing the Top Corner of the Wheel Housing

Section of Top Corner Removed
These cars all seem to rust out in the top, front corner of the wheel housing where the partition panel, the valence, and the wheel housing join together. The photo to the right shows the fairly large section I removed.
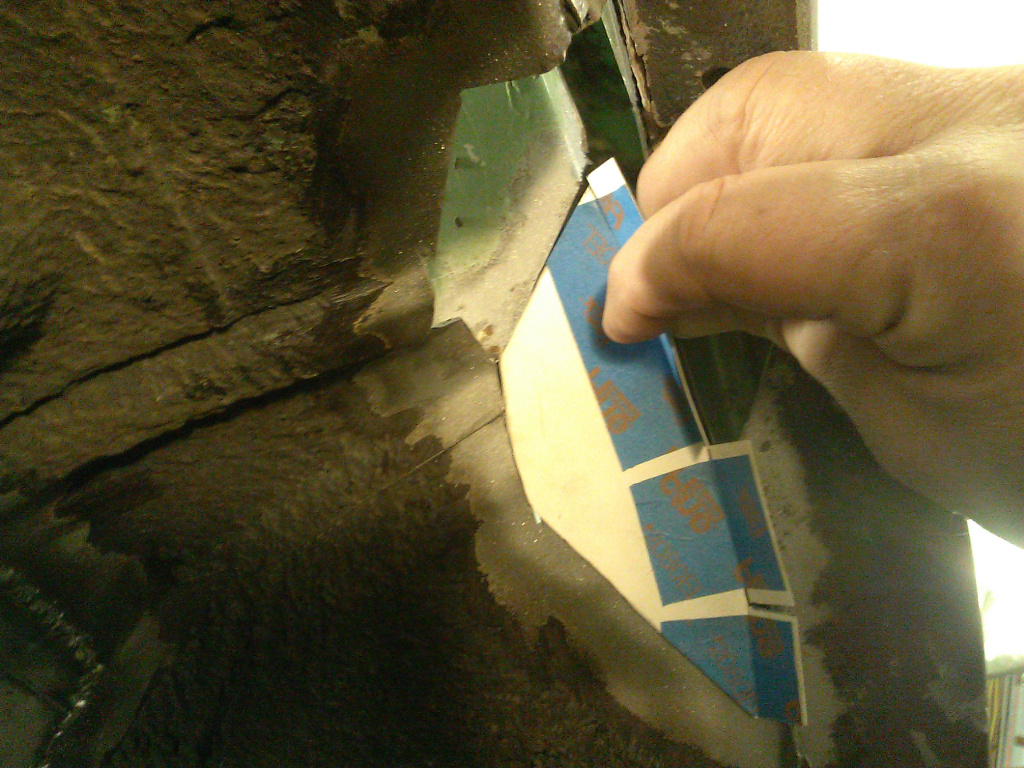
Template for Partition Panel Patch
The first piece to be replaced is the cut out section of the partition panel. As before, I formed a paper template by numerous trial-and-error cuts and checked the fit of the template as shown. The patch was then cut and formed. It was a pretty good fit but required a little trimming. The photo below shows the patch tack welded in place.
Partition Panel Patch Tack Welded in Place
Patching Bottom of Roof Section, at Valence
With the partition panel repaired, I placed a patch to the lower portion of the roof panel, where it meets the valence. Once this was welded in place, I welded in a piece from the donor wheel well (not shown) so that I was able to perfectly match the original ribbing in the wheel well.
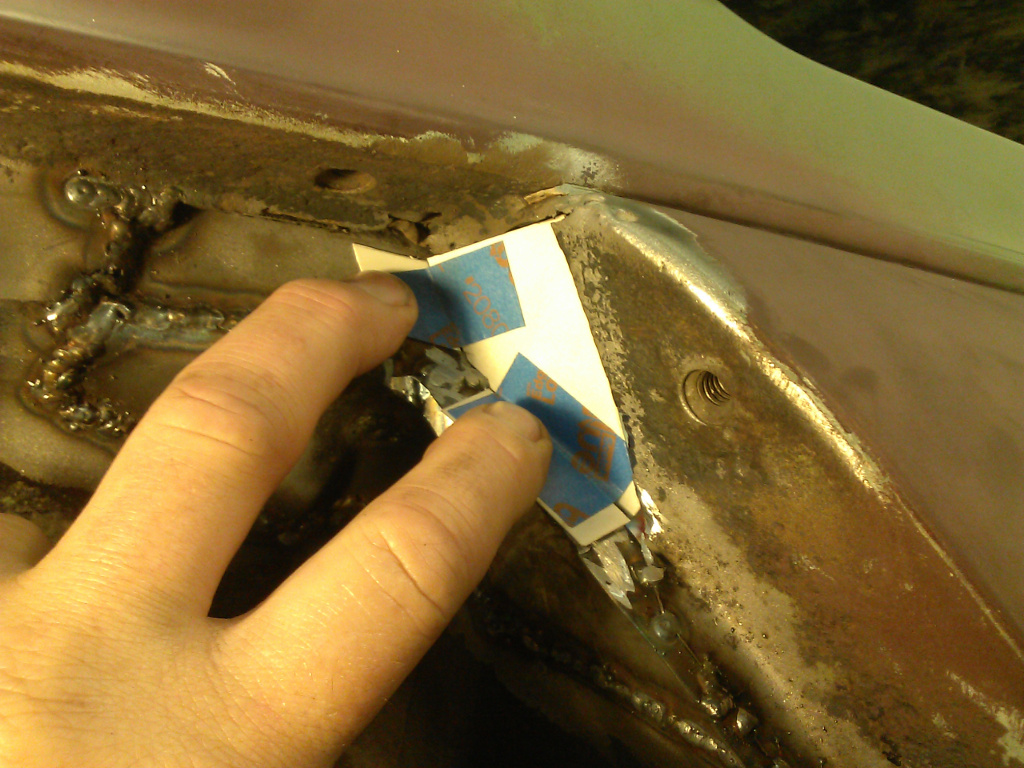
Template for the Right-Side Valence Patch
All that was left now was to patch the valence. I again made a paper template by trial and error, cutting and matching until the template fit well. Once the valence patch was cut and welded, the corner repairs were complete as shown in the photo below. And, as before, the bead was somewhat rough and irregular, but strong.

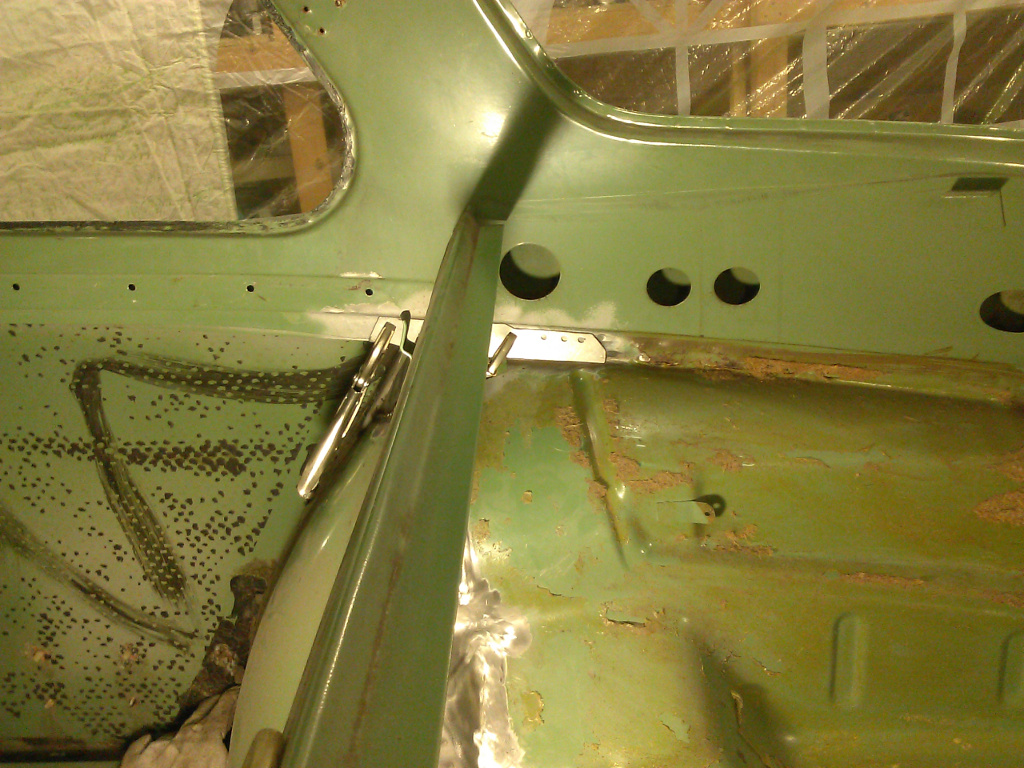
Completed Corner Repairs, from the Underside
Completed Wheel Well Repairs from Inside
The completed wheel well repairs look pretty good from the inside. The inside needs some additional finishing work, but that will come later. I’m fairly happy at this point, and I will now turn my attention to replacing the rear axle tunnel piece, the trunk floor, and the back end. More on that in my next post.
Well done!
Again, very nice work!
Keep it up, nice to see the progress. Respectable!