A quick word about spammers. I had trouble with robots registering to this blog for unknown reasons. I have since added Math Captcha which seems to have stopped this. However, in cleaning out the spam users, I may have nicked legit users and comments. If you got nicked, I apologize. Please register again and I hope this doesn’t happen again — I’ll try my best.
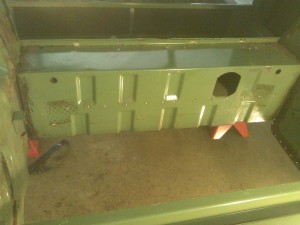
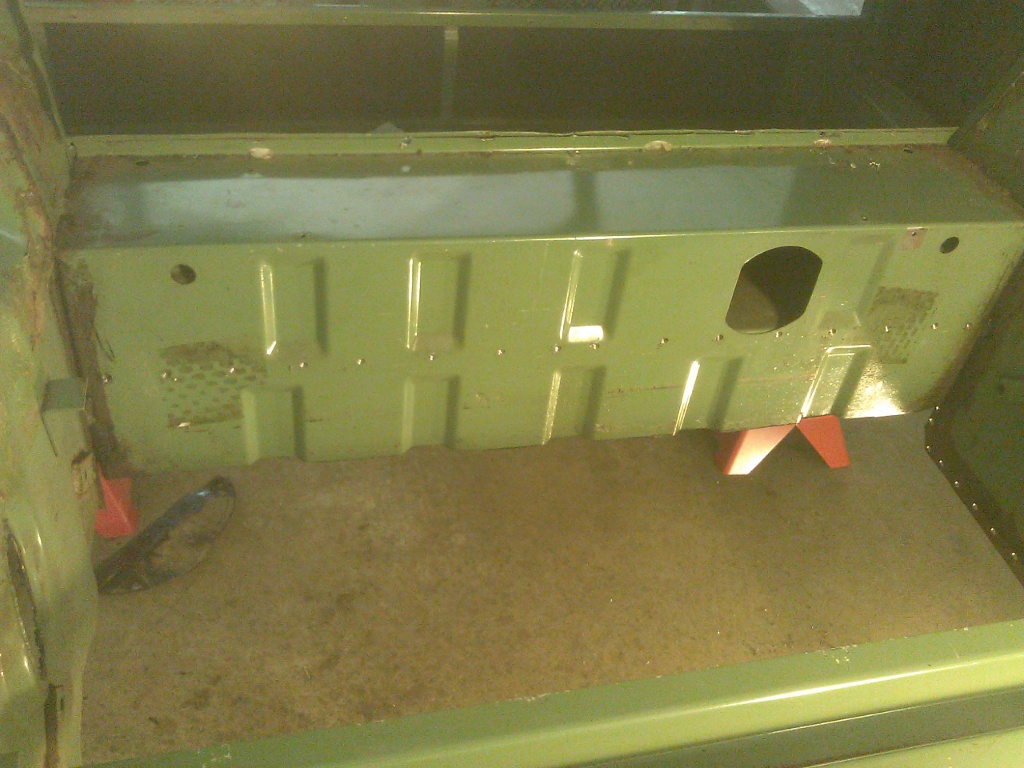
Portion of Rear Axle Tunnel to be Removed
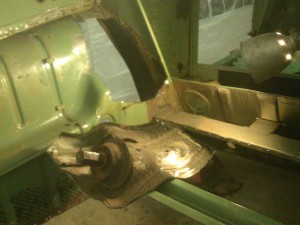
Section of Rear Wheel Housing to be Replaced

Most of Axle Tunnel Metal Removed

Tack Welds Ground Flush
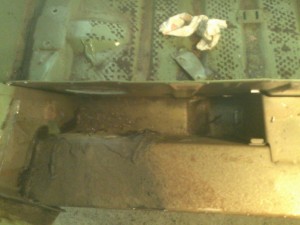
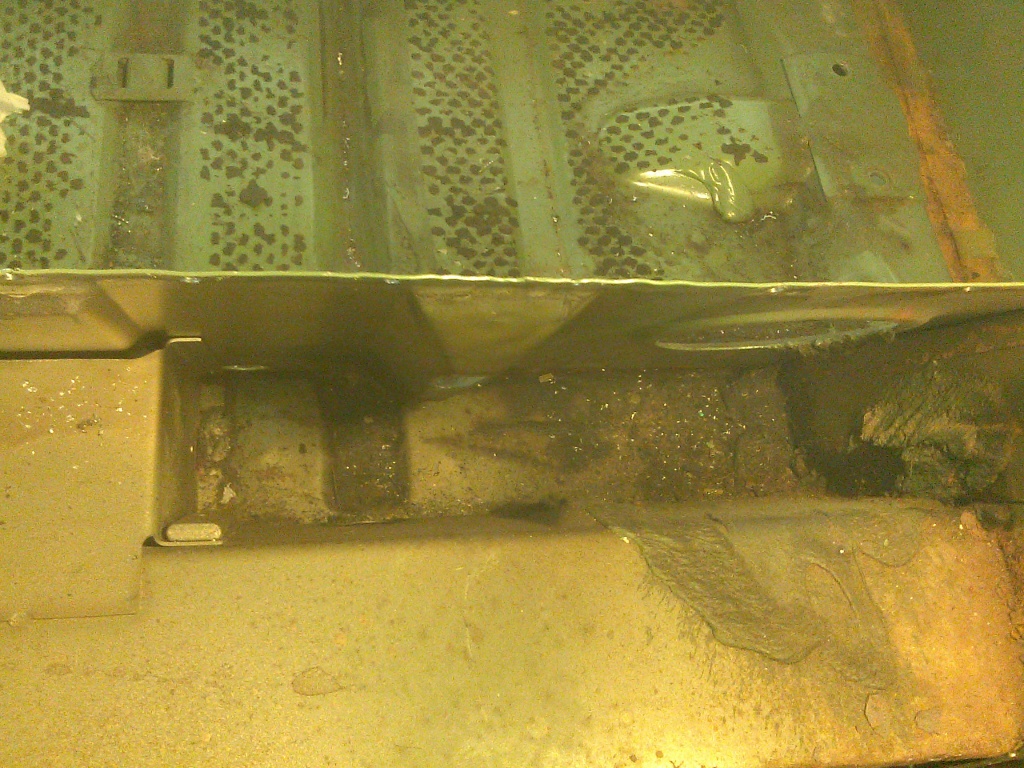
Inside Axle Tunnel – Left
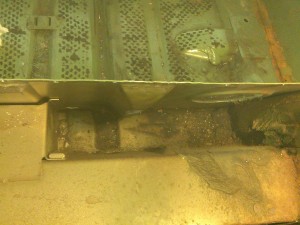
Inside Axle Tunnel – Right

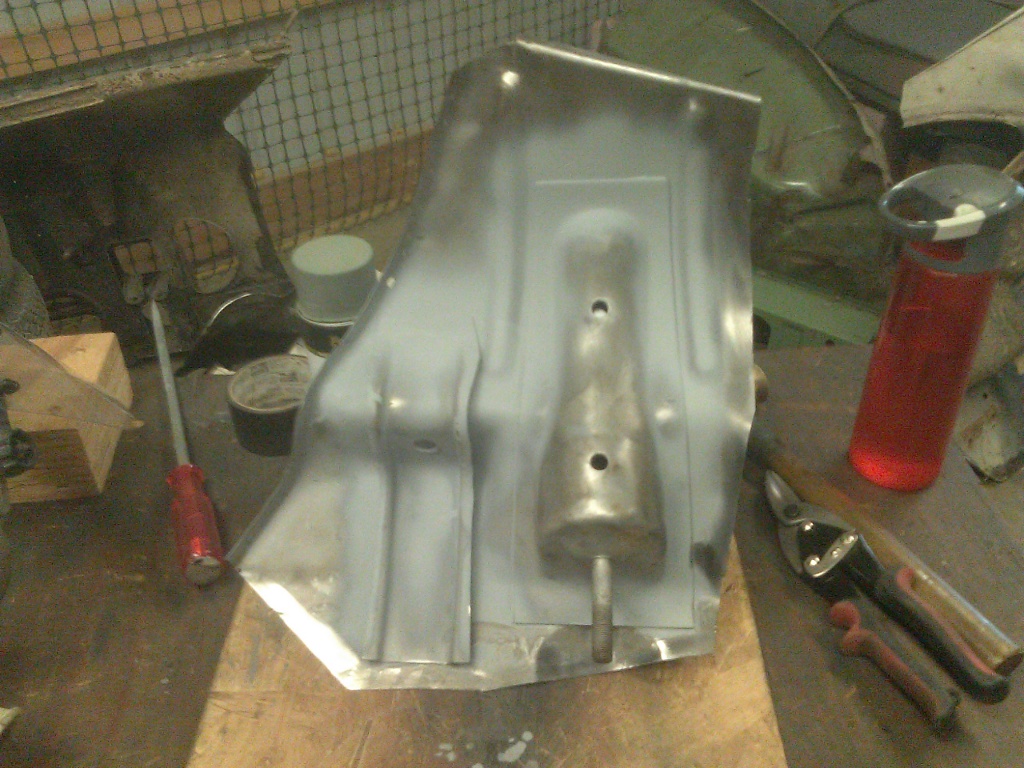
Donor Wheel Housing Section
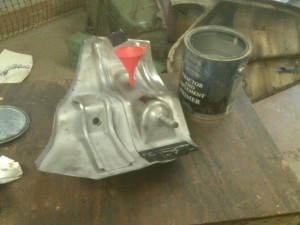
Rustproofing Donor Spring Support Section
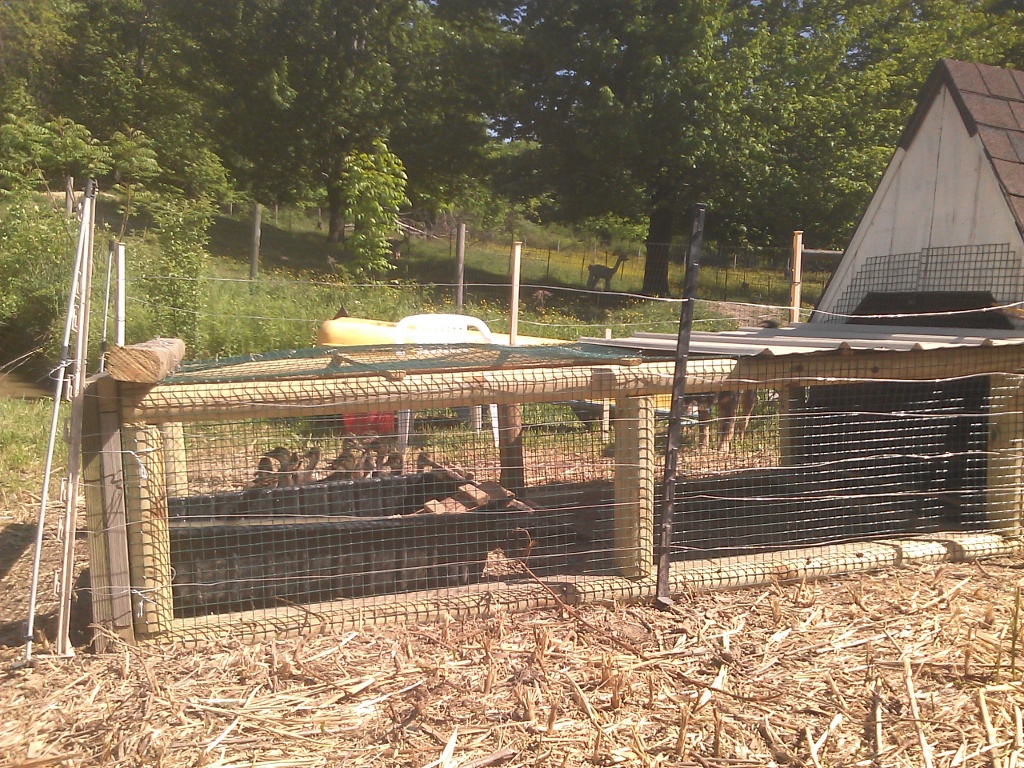
Ducklings Update
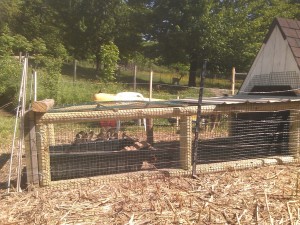
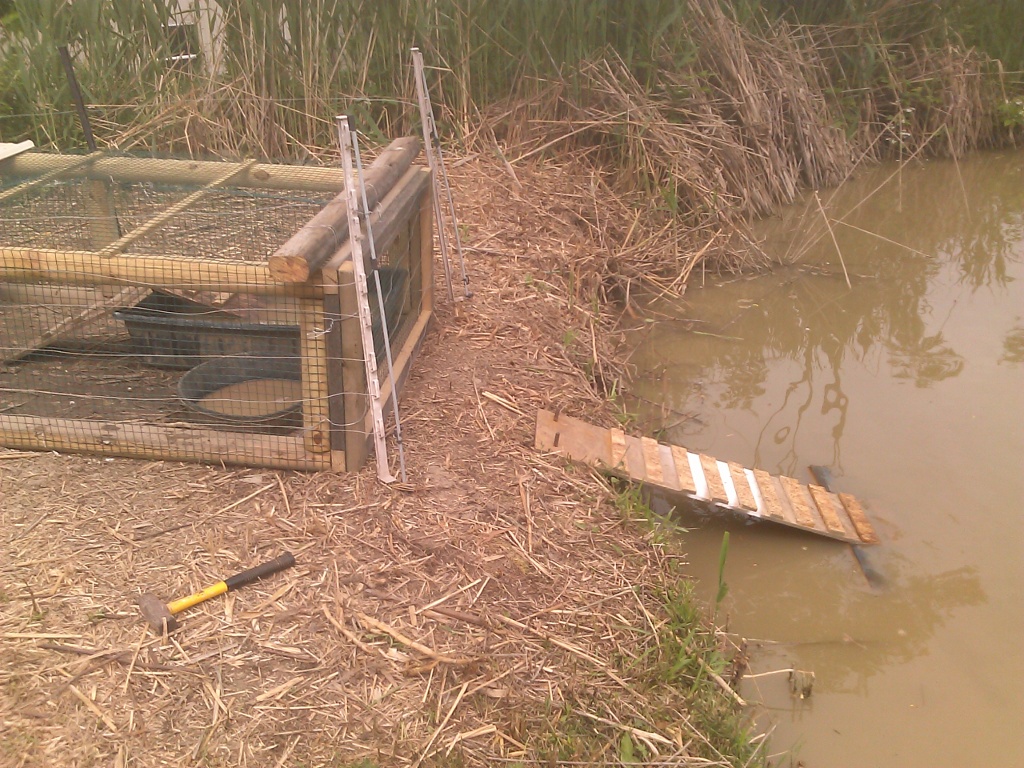
New Duckling Enclosure by Pond

Ramp for Ducklings When Released
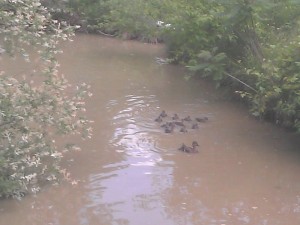
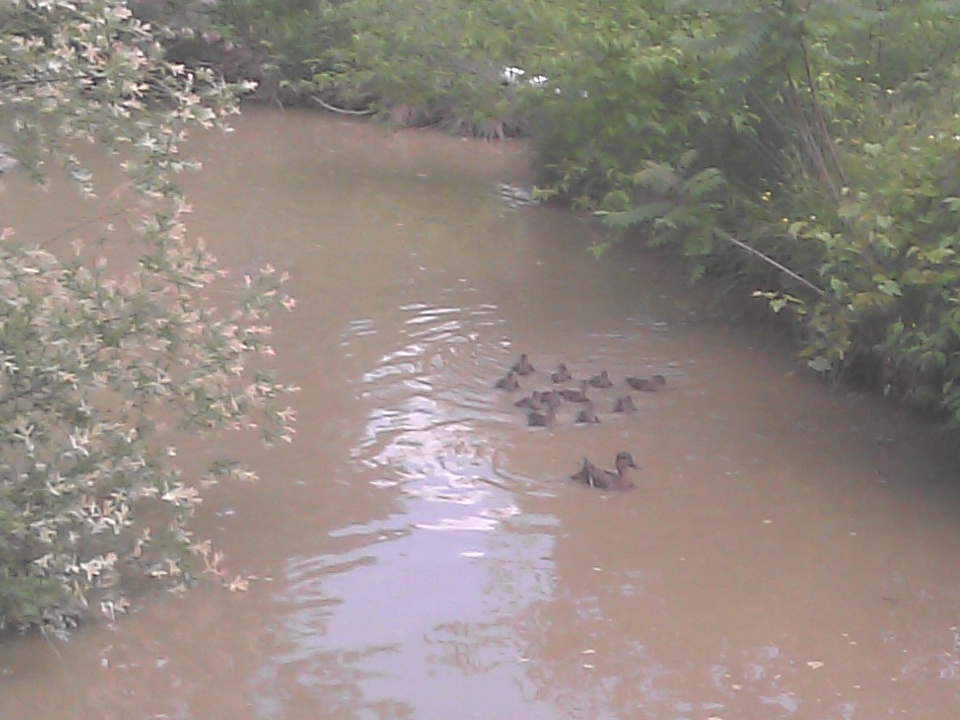
Ducklings 1st day in Pond at 3-1/2 weeks.
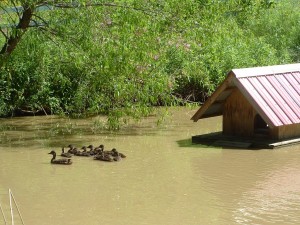
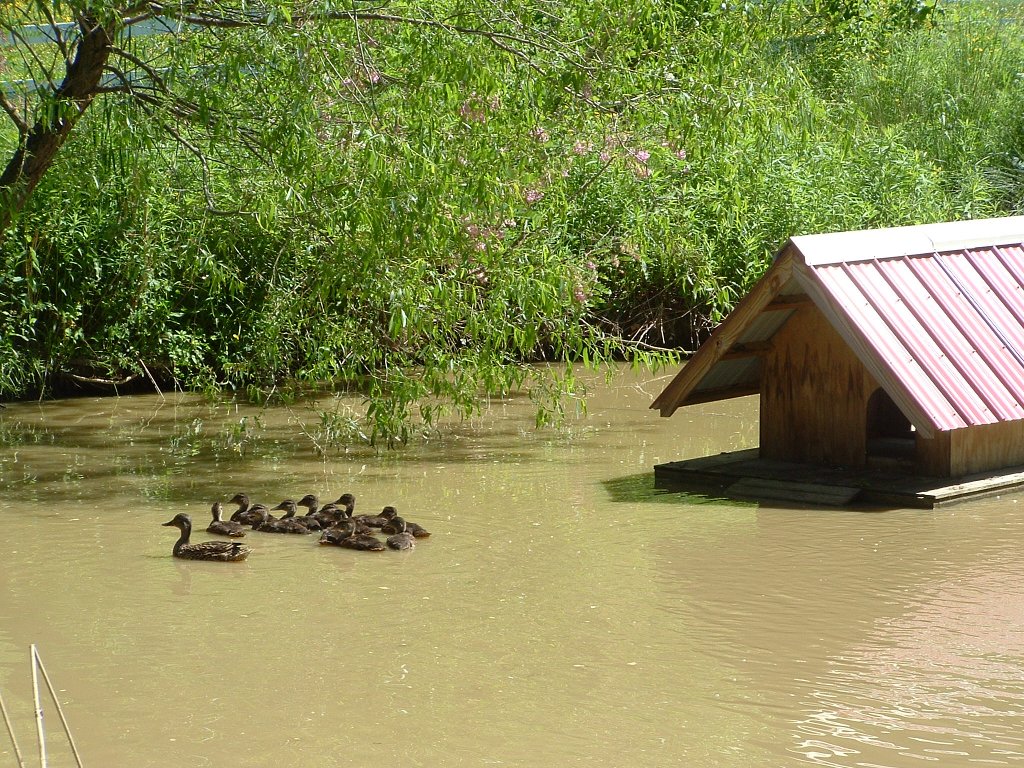
Ducklings 3rd Day in Pond
Well, this will have to do till next time, which I hope will be sooner.


the old saab is coming along nicely — i never would have the the patience or the inclination to go as far as you — it makes me feel really good to se the old saab getting a new lease on life – i loved that car —
nice job with the ducks — your a man after my own heart
edgar
Glad to see that you’re following the progress. Hopefully, I can pick up the pace a little.
Thank you as well for posting all your work and attention to detail (including the ducks). Your painstaking labor and methods are an inspiration to me as I prepare to deal with a rather rusty V-4 Monte Carlo.
Bruce in Colorado