
First off, it’s been a while but I did some work in the fall of 2020 and this summer. This is the first in a series of five posts describing the progress.
Now, regarding this post, I don’t know what the subject parts are called because they are not separately listed in any parts manual. When you close the door on a Saab 96, the front seal strikes a sheet metal stop that is spot welded to the lower A-pillar or door frame. These were apparently not painted on the back side and rusted through rather badly. This post describes fabricating and installing replacements.
Cutting and Shaping New Door Seal Stops
Figure 1 shows a rusty stop adjacent two strips of metal ready to be formed. The original stops had small edge flanges to add a bit of rigidity. Figure 2 illustrates forming a flange on the straight section while Figure 3 shows a piece of lumber routed to form a sort of die to form the flanges on the curved sections.
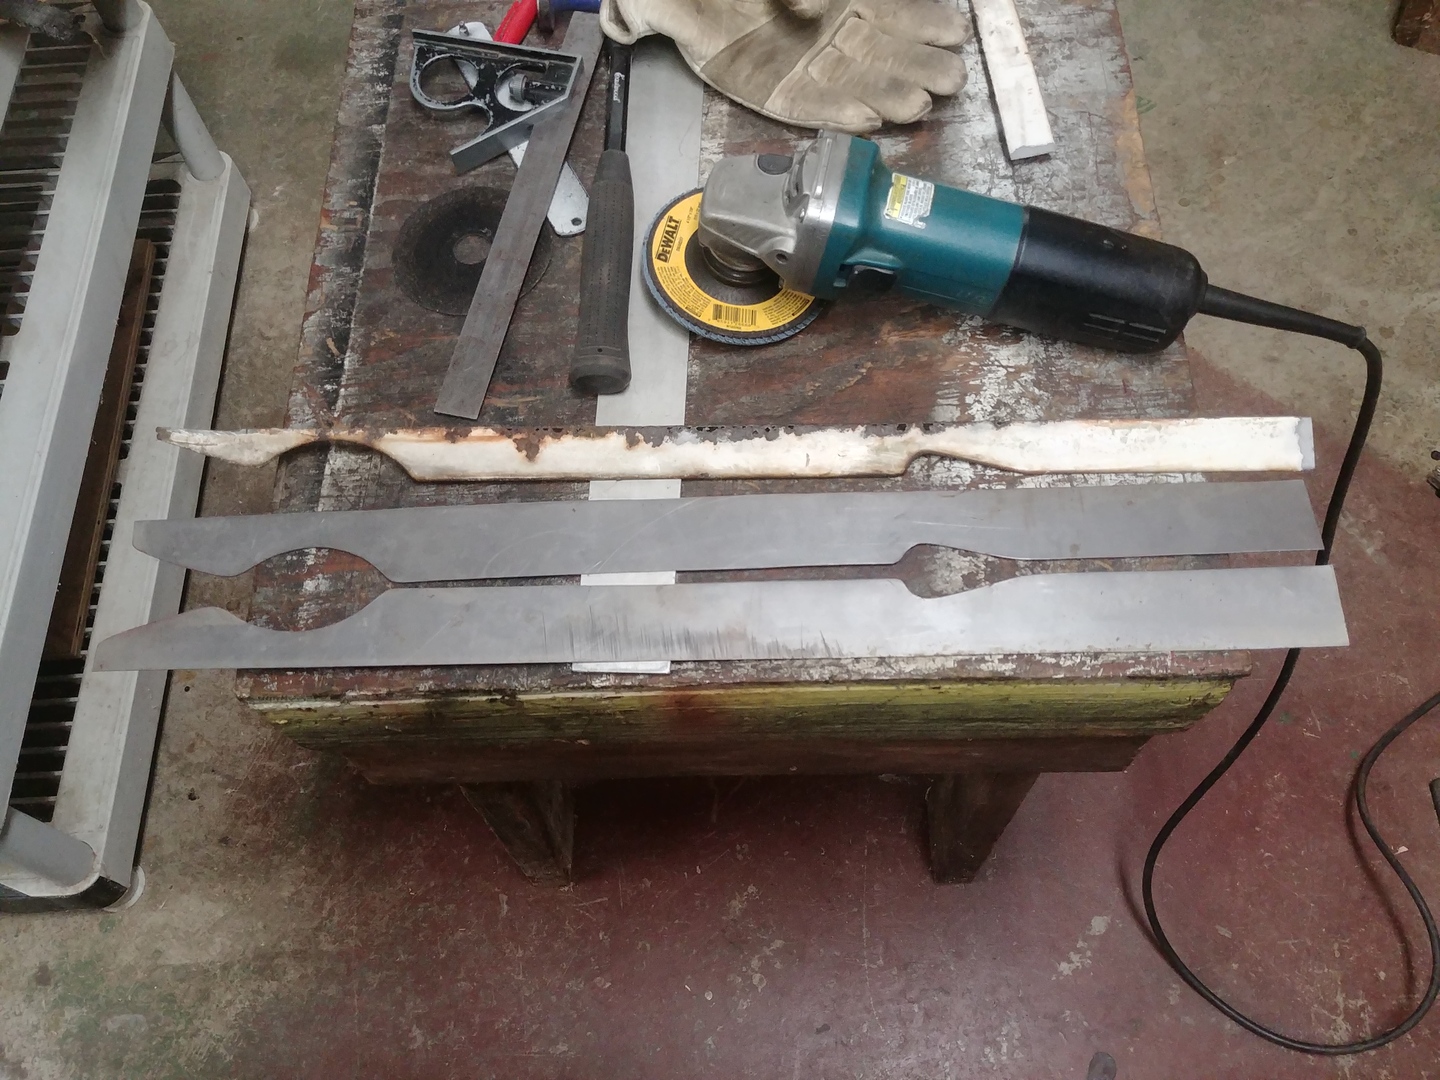
1. Cutting Metal for New Door Seal Stops
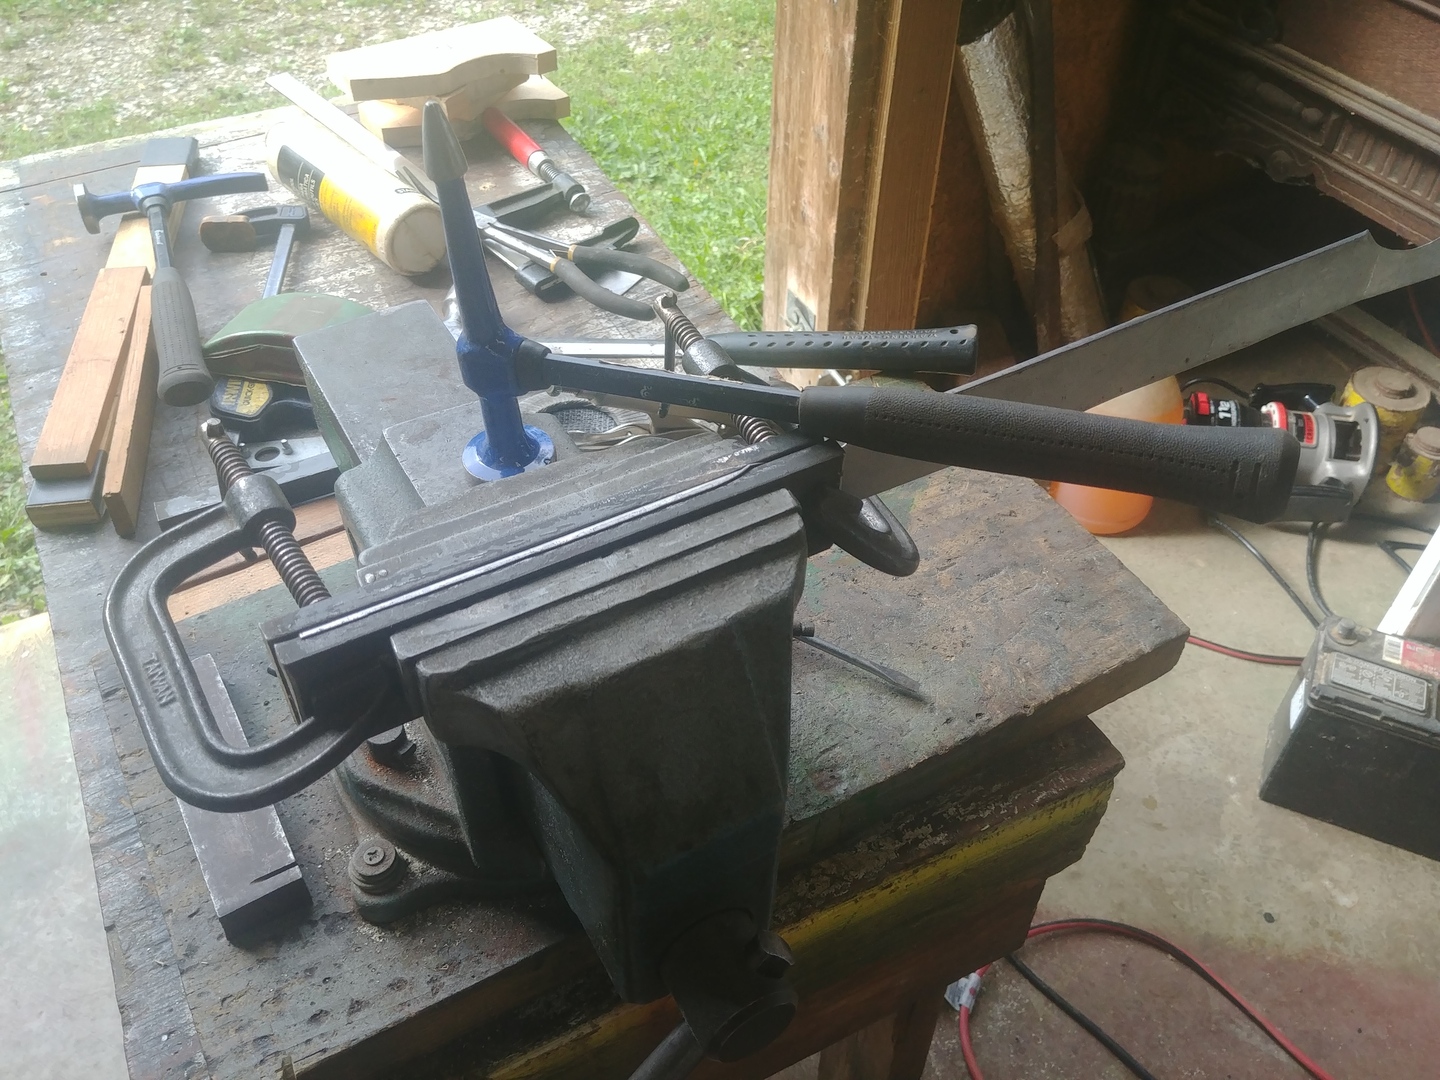
2. Forming Metal for New Door Seal Stops
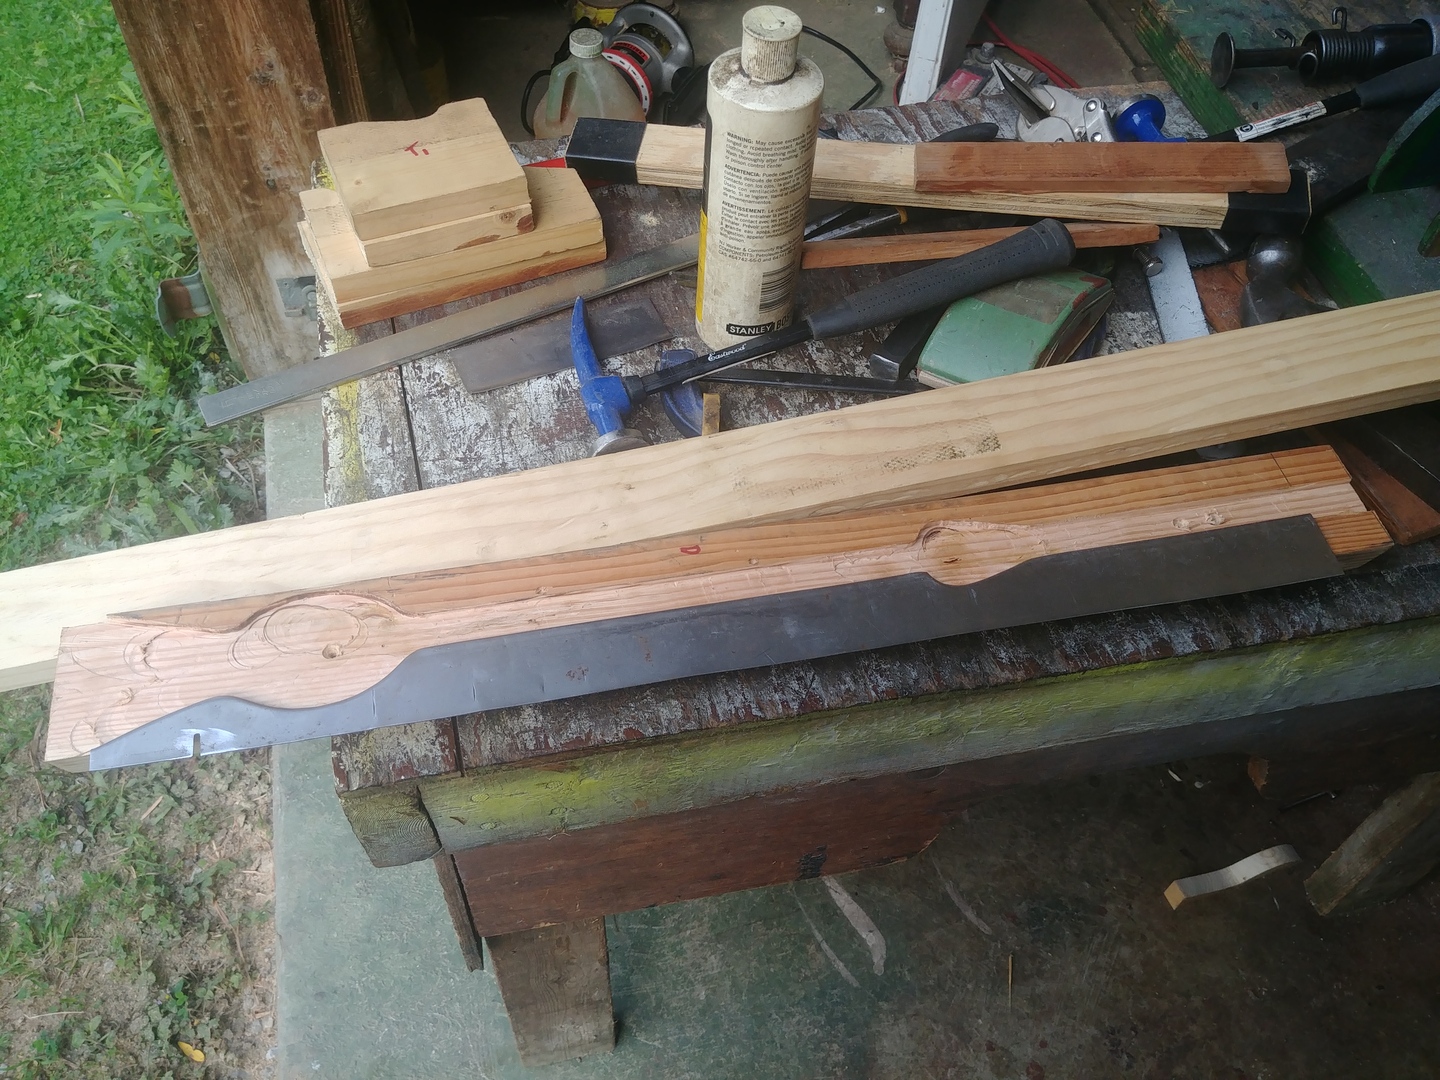
3. Wood Die for Forming Door Stop Edges
Finishing the New Door Seal Stops
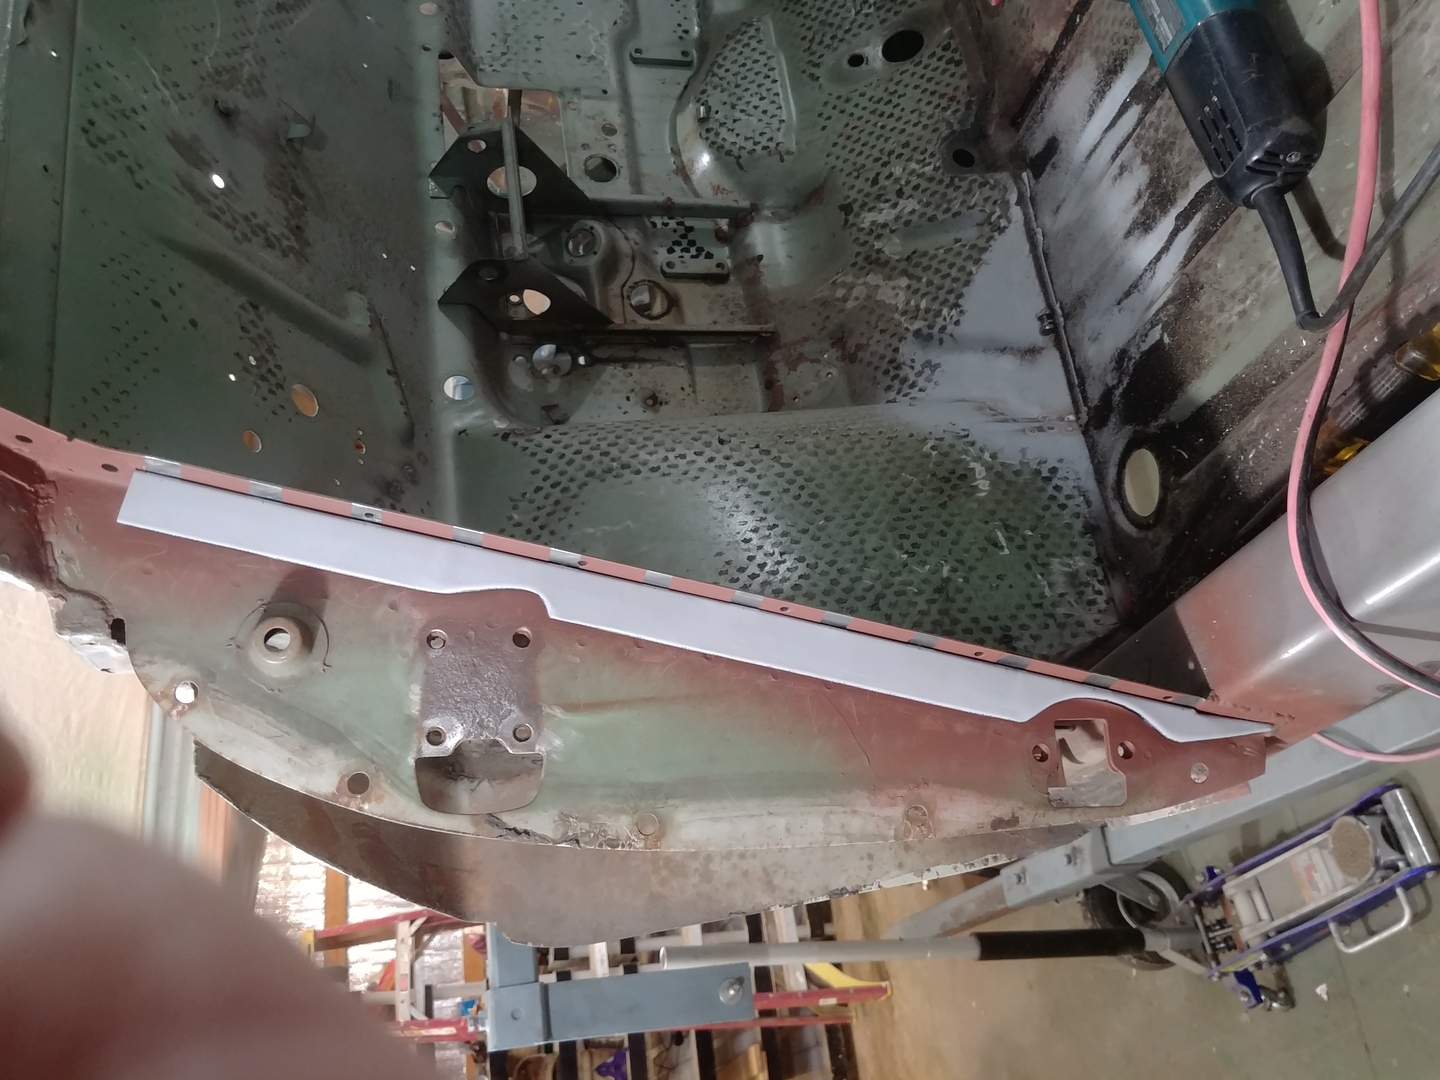
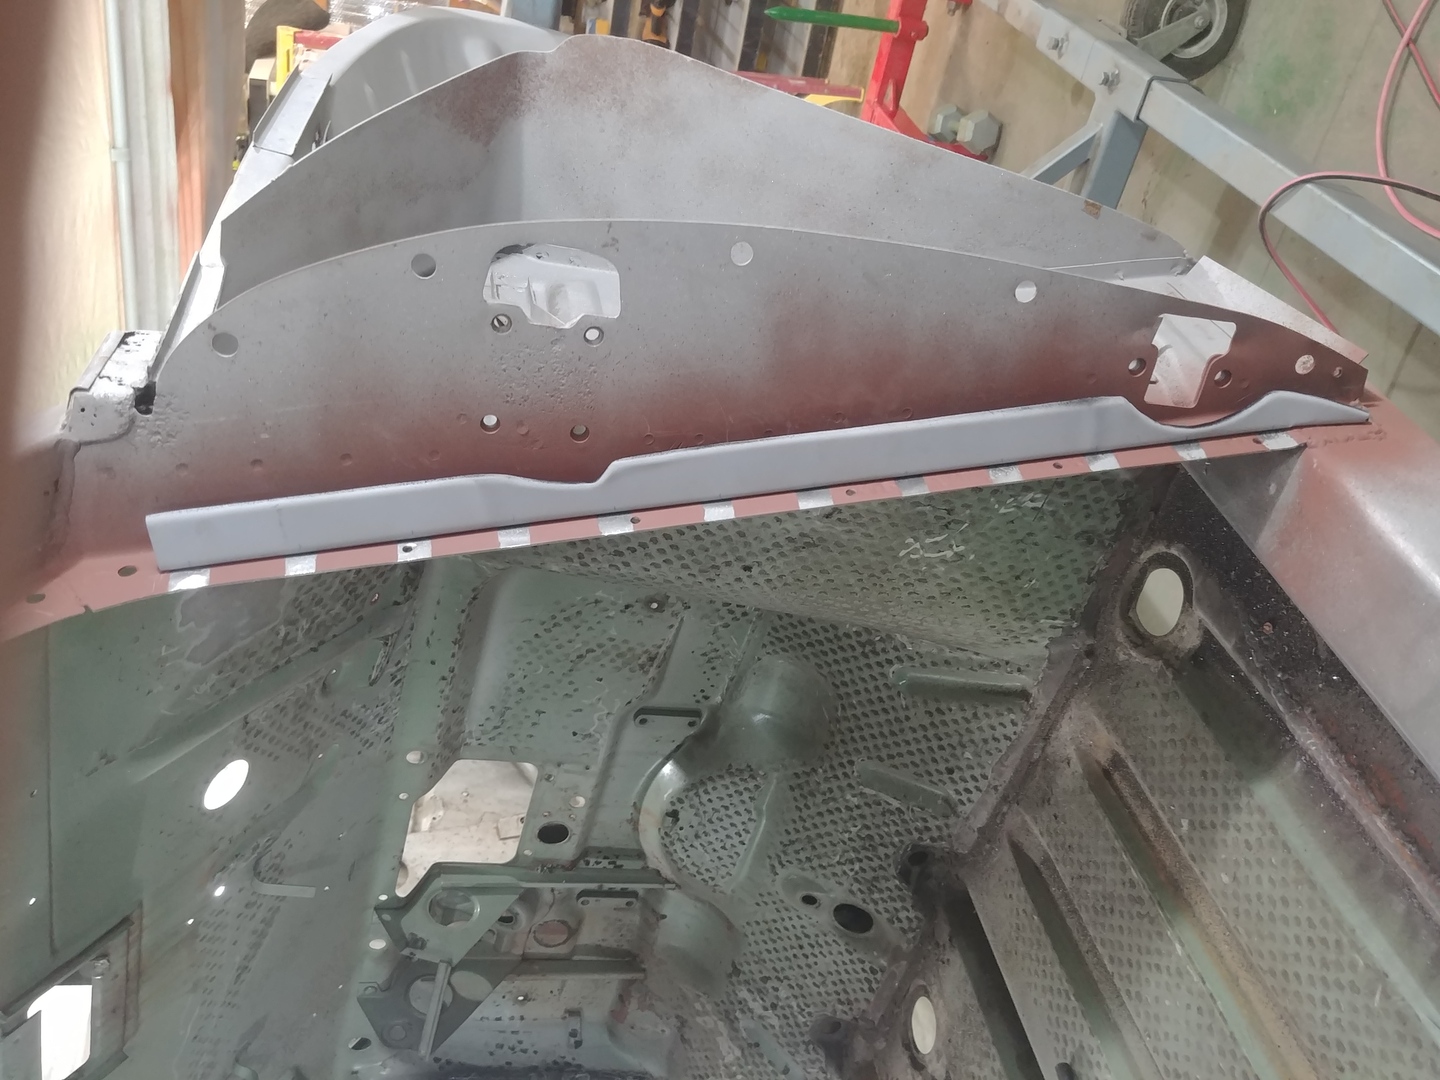
Figure 4 shows a pneumatic die being used to flatten the mounting flange. Figure 5 shows the completed stops. Note that the mounting flange is modified a bit below the large curve where it meets the frame, scuff plate, rocker panel or whatever you call it. The back sides are painted as shown in Figure 6 because the backs are almost inaccessible after installation.
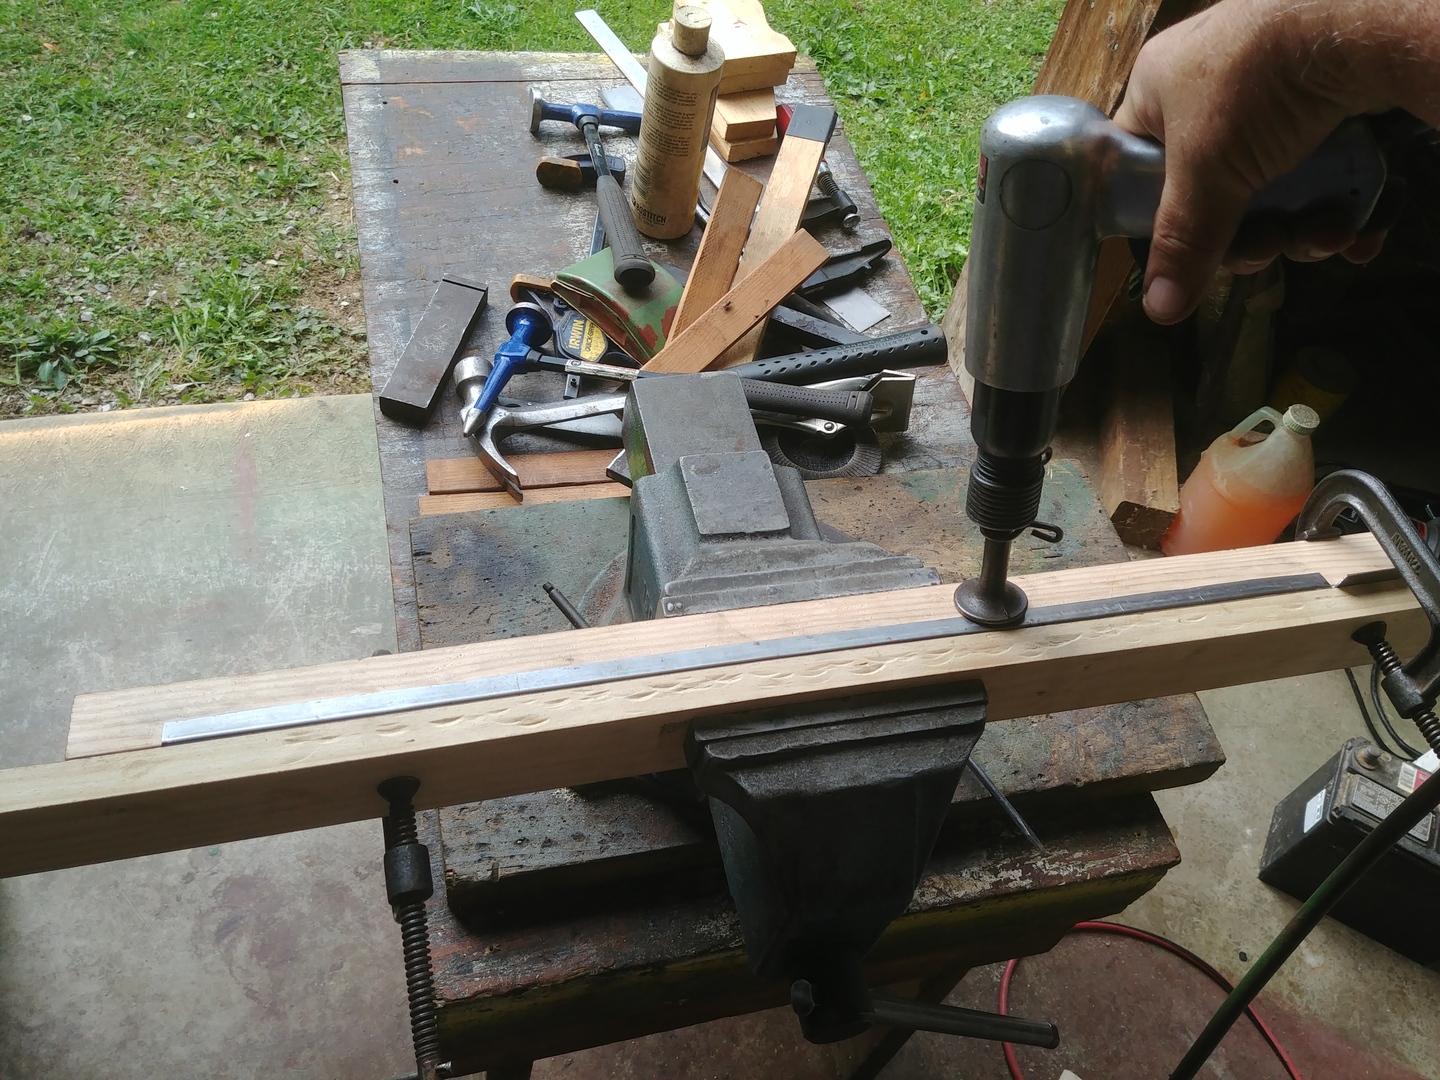
4. Flattening Door Seal Stop Mounting Flange

5. New Door Seal Stops

6. Painting Back Side of Door Seal Stops
Welding the Door Seal Stops
Even if I had a spot welder, it would be almost impossible to spot weld these. Therefore, holes are drilled for plug welding, and the body was primed in the non-weld areas as shown in Figures 7-9.
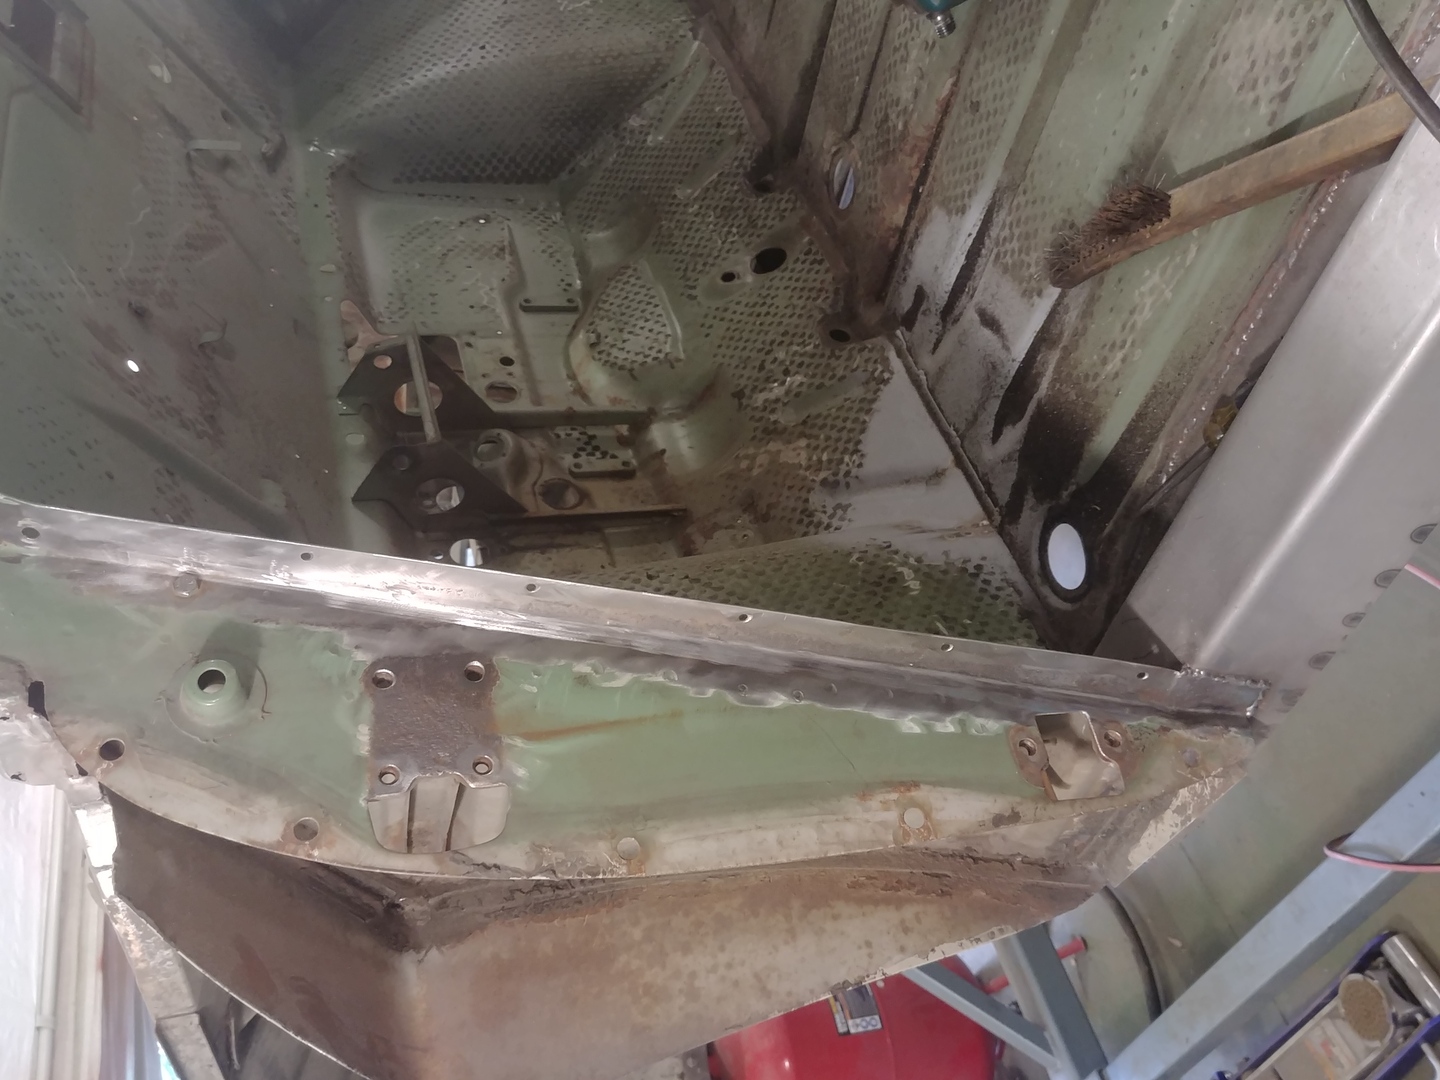
7. Holes Drilled for Plug Welding New Stops
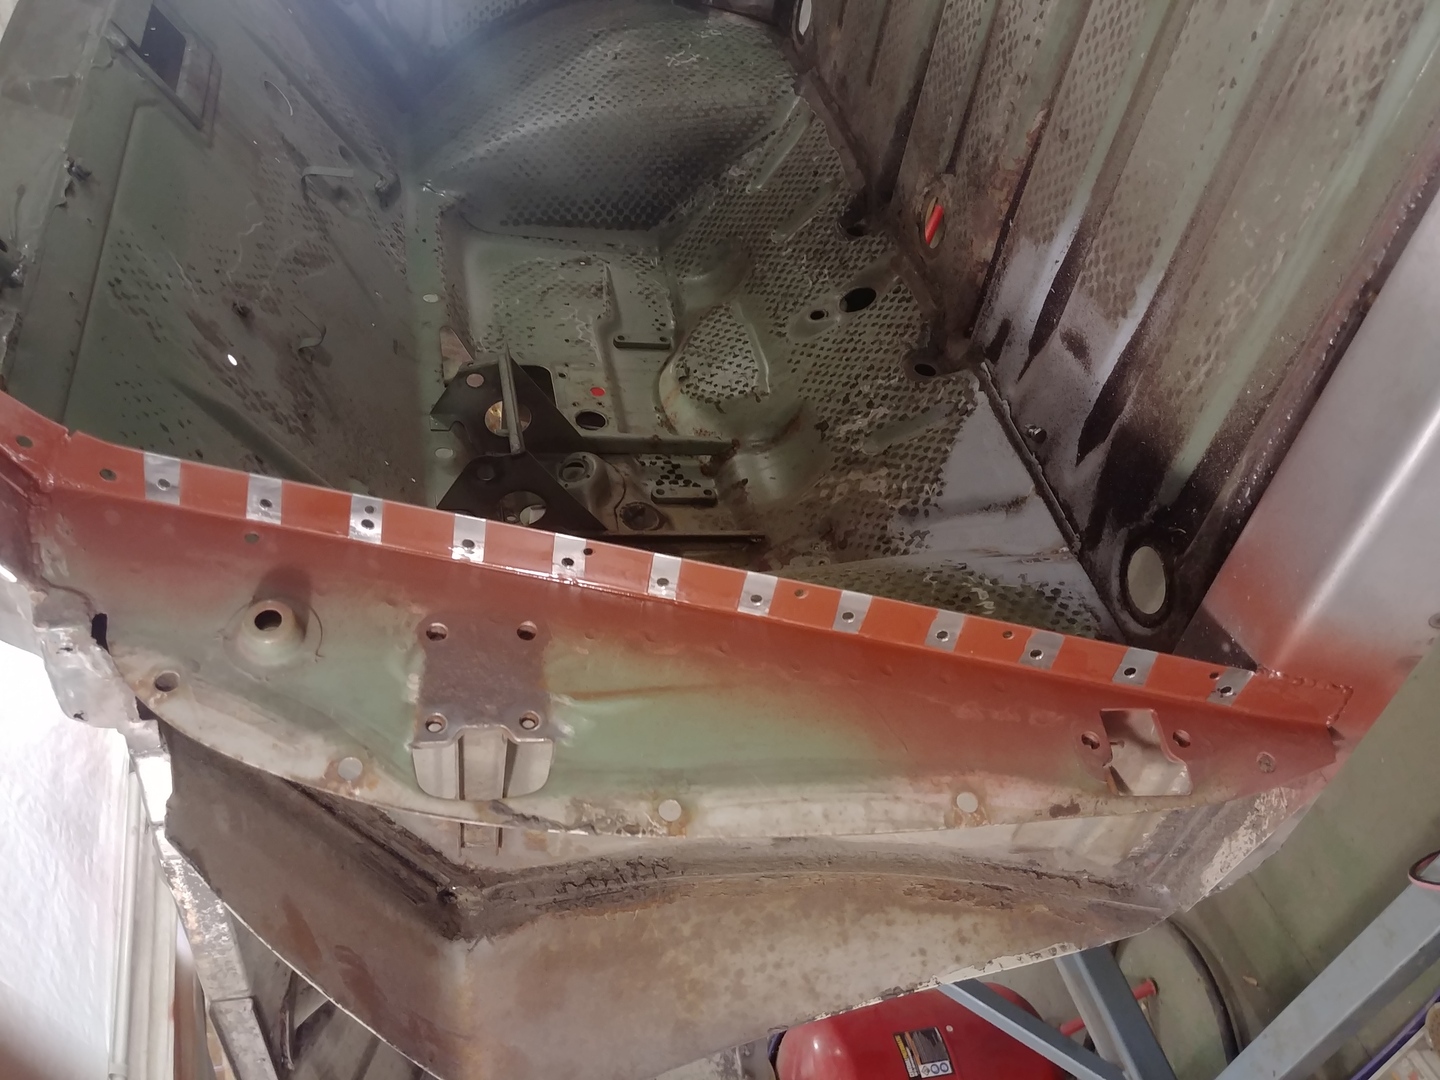
8. Priming Metal Between Weld Points
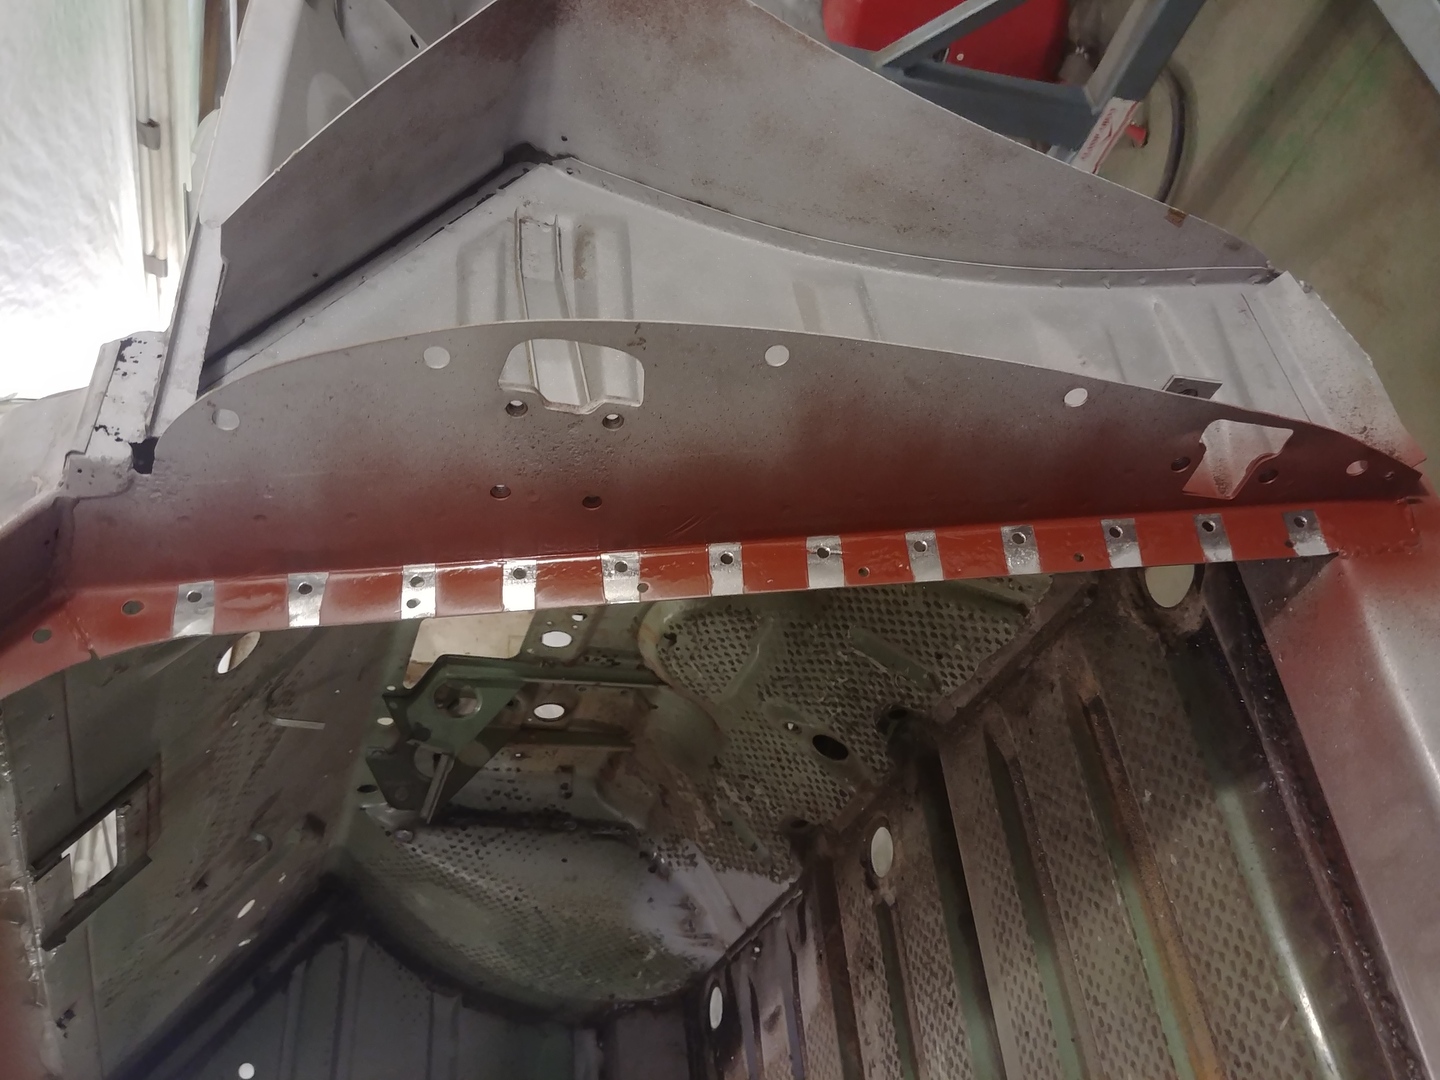
9. Priming Metal Between Weld Points
The End Result
Figures 10-12 show the installed stops and one plug weld side. Not an exact duplicate of the original but I don’t think anybody will notice, and they are better than the original.
10. Drivers Side Door Seal Stop Installed/Primed
11. Passenger Side Door Seal Stop Installed
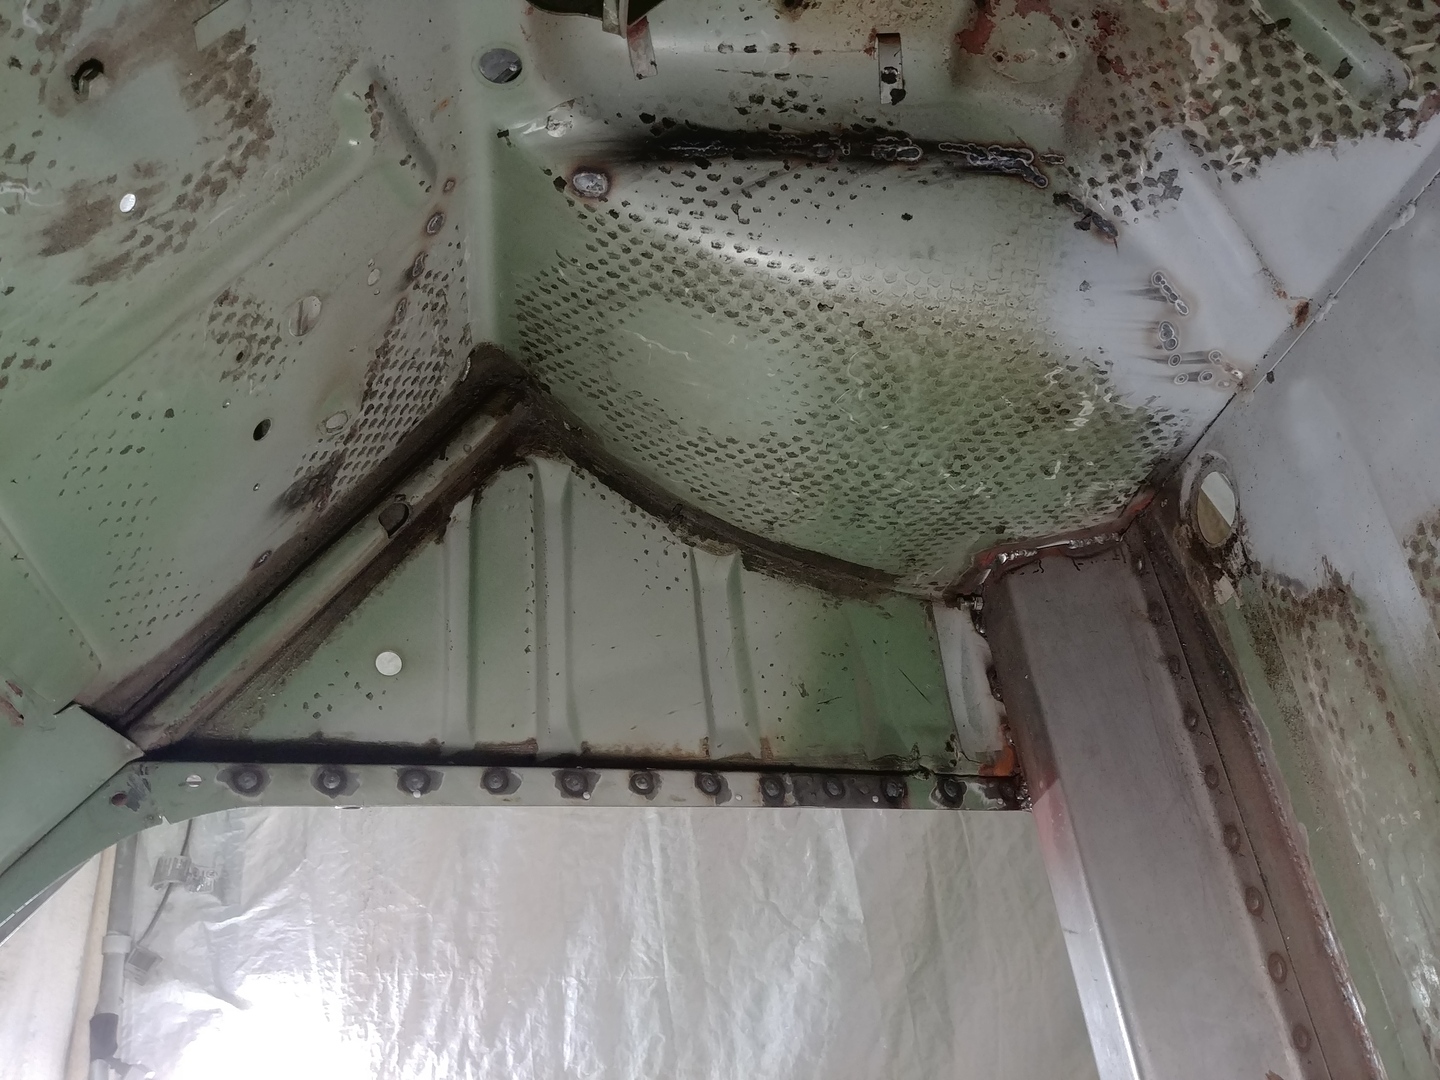
12. Door Seal Stop Plug Welds
Next Up
The next post is a longer post about some real ugliness at the base of each A-pillar.
Great to see the old Saab again.
Very pleased and happy that you are working on your Saab project again! Your attention to detail is first-rate. I have learned so much from your blogs, thank you!
Great detail and consideration to the original construction/design. You take no shortcuts to the end result.
Good to have you back to posting your progress. Can’t wait to see the next results and even eventually the final result. Great job Ted!